After around 2½ years in our little patch of farm paradise, I think May 2014 holds the record for the amount of productive work so far. Seriously, it was exhausting.
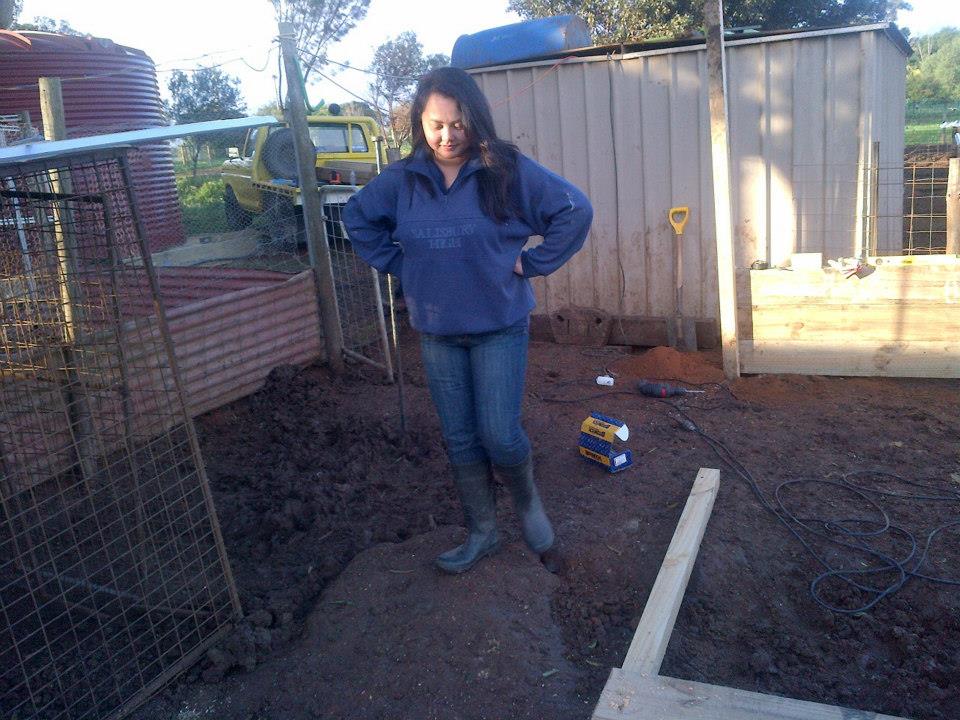
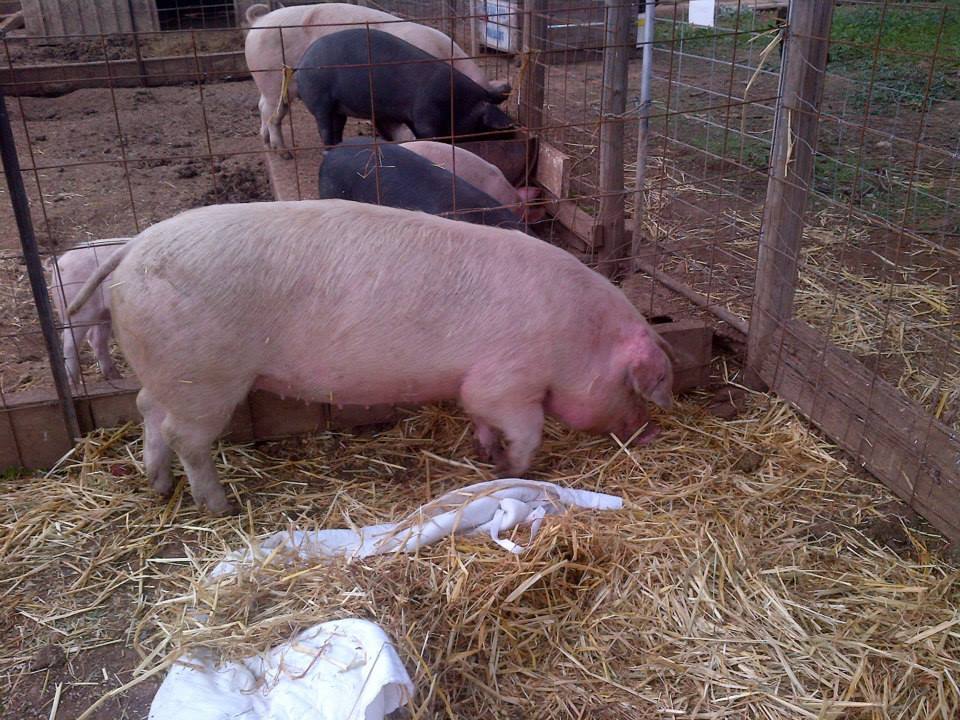
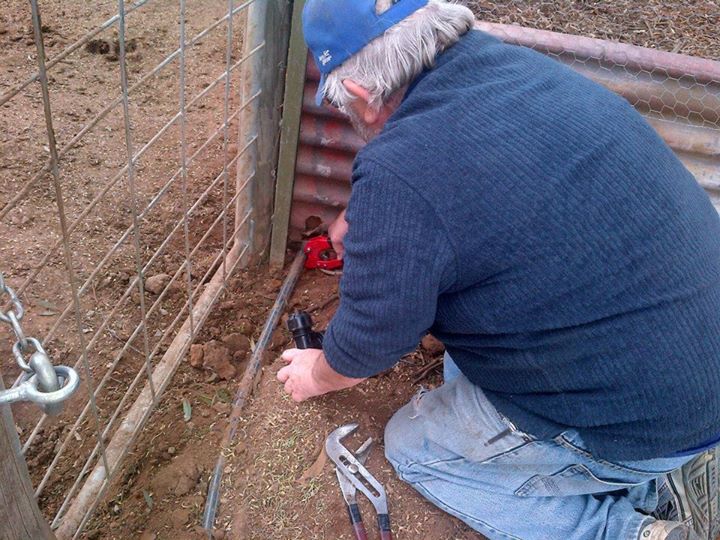
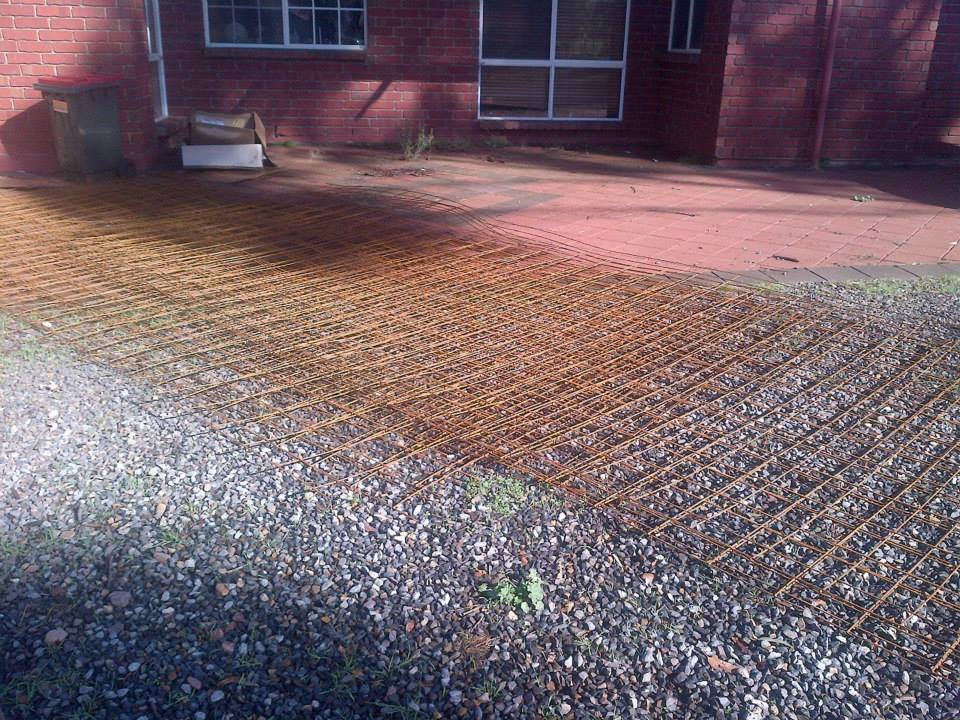
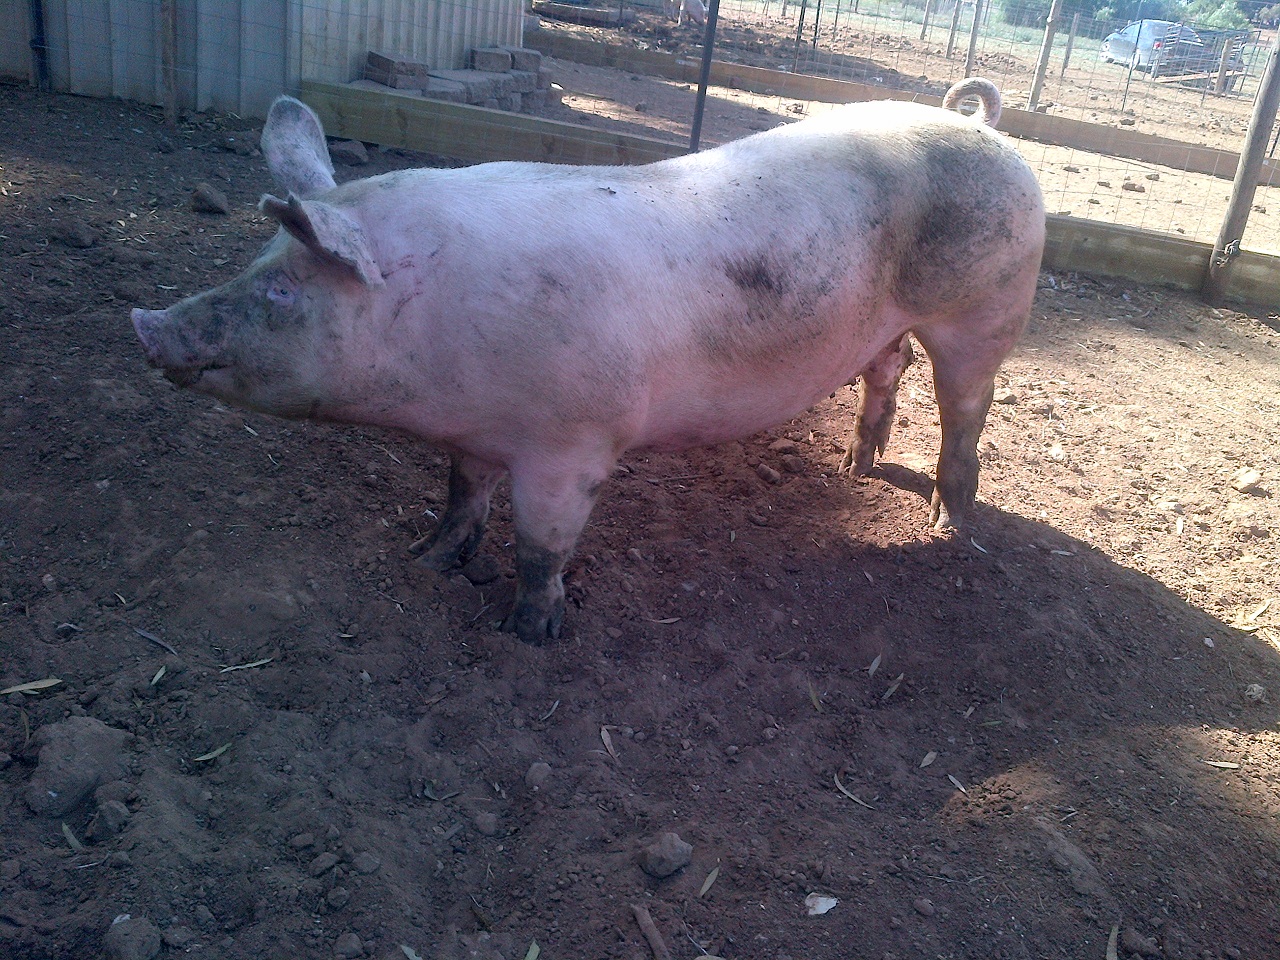
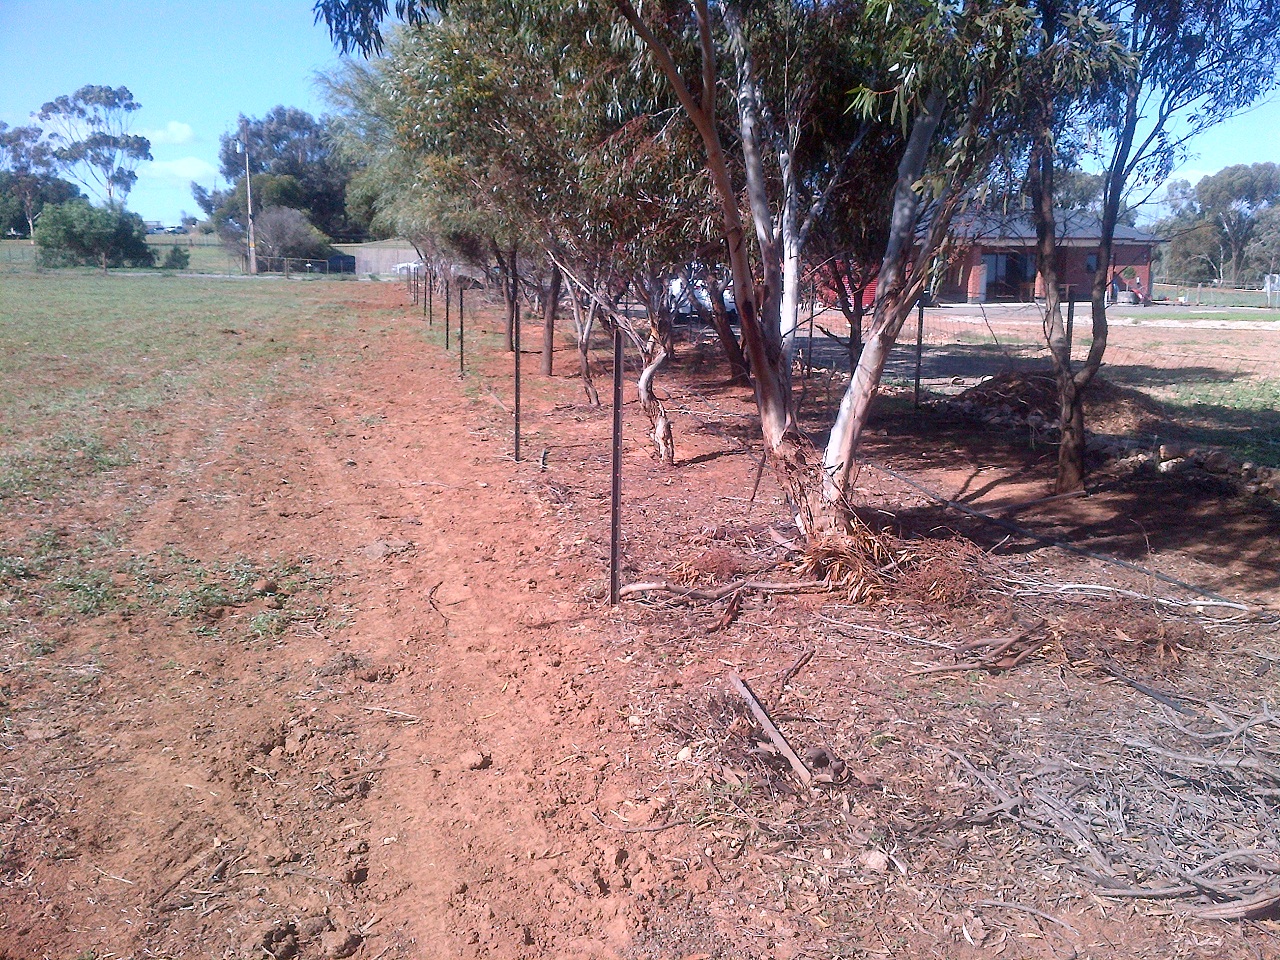
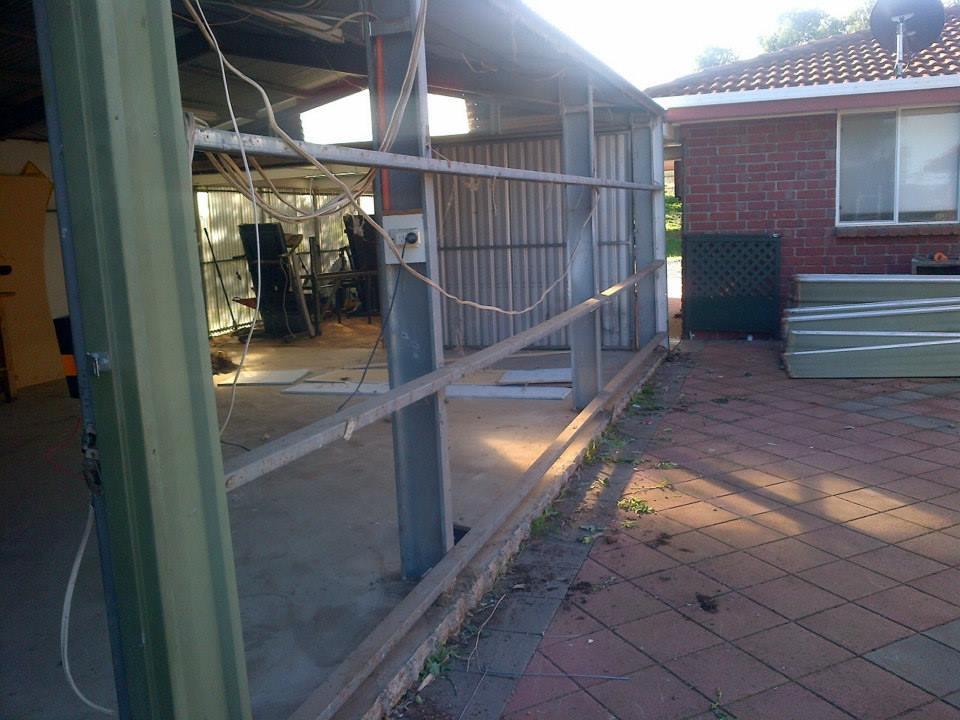
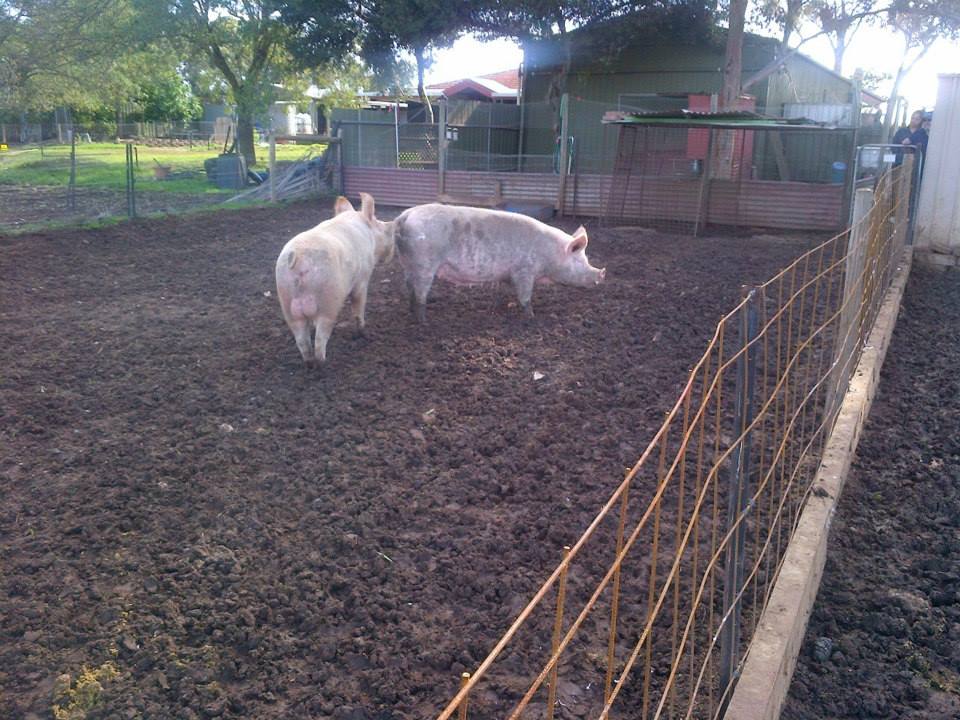
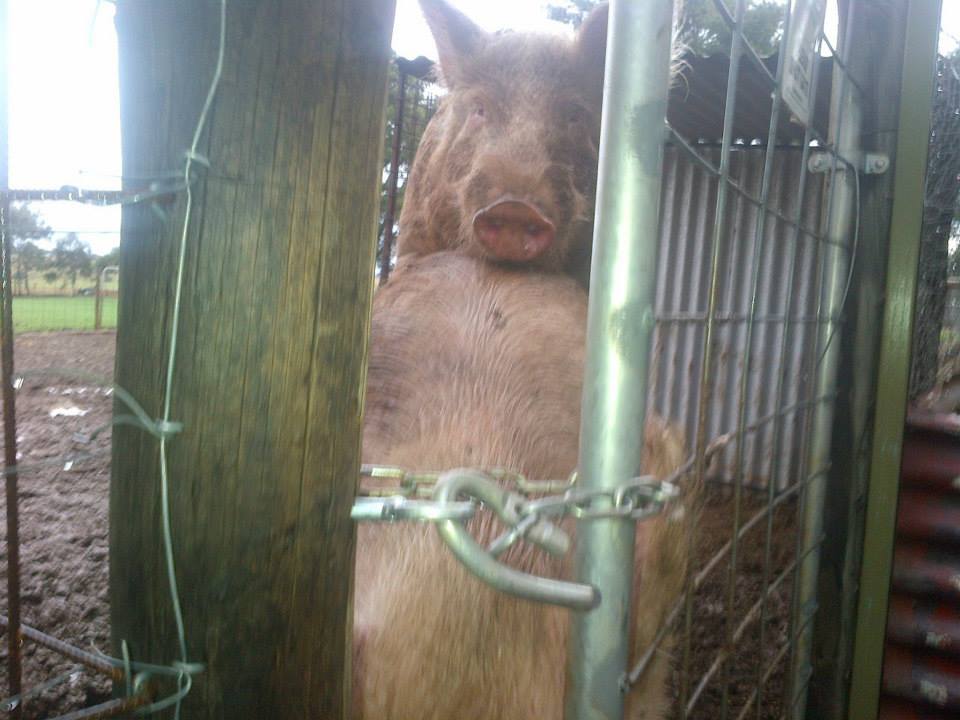
We managed a heap of infrastructure/building-type projects. First of all, we reinforced all of our pig runs with 3mm reinforcing mesh. This was prompted by the fact that Bertha, our baconer, busted through one of our fences.
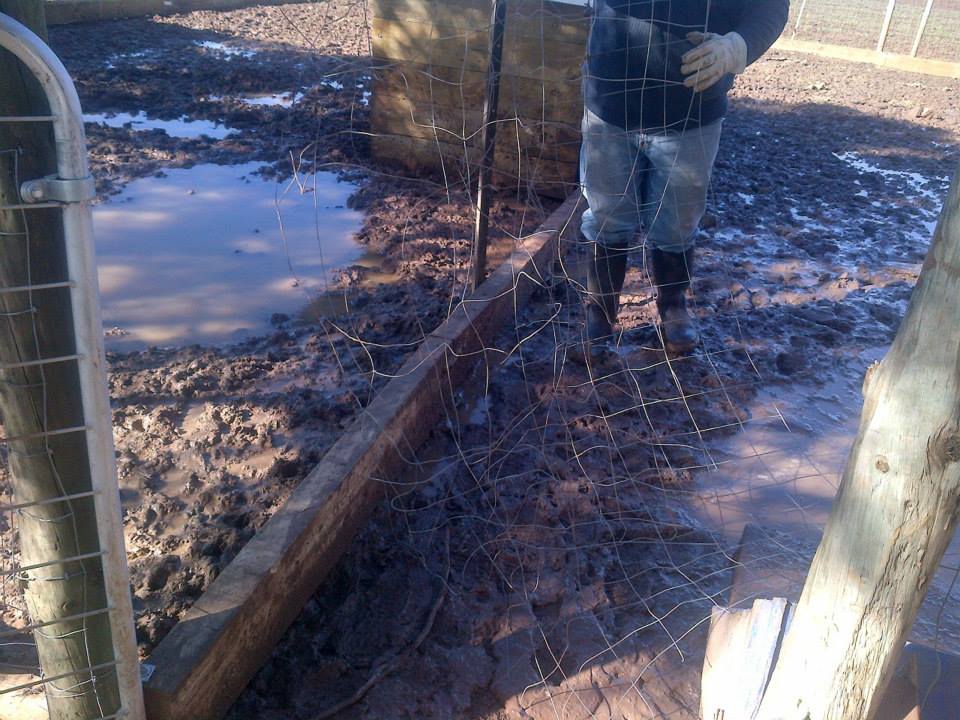
The hole that Bertha made.
To add insult to injury, Bertha was the pig we were planning on running our first Pig-In-A-Day workshop with, but ended up pregnant. Her brothers and sisters went to The Other Farm back in March, but one of the boys ended up doing unspeakable things with his sister, and Bertha is our first teenage pregnancy. While that certainly saved her bacon, pun fully intended, it has put a dent in my bacon futures.
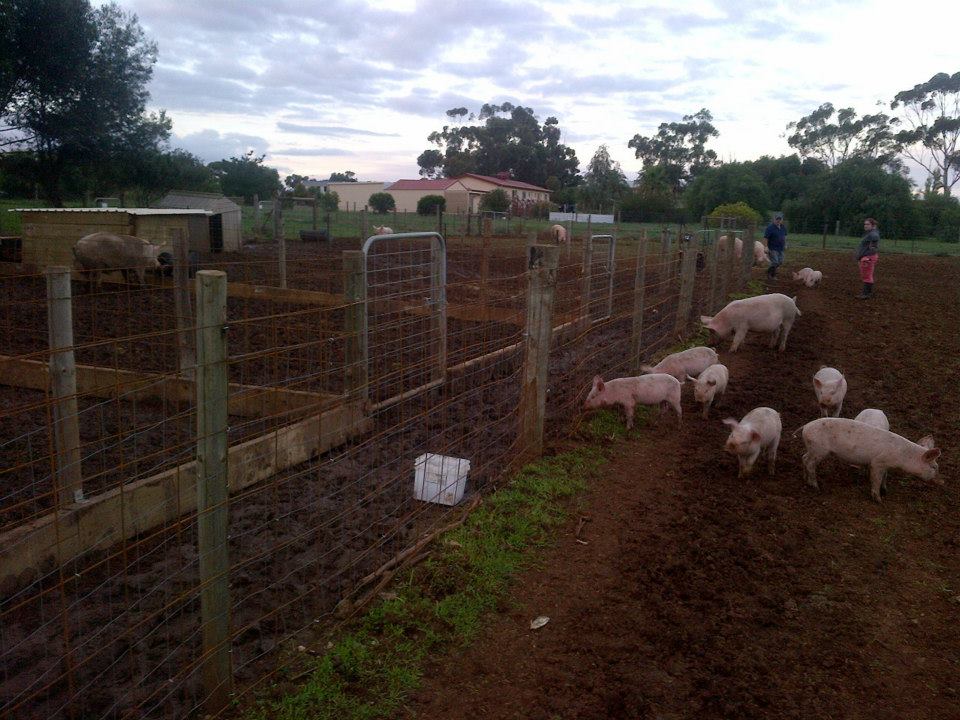
Anyway, Bertha busted out between runs, and we decided to do something permanent about the fences. The reo-mesh is the perfect solution. If it can be used in the foundation of your home, it should be able to keep destructive pigs at bay.

Sheets of 3mm reo-mesh.
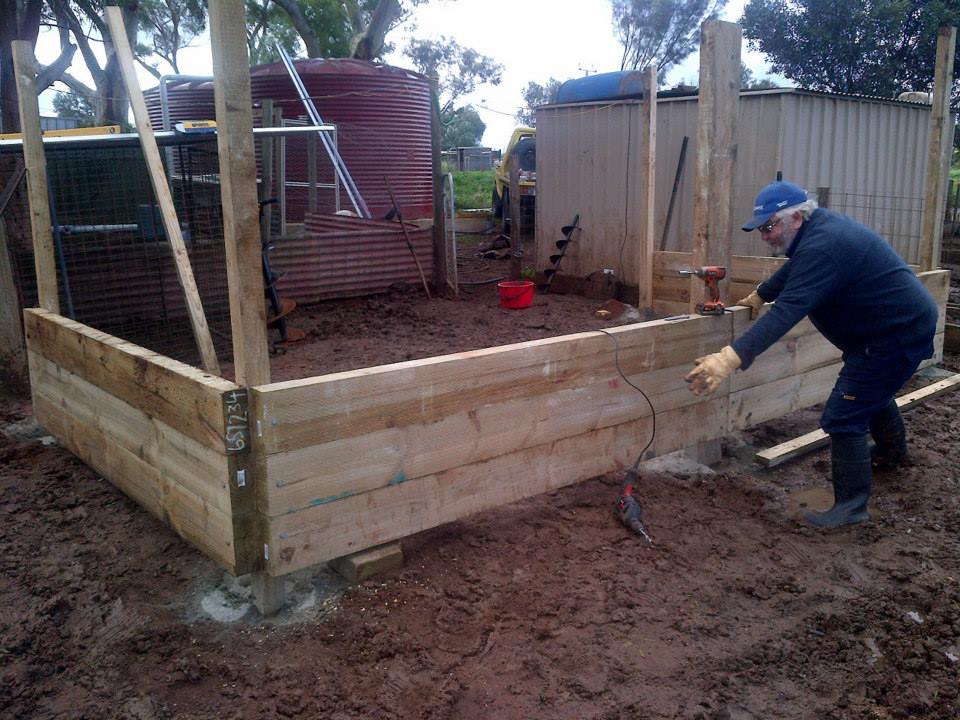
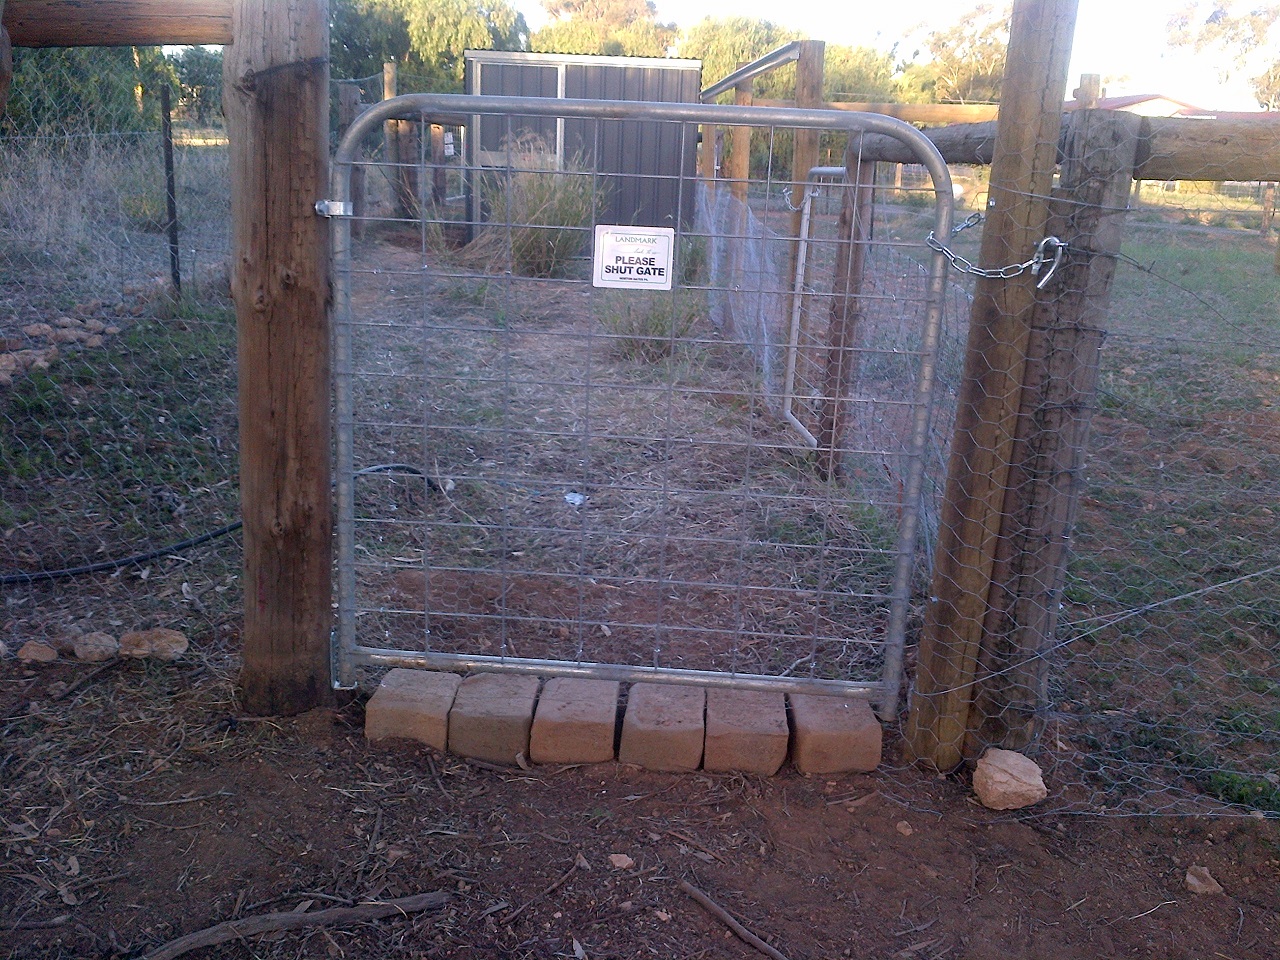
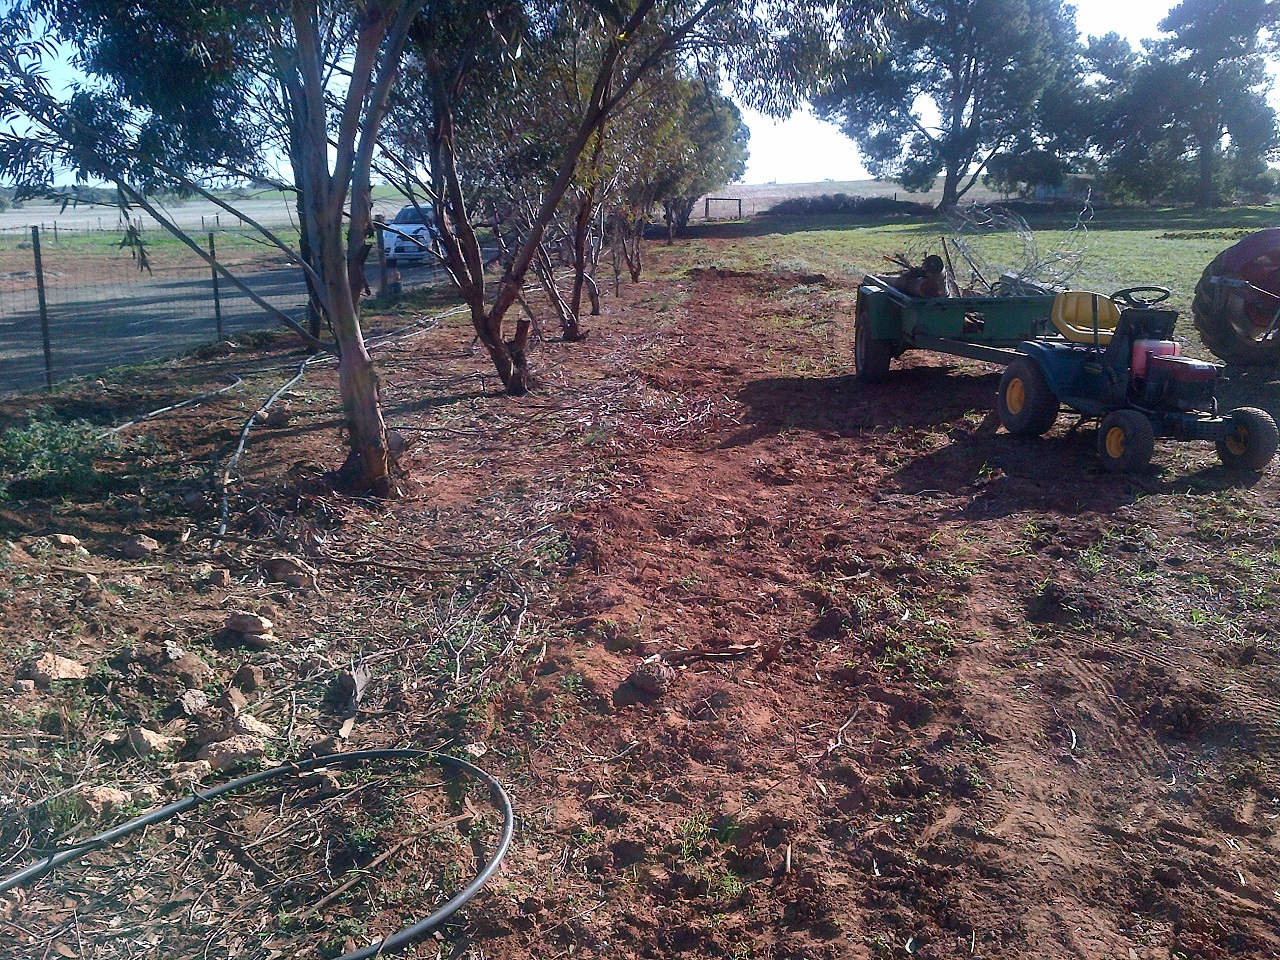
It took pretty much an entire weekend, as we also took the opportunity to take out some wobbly posts and cement them in. We also squared up any wonky gates.

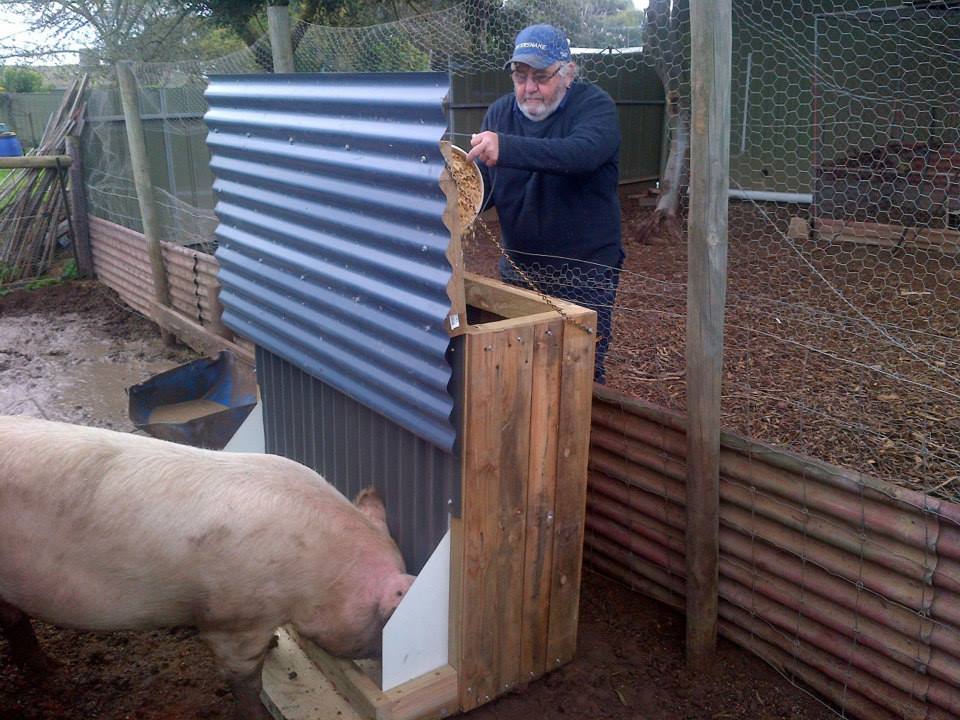
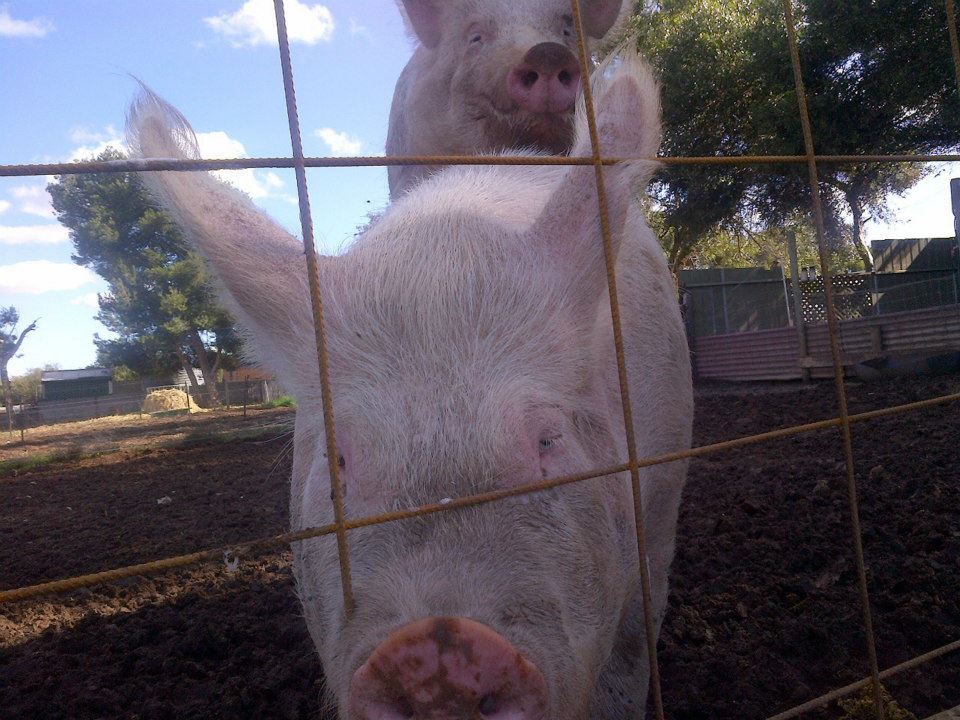
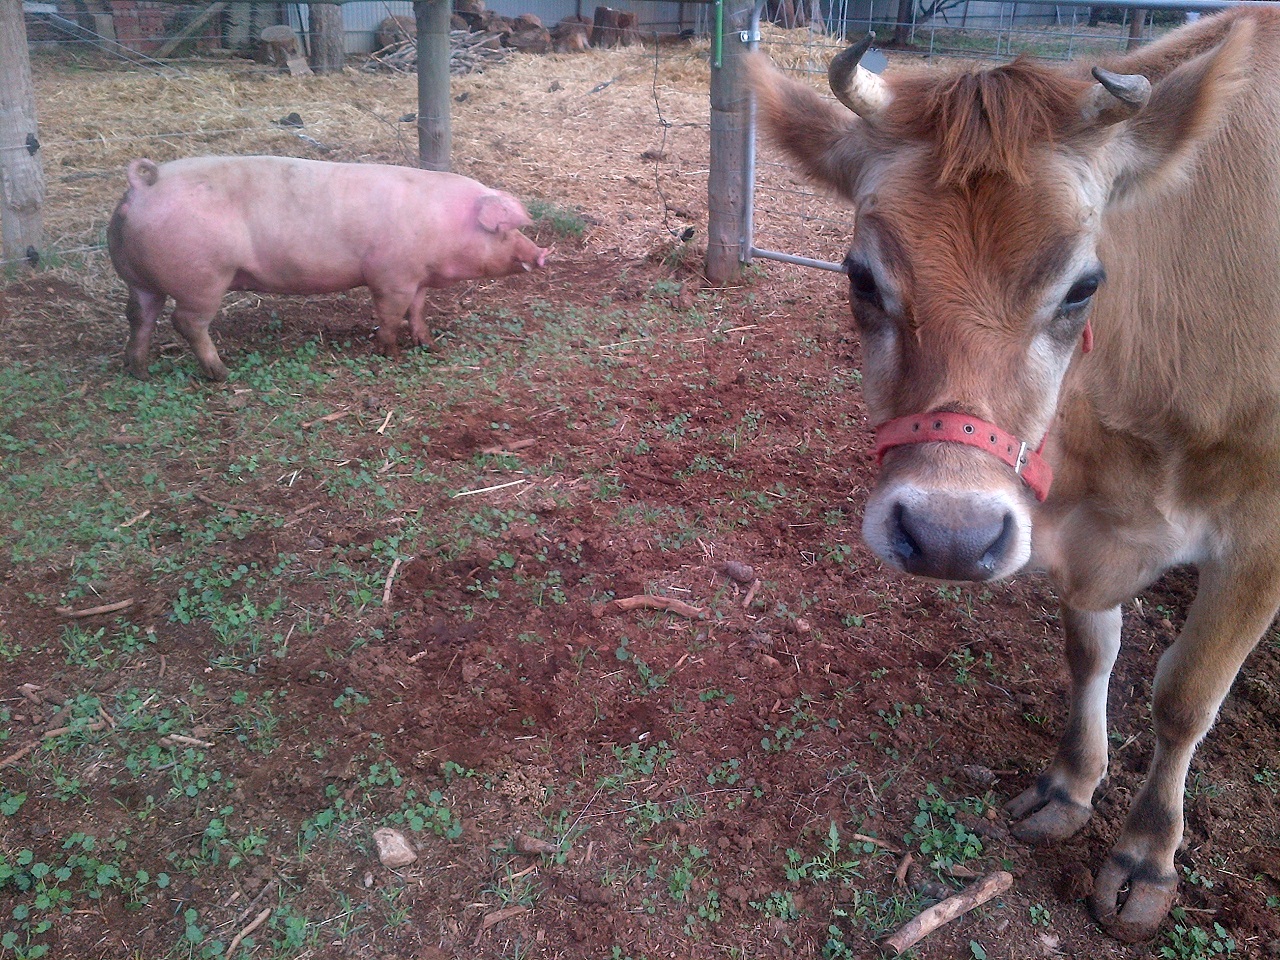
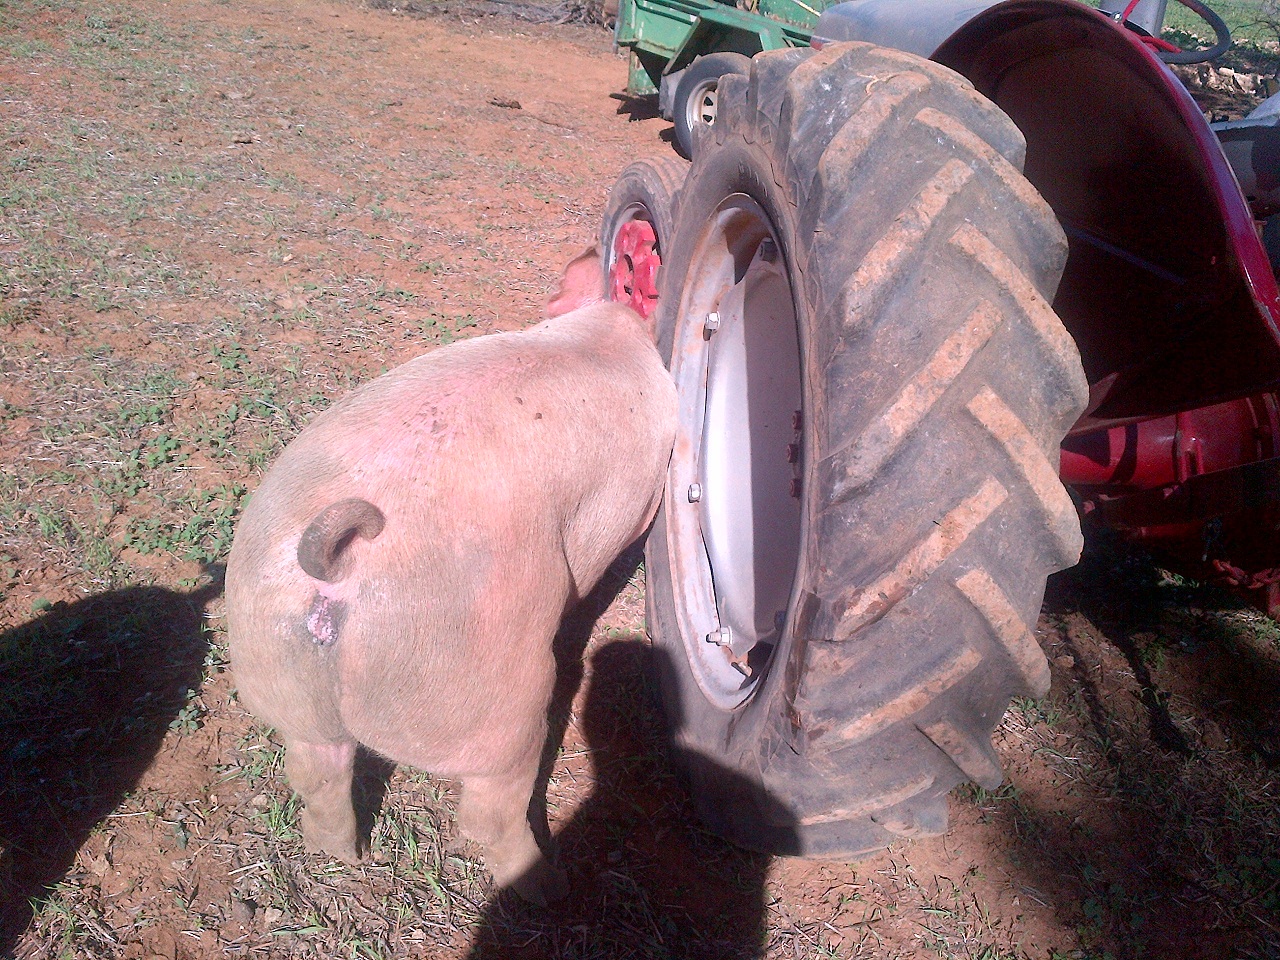
This is what it’s like working around free-ranged pigs. They never leave you alone. Not ever.
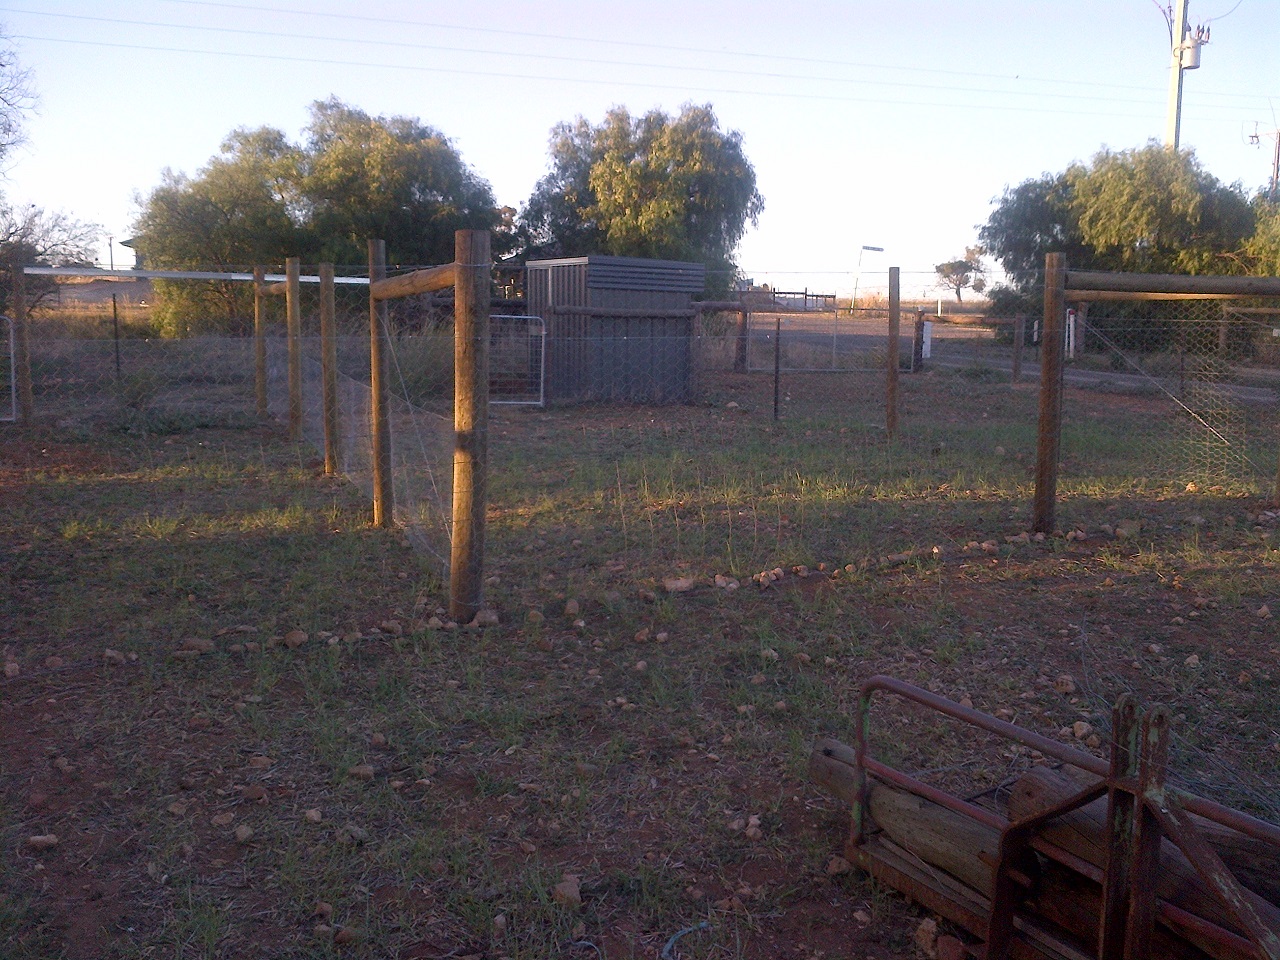
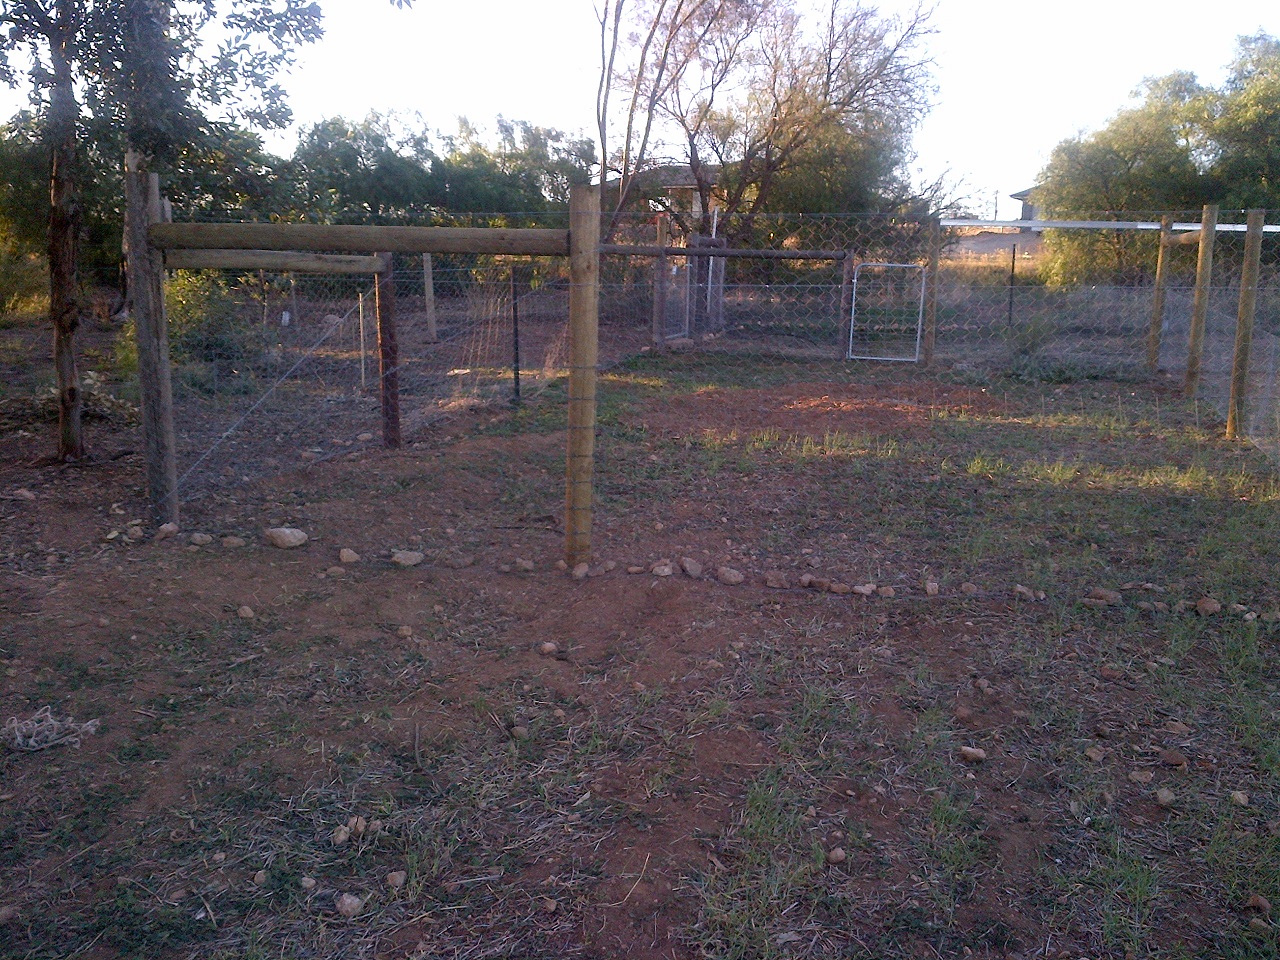
Taking down the old to replace with the new. This is all about learning, and you learn the most from the things that go wrong. Unfortunately.
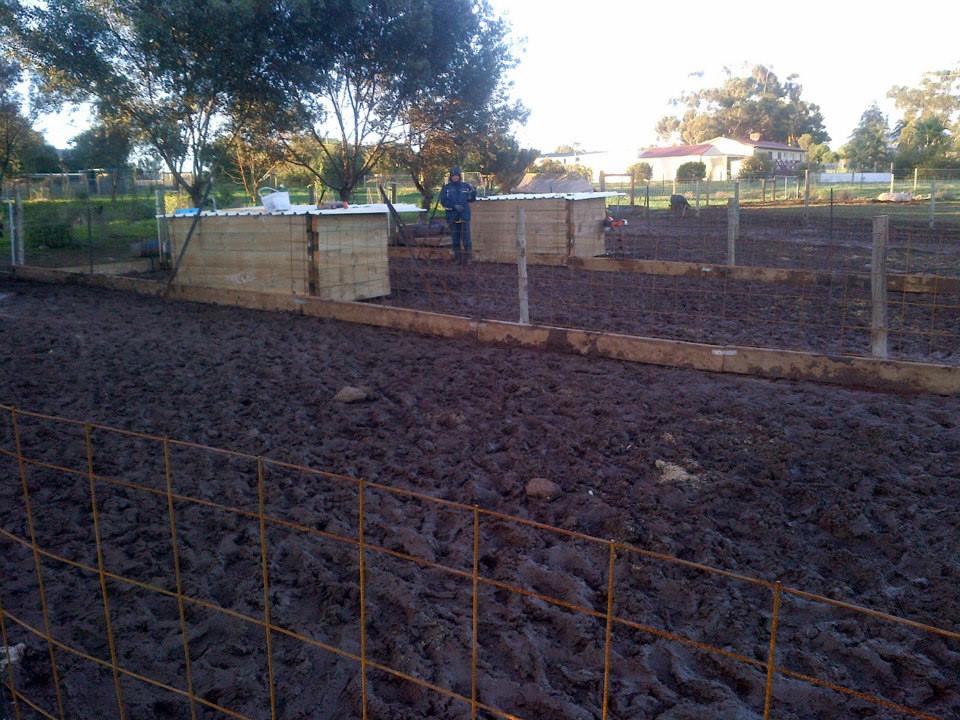
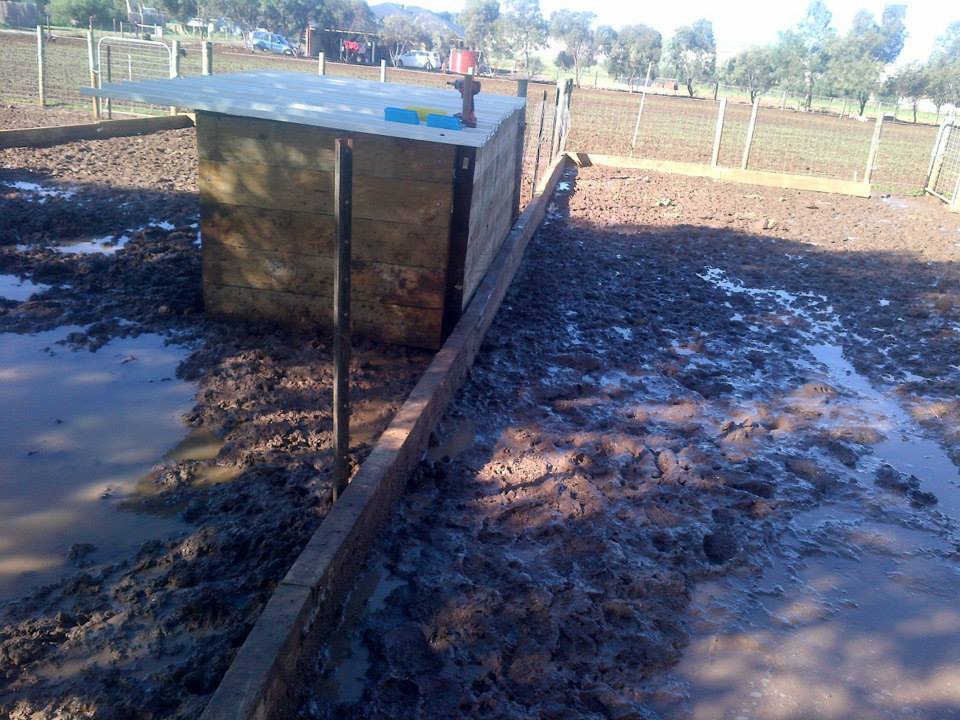
Looking across the runs and the new sties towards Linhda.
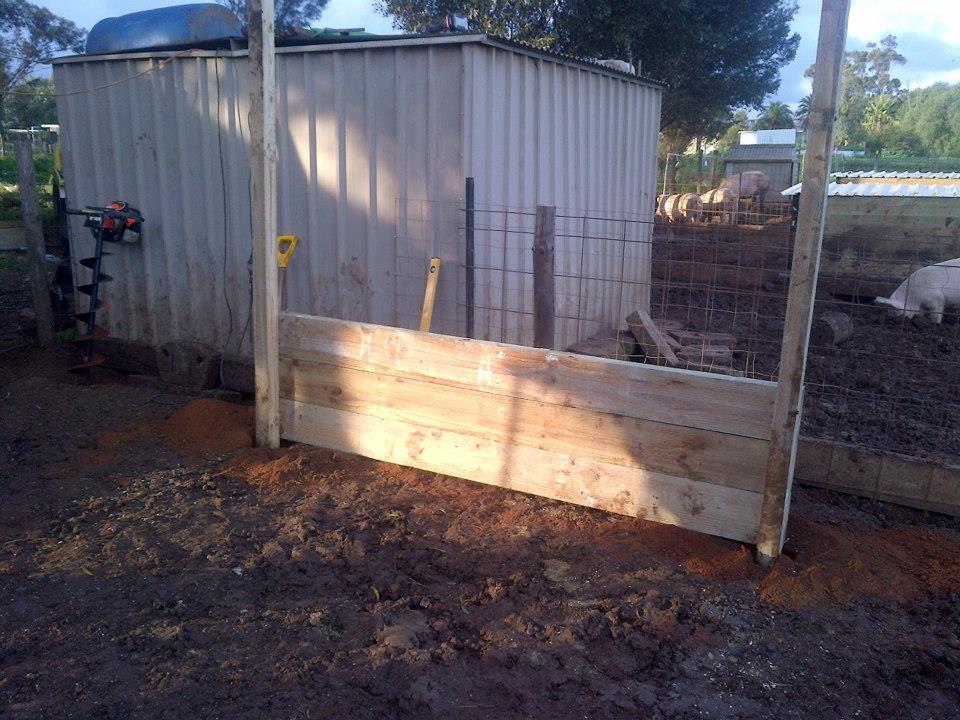
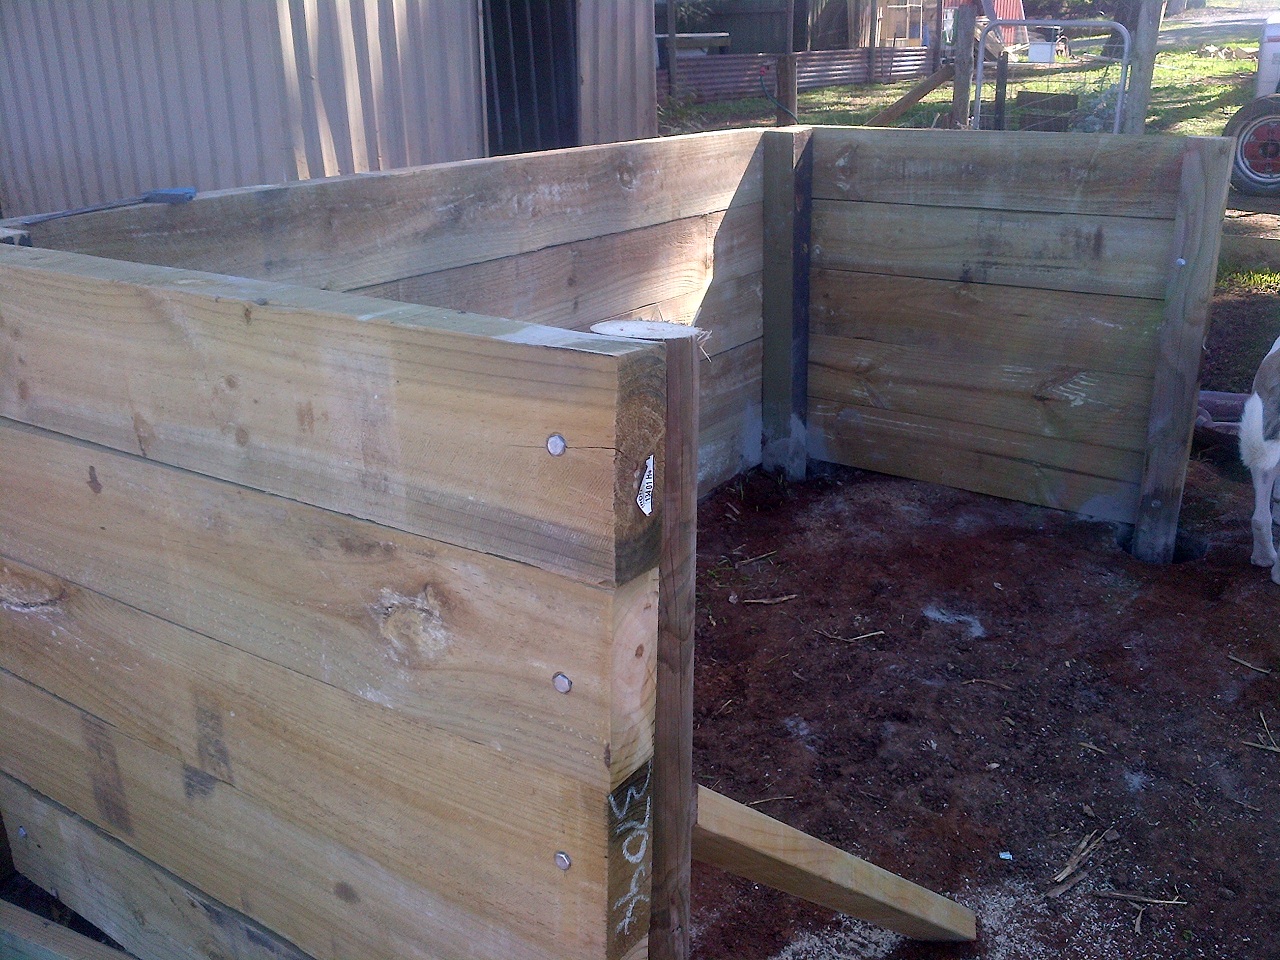
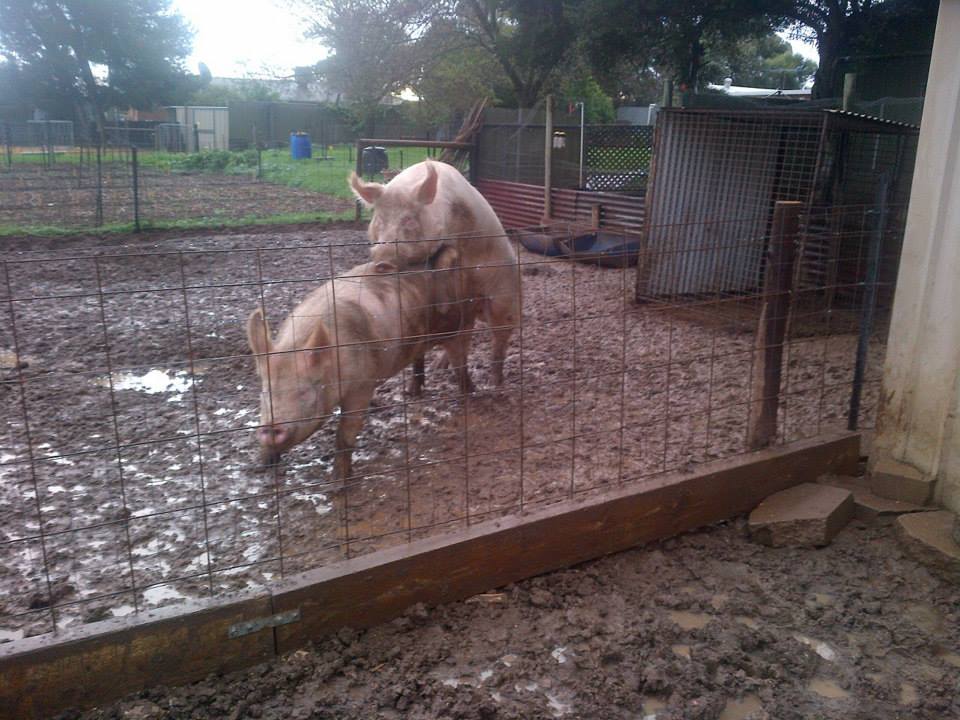
That’s a strong fence.

The race all done!
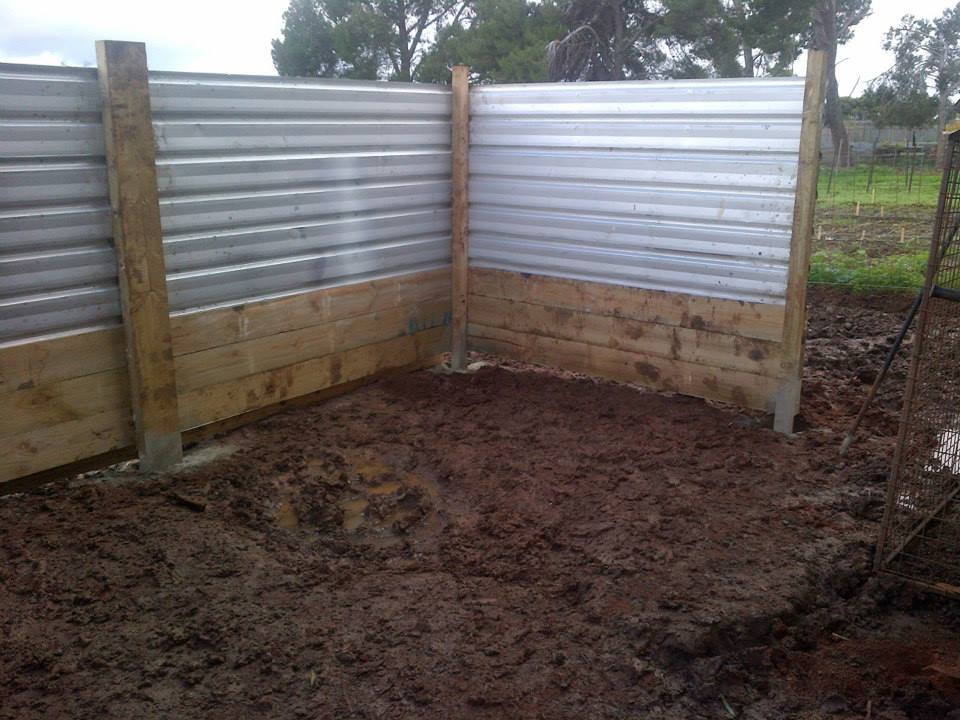
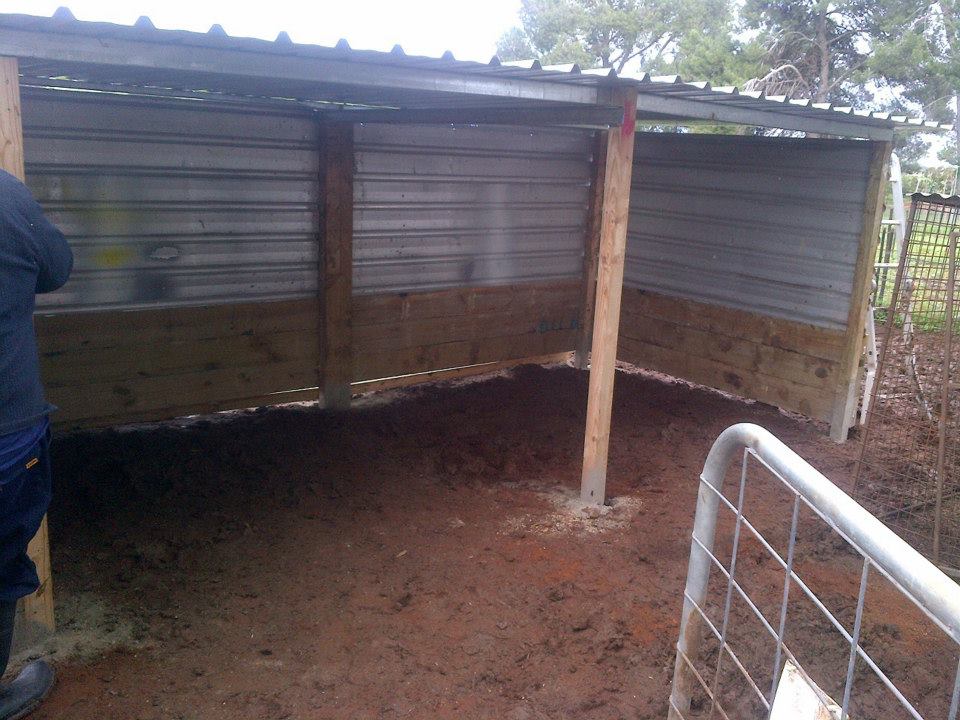
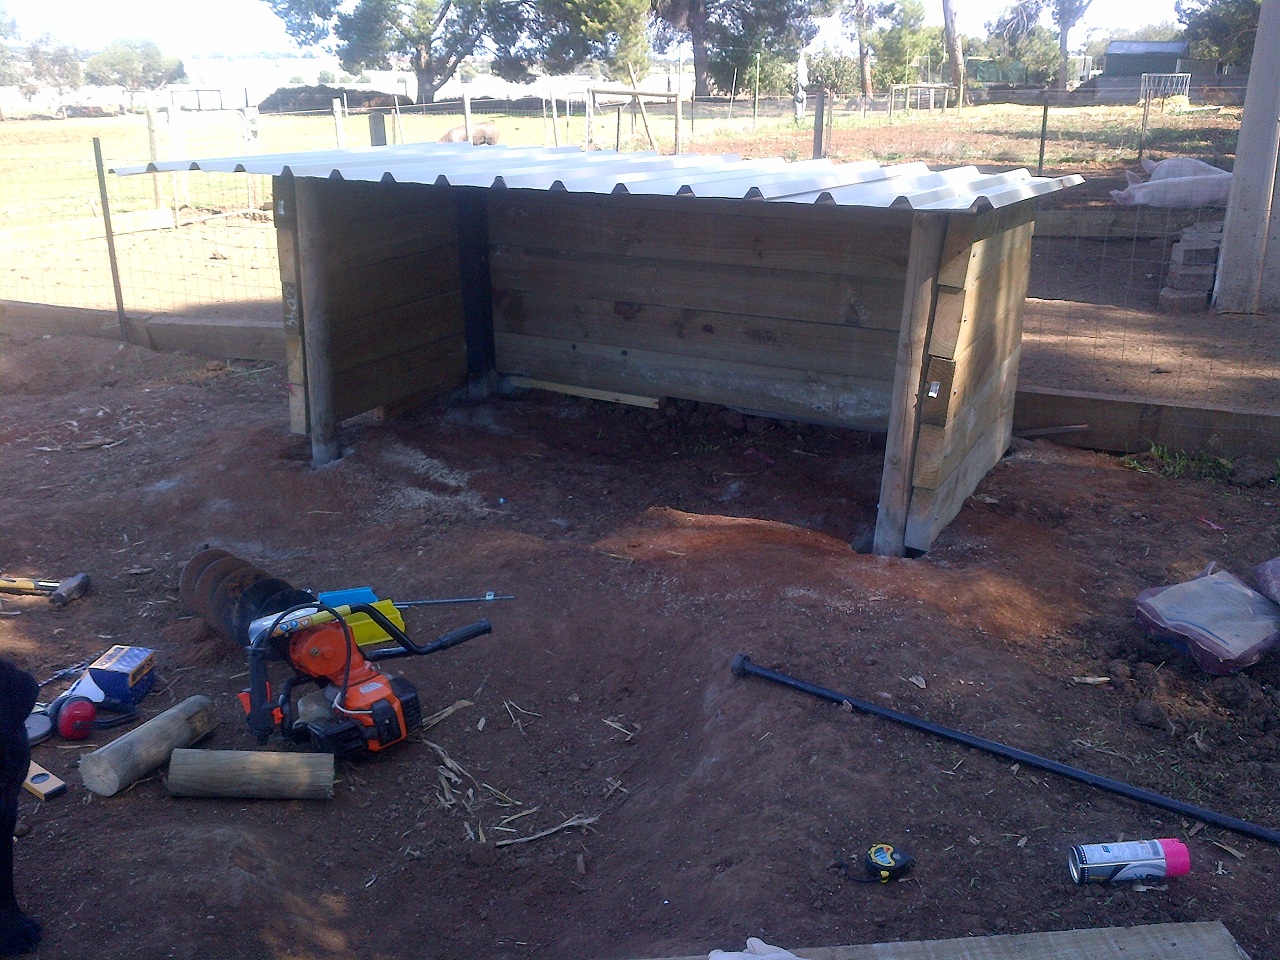
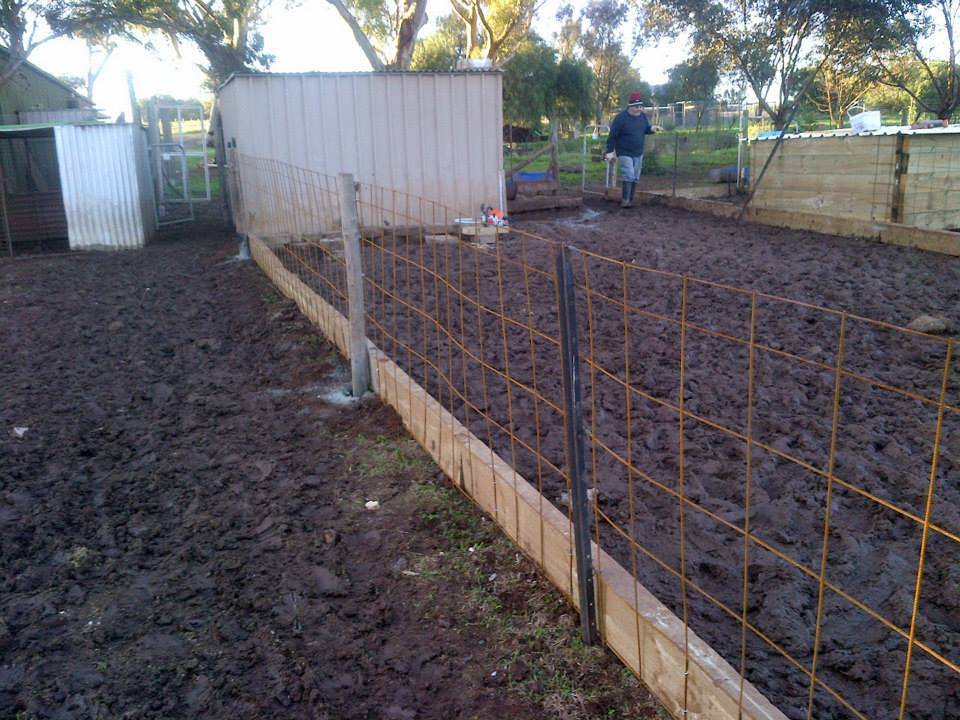
Our next building project was a milking shed for Clarisse. She’s not pregnant, so it’s not quite a milking shed just yet. However, the rain is close, and though she has lots of shelter under the giant pine trees, I wanted to get her a weather-proof shed.
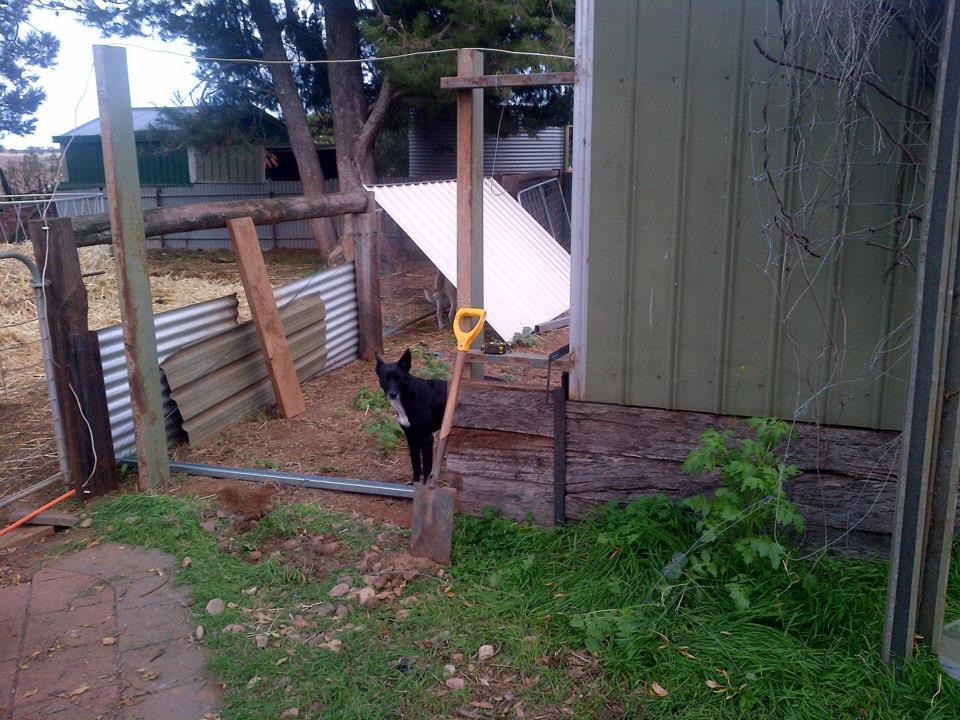
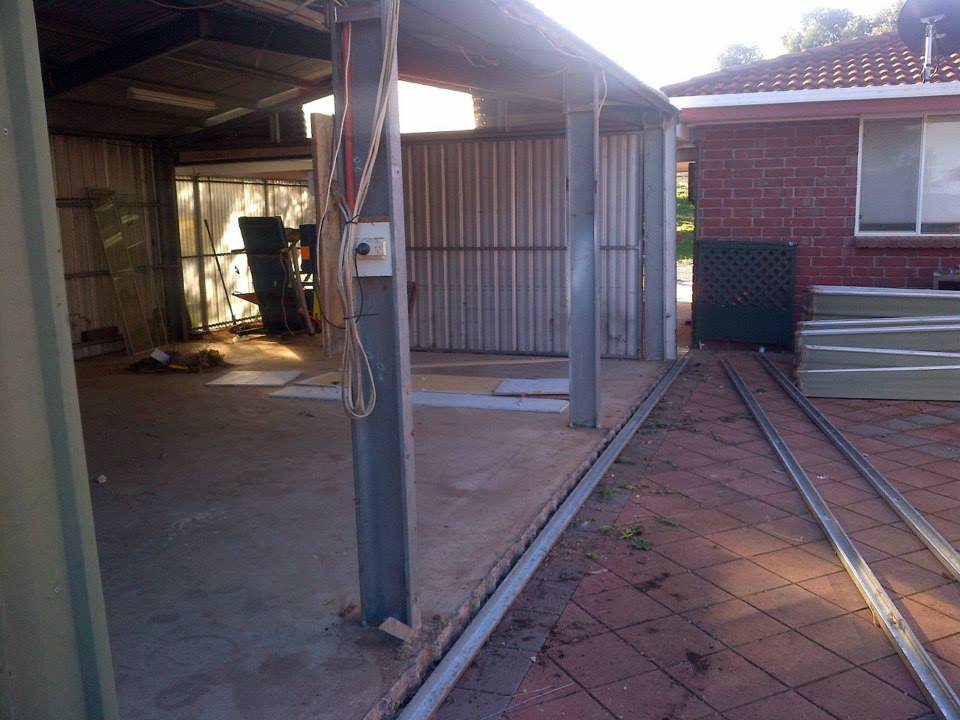
We managed to score a heap of seconds shed panels and dad bought lengths of C-channel at the same time. We wanted a shed that we could access from our back garden, rather than having to traipse through any of the paddocks. With that in mind, we took down a few sheets of tin from the very end of the fence in the south-western corner of our garden.

Taking down some fence to give us easy access to the new cow shed.

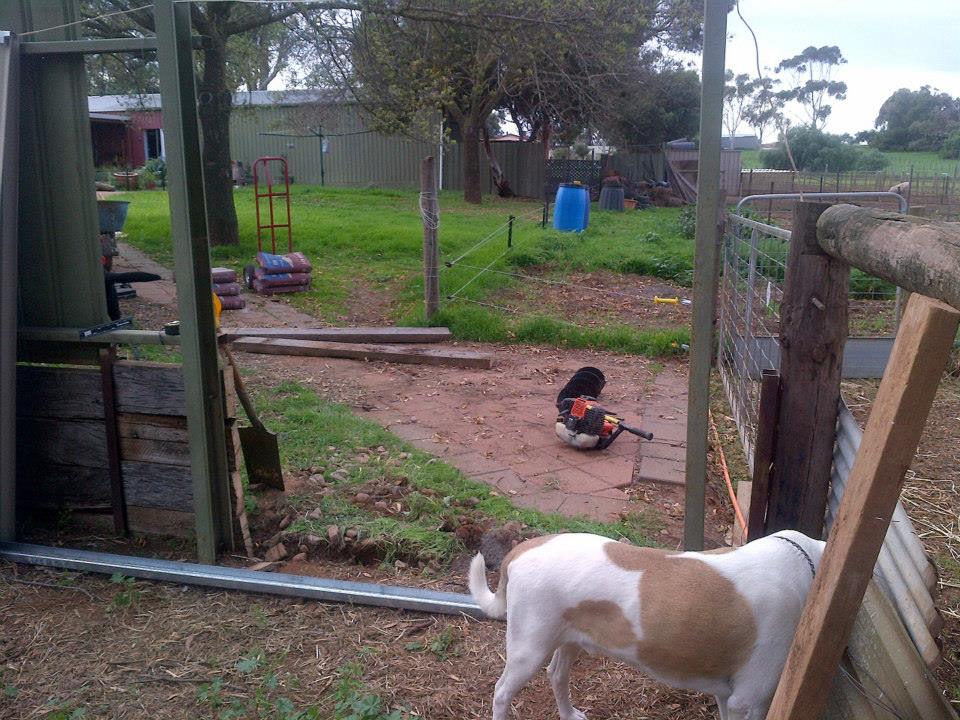
The view back towards the back garden from where the shed will be.

This shows the panel with the door in it, and how we’ll have our shed/garden access.
We had planned this out in some detail, and used a box-section that was there to support the gates as part of the structure. Basically, the front of the shed is where that box section cross-section was, extending the shed into the access area from the front of the property to the back of the property. It makes it a super-efficient use of the space, and doesn’t actually impinge on any of the useful land.
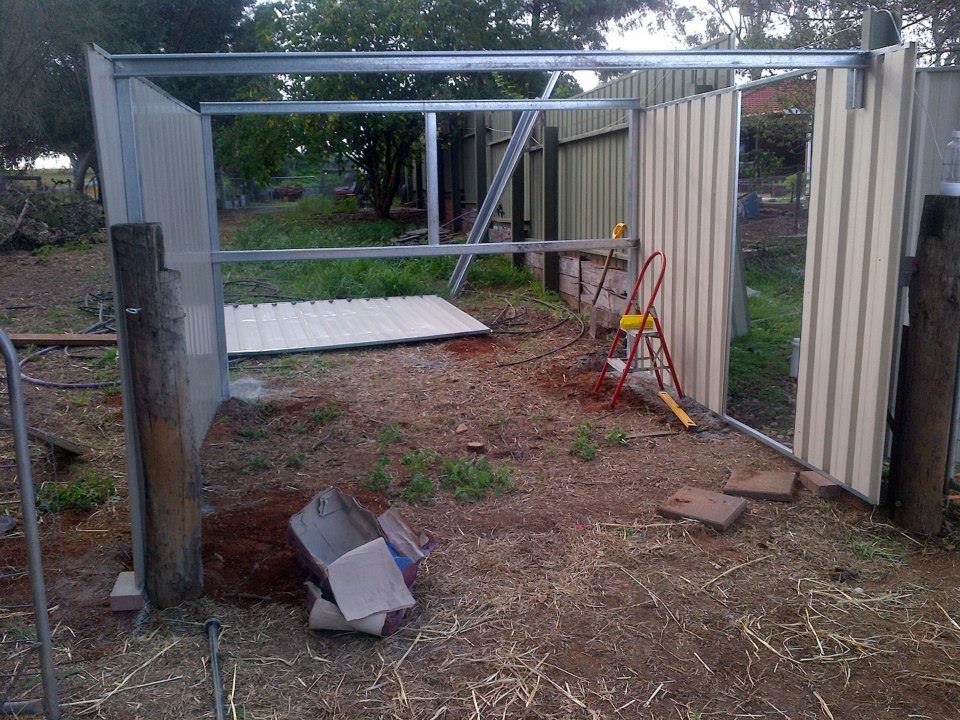
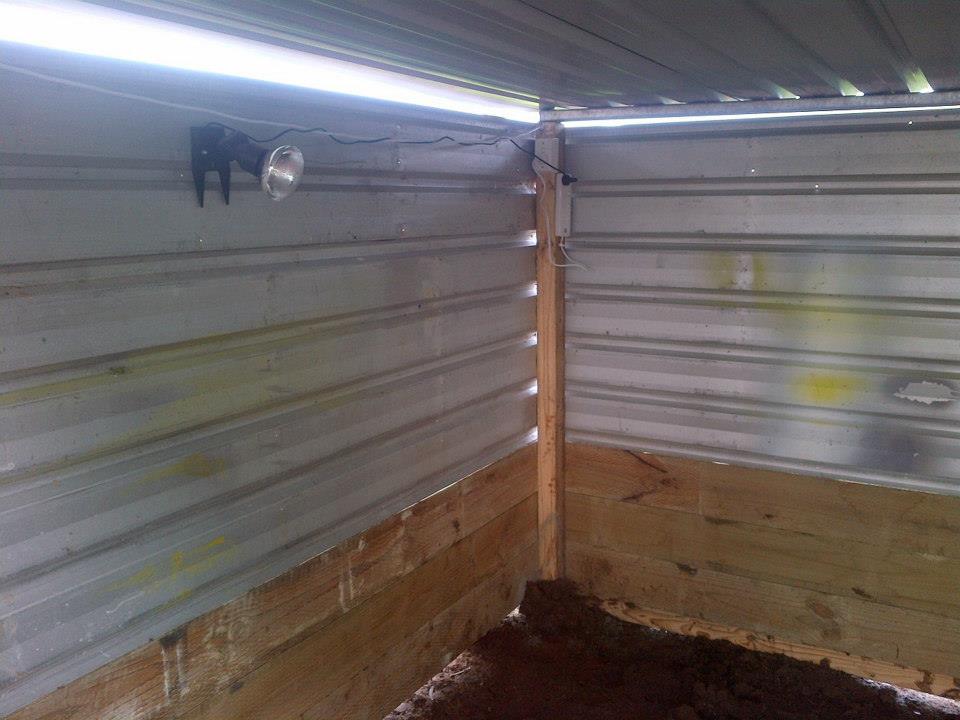
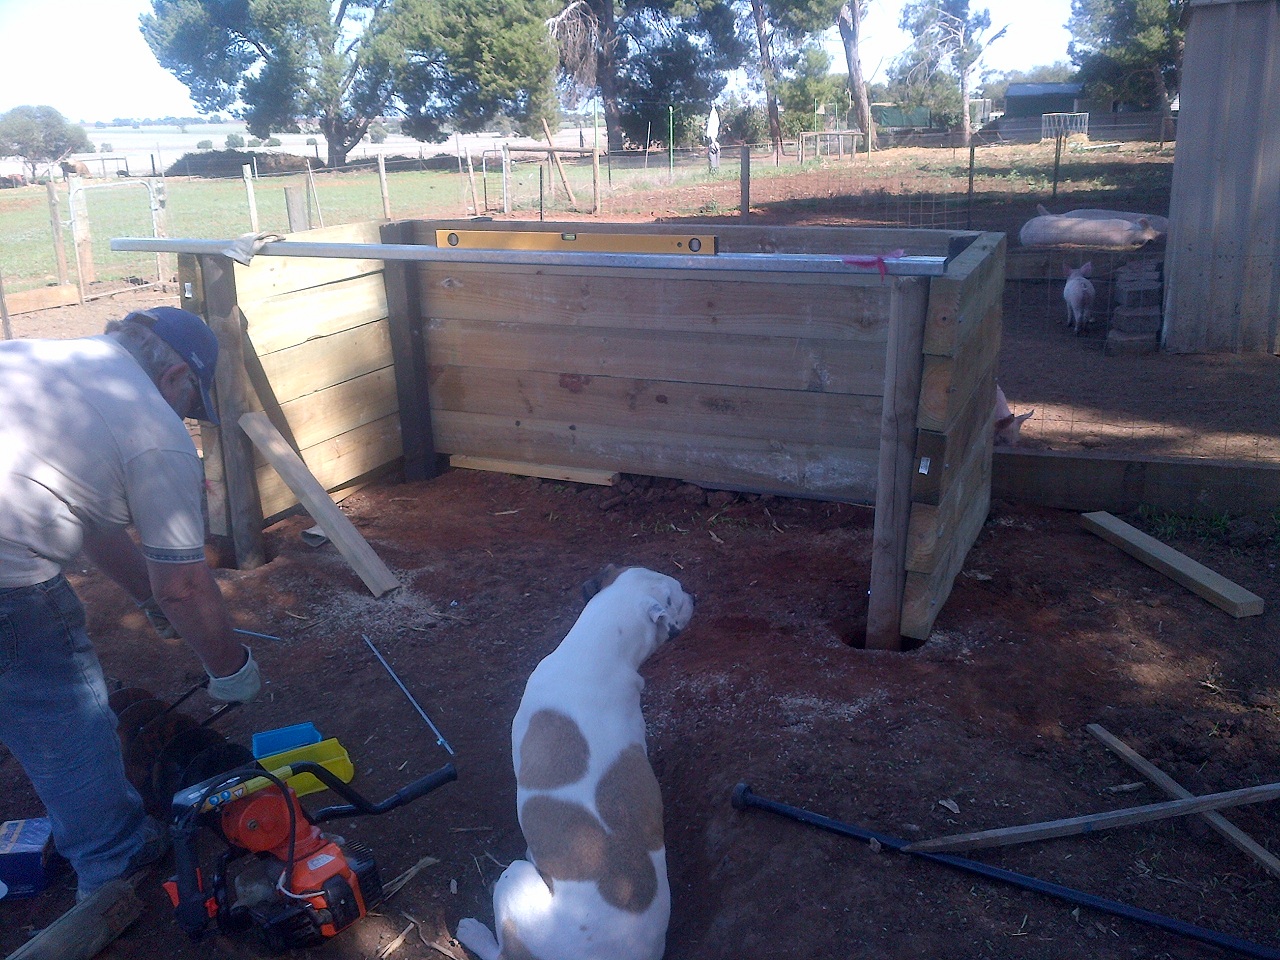
We pre-fabricated the side panels with uprights, and cemented them in as a unit. Then put a frame between them.

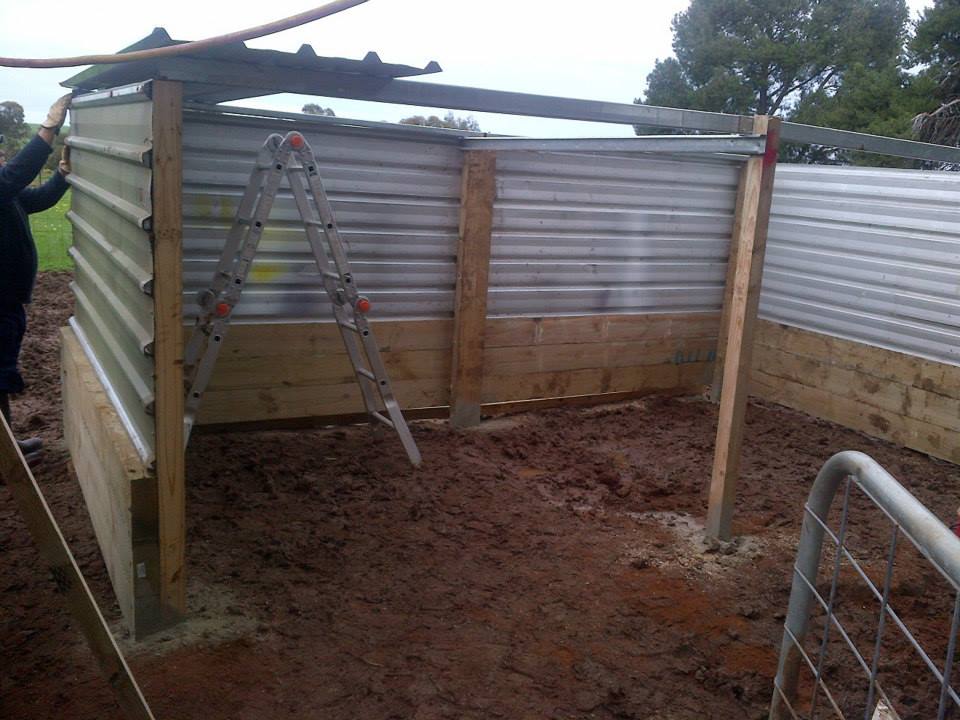
Putting the roof sheets on.
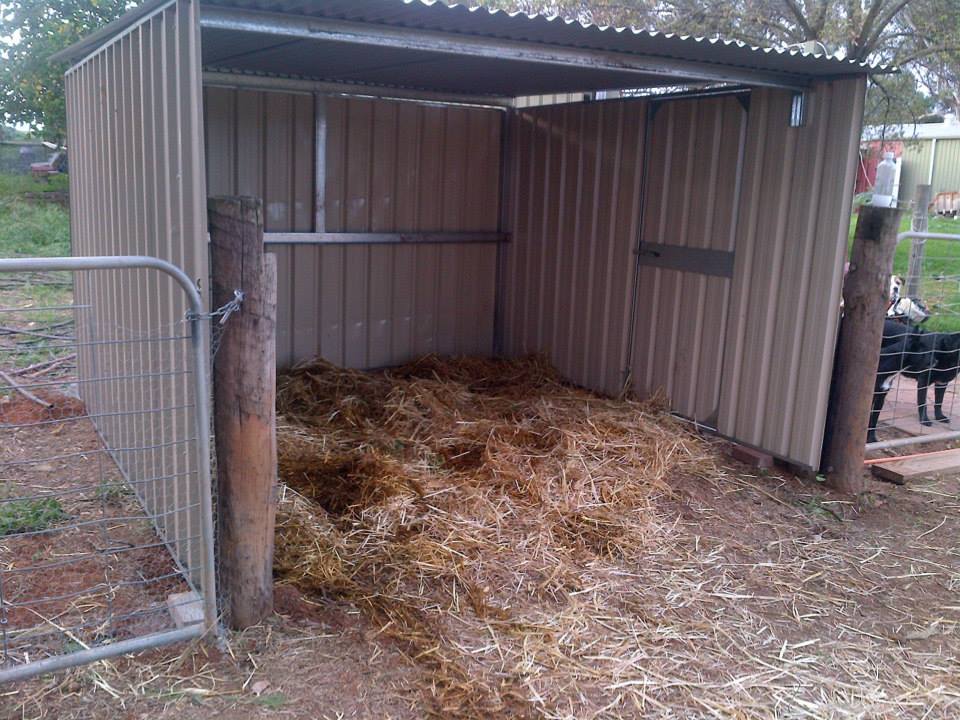
Done!
The result is even better than we planned. We have easy access to the shed, and will put a barrier down the middle that will leave Clarisse on one side and us and the milking machine on the other.
Done!
Ironically, it’s a little tough getting Clarisse to use it, but come milking time it’ll be invaluable.

This is really the closest she gets. Even in the rain she tends to stay out under the pine trees. Silly cow.
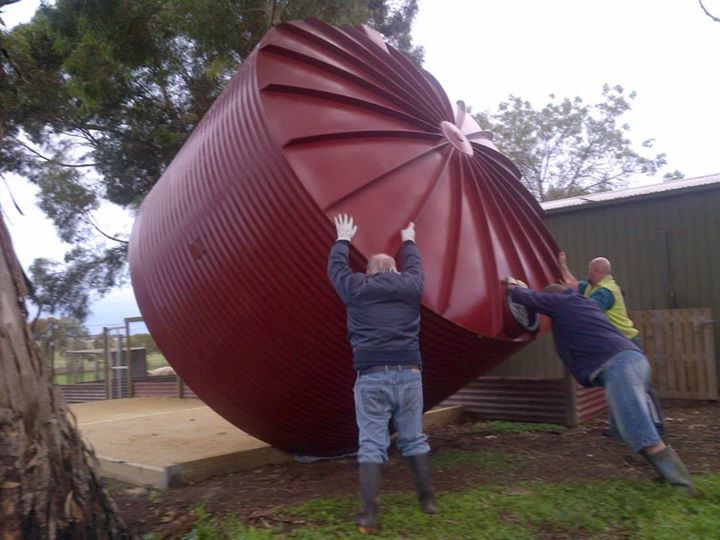
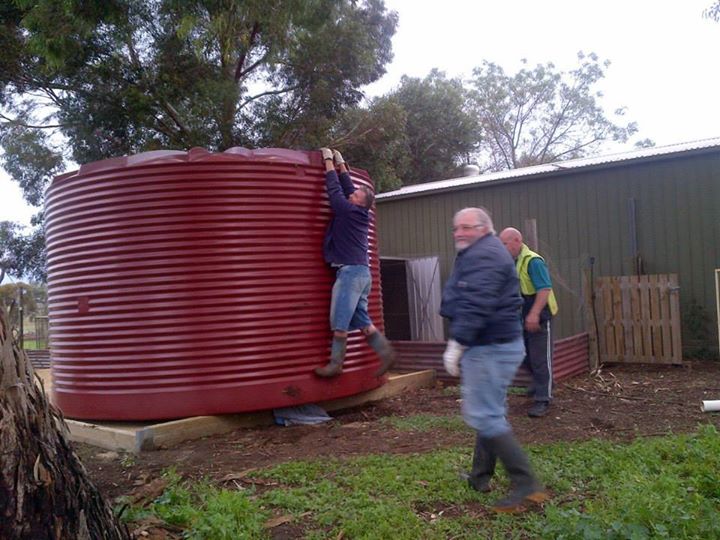
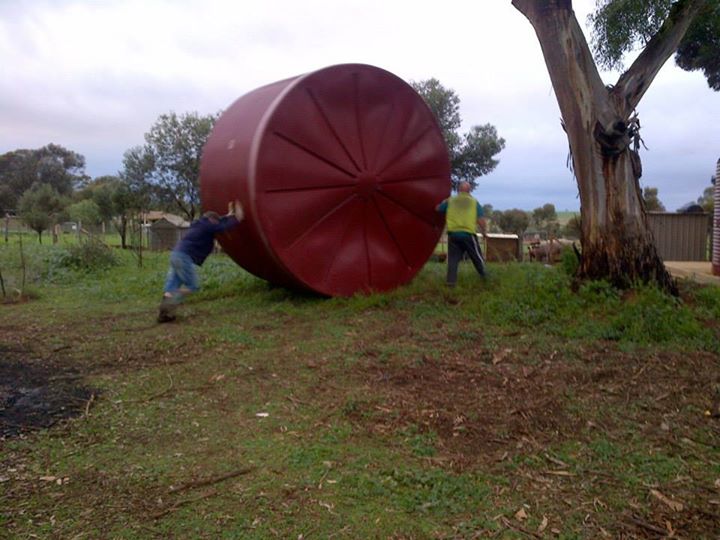
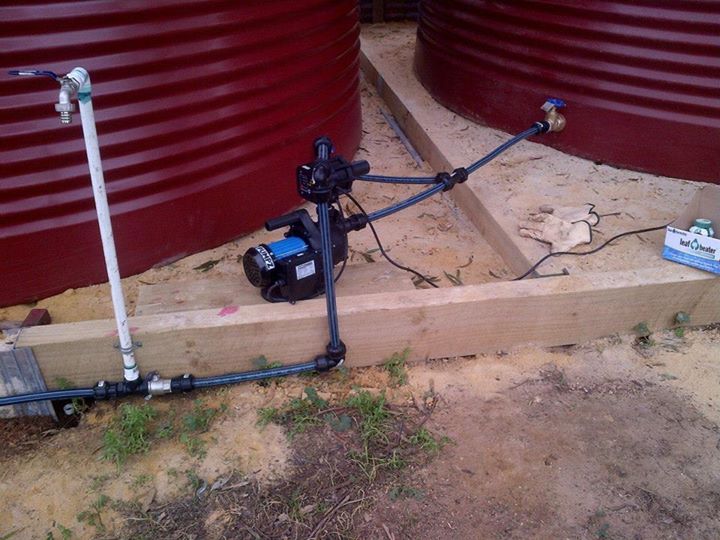
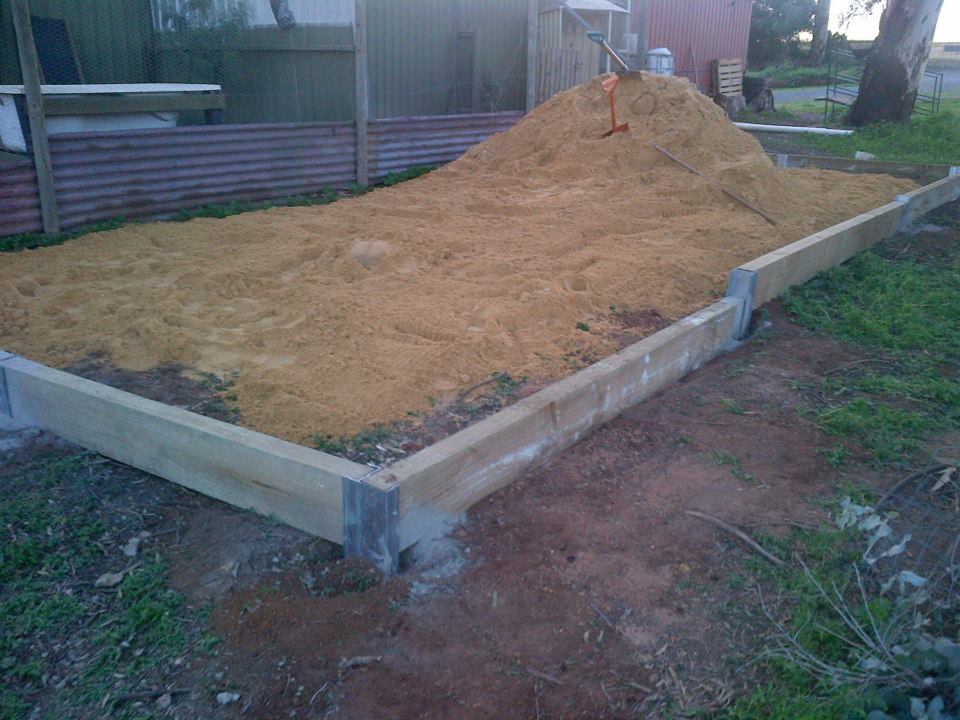
Our other big infrastructure building project was a couple of tanks stands. We ordered 2 x 23,650 litre tanks, and they were due at the end of May. They recommend that you bed them on sand, at least 3 inches thick, and it obviously has to be level. Our block slopes a little, and though it’s gentle it can be a deceptively big step when you’re talking about a tank stand with a total length of 8 metres.
It took lots of planning, and a bit of change of plans in the middle, but we got it done like pros! The stands are super-securely contained, contain a total of 8½ tonnes of sand, and range from about 4 inches of sand up to 11 inches because of the slope.

Getting the tank stands started.
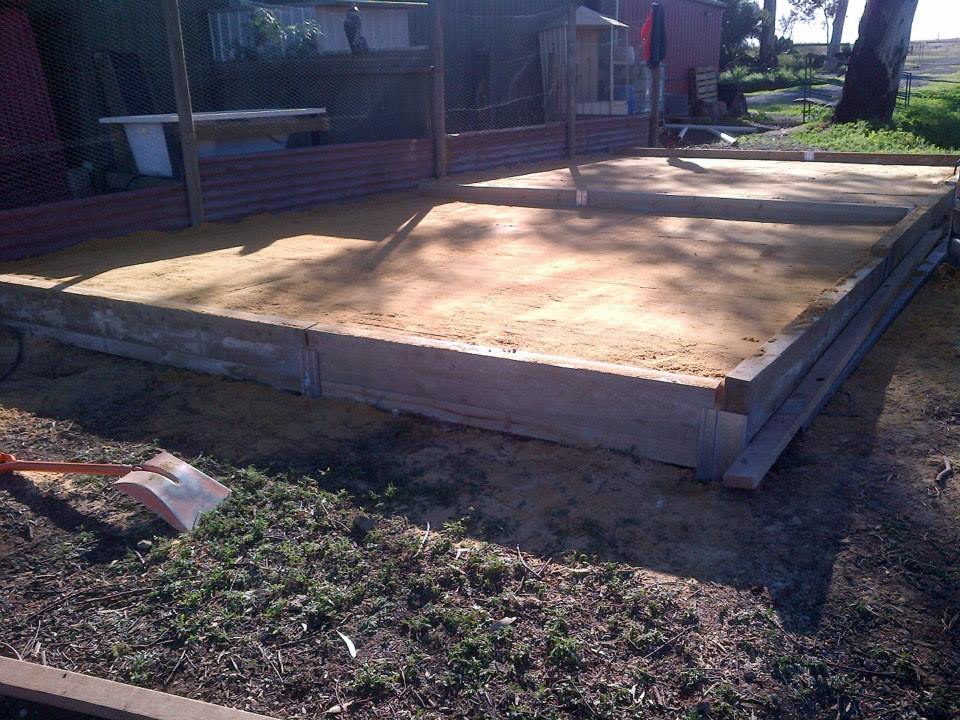
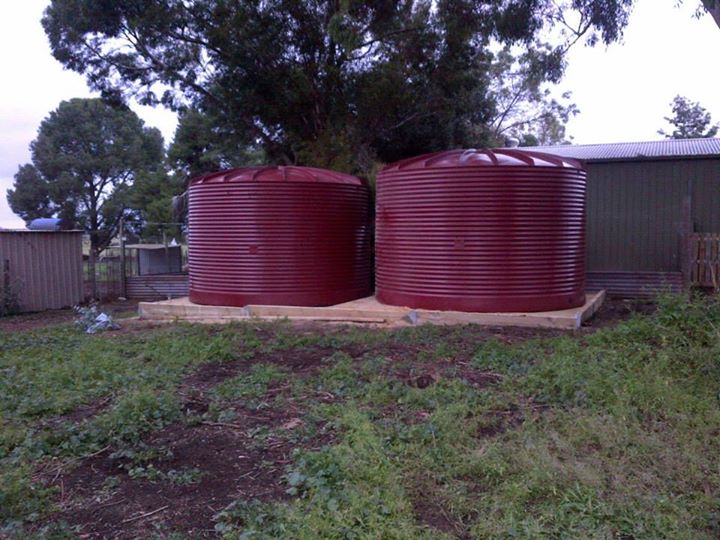
Levelled on two levels.
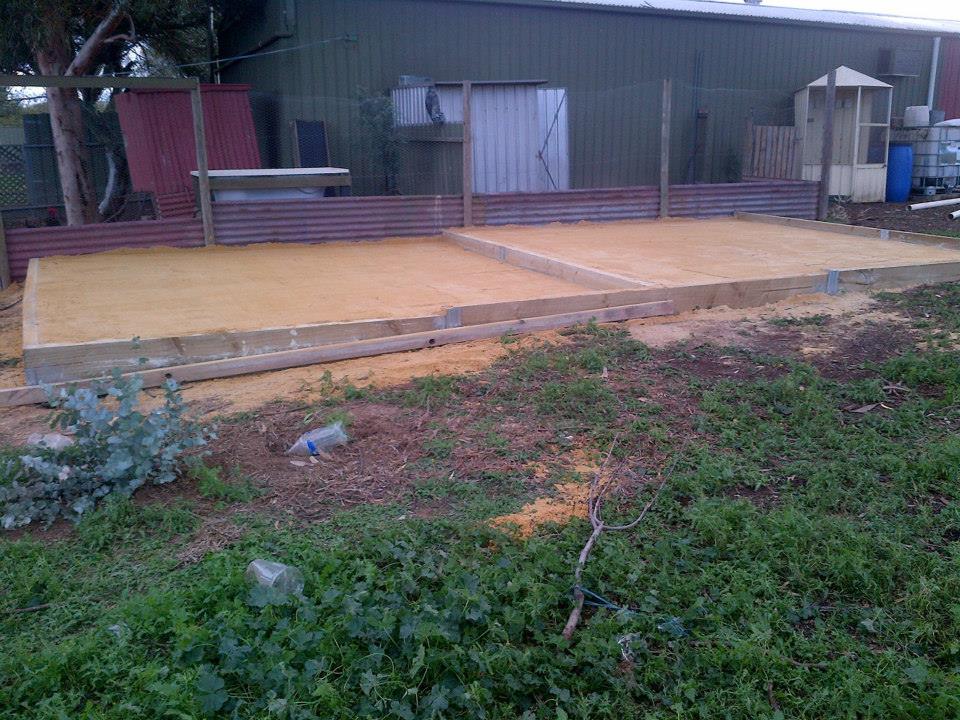
A feat of engineering!
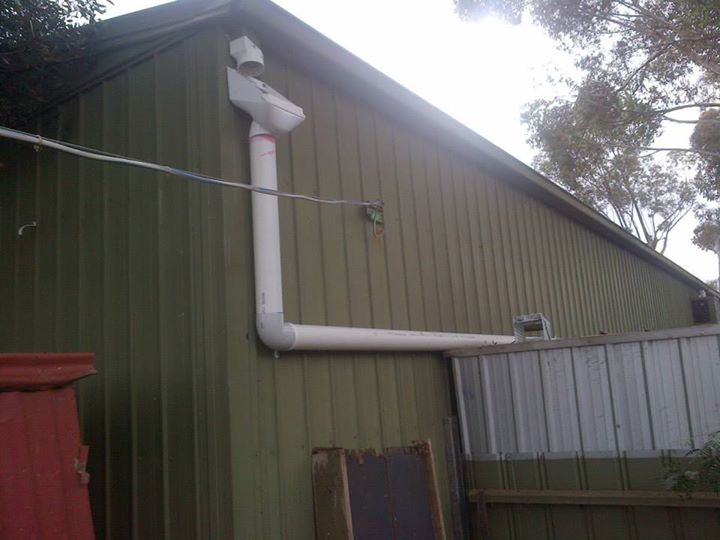
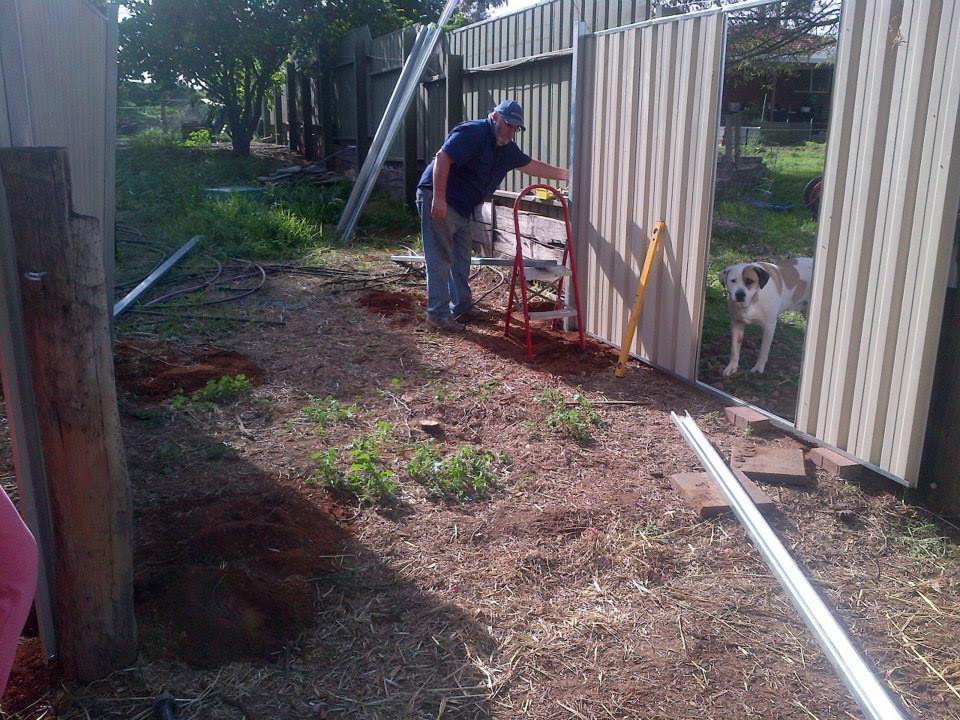
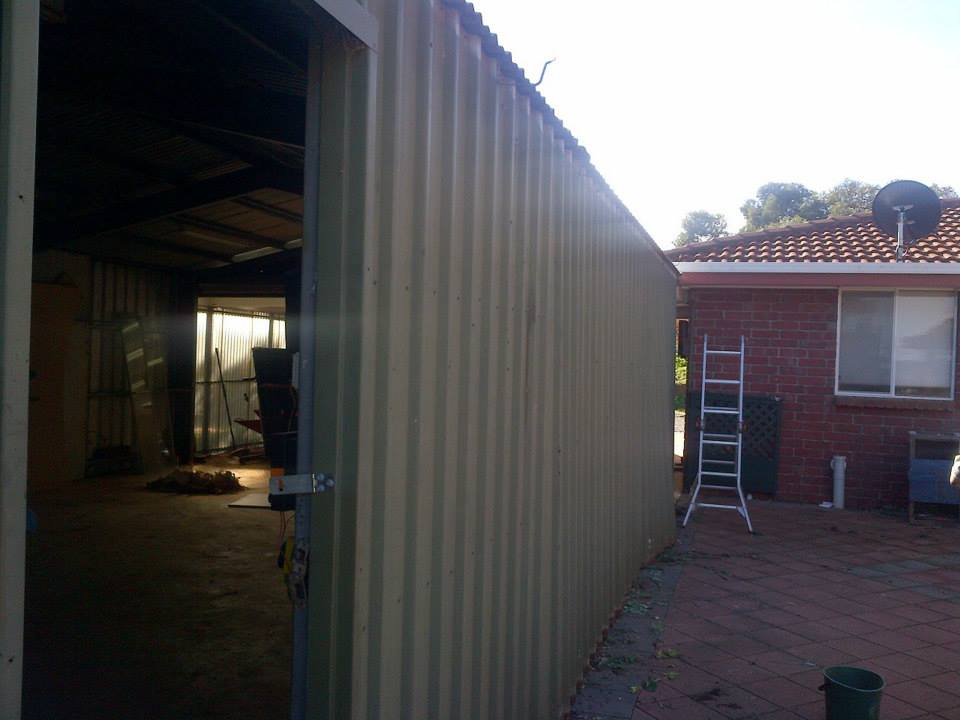
We had another infrastructure job, but it was less building and farm work than it was restructuring for aesthetics. Linhda wanted us to remove the side of our little shed to open up into an entertaining area. We’re getting a pergola shortly to close in the area between that shed and the house, and this combined with the shed will give us an undercover area of over 100 square metres in which we can entertain. Oh, and have our wedding reception next April. 🙂
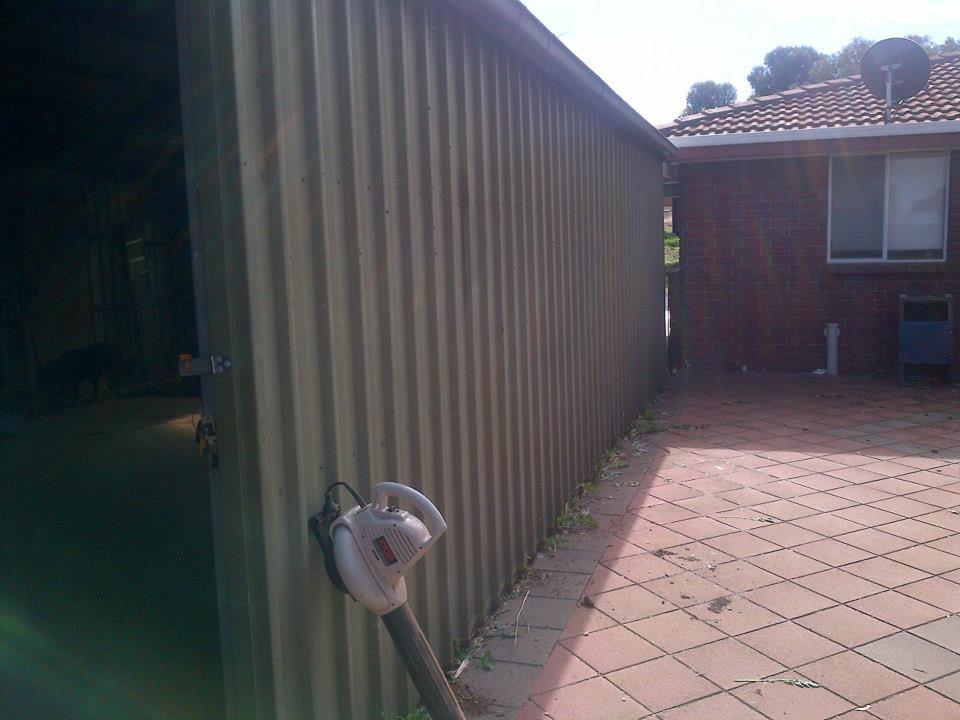
The shed wall that Linhda wants gone.

The gutter down.
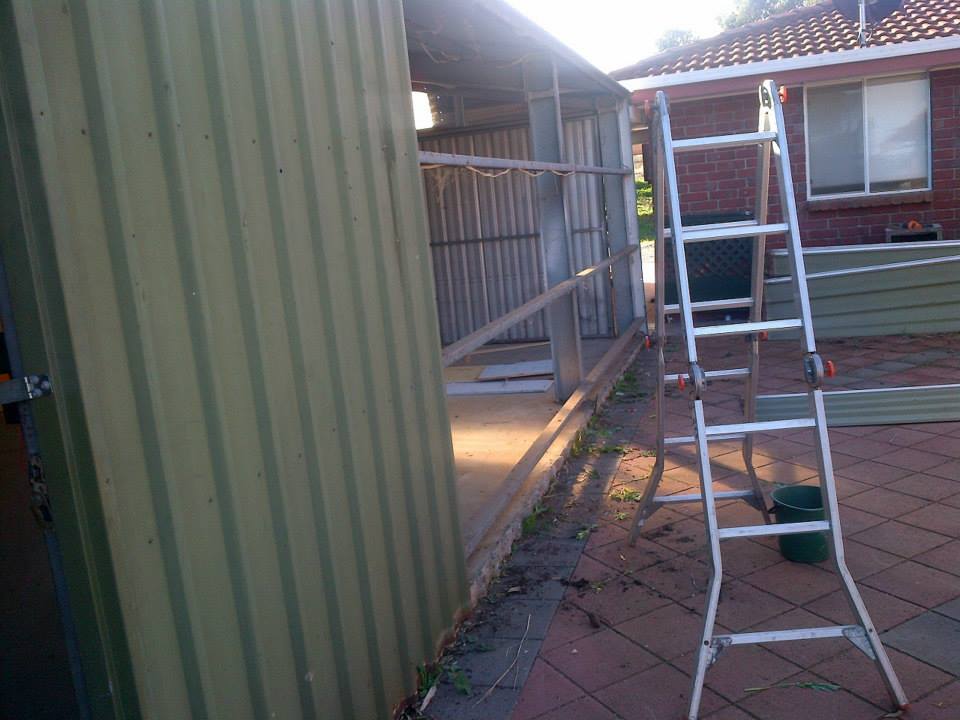
Taking the sheets of tin off.
All off!

Tin off and the C-section cross members down.
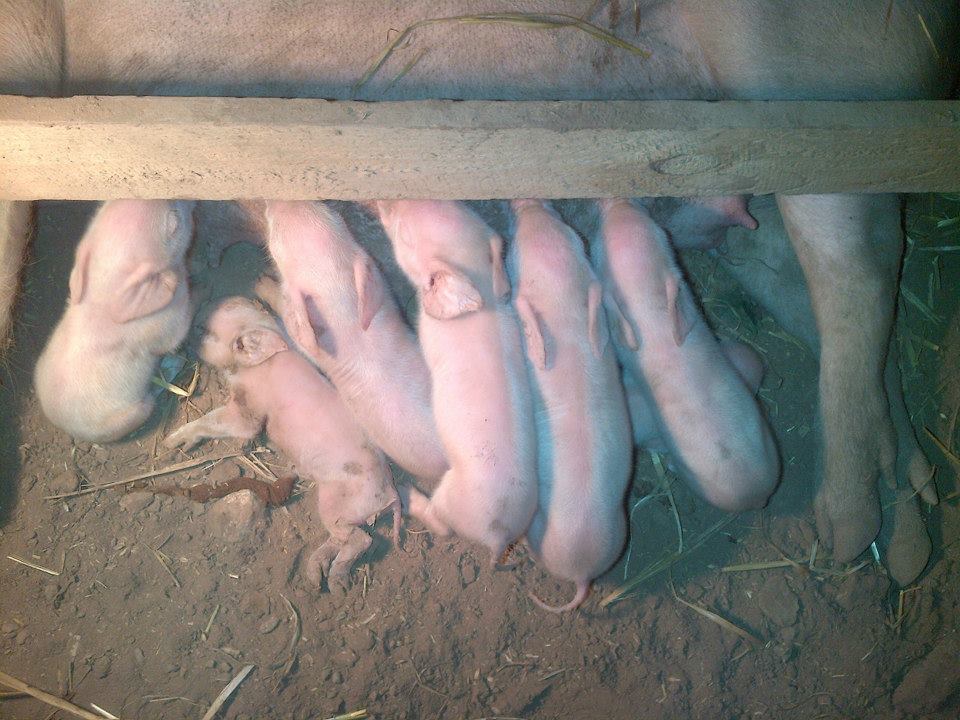
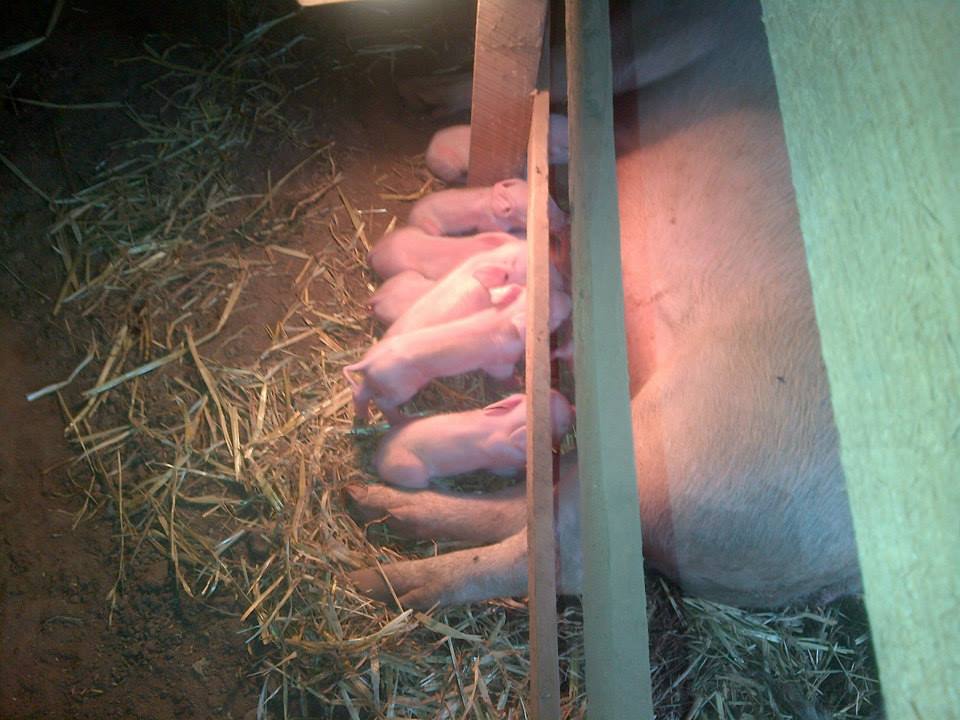
We also fixed up the farrowing shed with some extra lean boards (sleepers aka railway ties) and a modified and permanent creep barrier. We cemented the posts in this time, as the mumma pigs beat the hell out of them by scratching their giant butts against them. For some reason, I took no pictures of that project, which is entirely out of character.
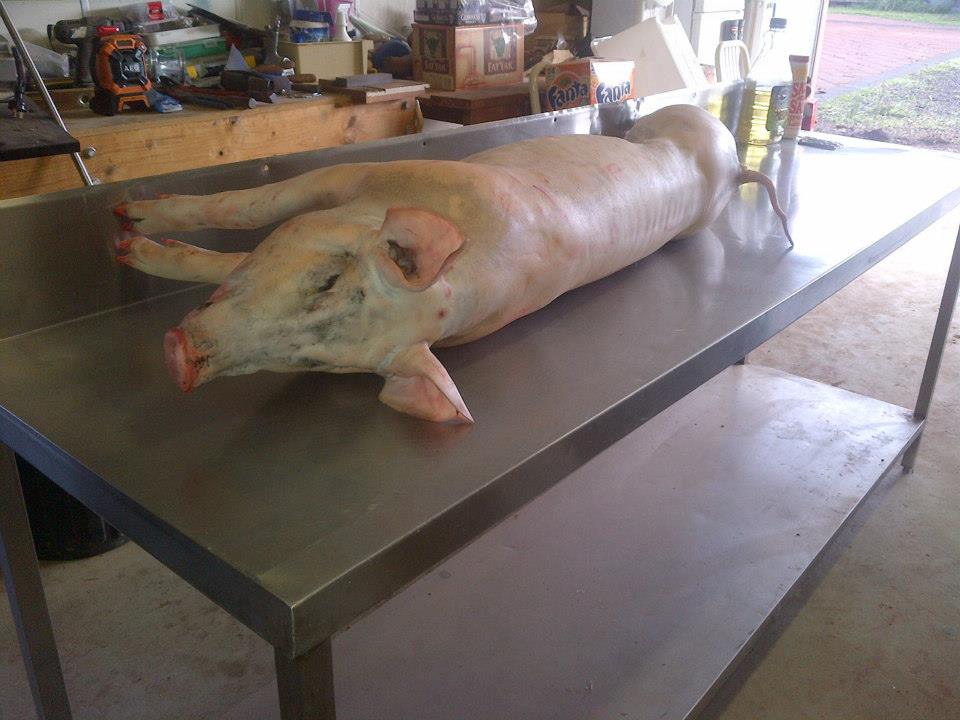
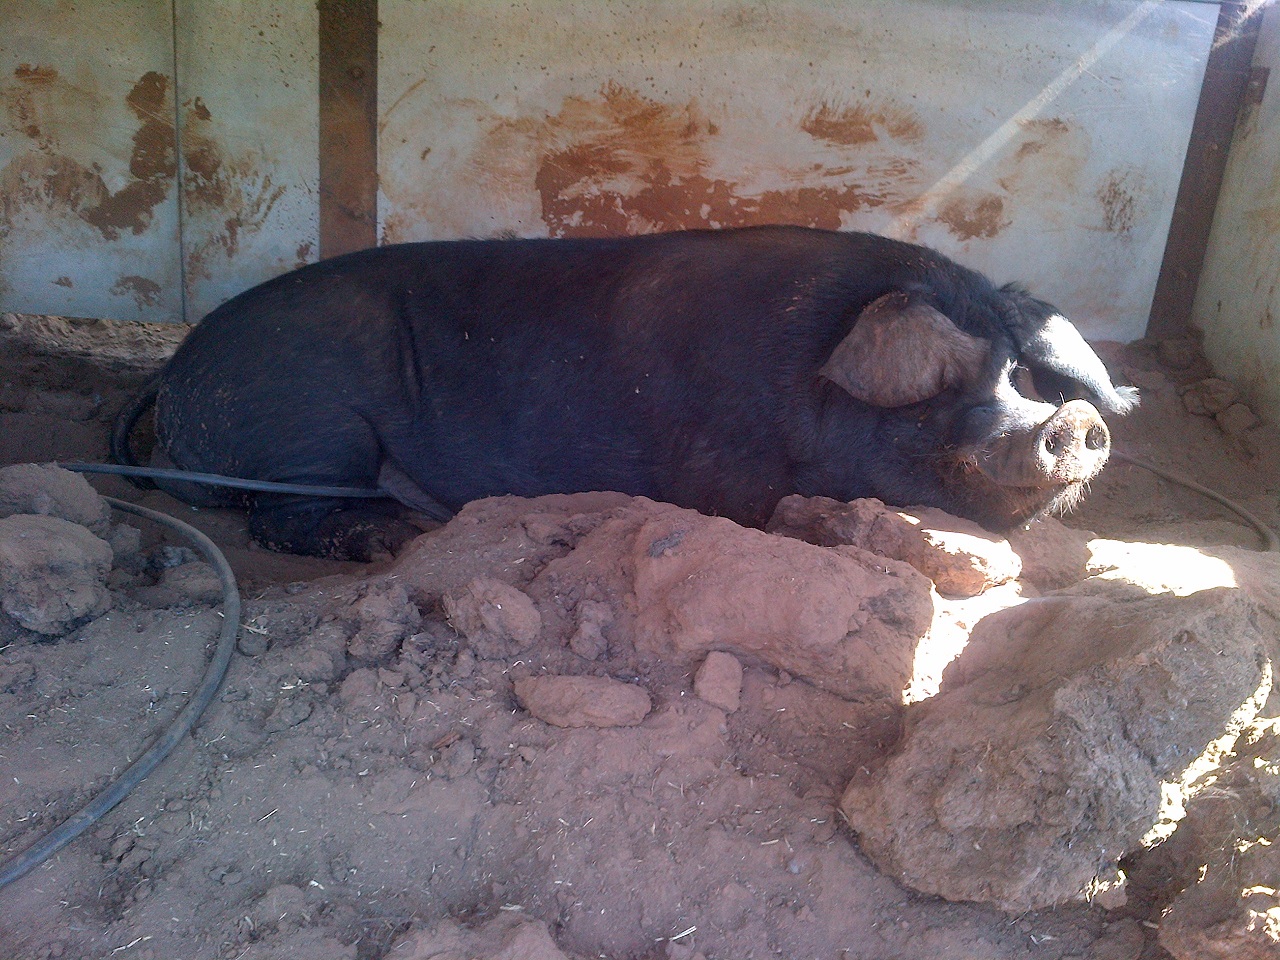
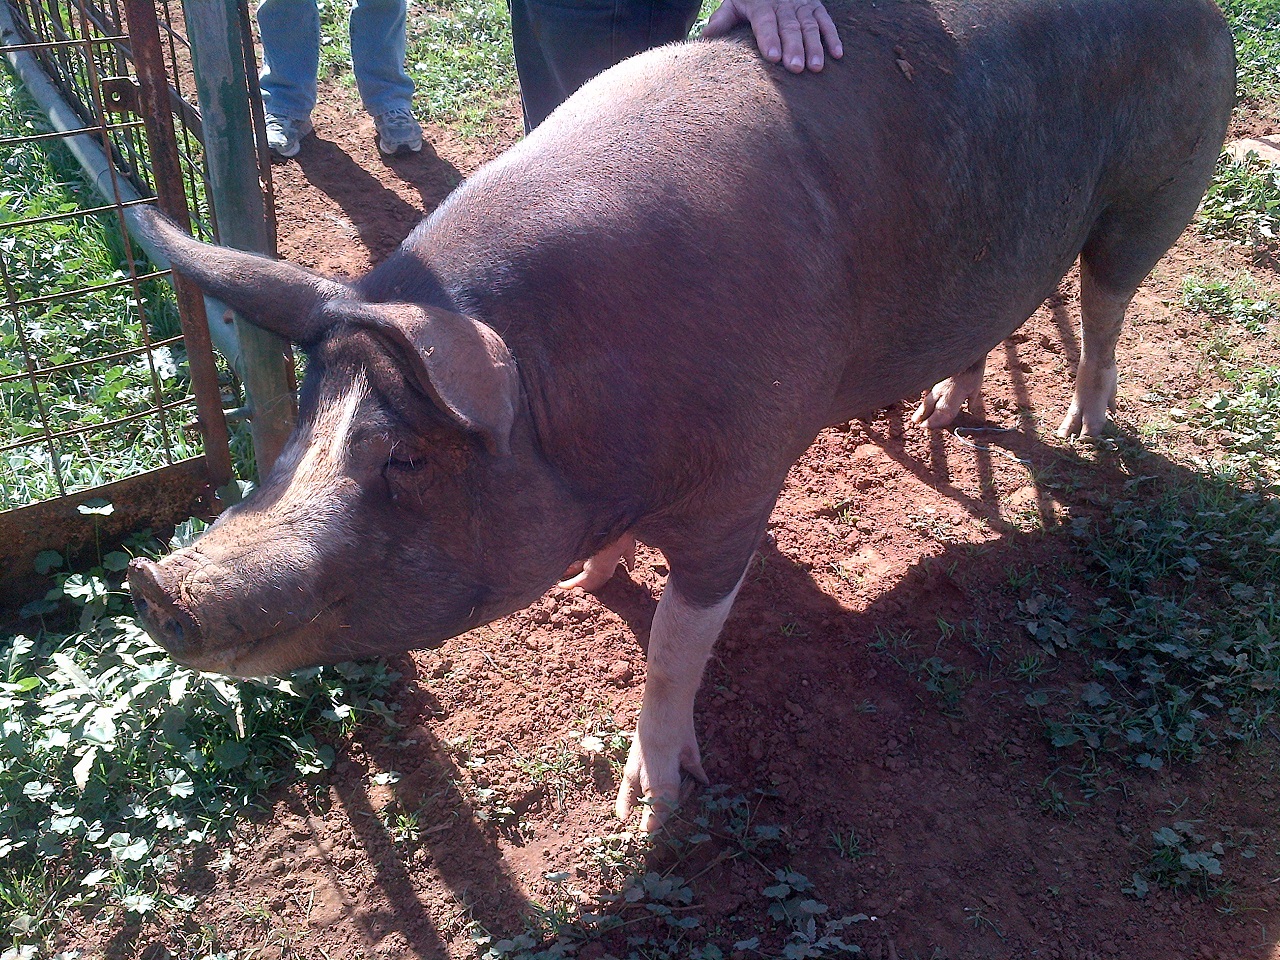
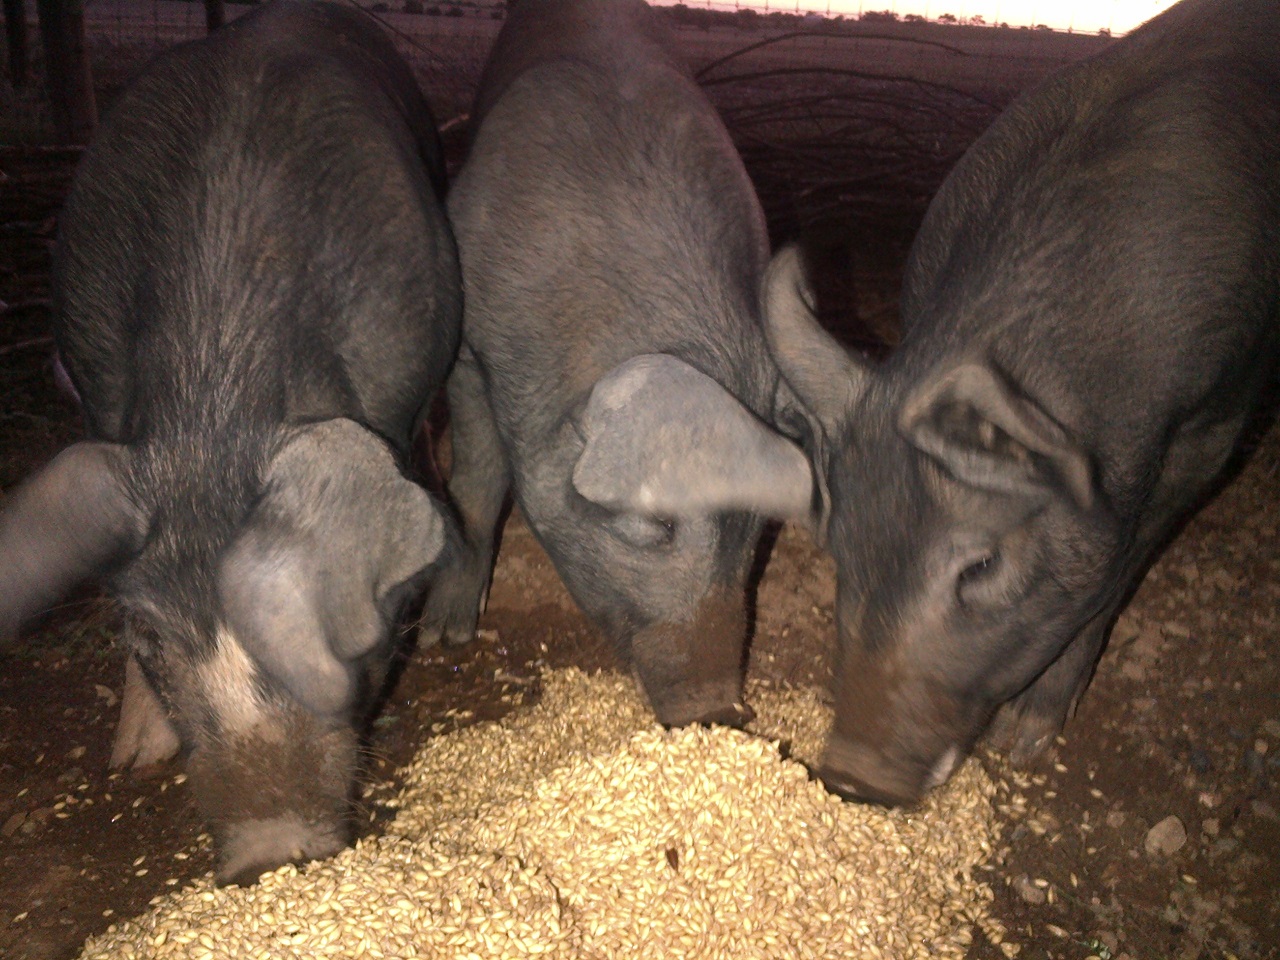
It wasn’t all work though. We had 3 family birthdays in May, and decided to celebrate them all with a big spit-pig party! We bought 3 Large Black x Berkshire piglets in April , with the view of having the boy (George) as a spit-pig.
Georgie – the “before shot”.

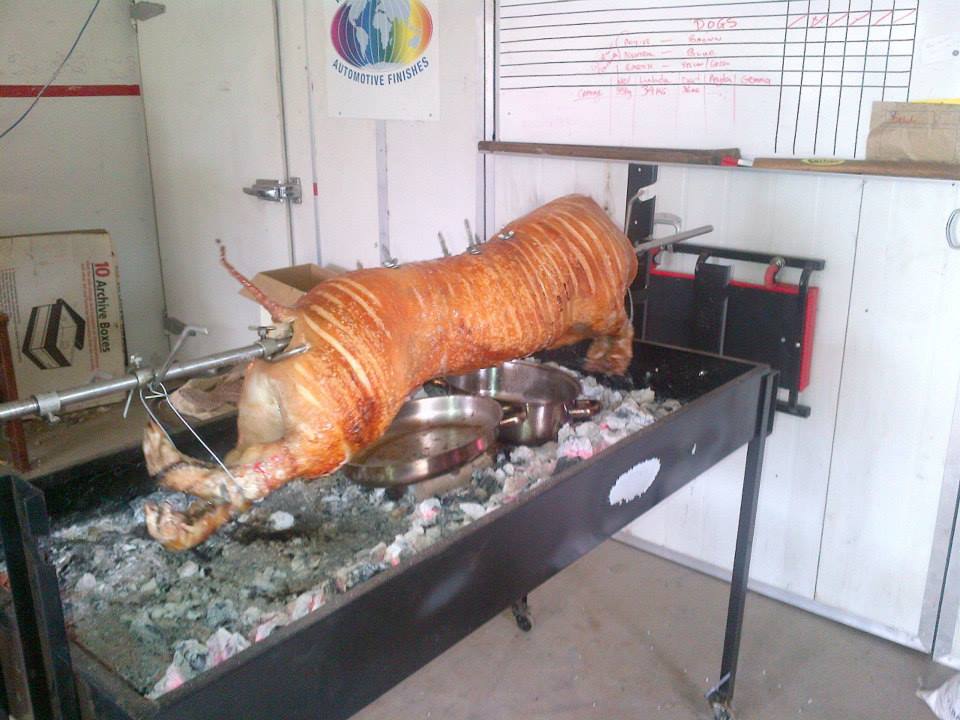
Georgie – the “after shot”.
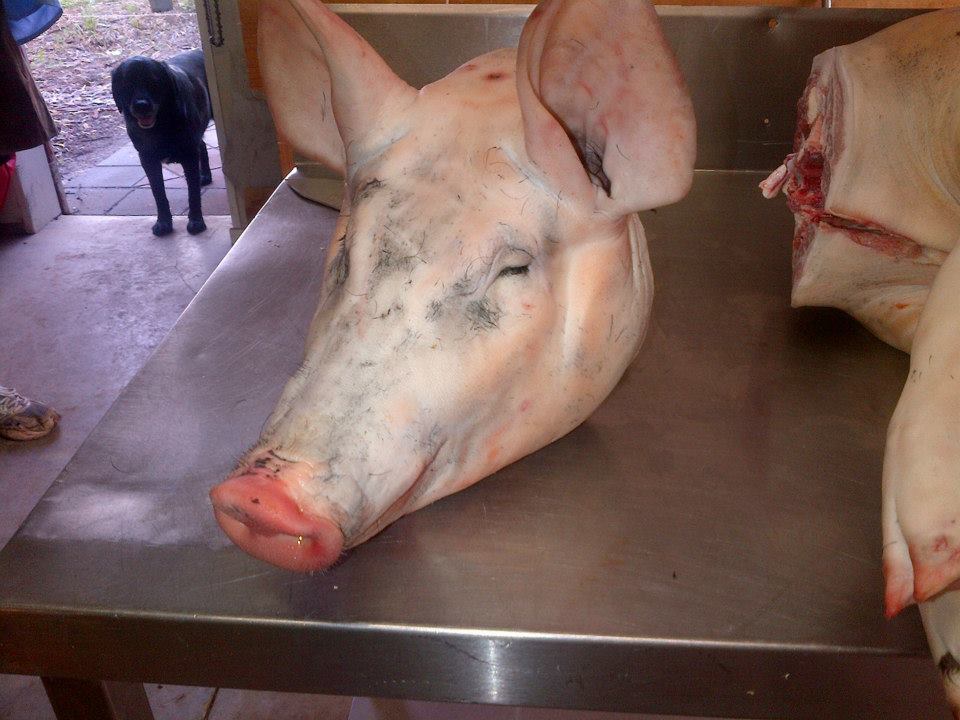
George was a little long, and so we took his head off so he’d fit better on the spit. In reality, he probably would’ve fit whole, as they shrink a fair bit in the cooking. However, we were quite keen to try and make brawn from the head, and so had decided to take it off anyway.
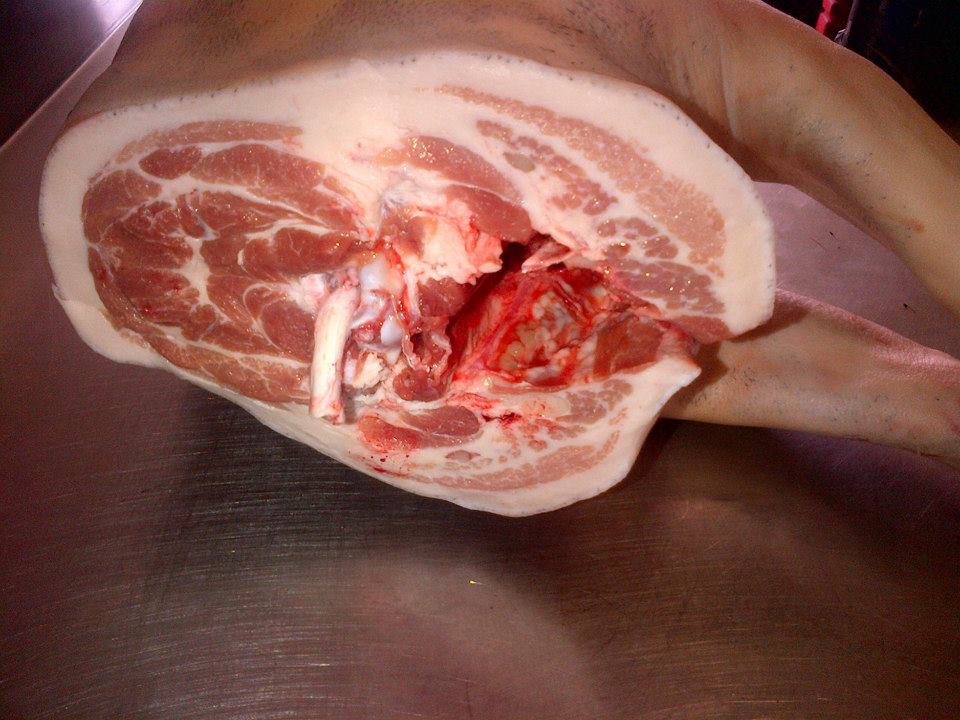
Taking the head off showed us just how good the meat was. The marbling is perfect.

Soon to become brawn.
The results were amazing, and George was by far our best spit-pig yet. I’m thinking it’s at least partly due to the breed of pig. The meat was definitely more marbled, and the fat seemed a slightly different consistency. The taste was amazing, and we’ll definitely experiment with these breeds in our breeding program.

A half-hour in with the flame up a little higher to start the crackling off.
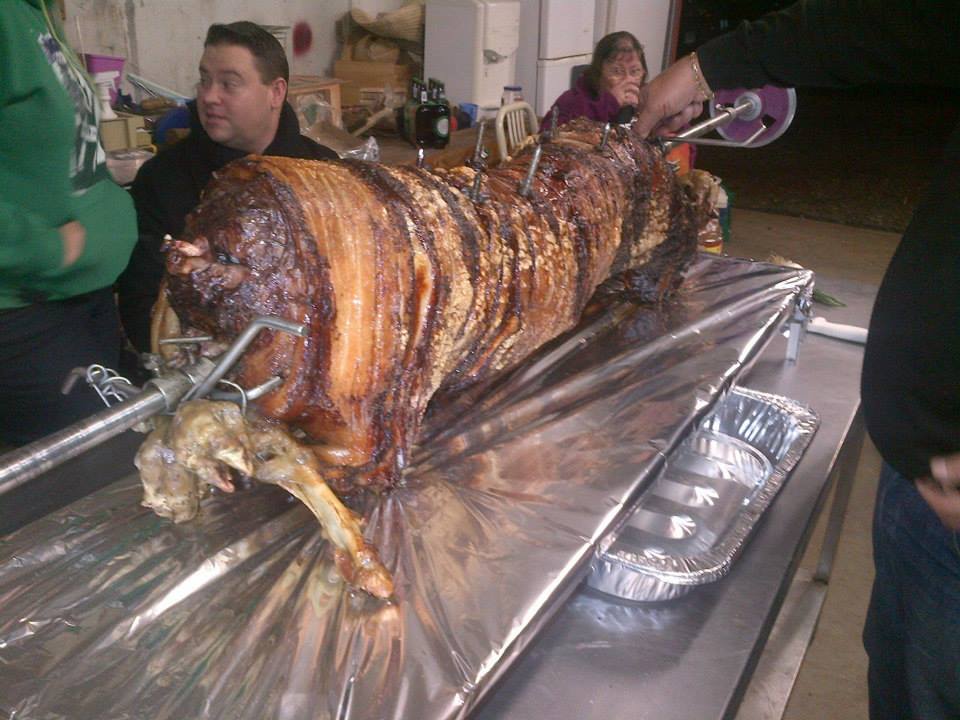
All done and freaking delicious!
Oh, and we also had a bonfire that night. 🙂

Now that’s a nice bonfire.
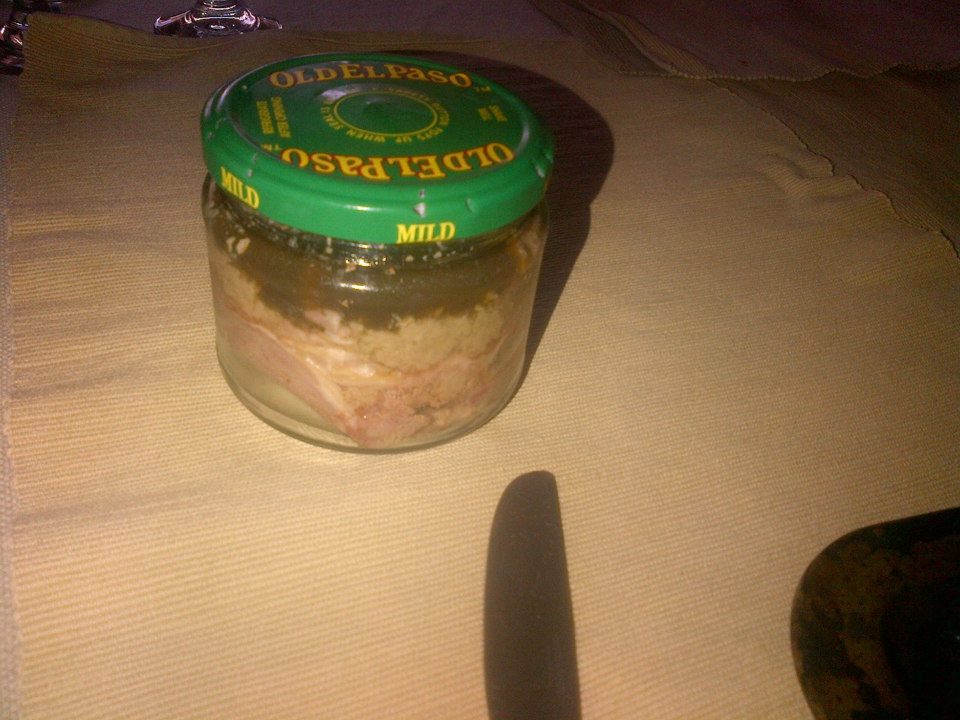
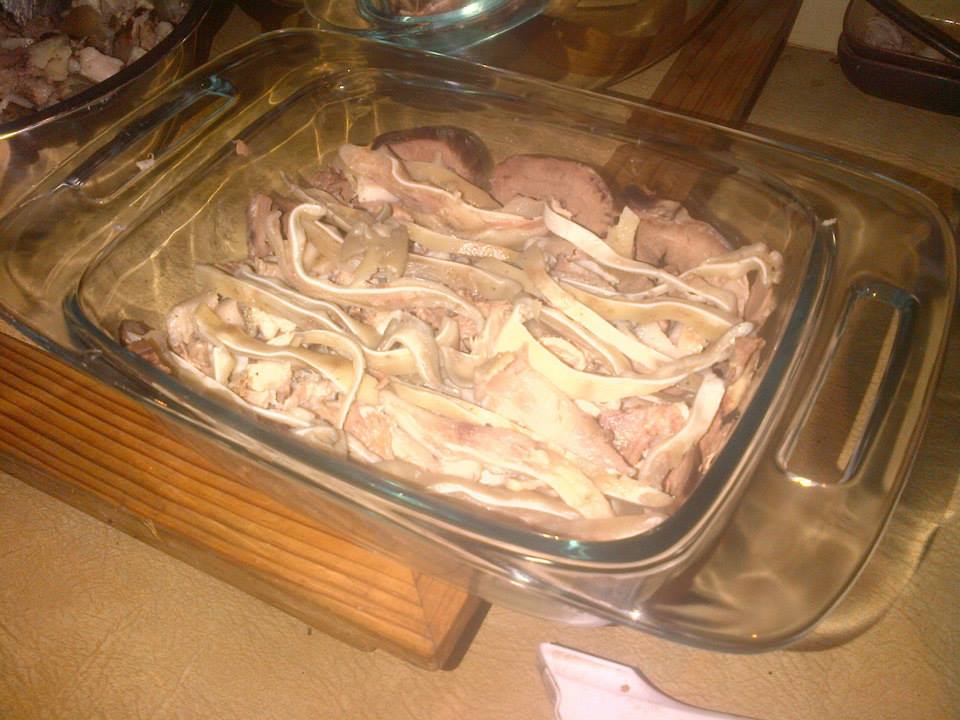
The pate and brawn happened over the couple of days after the spit-pig. I’ve been keen to try these for a while, as they are a whole step-up in our aim to use the entire animal. The offal doesn’t go to waste here, as we make them into dog food. However, I’d much rather use at least some of it for human consumption if at all possible.

Jarred pate. I added some spare aspic from the brawn.
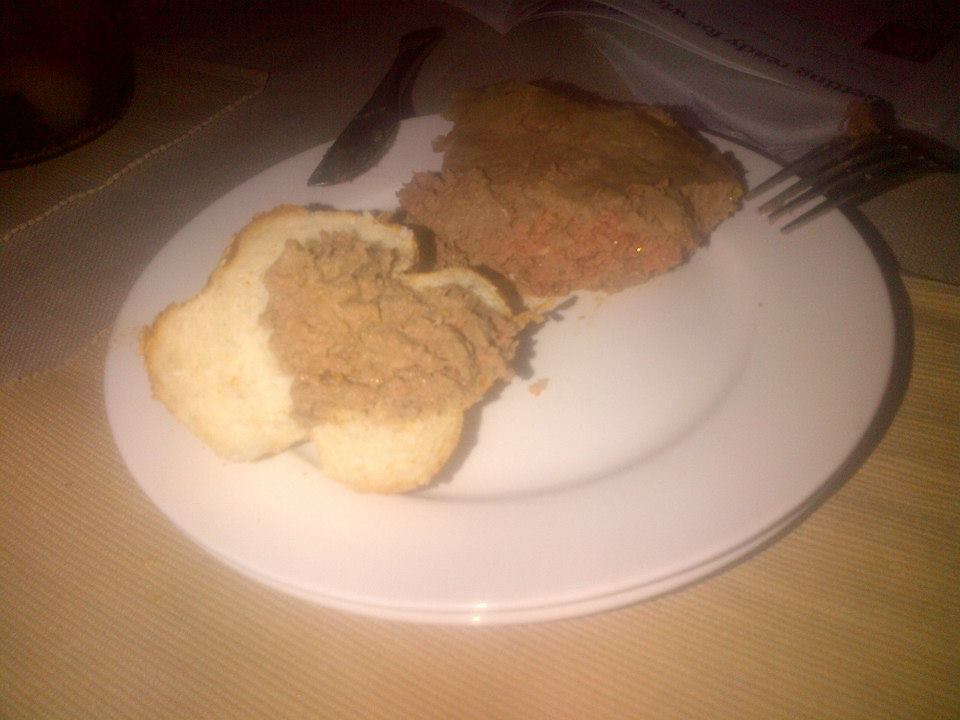
Our first taste of our first pate. It was delicious!
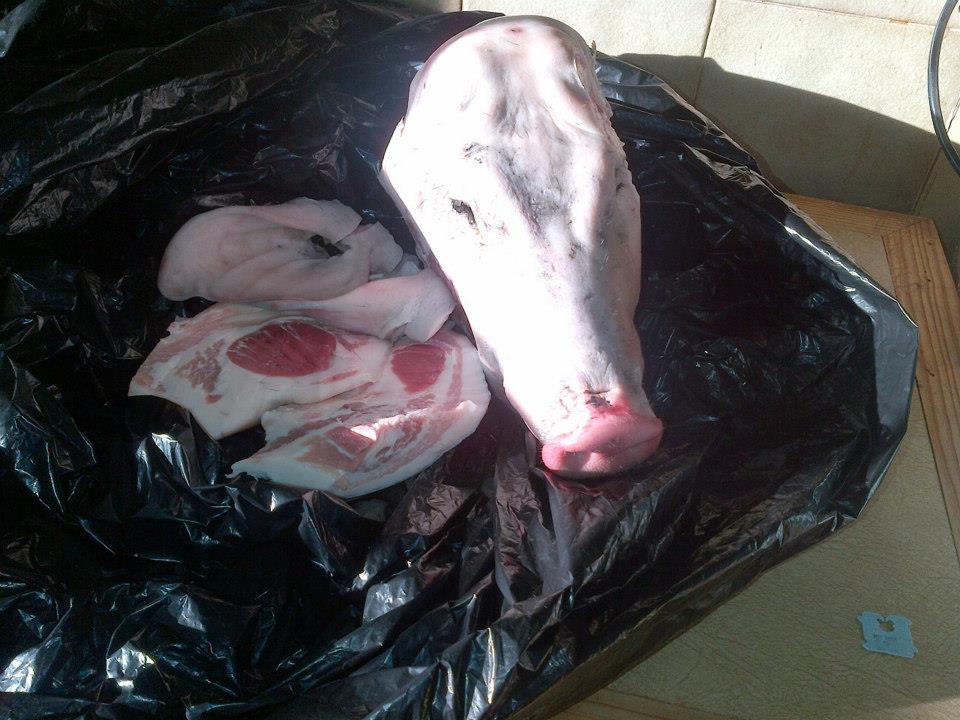
With the brawn I was determined to use the heart, tongue, and ears. I’ve not really eaten those things myself, so it was all new territory in both the making and the eating.

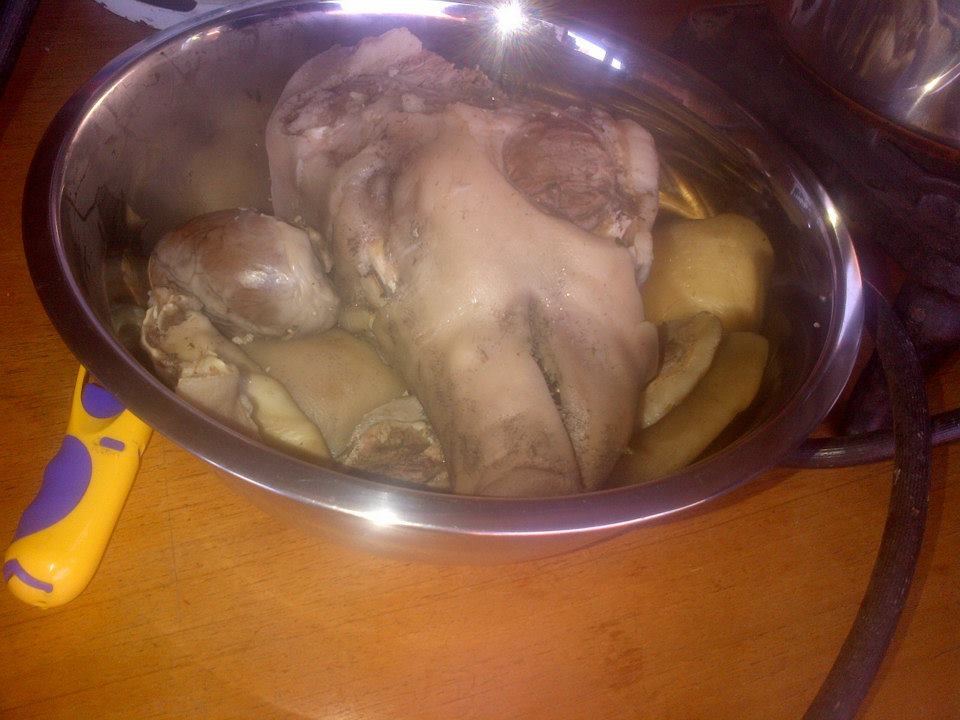
George’s head with ears and cheeks removed. I also scrubbed his ears out with a toothbrush.

The head and tongue. I was determined to use every part of George that I could.
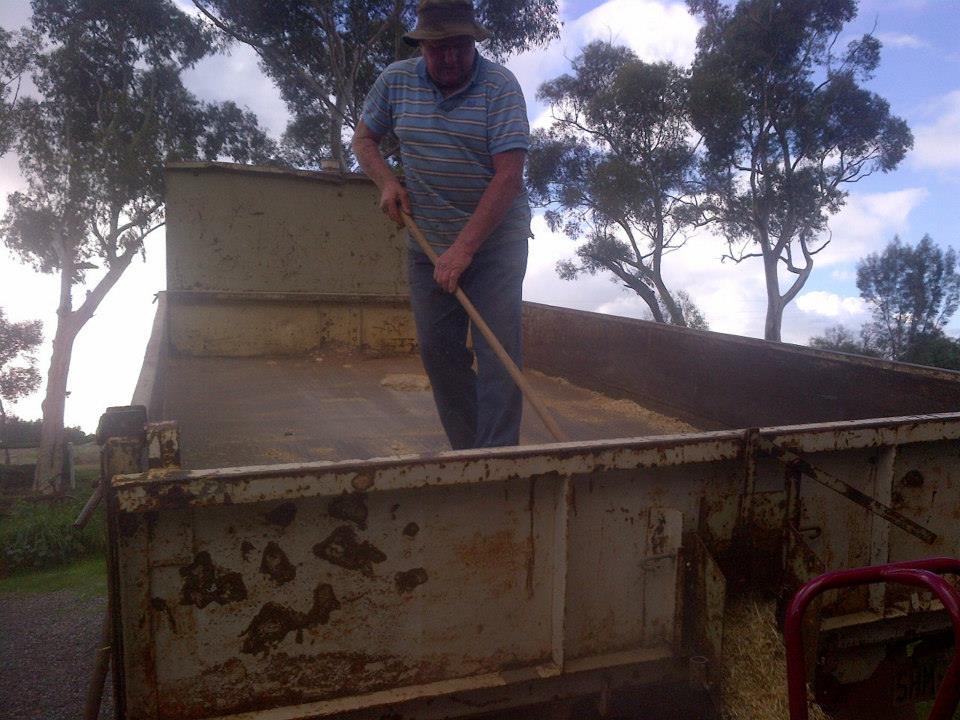
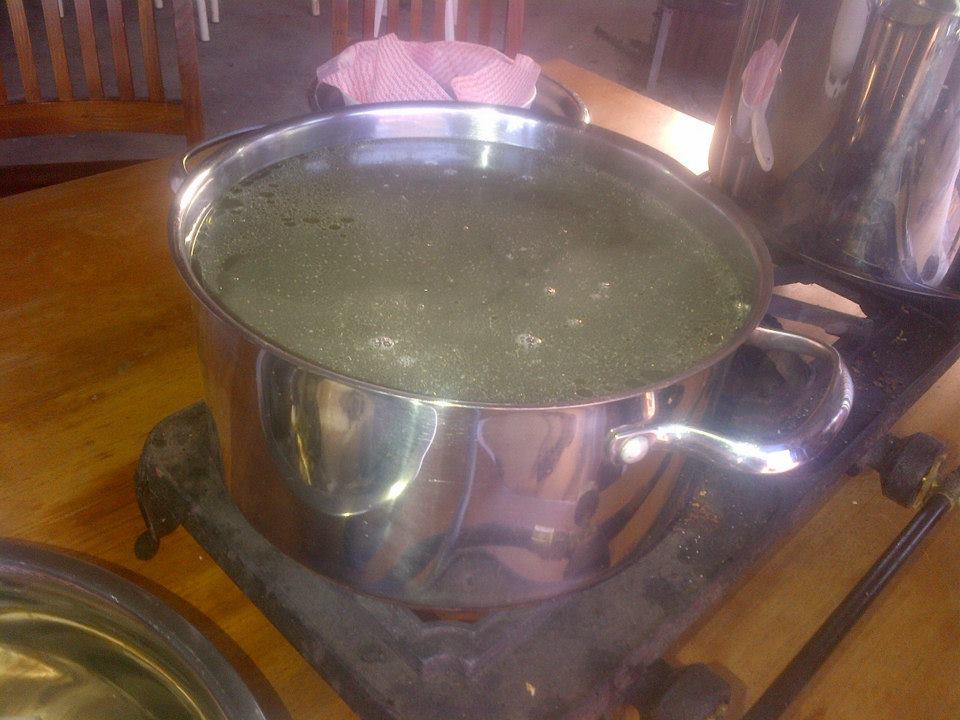
It all basically goes into a big pot, much like making stock.

All of the ingredients in one big pot.
After simmering for 4 or 5 hours.
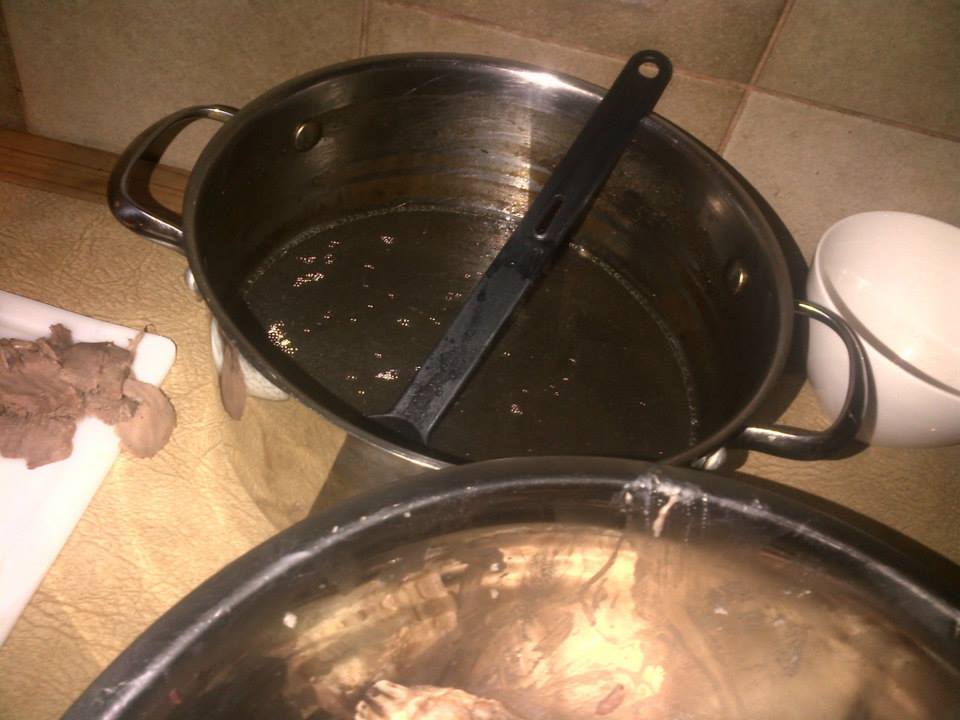
The resultant fluid, after the solids are cooked and strained out, is further reduced and becomes the aspic.

The strained stock ready to be reduced down.

The stock reduced down to make aspic.
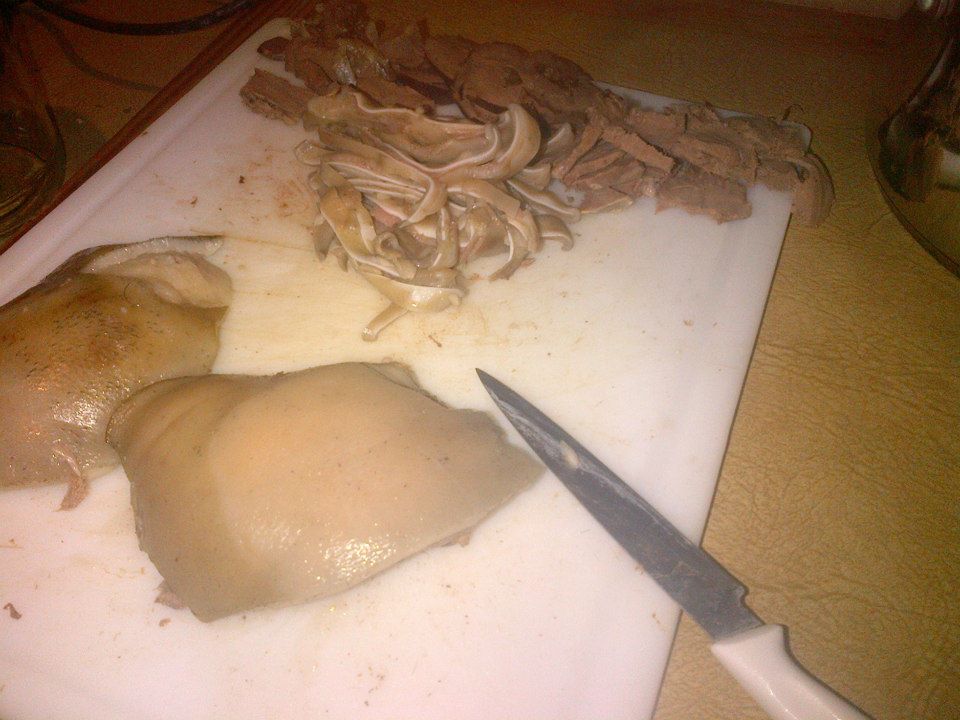
As much meat as possible is picked off of the skull, which is messy but also surprisingly fun. You keep the skin, and tear/cut it up as finely as you can. I also cut the ears into long strips, so I could layer them in the terrine.

The ears cut into thin strips and the cheeks ready to be cut/torn up.

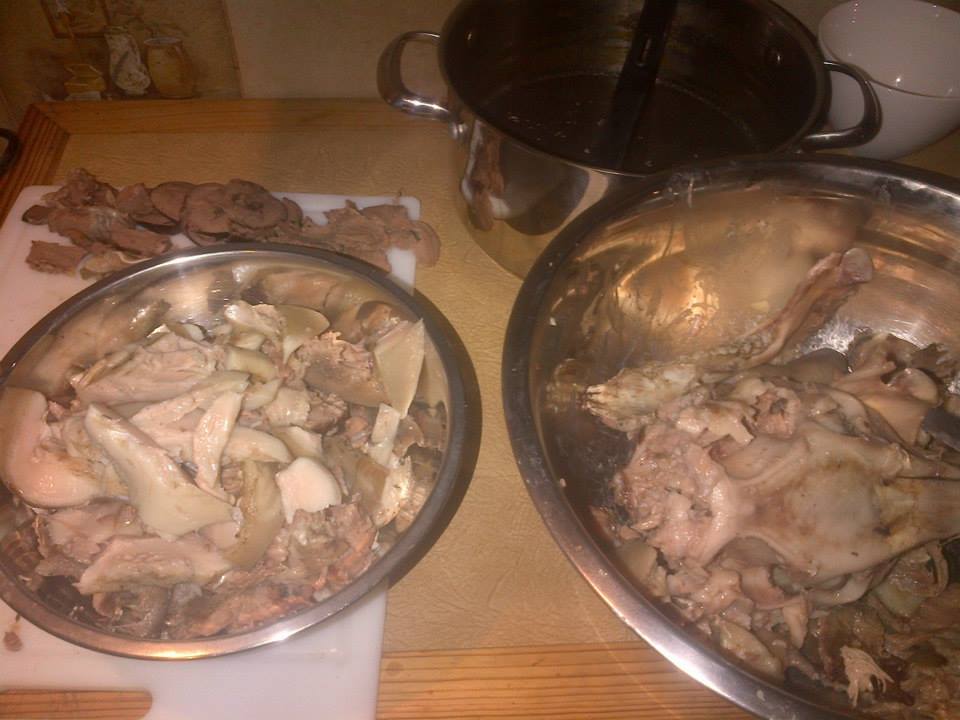
Meat/skin on the left and bones on the right.
I layered the heart and tongue around the edges, and then put in some of the meat/skin. I then layered the sliced ears in the middle, and topped it off with more meat/skin. The aspic is then poured in to the top. I then covered it, put a weight on top, and put it in the fridge overnight.

Layering the terrine. The tongue and heart are around the sides and the bottom, which will become the top. I laid the thinly cut ears in the middle.
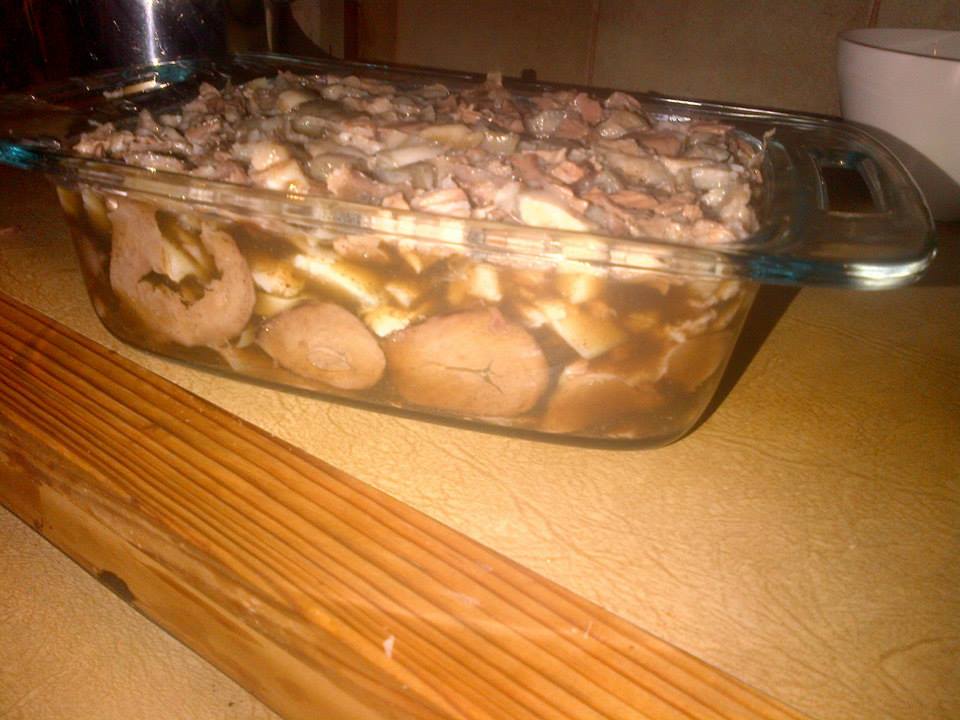
All assembled!
The next day I ran a knife around the outside and turned it out onto a plate.
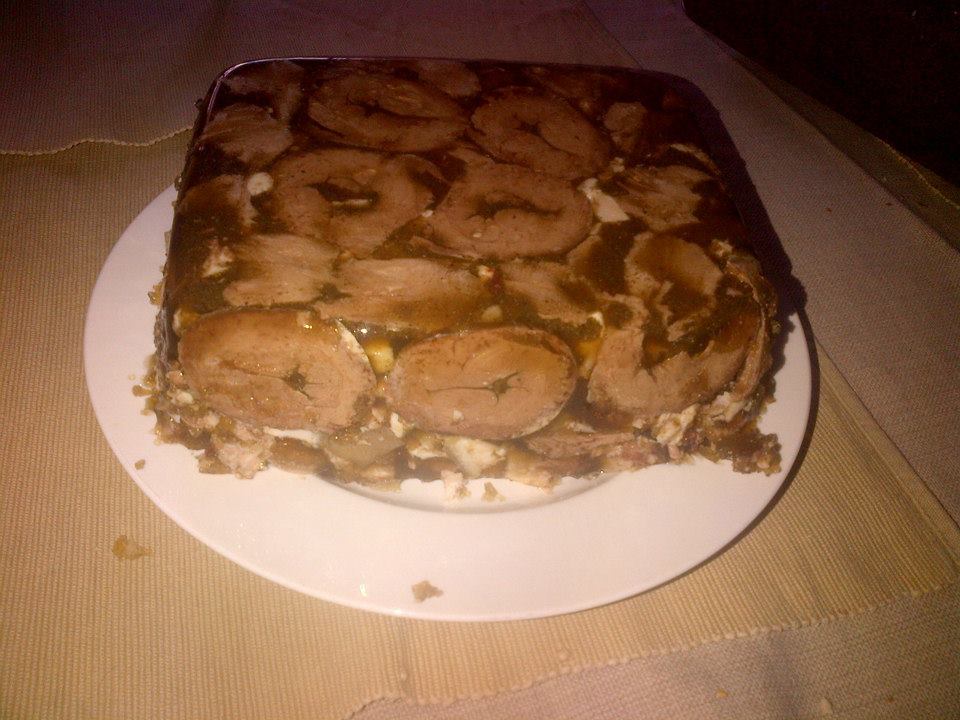
The end result.
The result was even better than expected. It was a little messy to slice, so I think next time I’ll cut the ingredients up a little more finely. The other lesson learned was that you should peel the tongue when it’s warm, as the skin comes away more easily.
We’ll tweak the recipes for both the pate and brawn a little, mostly the seasoning, but I was super-happy with the results.
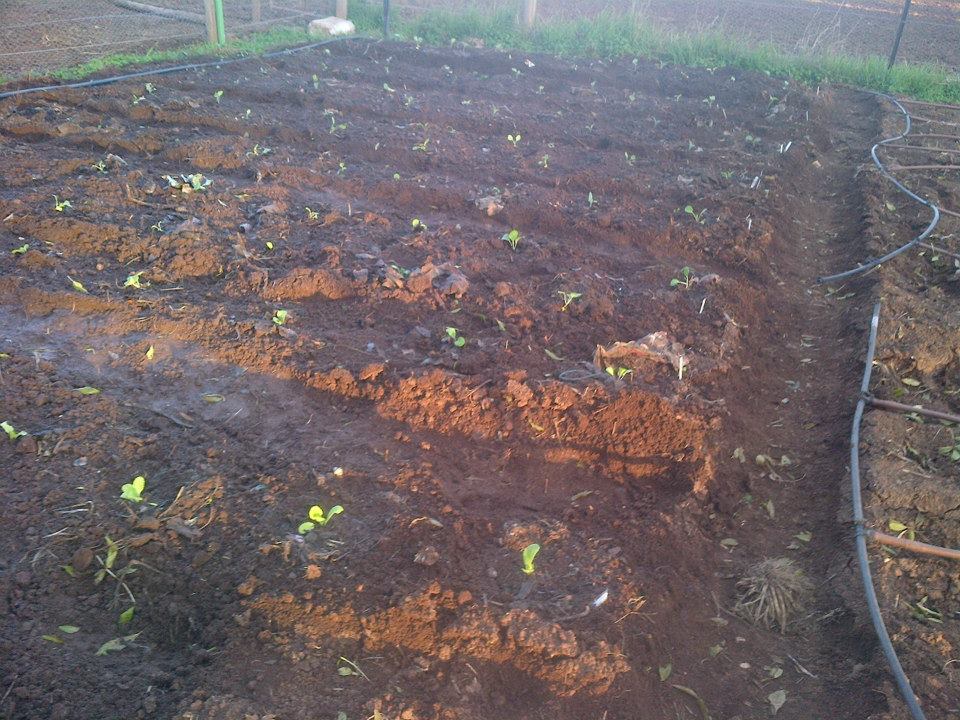
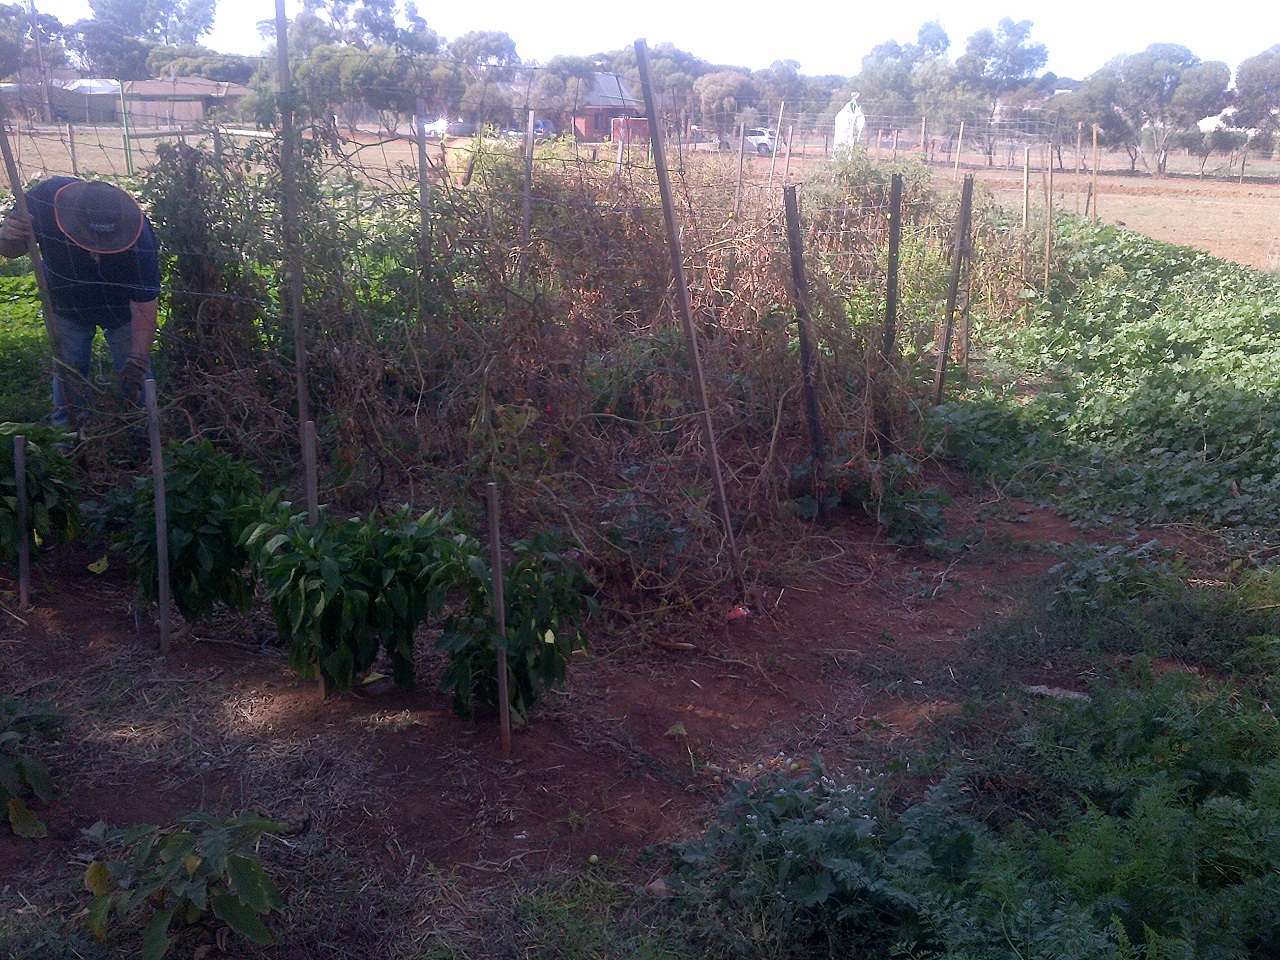
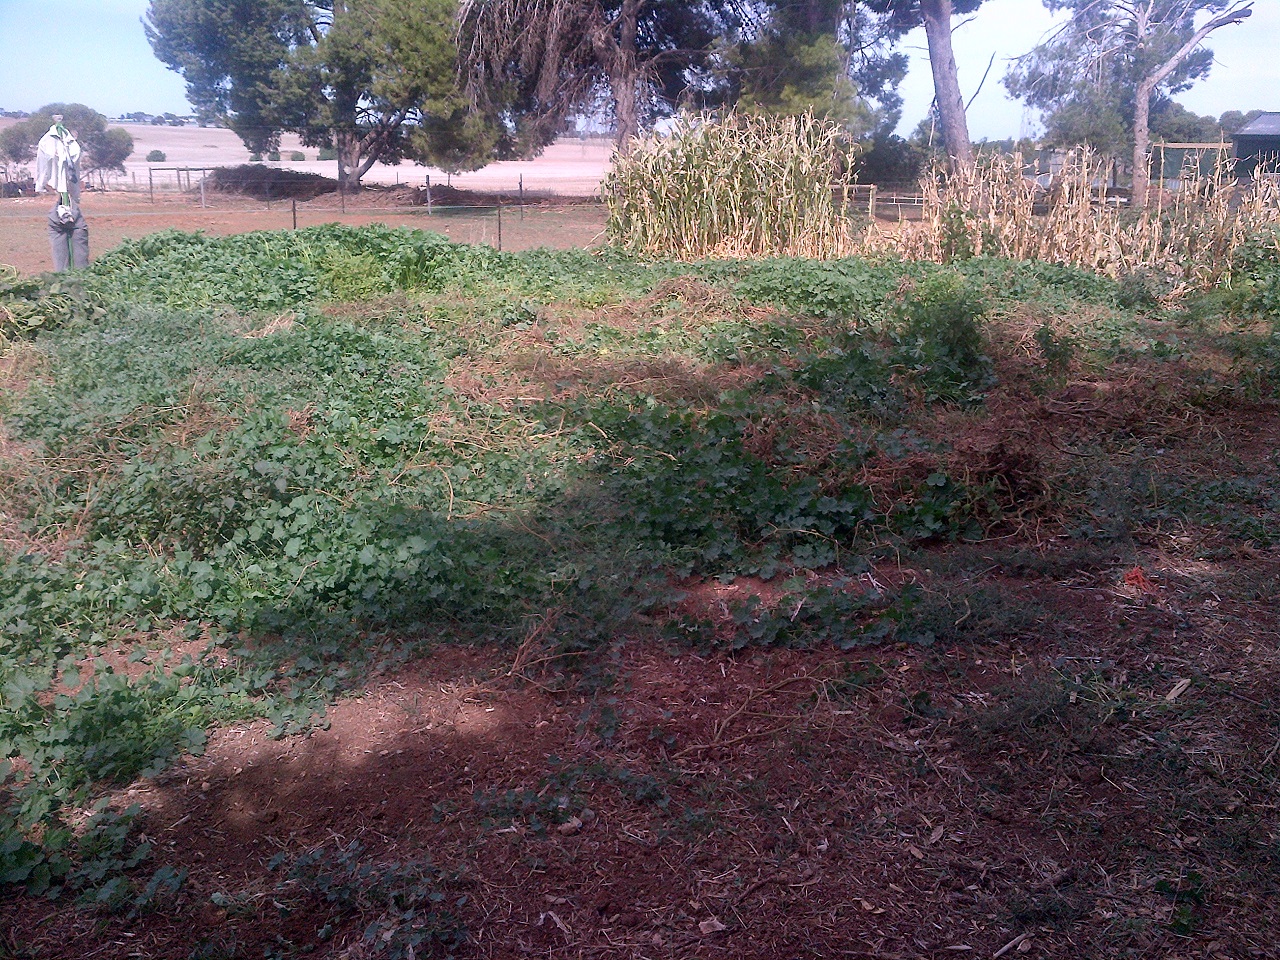
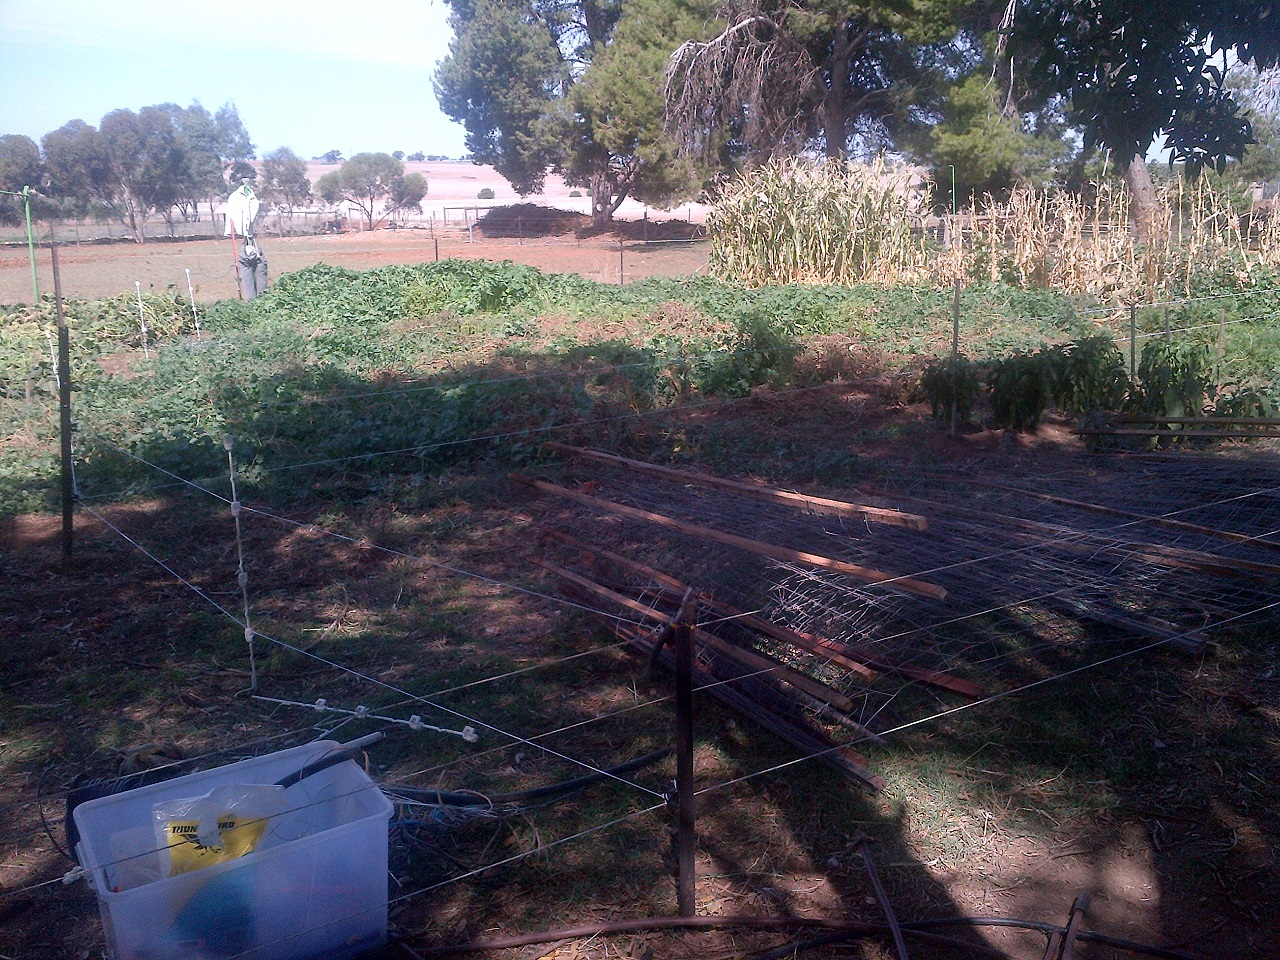
Most of that is all very meat-related, as are much of our lives lately. However, we also managed to finish planting out most of The Patch. Yay! I feel the veggies are taking a bit of a back-seat lately, and I’m determined to keep them relevant.

Brassicas planted out.
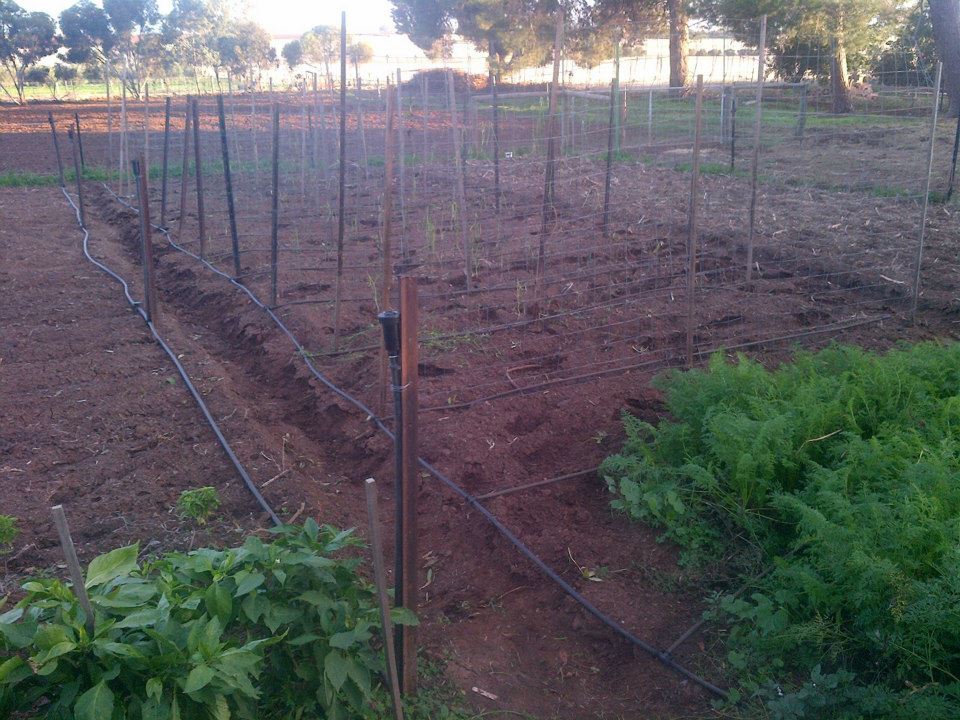
Pea frames in and peas planted out.
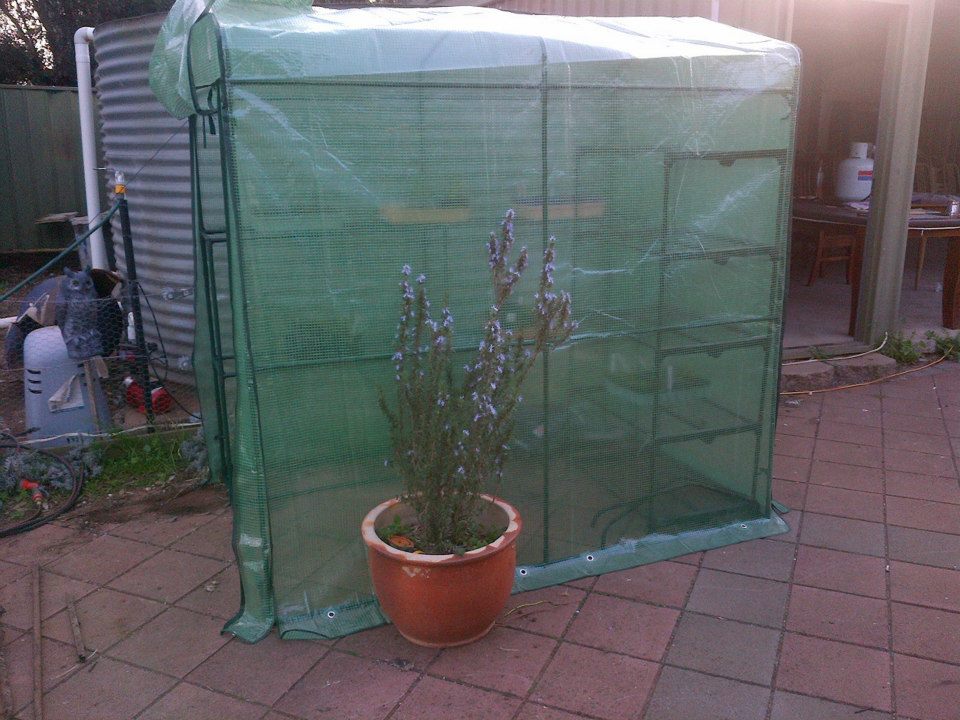
We also managed to get a larger hothouse. Up to now we’ve been using a tiny thing we’ve owned for years. While it’s done us proud, it really was small and the plastic was almost beaten to death. This new one is actually large enough to walk in to, and will hopefully allow us to expand our plantings. I’m quite keen to make sure we grow all of our veggies from seed, and preferably seed we collect.

The new hothouse.
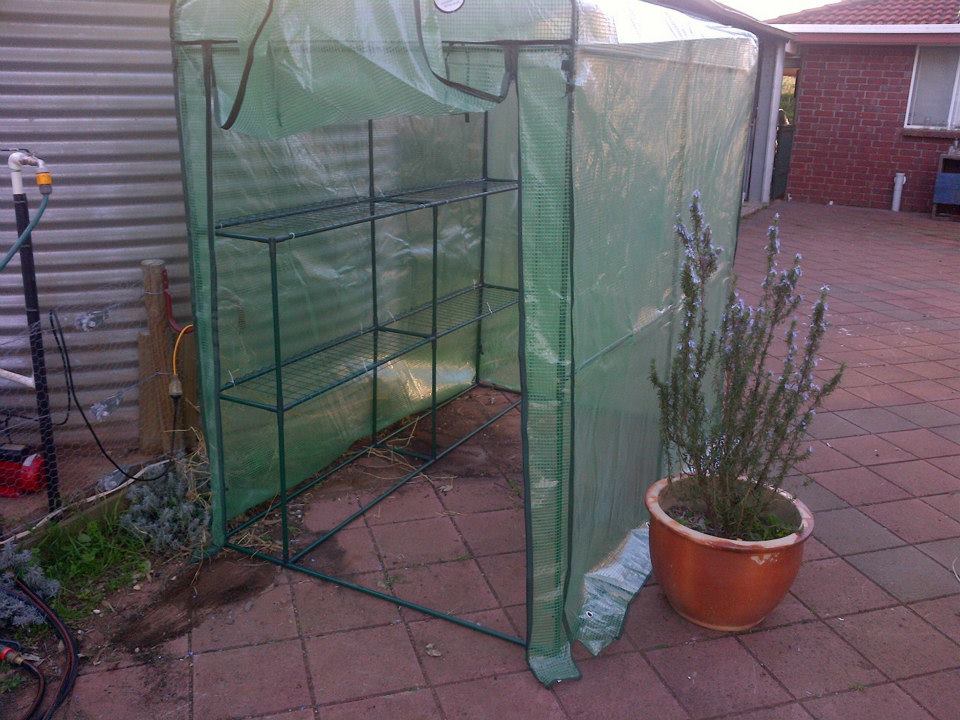
It’s surprisingly large. An adult can pretty easily stand in there and work.
After all that, the rest of our progress for the month is all breeding related. We managed to find some Cobbs, the chicken breed we used to get as day-olds and then feed on as meat birds. However, this time we want to try and cross-breed them. The Australorps are great, but we want a bigger, plumper bird if possible. We plan on crossing the Cobbs with the Australorps, and also maybe another breed or two, just to see what happens.
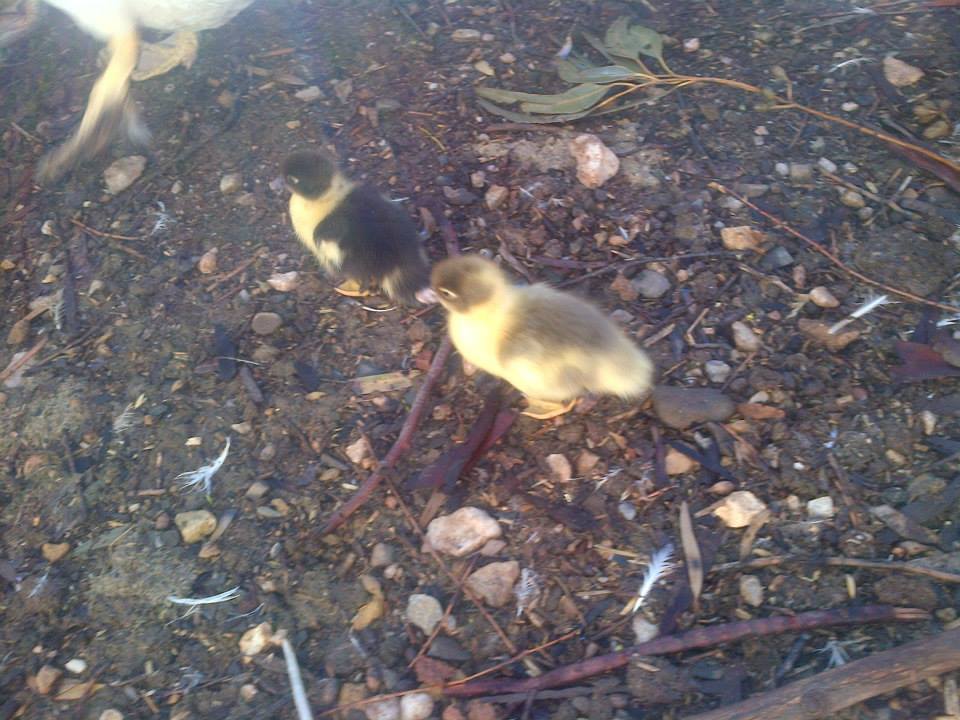
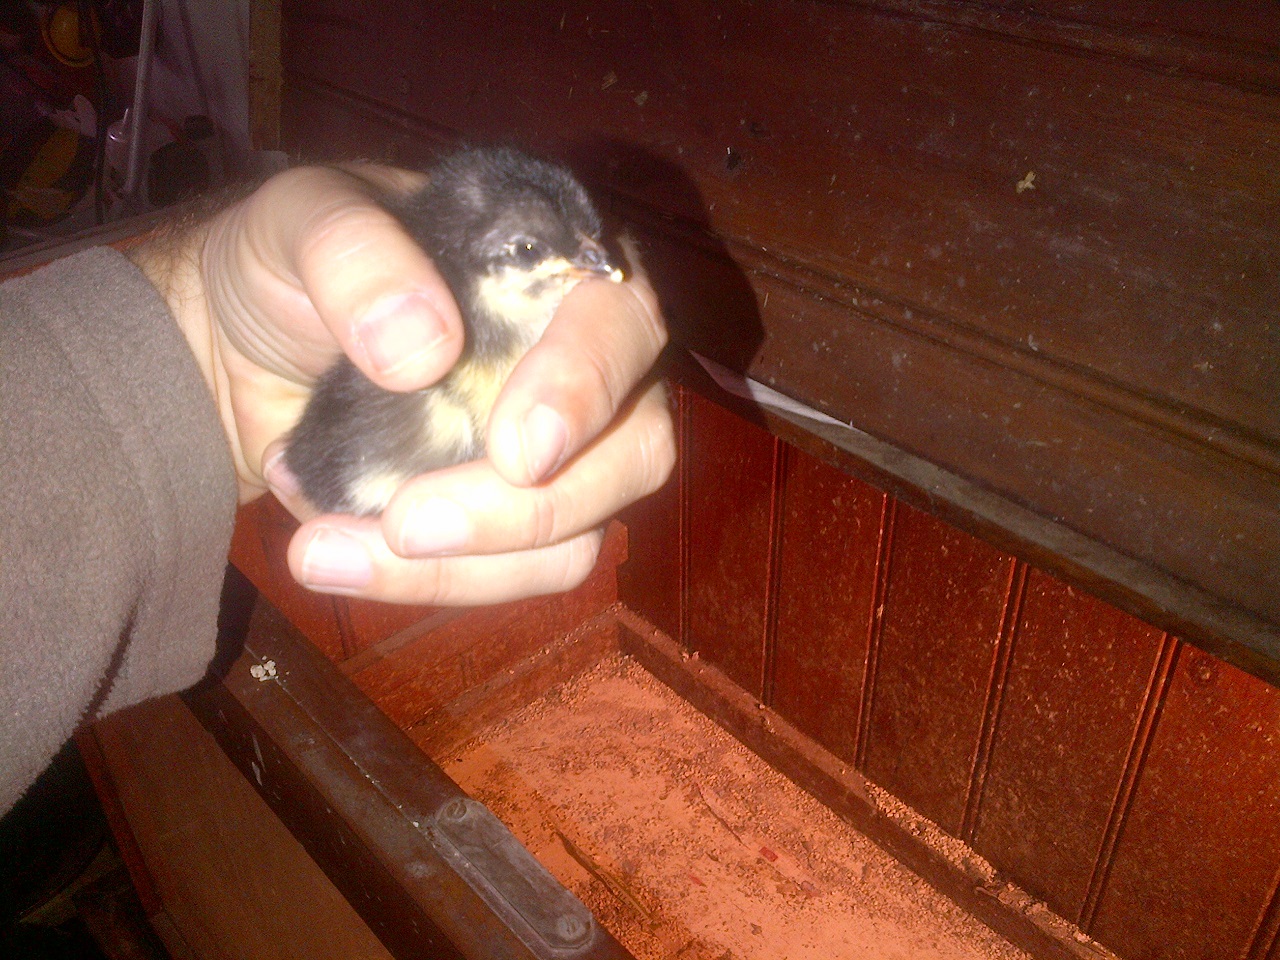
We also had a couple of ducks hatch.

Ducklings!
These are the first surviving ducklings from our Mammoth Muscovy drake, Ron Jeremy. We had one other lot hatch, but an owl took them all. I grabbed these two up on the first day and put them in a brooder. I like the mums raising them, and I like owls too, but I think I’d rather make sure I end up with fully-grown ducks.
Our breeding progress was finished with piggy lovings. In the middle of the month Honey was acting up. She was vocalising like she was upset, she was agitated, and was just generally out-of-sorts. I figured she might be in heat, and so put her in with Boris.
Honey in with Boris after about 30 seconds.
Turns out I was right.

Honey in with Boris after about 60 seconds.

A close up of true love. Boris looks like he has a huge grin on his face.
A couple of weeks after this, Smoked started acting the same way. We weren’t sure if Smoked was pregnant before that. She’d been in with Boris about 6 weeks earlier, but she’s had a bad back leg for a while. She can walk, and even run, with no real problems, but she limps a little. We weren’t sure she could take Boris’ weight. She was definitely interested back when we put her in with the big man, and they definitely tried, but we just never saw them couple properly. Add to that the fact that Smoked is generally a little on the thick side, and we weren’t sure if she was pregnant. She can’t read this, so it’s cool if I call her “thick”.
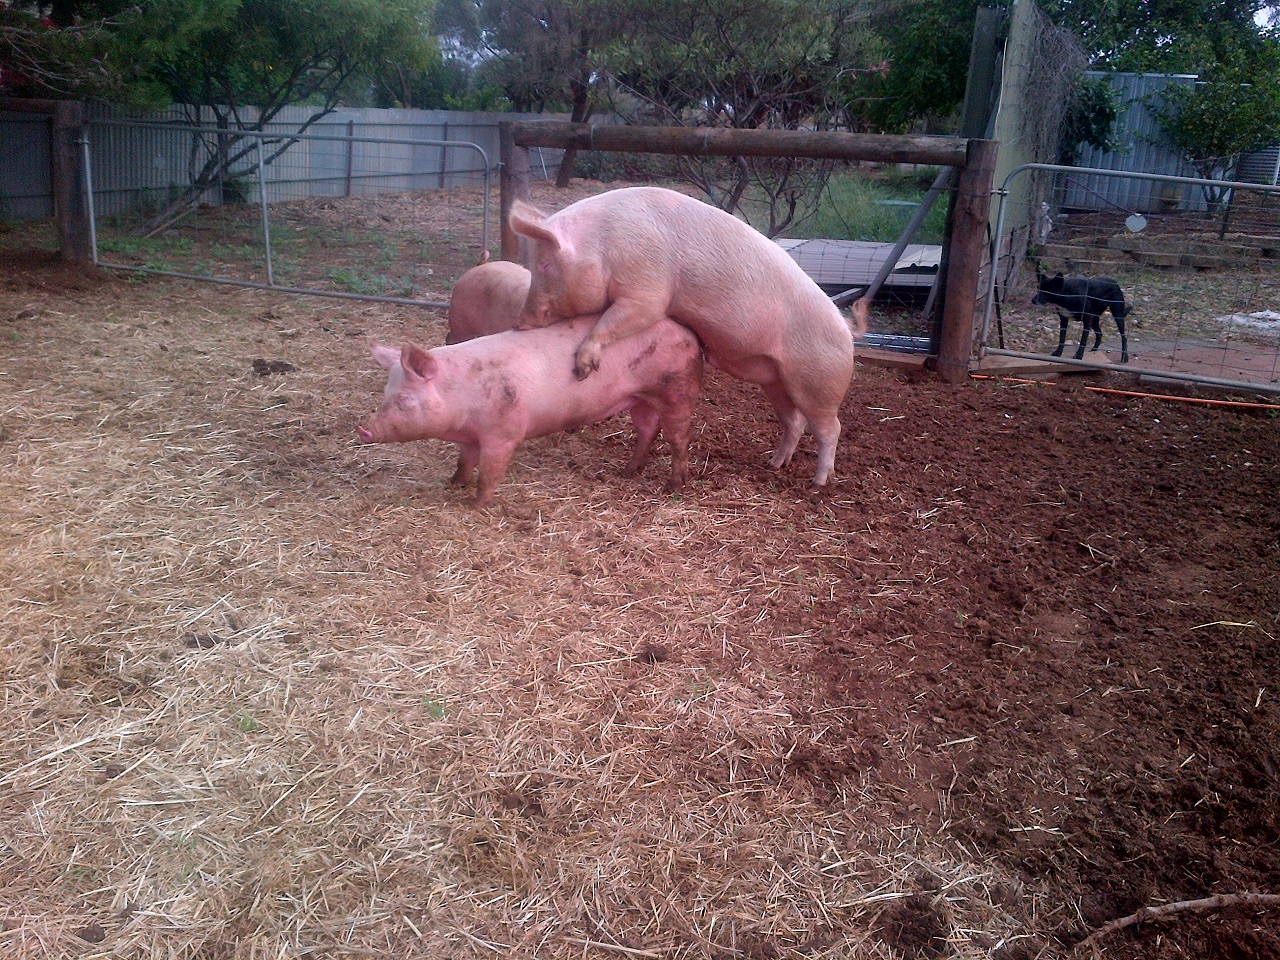
Smoked coming into heat is pretty much the surest sign of her not being pregnant, so she also went in with Boris. The results were pretty much the same as with Honey.
Smoked was in with Boris for maybe 2 minutes before this happened.
I’m not sure why, but I really like taking shots from this angle when they’re doing this.
This was actually a big relief for me. I’m quite attached to Honey and Smoked, but we really can’t afford to keep a gilt who can’t make babies. That’s true if you’re talking a commercial or just a hobby farm situation. Full grown pigs eat a heap and take up a lot of space, and our little 3 acres just can’t support unproductive pigs. I was resistant to the idea of making Smoked a “chopper”, which is what they call smallgoods pigs, but had almost talked myself into the idea. Smoked making bacon actually saved her bacon, and saved me from having to make a very hard decision. That pun was also fully intended.
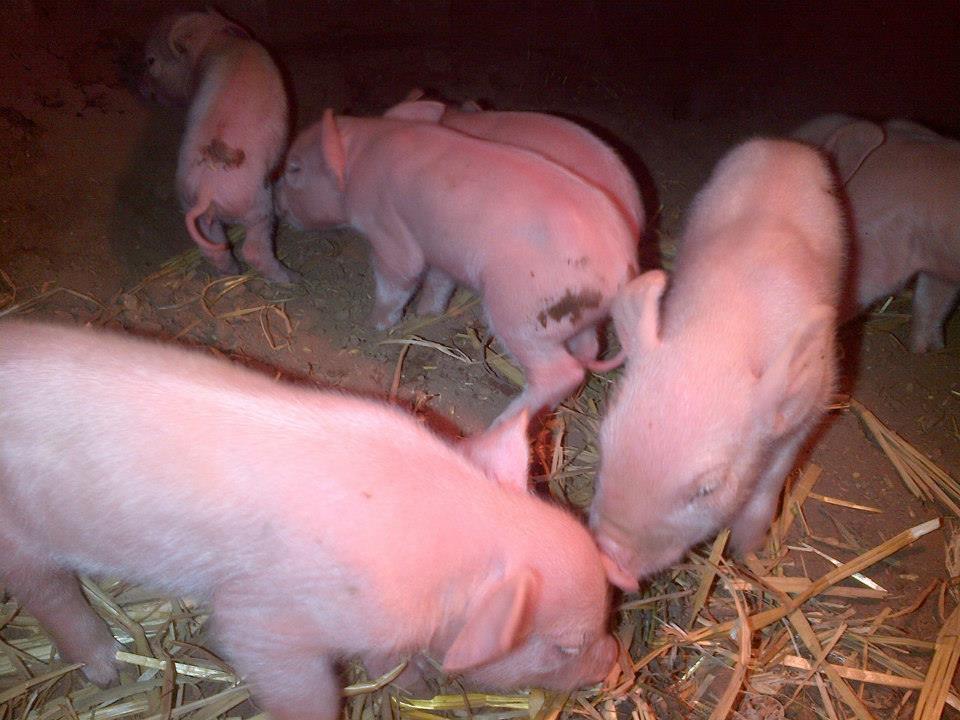
Lastly, some random pig stuff, because I love pigs.

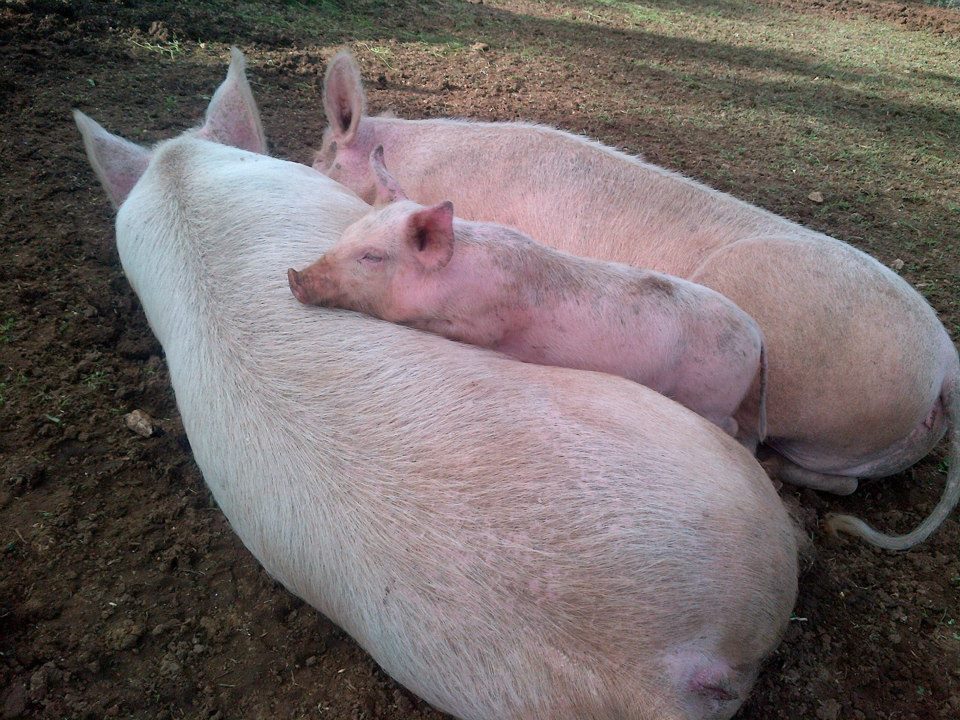
Nawwwwwwww.

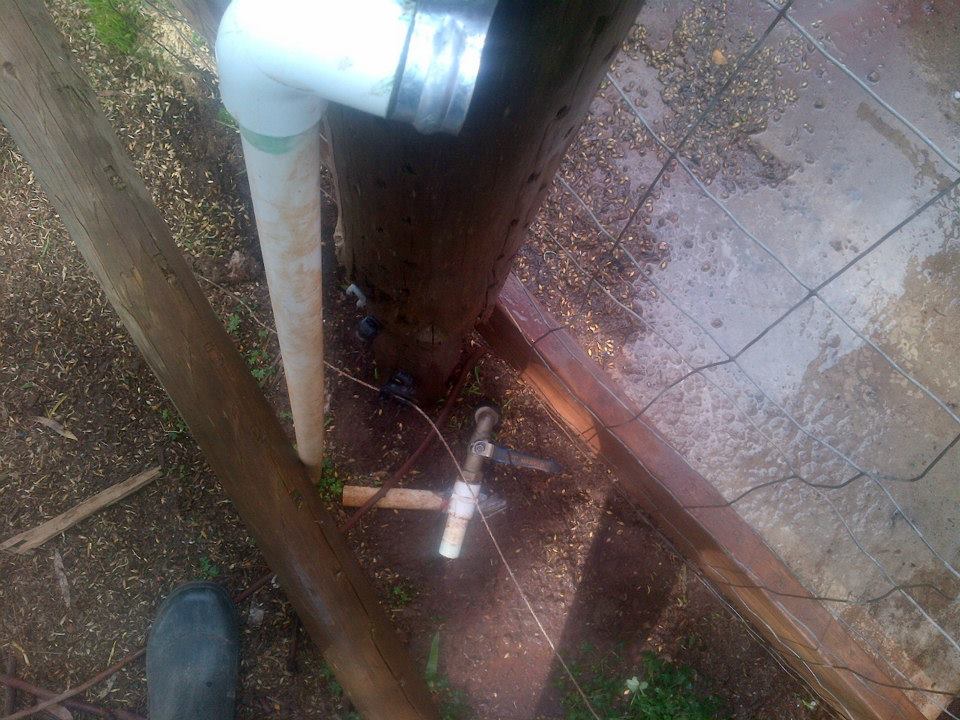
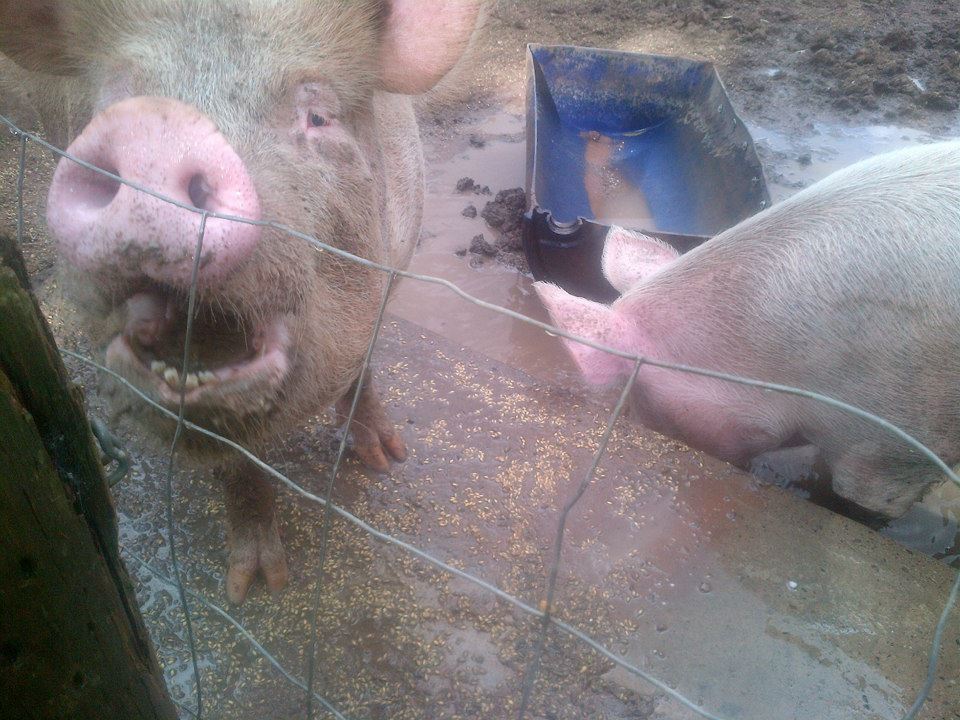
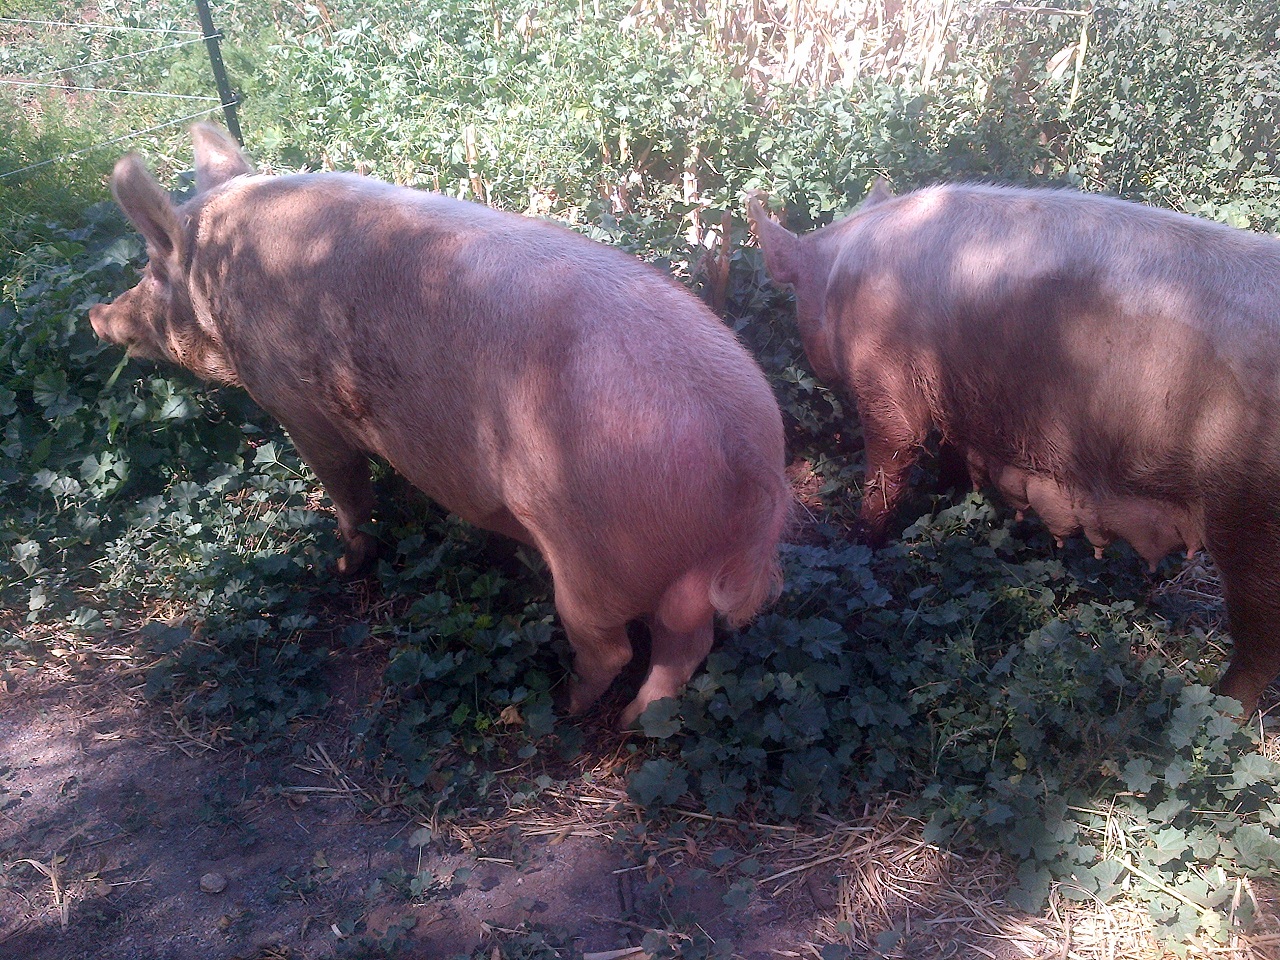
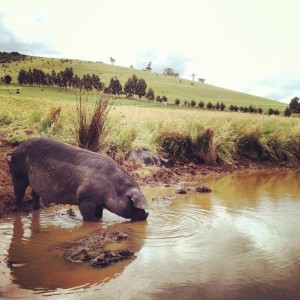
Honey and Smoked did this, the result of which was a run full of water…

… and two giant pigs who were fairly happy with themselves.