
Starting off the meat chook posts with how to process them probably makes no sense, as you need to grow the fat buggers first. However, we’ve had a shot at processing them twice now, the latest time in early July, 2014 (last weekend). Our technique has already changed a heap between those two times, and I think we’ve got it worked out. I want to capture all of that now while it’s still fresh.
Growing them is also an evolving process, though we’ve had 3 large lots professionally processed over the past couple of years. We’re breeding our own now, and have some cross-breeding programs we’re about to start. I’ll blog about that stuff separately though.
Processing your own animals, be they poultry or something bigger, is a super-emotive subject. Even for people who grown their own meat, actually killing the animals themselves is often a step too far. However, I’m a huge proponent of this for a couple of reasons. Firstly, I know definitively that the animal has been treated correctly. Secondly, I can keep all of the viscera, blood, and feathers and recycle them in my compost. In fact, after we’ve eaten the bird we also dry the bones and grind them for meal for the veggie patch. For the birds we breed, they are born, live, and die here, with not a single atom ever leaving the property.
Having said this, I’m not sure I’ll be killing my own pigs, cattle, sheep, or goats anytime soon. That takes a level of skill I don’t have yet, though I’d love to find a home butcher who would come and teach us. Until I have somebody to show me exactly how to do it properly, there would just be too much risk of maltreating the animal.
Doing your own chooks is super easy though. We purge ours first, putting them in a large aviary for 24 hours with free access to water but no food.
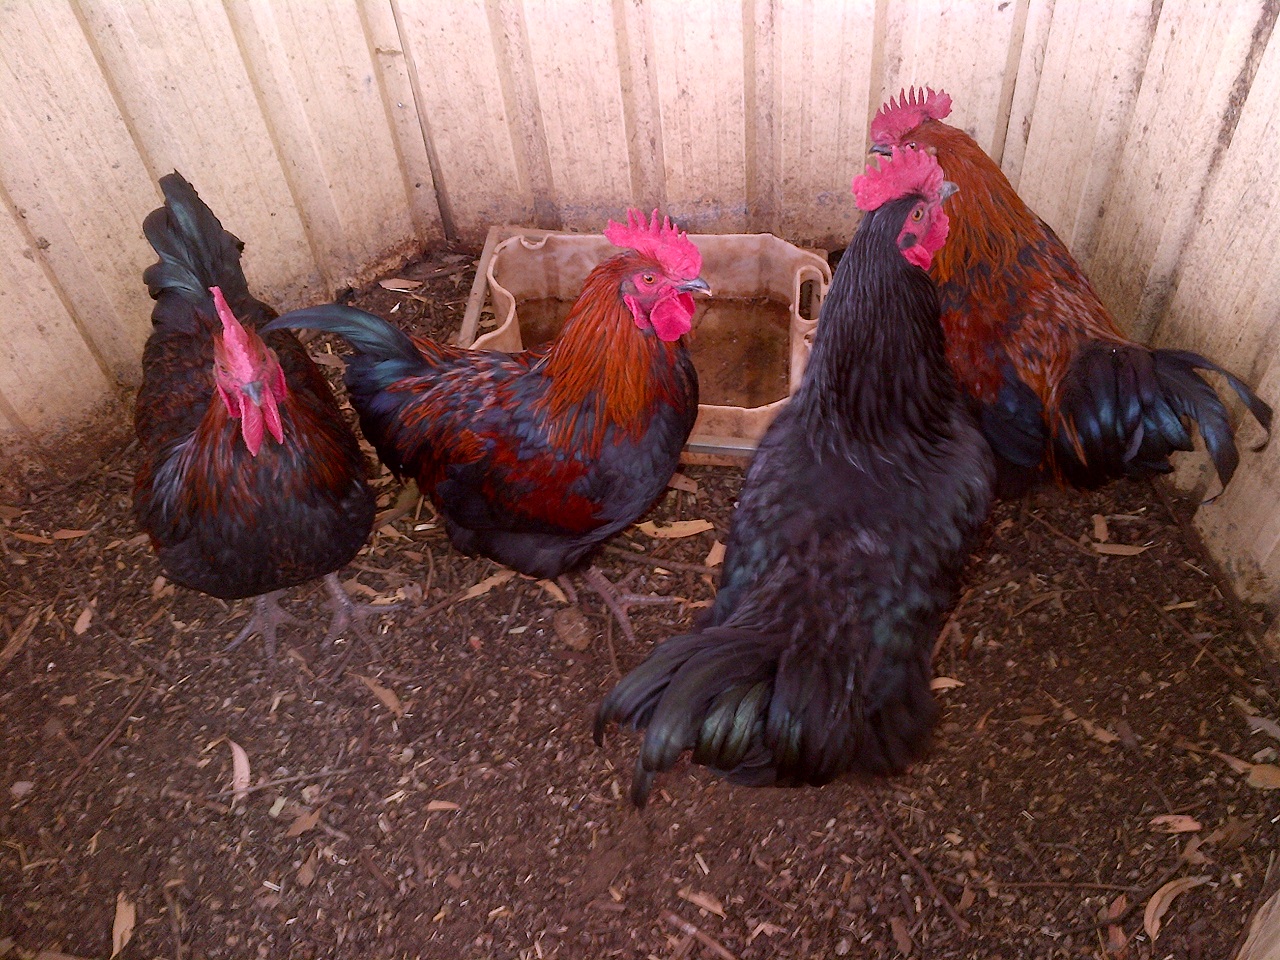
The first four boys we processed.

The second two roosters we processed. They were a little older, and certainly handsome boys!
This ensures that their stomachs are empty and reduces the chance of faecal contamination. It also makes sure their crops are empty, the organ they have at the bottom of their neck where they store food. You can really see the crop after chooks have a big meal, as it looks almost like a smaller, wobbly, third breast. They can really fill those things up!
It’s important to reduce the stress on the animal as much as possible. A day or half-day without food isn’t going to hurt them, though you need to make sure they have as much water as they’d need. The real stress point here is handling them. You need to reduce the amount of time you have a hold of them, and make the kill as quick and efficient as possible. This part is still something we’re evolving, but I think we have it right.
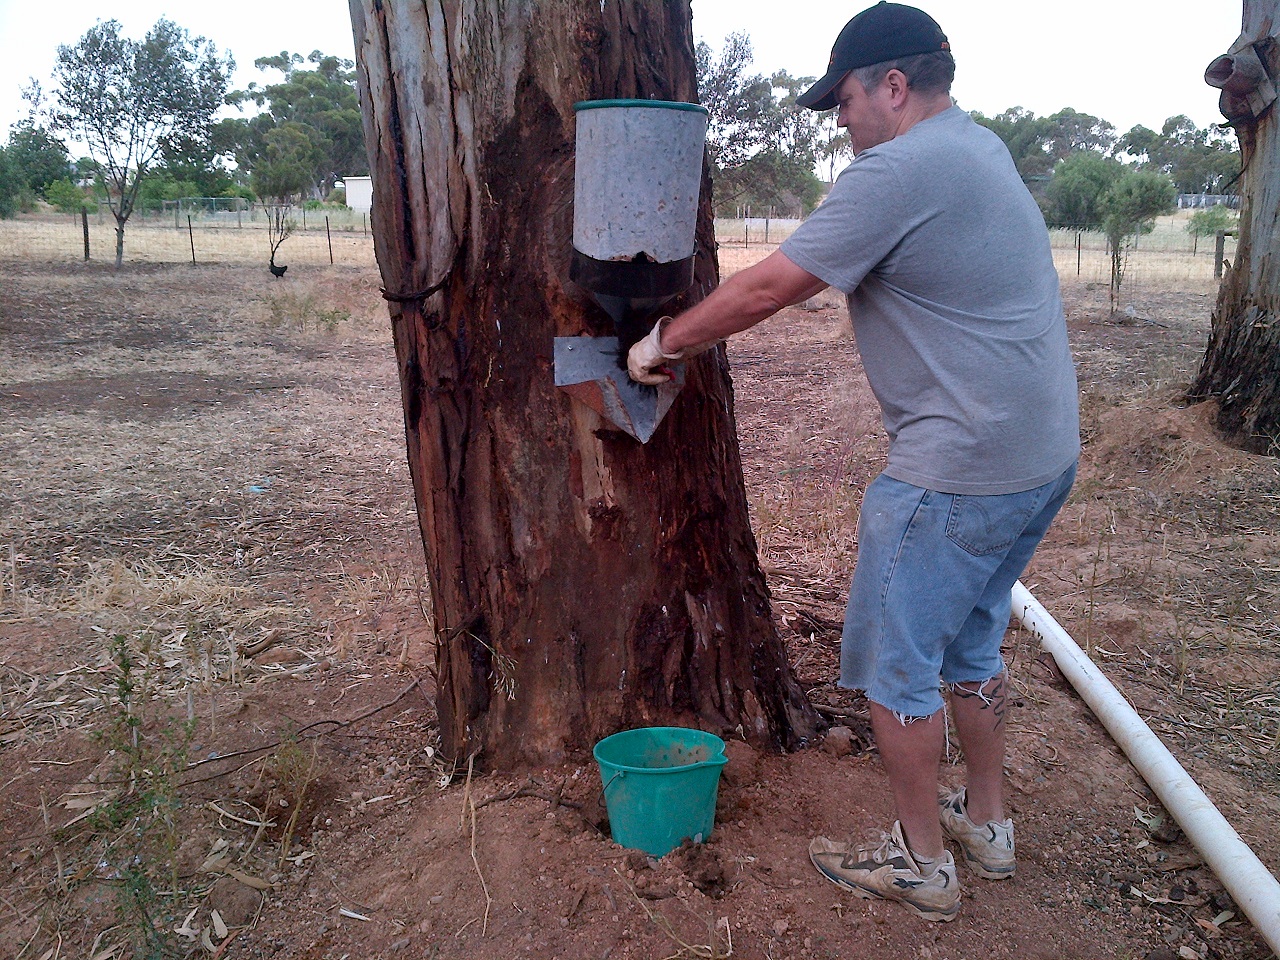
Our first time we used a home-made kill cone. The kill cones are designed to hold the bird, upside down, and allow you to easily cut their throats and bleed them. It sounds gross, but is very effective and surprisingly stress-free for the birds. They calm down when put in the cone, with no struggle or stress at all.

Our home-made kill cone. We put in a baffle and bucket to collect the blood.
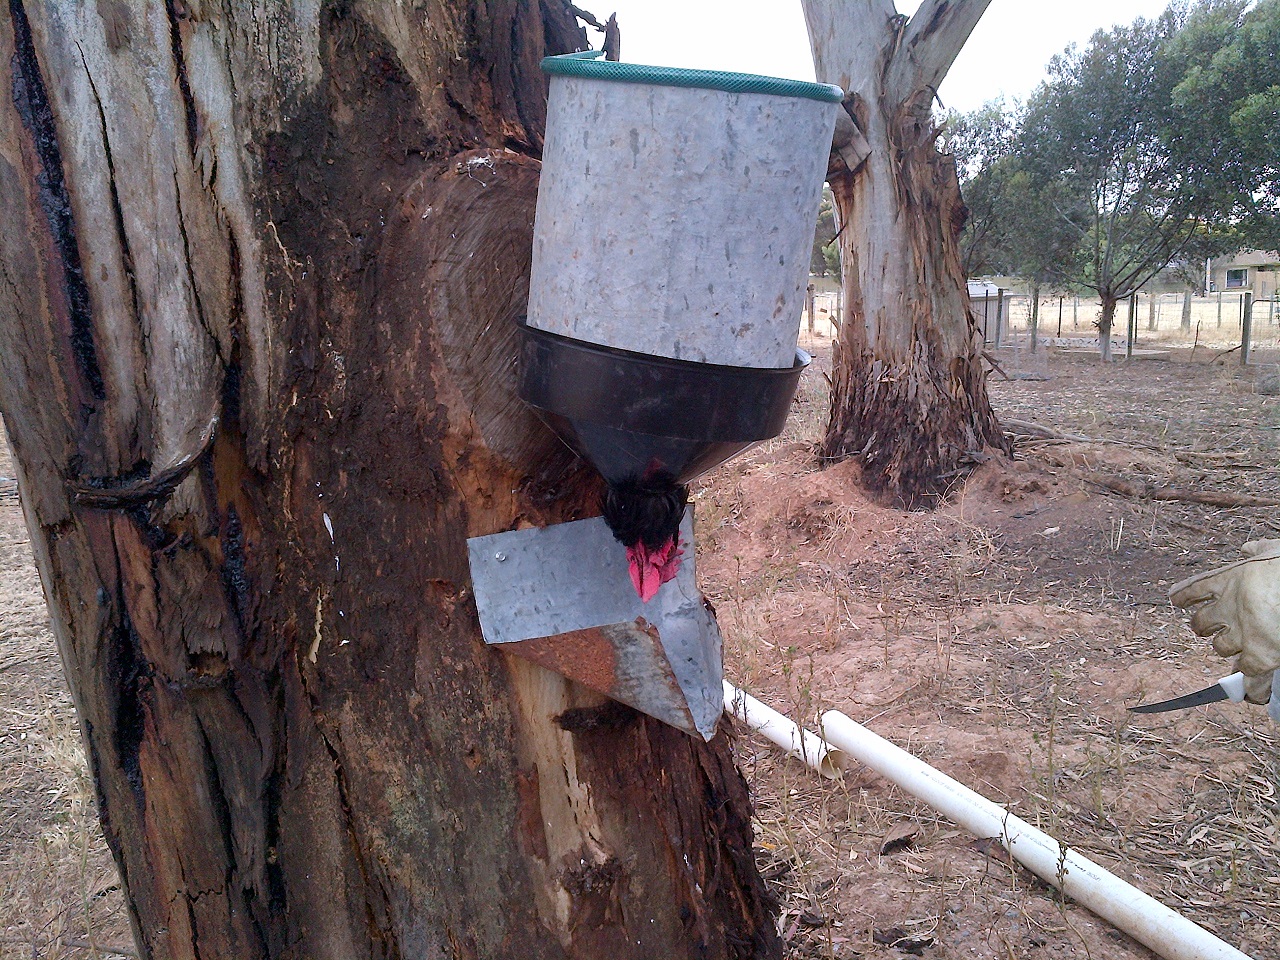
The chooks are completely calm in the kill cone. It’s fascinating, but they don’t struggle at all.
I took their heads off the first time, but most people seem to just cut their throats.
Our home-made version worked okay, but didn’t hold them tightly enough after the kill, meaning we had to hold them. The next time we decided to not use them at all, but rather decided to wring their necks and just hang and bleed them. I’m unhappy with that solution too, as it’s not as quick as I want. It worked, but there’s too much risk of things going awry if you have big strong roosters and maybe not enough strength in your hands. Next time we’ll use a Humane Chicken Killer . We’ve seen these used on the Australian version of River Cottage, along with some videos on the interweb. They are an absolutely risk-free way of ensuring the animals die instantly, after which they can be hung and bled.
The first time we did it I took the heads off, figuring there was no reason not to. The second time I cut their throats, as we had an automatic plucker to try, and I figured that leaving the heads on would reduce the chance of spreading blood through the plucker. I think in reality either works, and either allows you to bleed the animals.
Heads on or off, you hang the animals long enough to bleed them completely. It doesn’t take long – 5 or 10 minutes. You can bleed them onto straw or paper, and then put it in the compost. The first time, where we used the kill cone, we bled them in the cone into a bucket. The second time I hung them over paper to bleed. Both versions ended up with the blood in my compost.
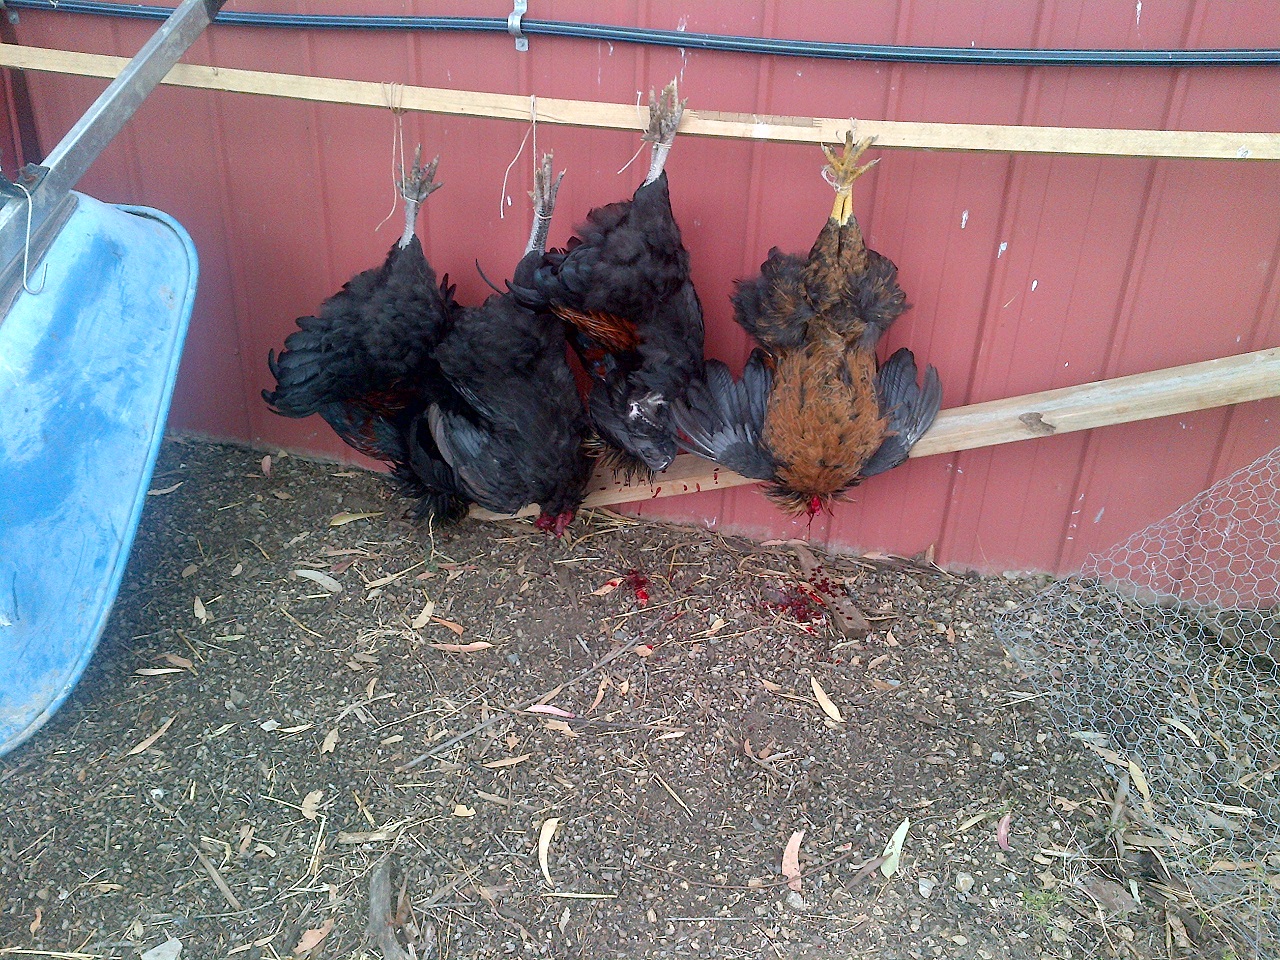
These boys were already bled and were just hanging to make sure.
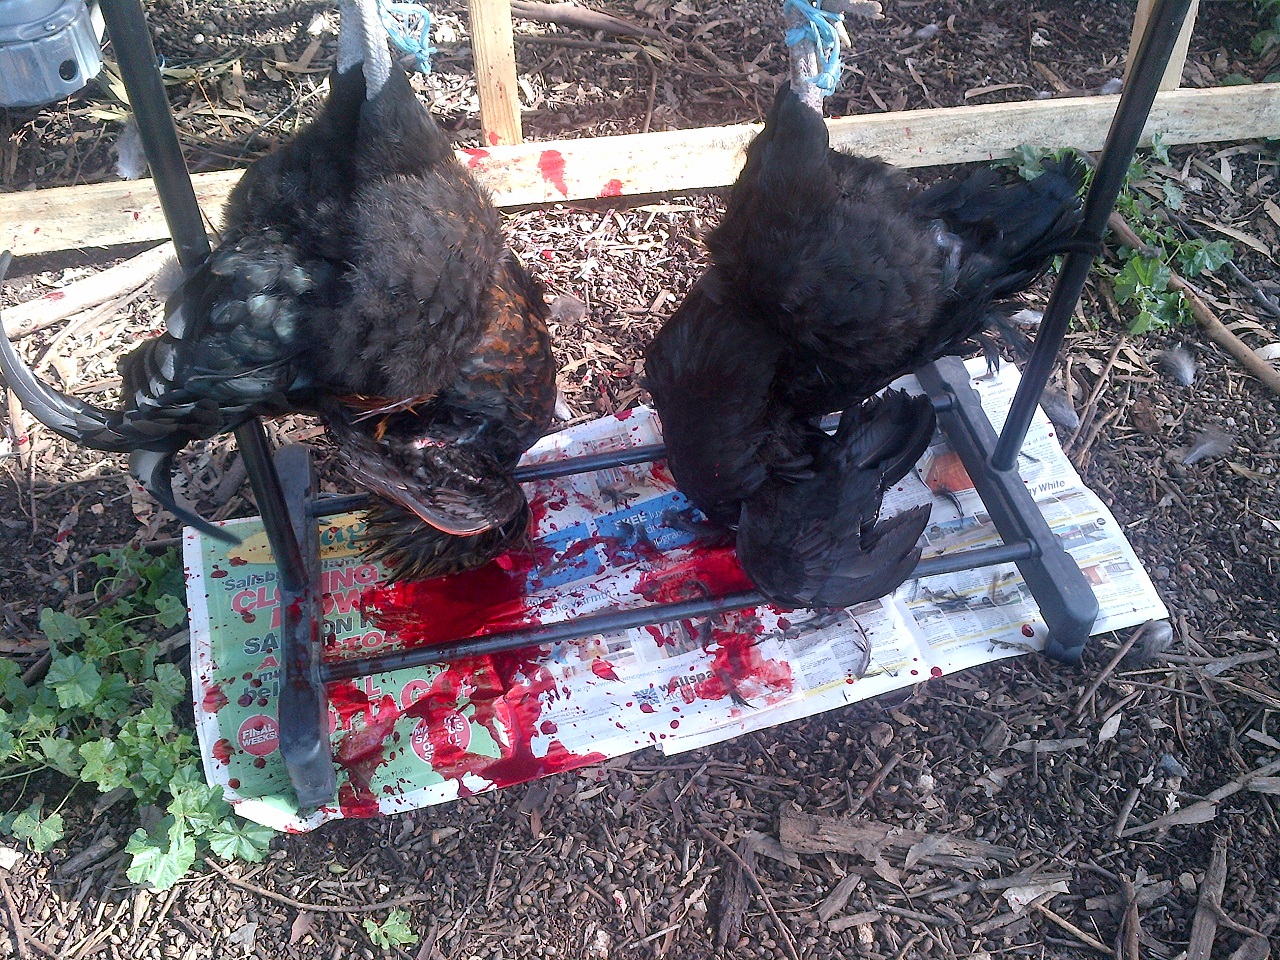
These boys I bled onto paper so I could collect the blood.
The next part, to my mind, is the really only painful part. Plucking chooks is horrible. Some people don’t mind it, but I find that hand-plucking is perhaps the most tedious thing I’ve ever had to do.
Hand plucking sucks balls.
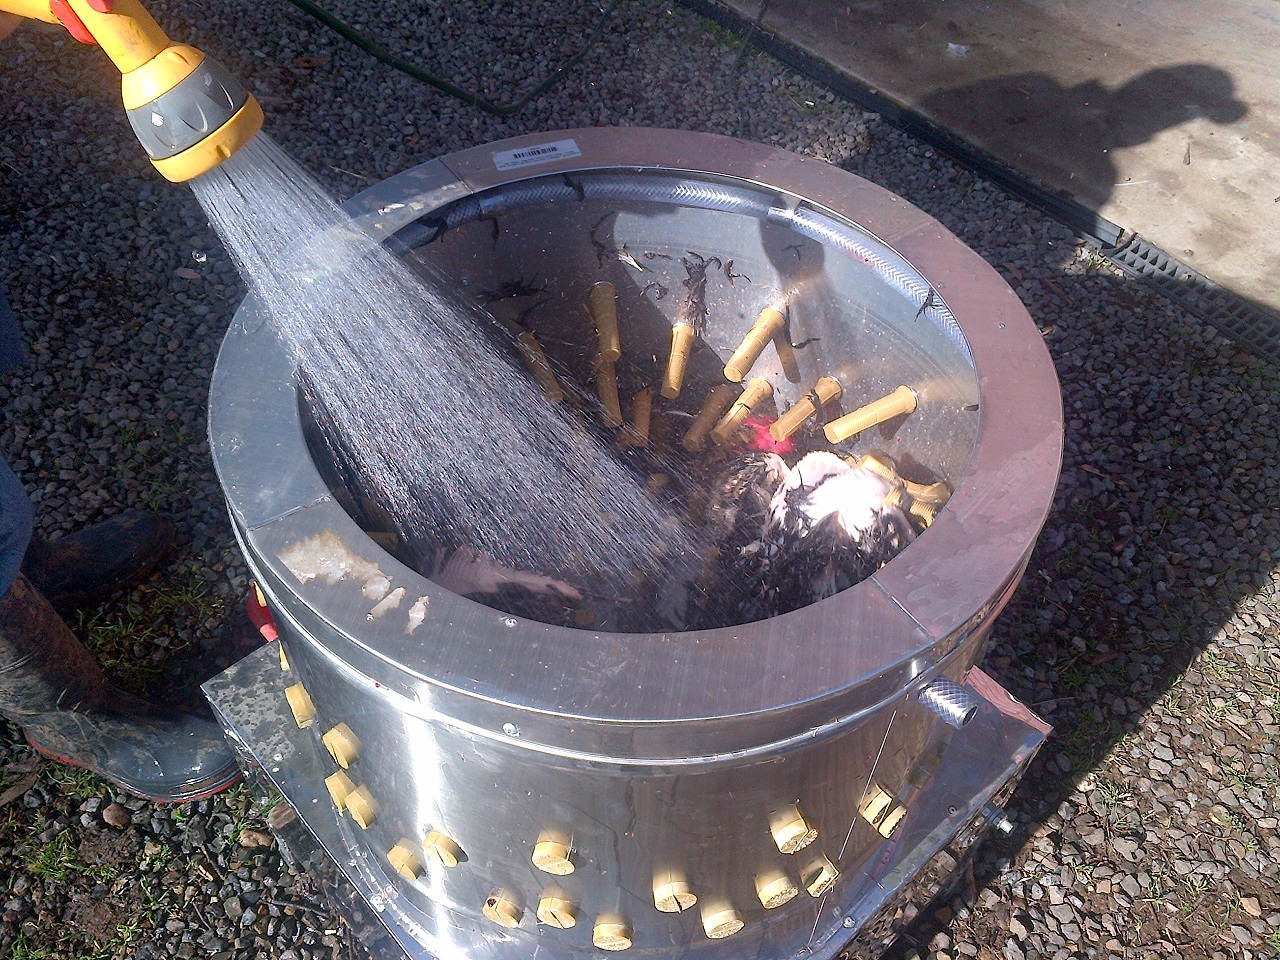
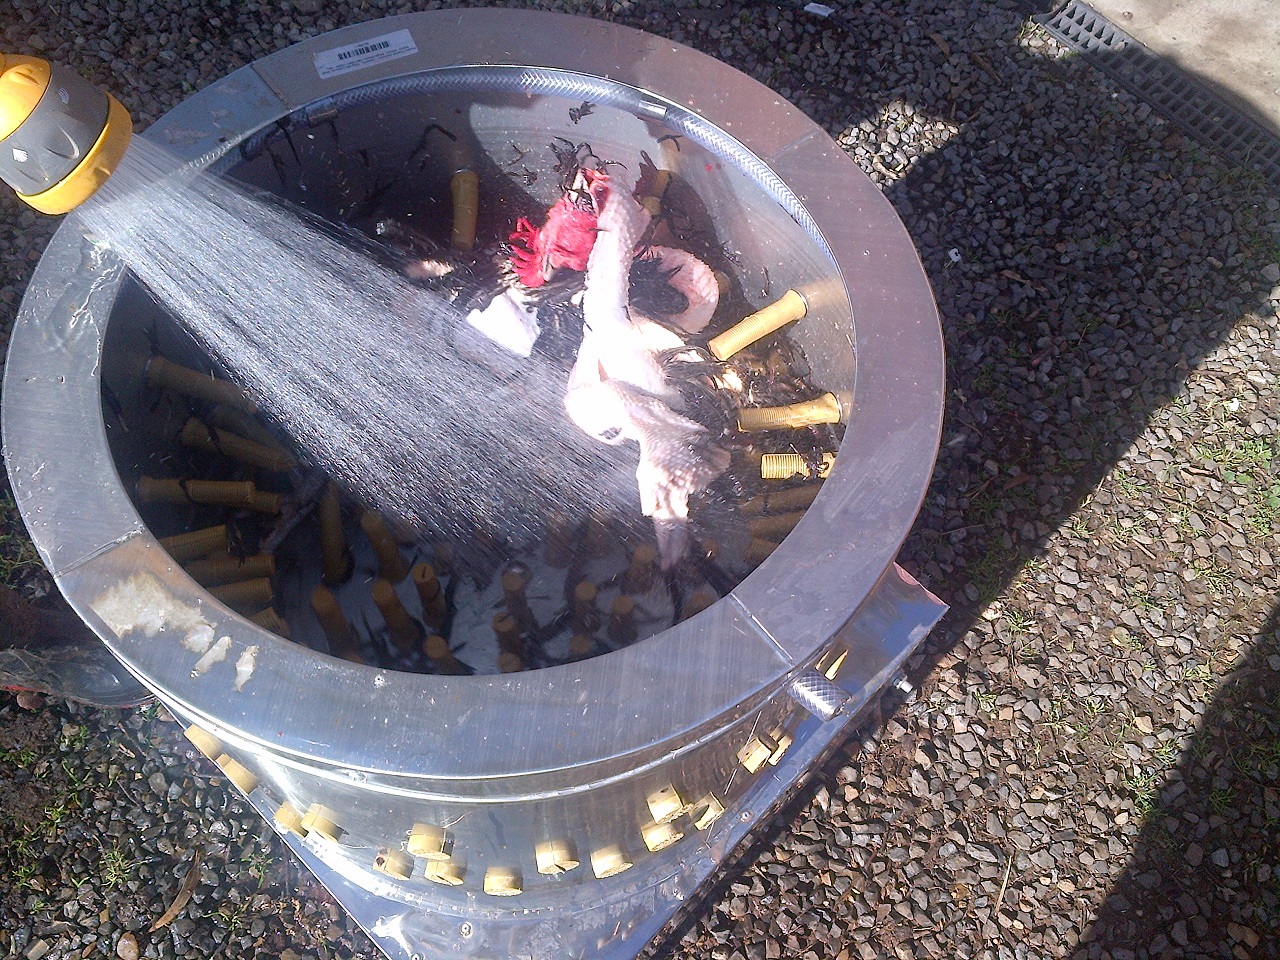
After the first time, we decided to find an automated solution. Linhda found an automatic plucker at an auction in the city, and it’s an amazing machine. It looks like a washing machine full of rubber fingers. It has an attachment for a hose, but it doesn’t output a heap of water. Rather than that, we just used a hose and poured water in.
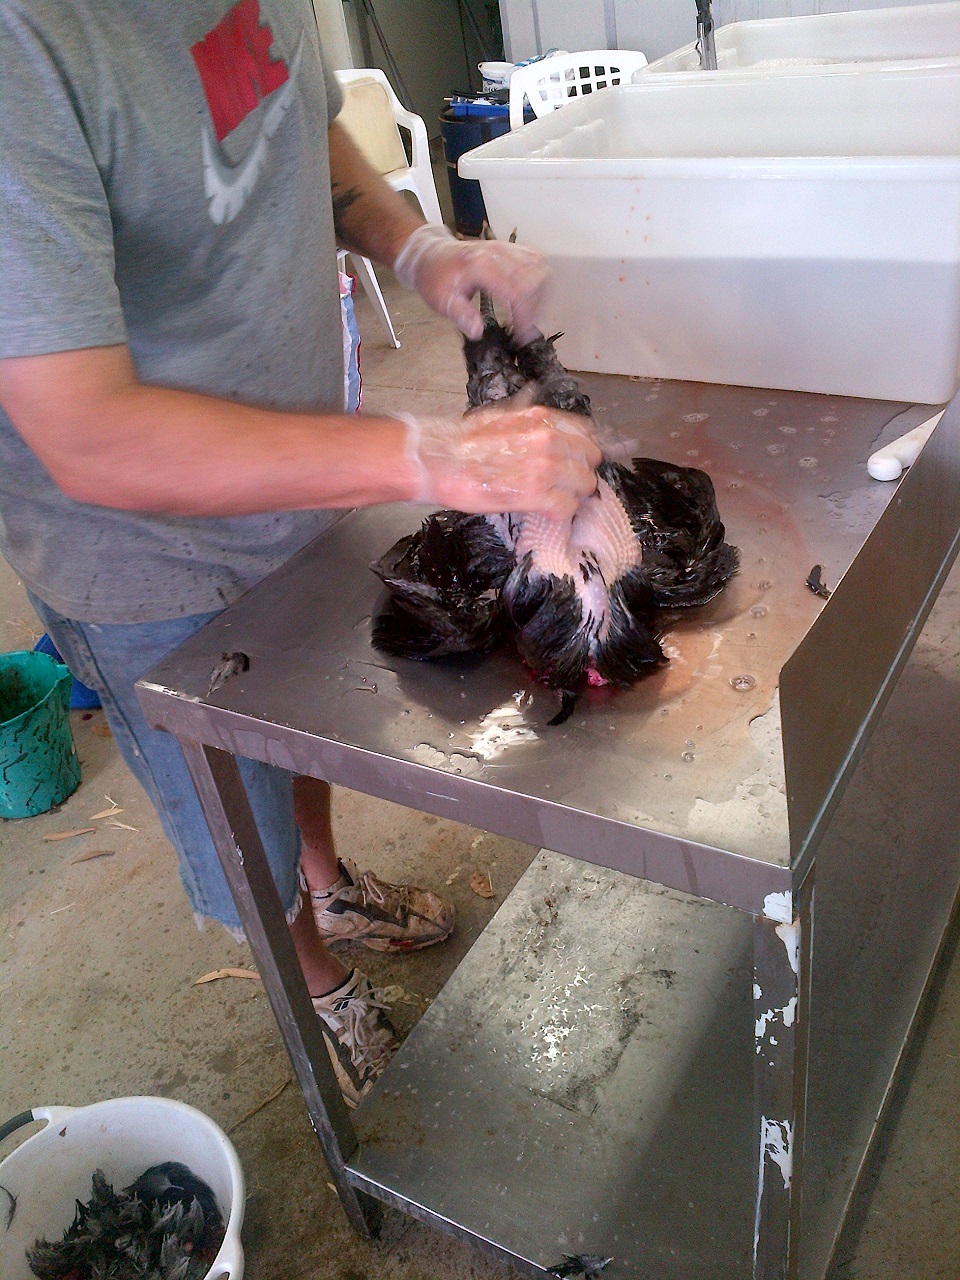
Before either technique you need to scald the bird.
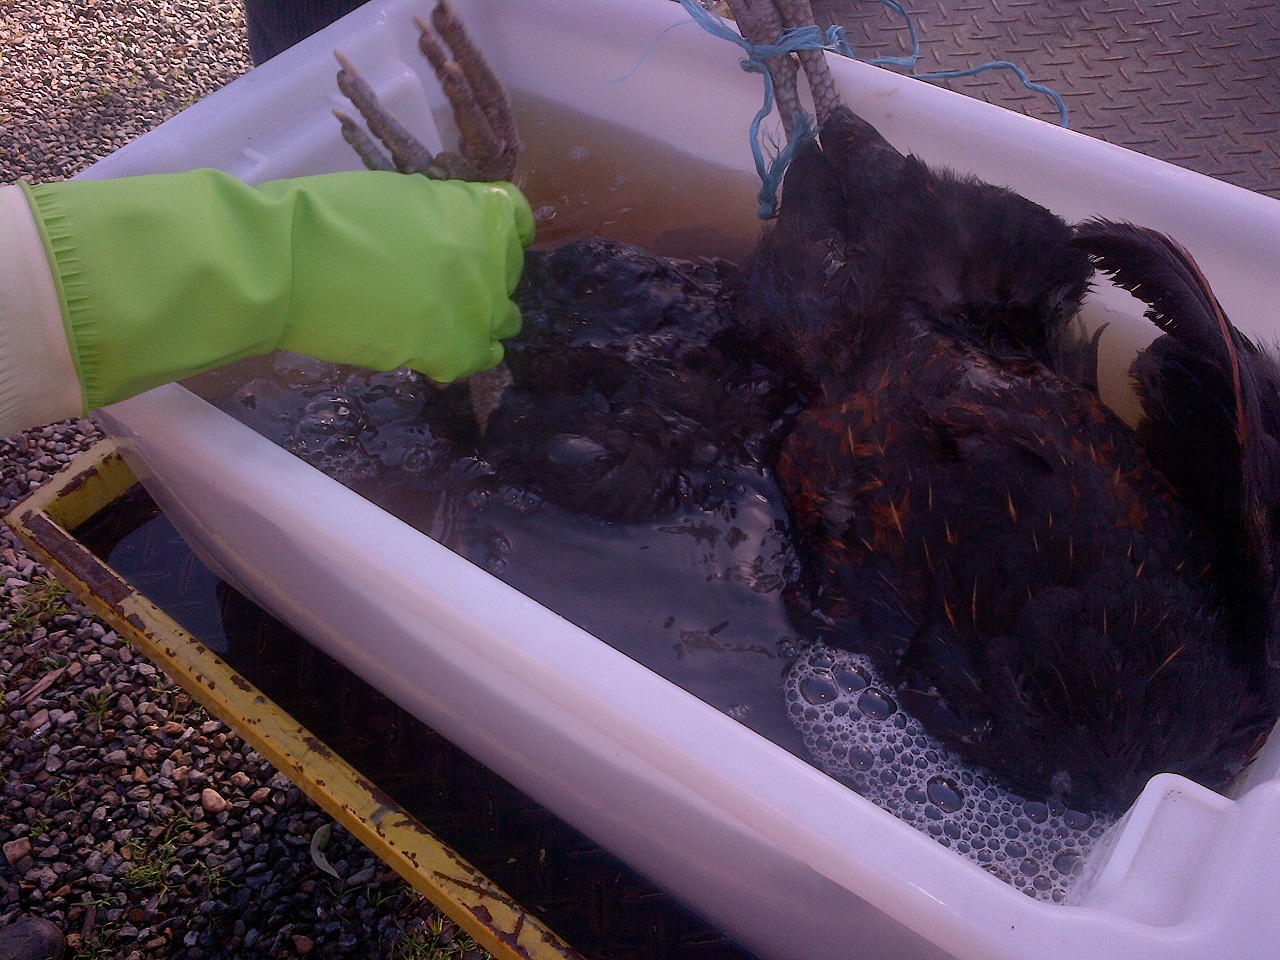
Scalding is important, and really seems more art than science.
You use water around 65 or 70 degrees Celsius, and soak the bird for maybe 30 seconds. This loosens the feathers, and makes the plucking easier, though there are people who prefer dry-plucking.
This is around the 20 second mark.
This is around the 40 second mark.

This is around the 1 minute mark.
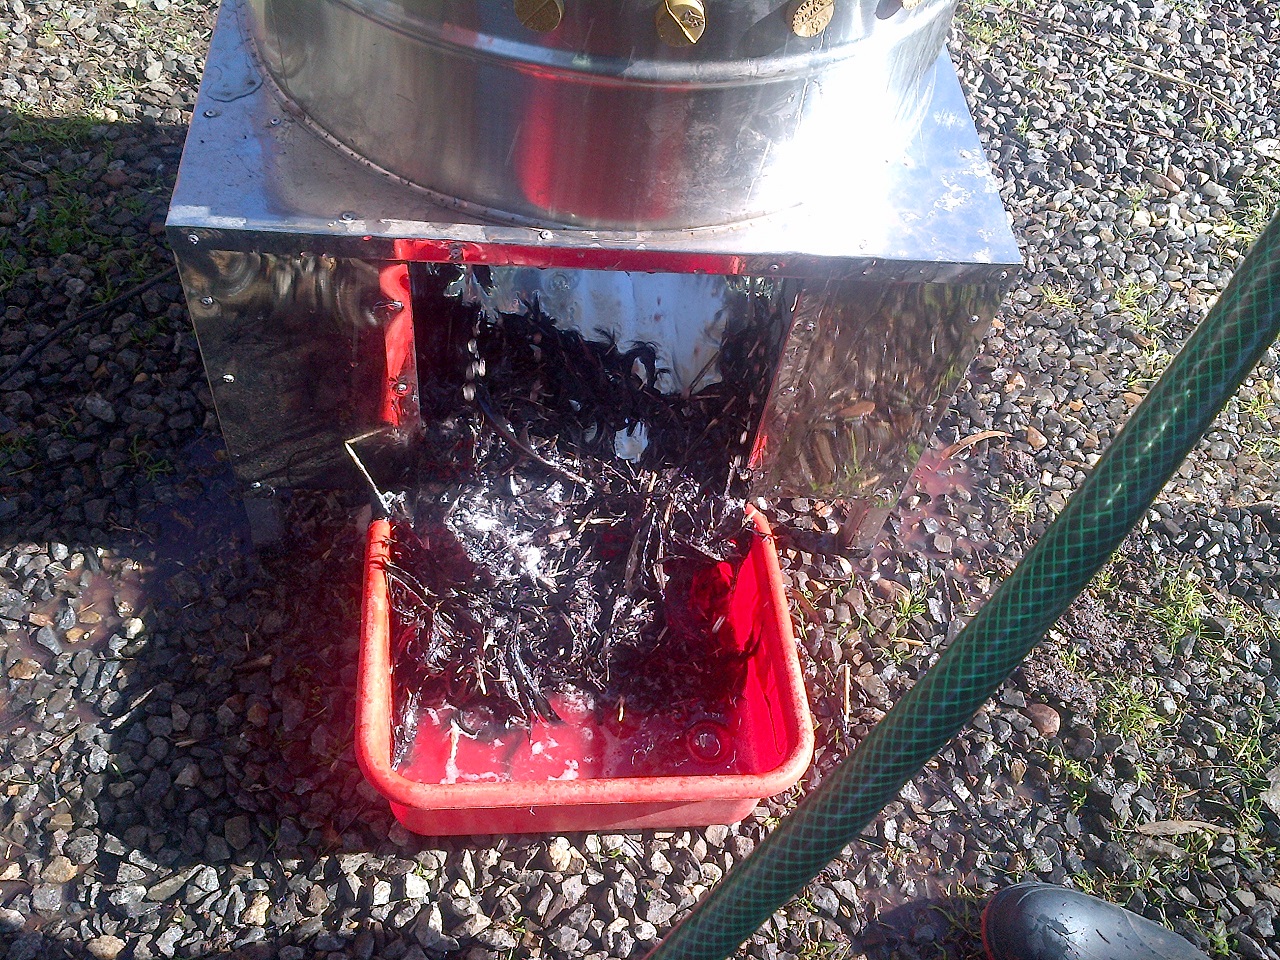
This is the feathers from 2 birds. All nicely bundled and ready for the compost heap.
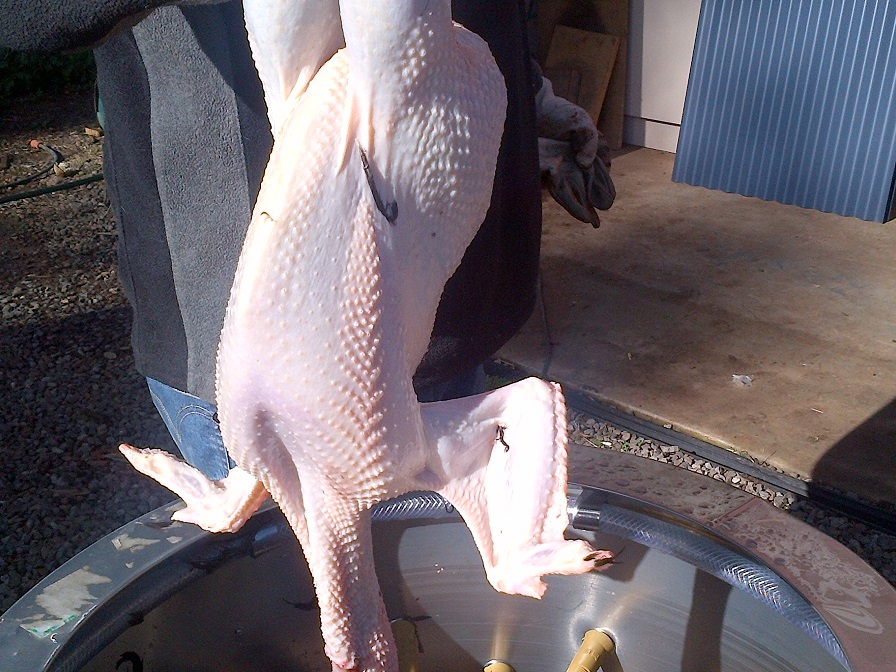
This is the result. So, so, so awesome!
Hand plucking took us maybe 20 minutes, most of which was using pliers to pull out pin feathers on the wings and tail. The plucking machine, god bless it’s mechanical little soul, will take maybe 6 chooks at a time, and gave us a completely clean carcass in under a minute. Best. Machine. EVER!
The next step is the gutting, which is a lot of people will find gross. Personally, I found it fascinating, and after doing it a couple of times you’ll probably get them done in under 5 minutes.
You need a fine sharp knife, as it’s mostly delicate work.
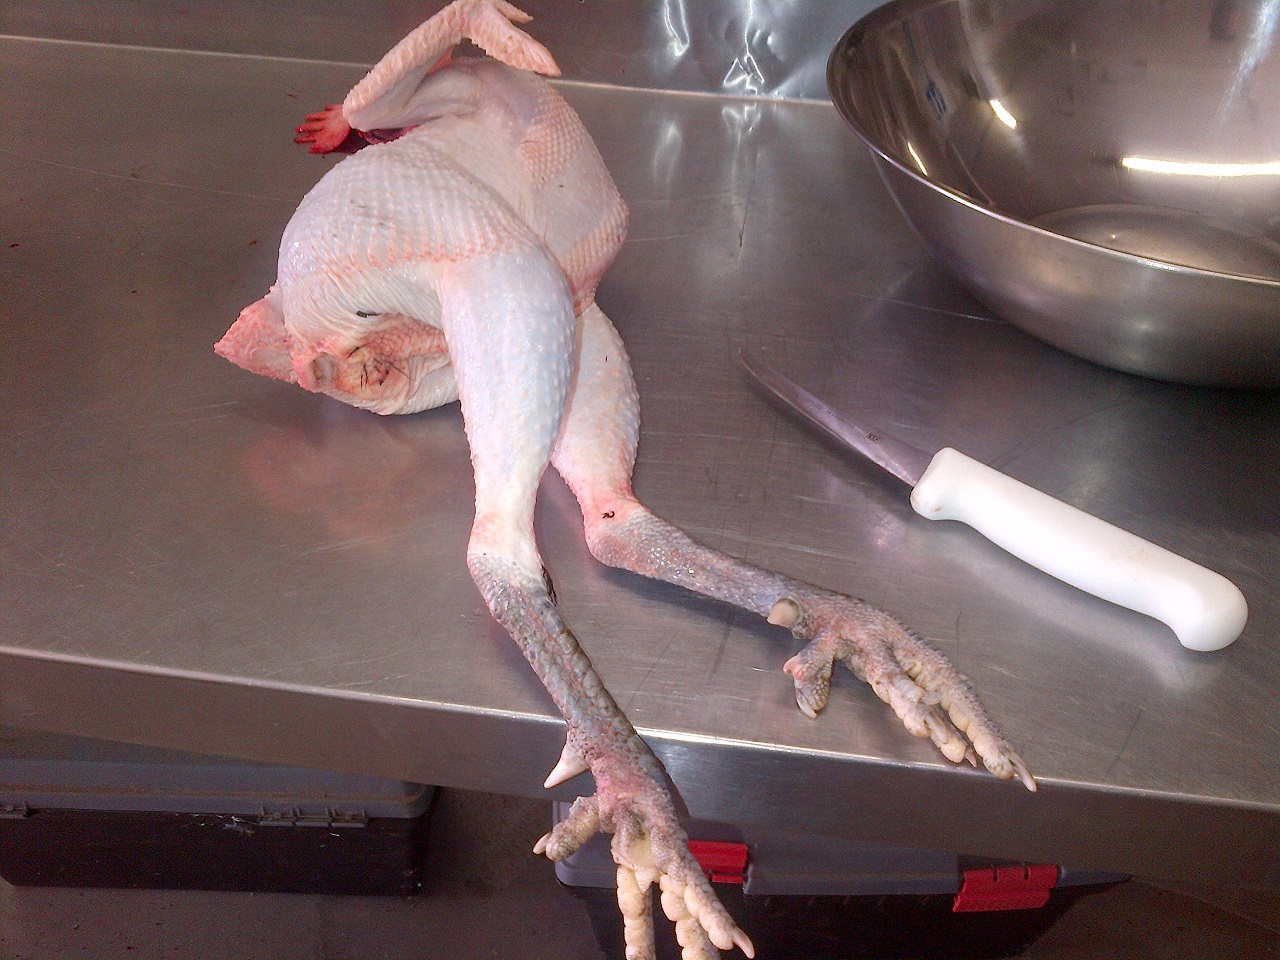
A fine sharp knife is *everything* in this process.
First of all, you take off the feet. That’s fairly easy, as the joint is easy to see and feel. You run your knife around the joint and basically pop the feet off. There’s no need to force the knife through bone or anything hard.
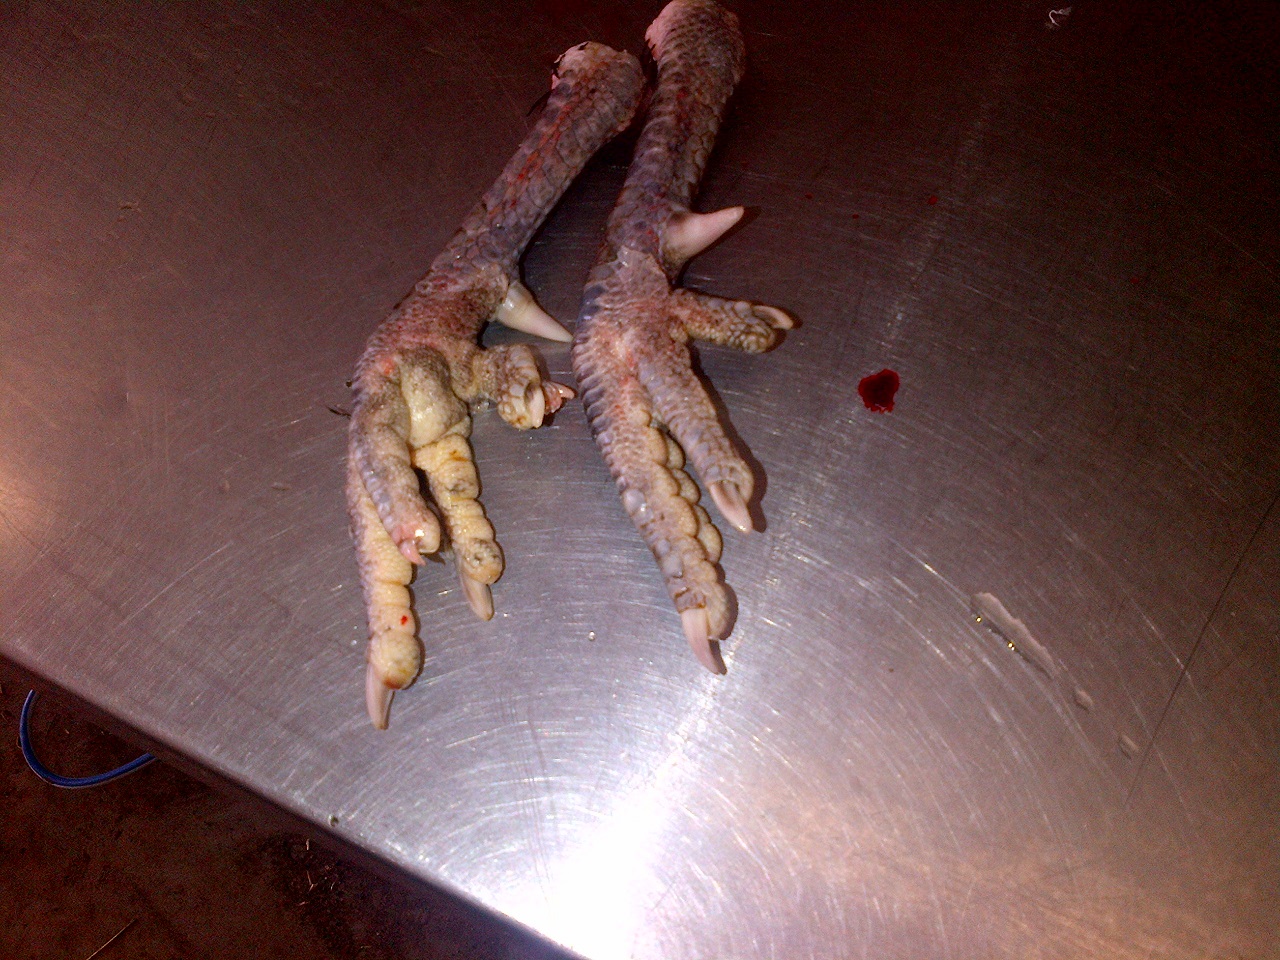
Taking the feet off is surprisingly easy. Some people eat the feet. I’ve tried them a couple of times, and they’re not for me.
You then take off the head, assuming you didn’t do that in the slaughter stage.
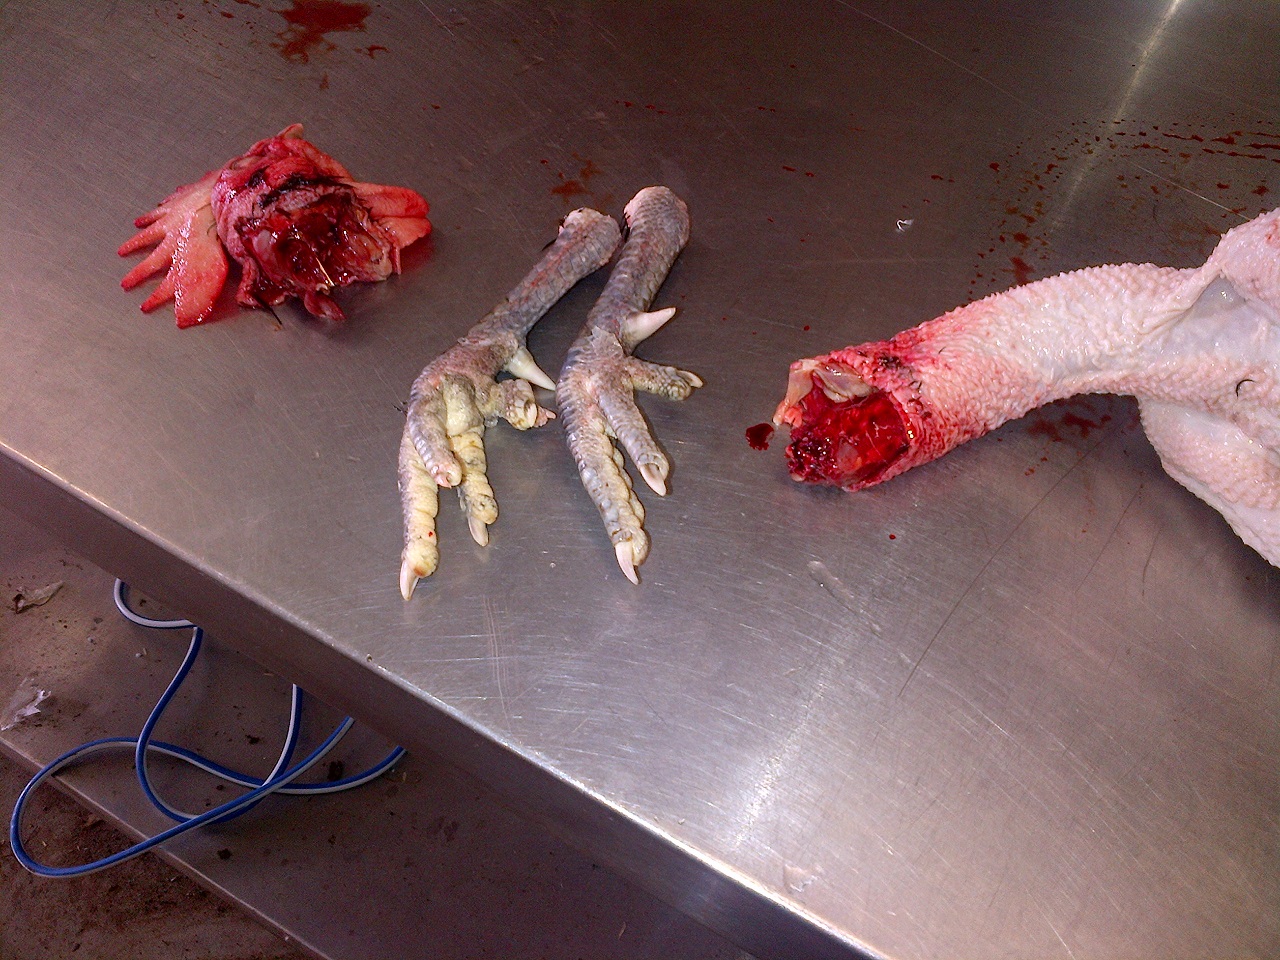
Carcass, feet, head.
It’s also at this stage that you remove the neck. You basically find where it attaches near the shoulders and cut it off. It’s incredibly tough, and I’ve given up trying to cut or break it out. Rather I use sharp secateurs, and snip the little bugger out.
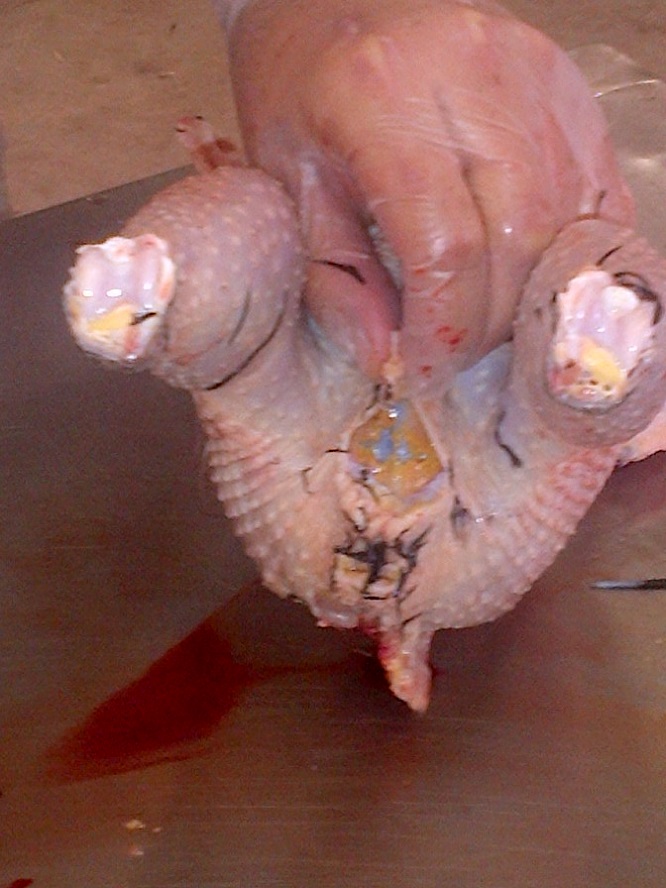
Chooks, like most birds, have an oil gland at the base of their tail, which is called their uropygial gland. That needs to come off. Some people take the tail off completely, but for roasting birds I’d suggest you leave it on. That’s mainly because I love that part (the Parson’s Nose) and so I think you should too. 🙂 Either way, finding the oil gland is easy. It’s right at the base of the tail, is a clear lump, and has a little opening.
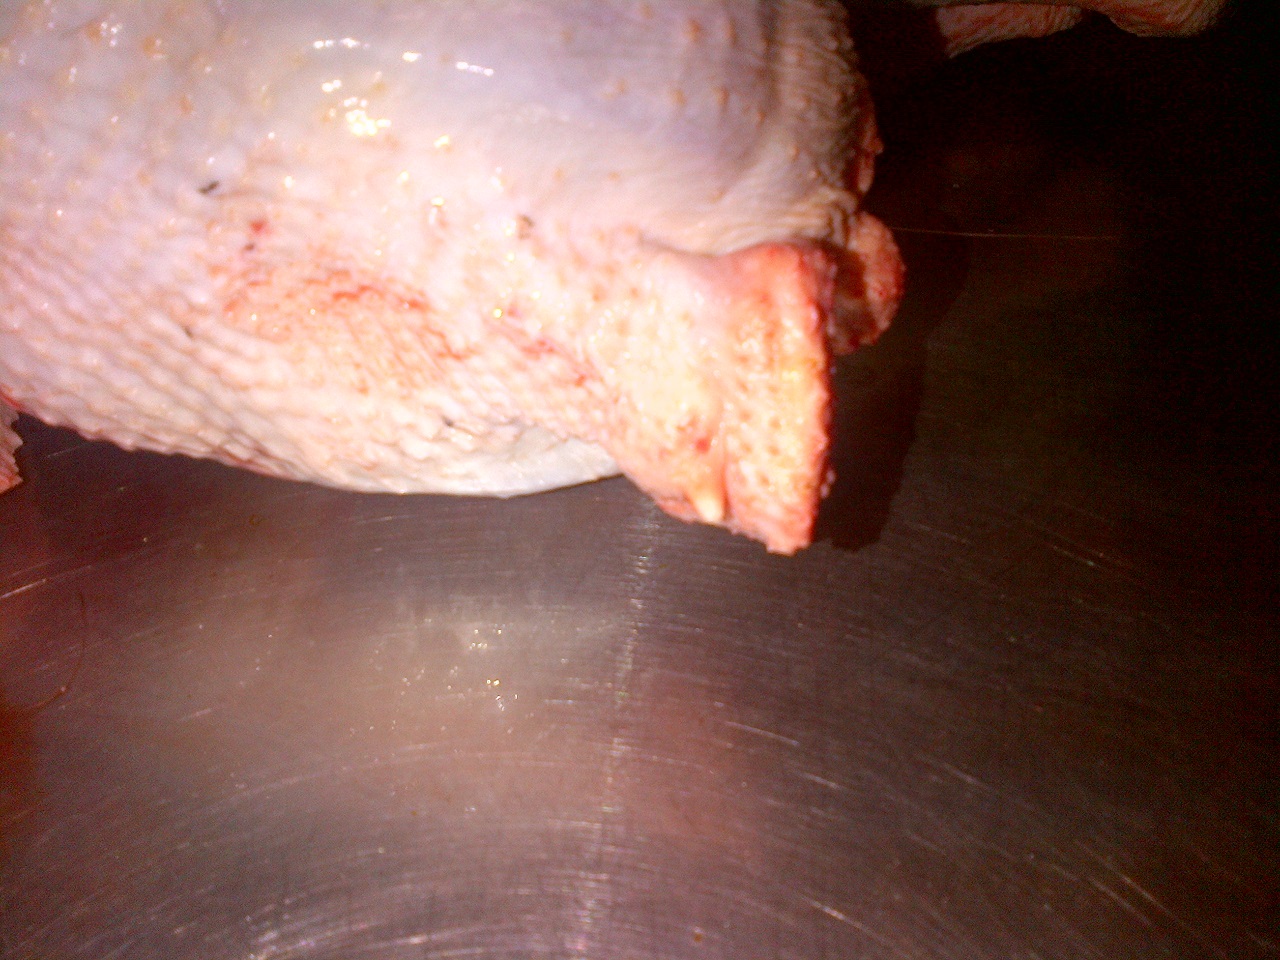
You can see the oil gland at the base of the tail, with the opening closer to the tip.
Taking it off is easy. With a sharp knife you almost just scrape it out, and it’ll come off whole.
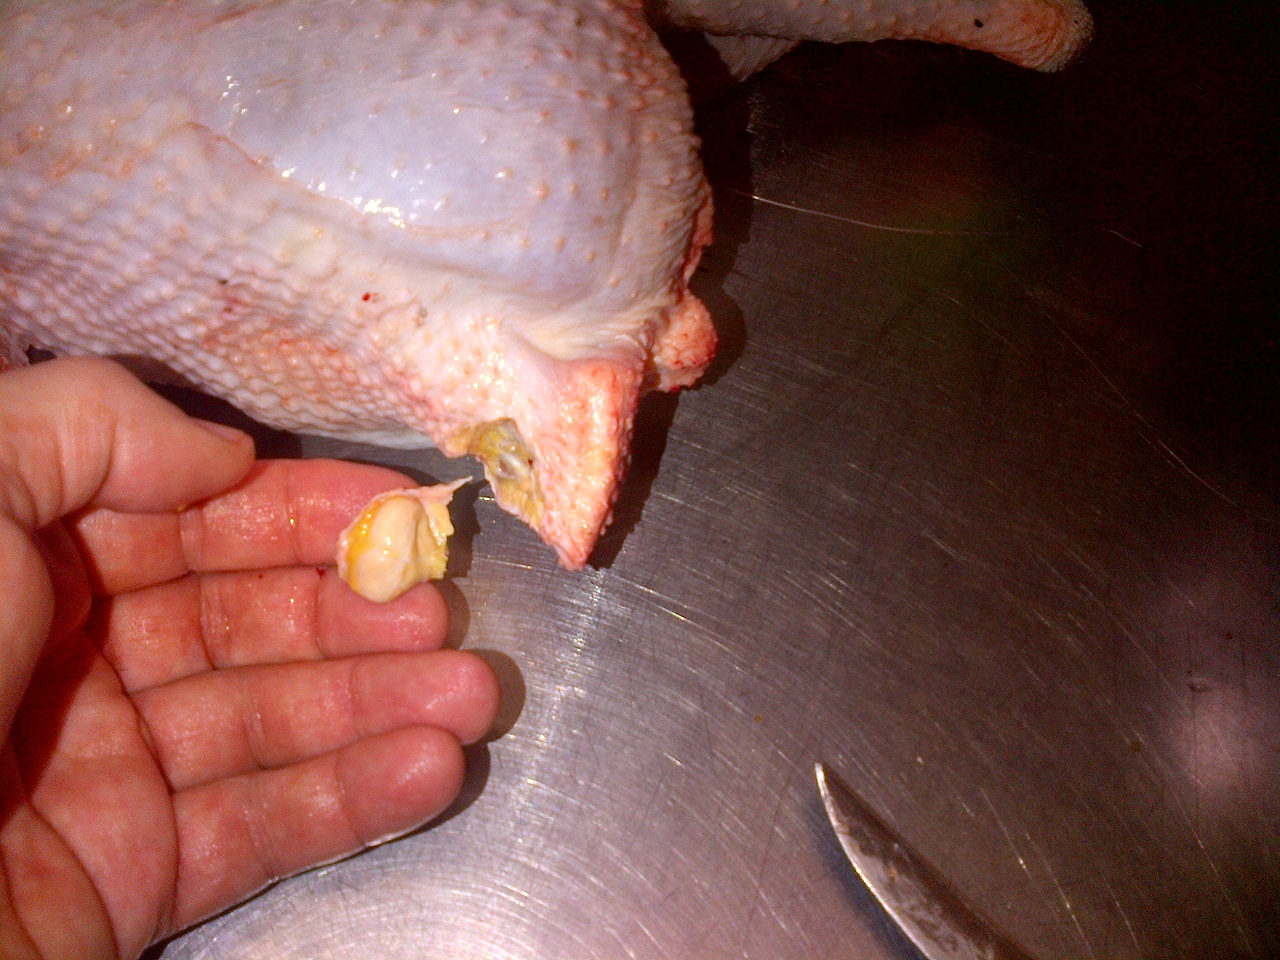
It comes out pretty easily.
To gut the bird you cut a small slit laterally low in the belly, just above the vent. You can pull this open, or cut it a bit more, to accommodate your hand. You basically just reach in and pull out everything in there.
Start your cut laterally above the vent.

It might seem gross, but if you’ve bled the bird properly at least it won’t be bloody… 🙂
There are a couple of potentially tricky bits here, but they’ve actually worked out well for me. I’ve read where people take out the oesophagus and crop back when you’re taking the neck out. However, that doesn’t work so well for me. Rather, I detach them from the neck, and leave them until I’m gutting the bird. As I pull the guts out, the feeding and breathing tubes come out at the same time quite easily. The crop is attached, but empty because we’ve purged the birds, which might be why it’s easy.
The other tricky part is supposed to be the lungs, but I’ve not found them hard. I’ve read how people just can’t get them out, and they have special scraping tools that use water to help. However, for me they’ve always just come out with my fingers.
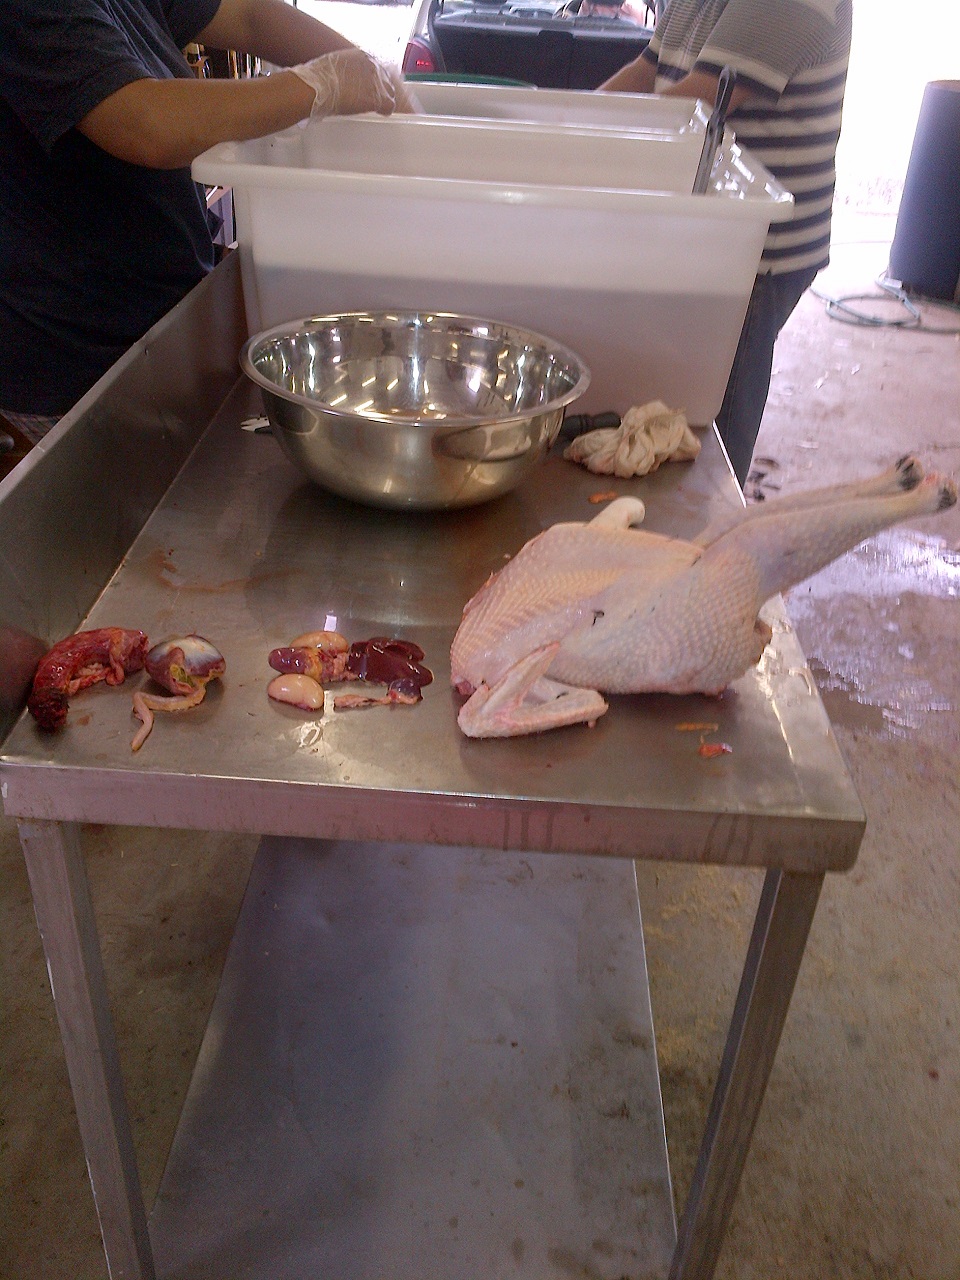
Carcass and offal arranged in order.
With the plucking machine, you can go from live bird to dressed carcass in maybe 15 minutes. We plan on doing it in a bit of a production line, where we can use the Humane Chicken Killer and hang/bleed maybe 6 at a time, get them in the plucker as we kill/bleed the next 6, and then have a couple of us gutting them. With that working the way I want it to work, we should be able to get a couple of dozen done in a couple of hours.
It’s important to get the birds on ice or in a fridge shortly after processing them too.
Like I said above, one of the main reasons we do this is because we get to keep all of the animal on the property.
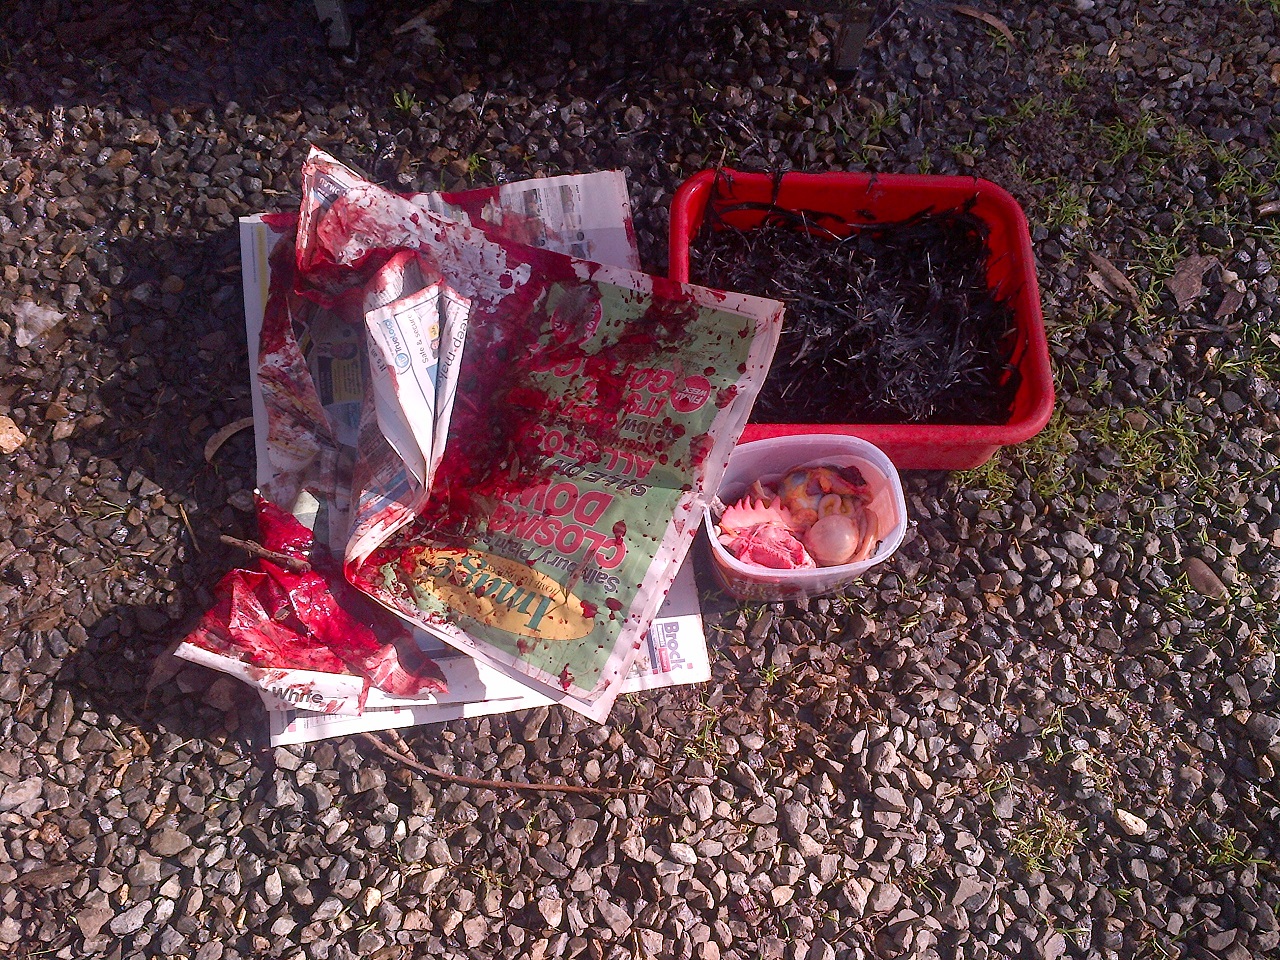
The viscera, blood, and feathers. None of the bird is wasted. Not a single atom.
All of the waste from the processing is normally thrown out by the abattoir. While you can get the offal and neck back, they legally can’t give you anything like the guts or feathers, let alone the blood. Doing this yourself at home means that all of that is kept and used on the garden. Every single part of the animal is used, and you are 100% sure that it has been slaughtered humanely. To my mind, there is absolutely no better way to show the respect that your animals deserve.
