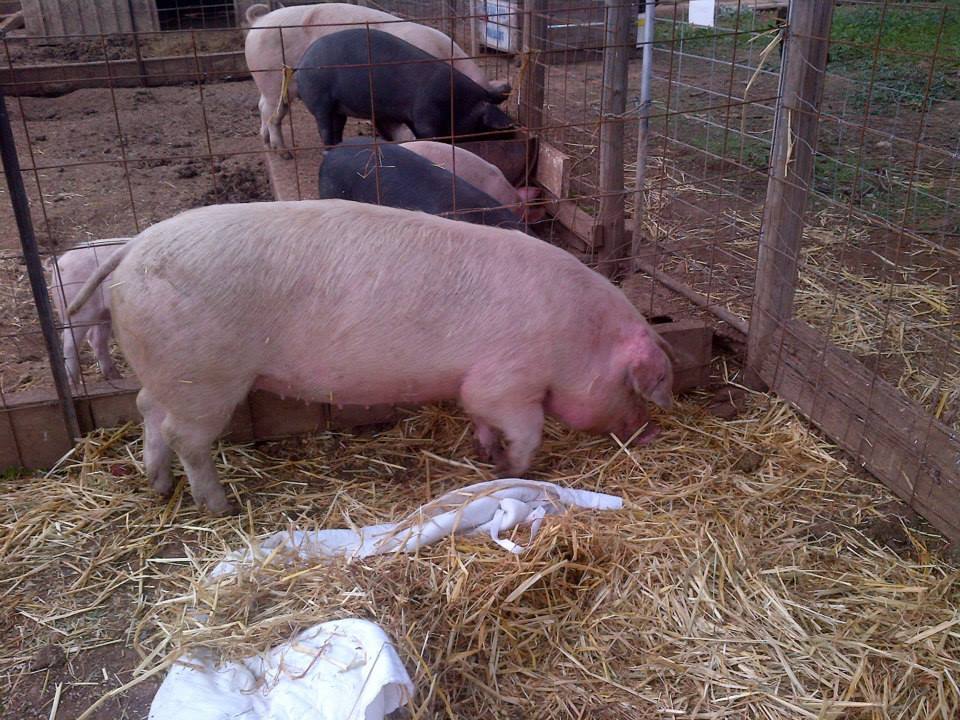
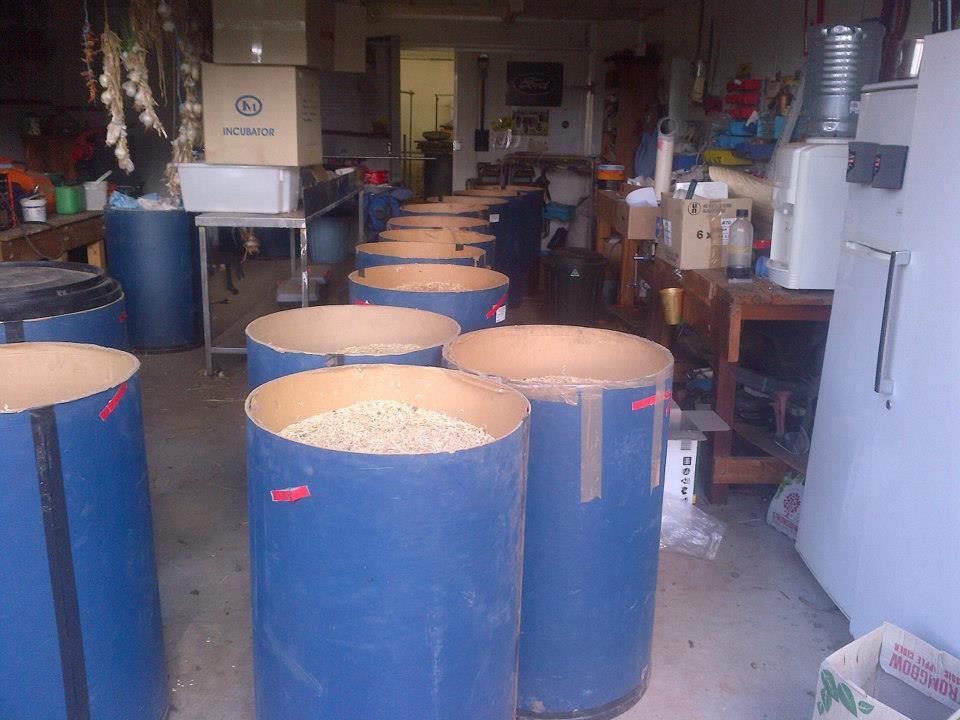
We bought 8 or 9 tonnes of feed barley at the start of the year and stored it in one Farmer John’s spare silos. We thought this would be enough for the entire year, but didn’t bank on slowly increasing our breeding stock. Almost by accident, we’ve ended up with 4 gilts of breeding age and a couple that aren’t far off. Oops…
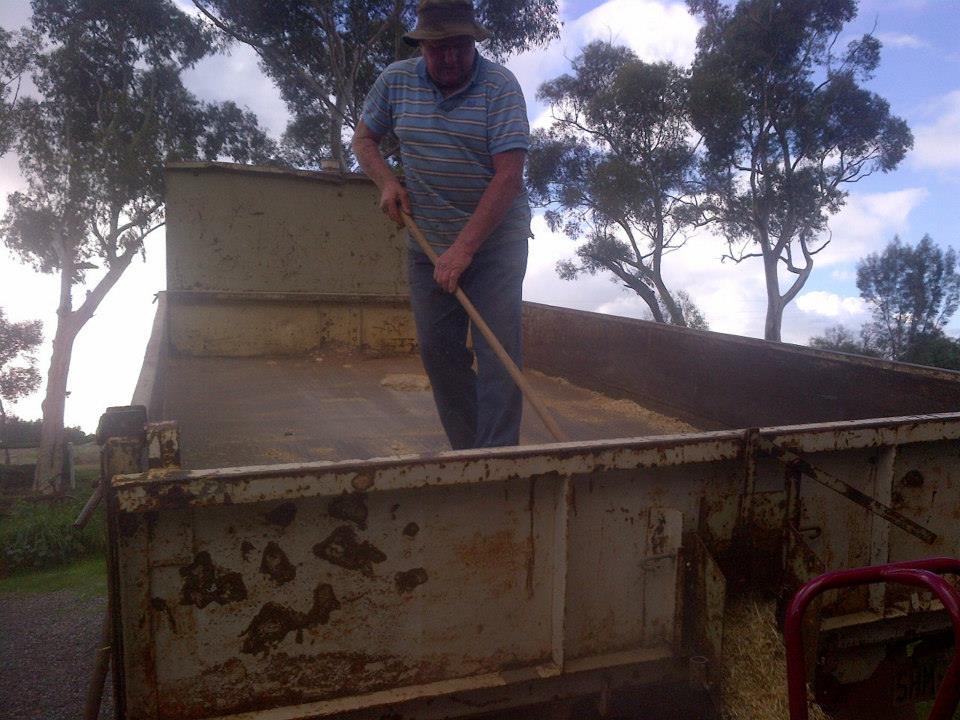
Anyway, we need more feed. Farmer John put us in touch with a local farmer who had some waste grain that he needed to get rid of. It was in some bulk bags, and half was covered by a tarp, it had been out in the open. We guessed there was about 6 tonnes, and the farmer was willing to let it go super-cheap just to get rid of it. As it turns out, some was actually ruined, and not even good for stock feed. Farmer John managed to score us all of it for free, and by the looks of it there should still be 4 or 5 tonnes of useable grain. Yay for Farmer John!
Farmer John!
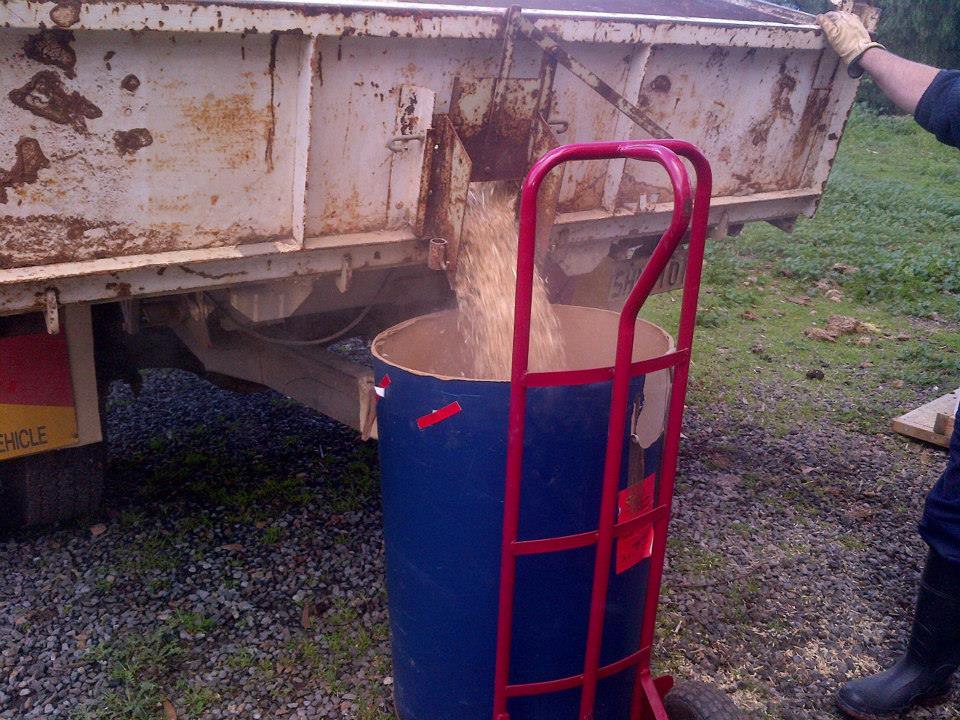
Loading the grain into bins.
This is what 1.5 tonnes of free grain looks like.
Farmer John has also put us onto some wheat screenings, which is the stuff that is too small to sell commercially. This is the perfect stock feed as it’s relatively high in protein. John is getting rid of most of his farm equipment, so we’ll buy a couple of silos, put them at our place, and hopefully fill them up with this cheap grain. With luck we’ll have near 20 tonnes of grain on hand, though if we expand the way we want, that will end up being a fraction of what we need.
As awesome as Farmer John is, we need to make these connections ourselves. Our options are either buying enough grain at harvest to last a year, which would require more storage than we could ever have; or we find the local people who have the grain throughout the year that we can buy. I *really* want to use grain rather than processed food, and I want it to all be local to reduce the carbon footprint. Right now, that looks to be achievable, and to also be quite economical. Fingers crossed…
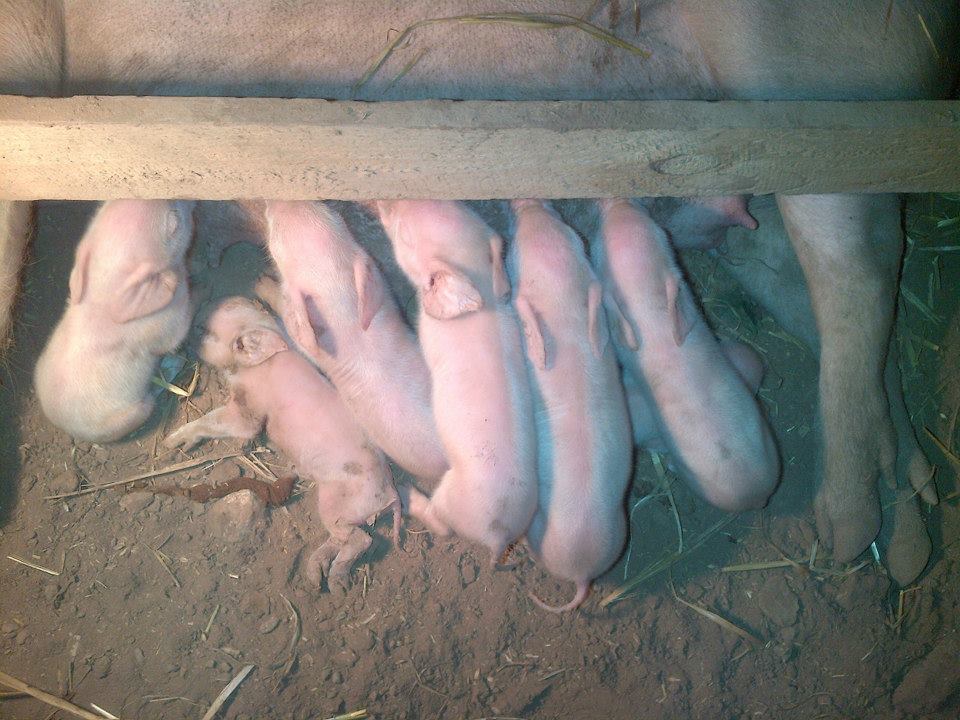
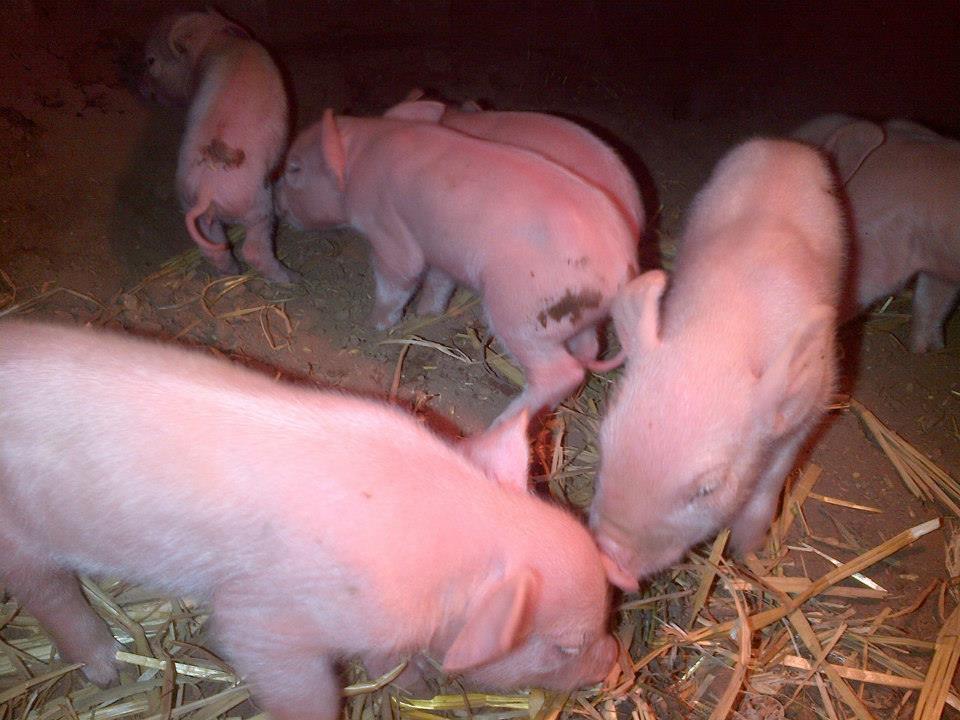
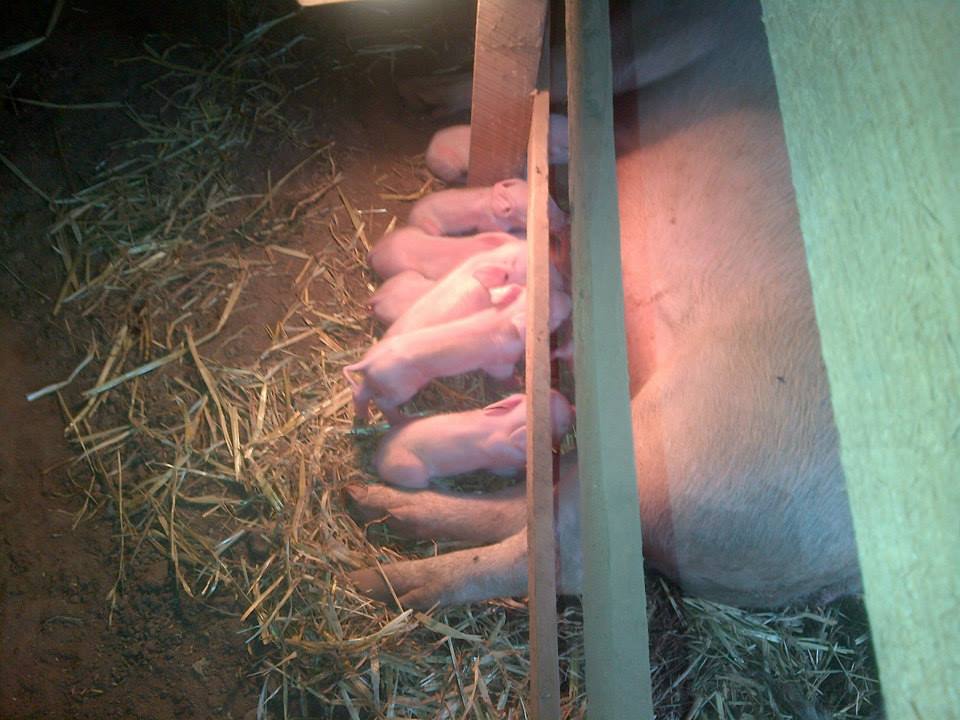
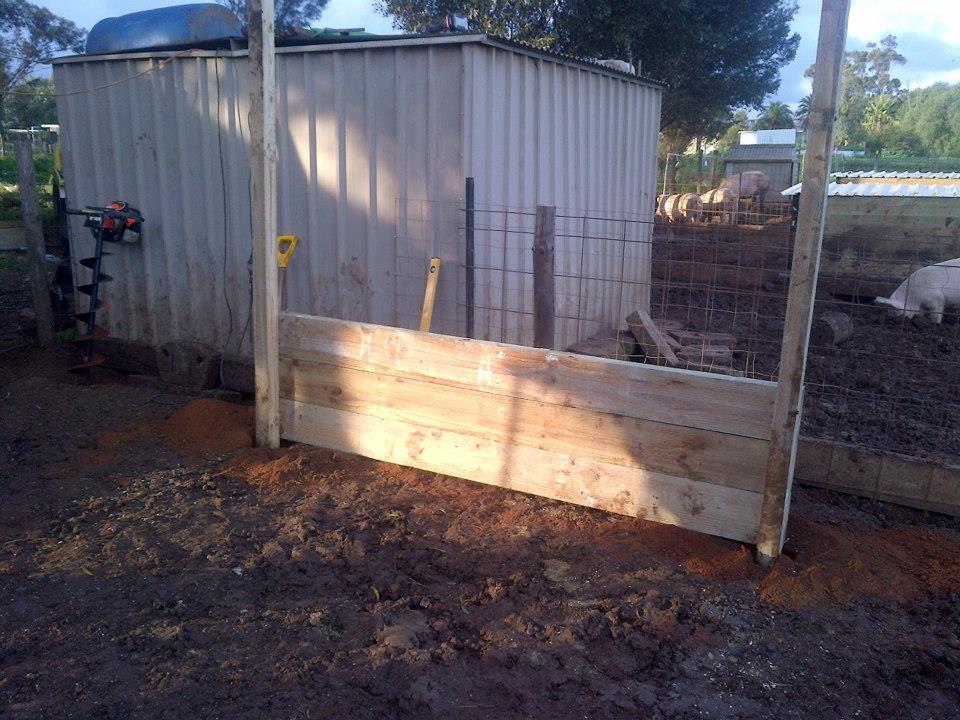
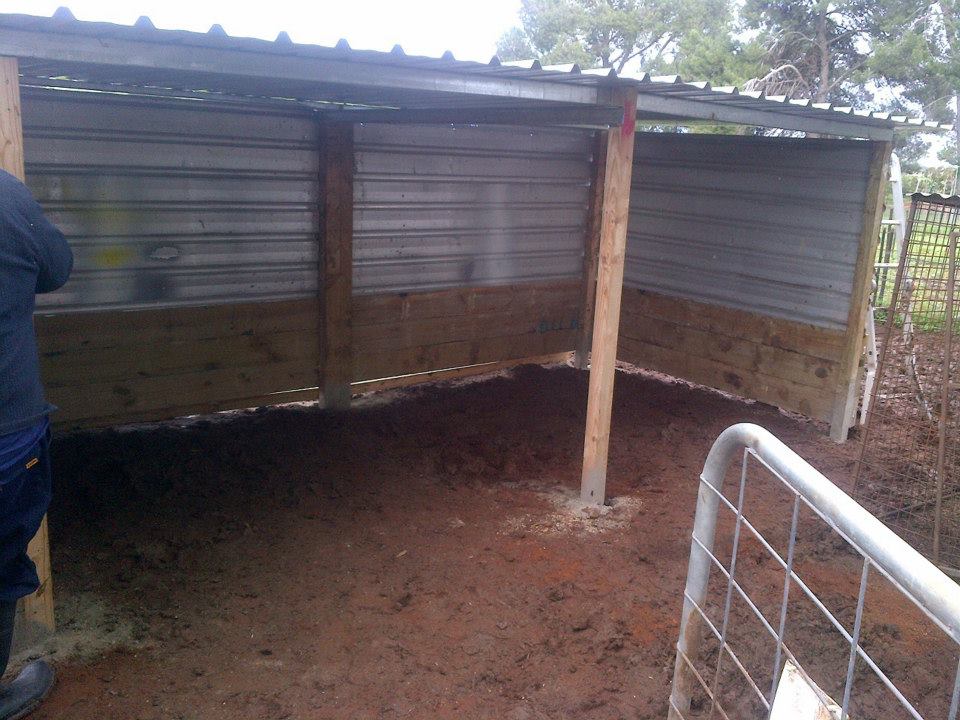
In April we made some pig shelters using sleepers. This allowed us to make them super-solid and rugged. They can stand up to even a 300kg pig rubbing its fat arse for all it’s worth, and in fact won’t even budge. At the same time, our farrowing shed, a 3m x 3m garden shed, is a little flimsy for pigs. We have sleeper lean boards up, and have reinforced it, but they still beat the hell out of it. Now that we want to expand our operations and farrow our girls in pairs, we’ll need a larger and sturdier shed. We decided to expand the design of our shelters and use it for the new farrowing shed.

The start of a 2.4m x 4.8m farrowing shed.
We prefabricated the sides, minus the tin.

Dad “helping” Peyton.
We decided to go 3 sleepers high. That’s 600mm, which is high enough for the gilts to rub on. They’ll end up maybe 200mm higher than that themselves when fully grown, but there’s not real need to go that high with the sleepers as the bits they like to rub are lower.
We also worked out a way to use the sleepers as uprights. The timber yard cut sleepers length-wise for us, giving us 75mm square bits and 50mm x 75mm bits. They’re perfect as uprights, and really inexpensive. Because we were using 2 sleeper lengths along the back, we even used a whole sleeper as an upright, as it gave us much more area to attach to.
That’s my girl!
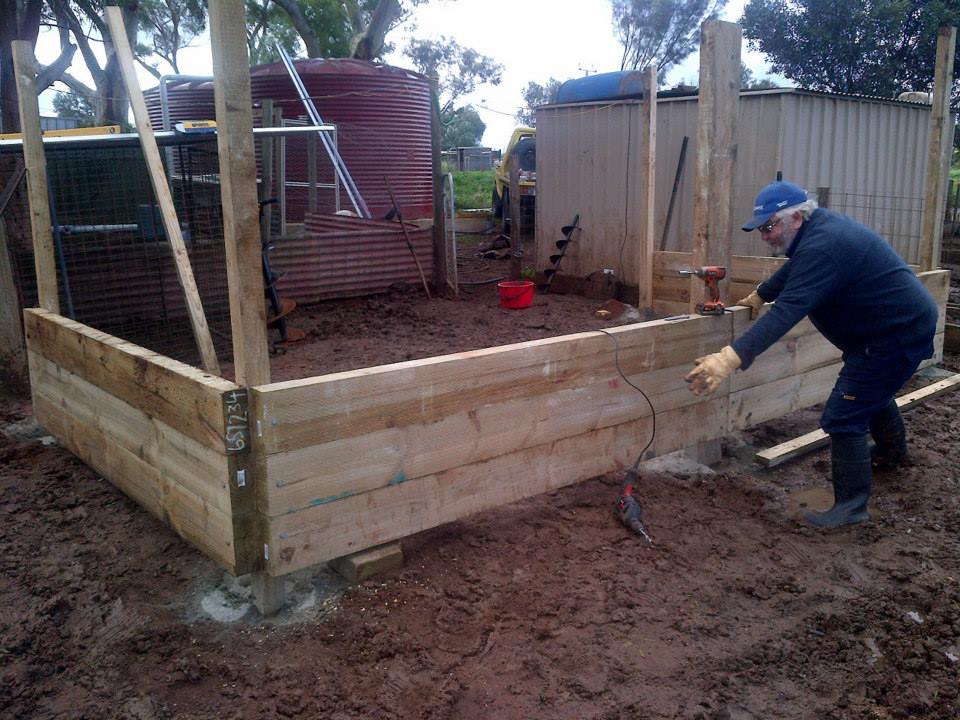
The sleeper part done. And yes, dad is dropping the drill.

This is the lowest point. You can see how much higher the sleepers are than the ground level.
We were lucky enough to have some reclaimed tin from when we stripped the side from the small shed. We had more than enough to use to clad the farrowing shed, and they actually look pretty good.
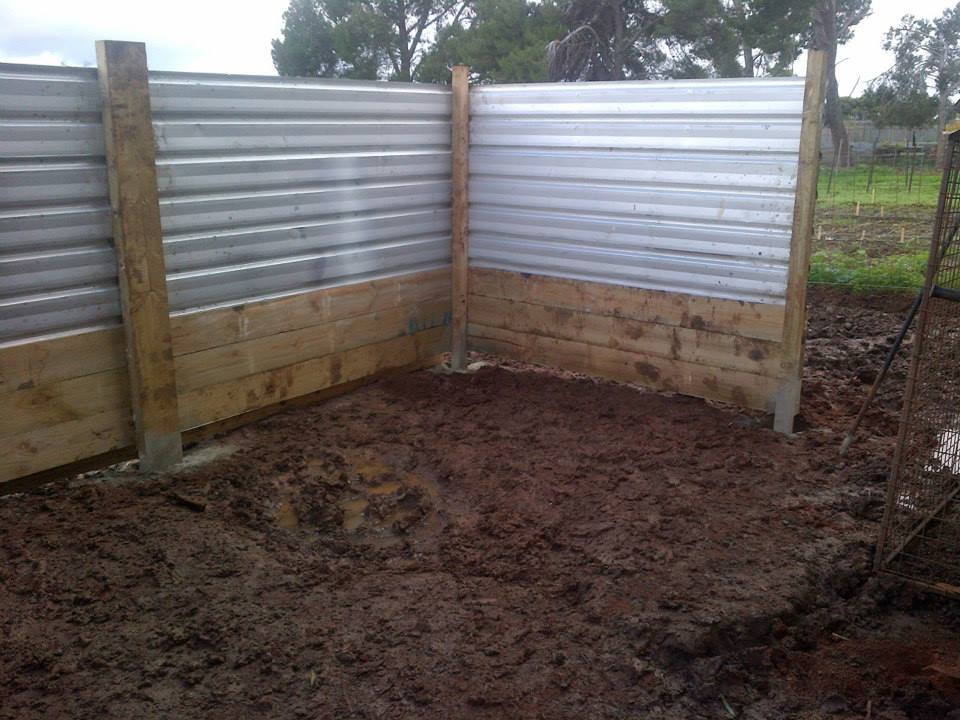
The tin cladding is up.
We did the roof similar to how we did Clarisse’s milking shed. We used c-channel along the back and front, with the front standing higher to give us good fall towards the back. We put another across the middle to add some rigidity too.
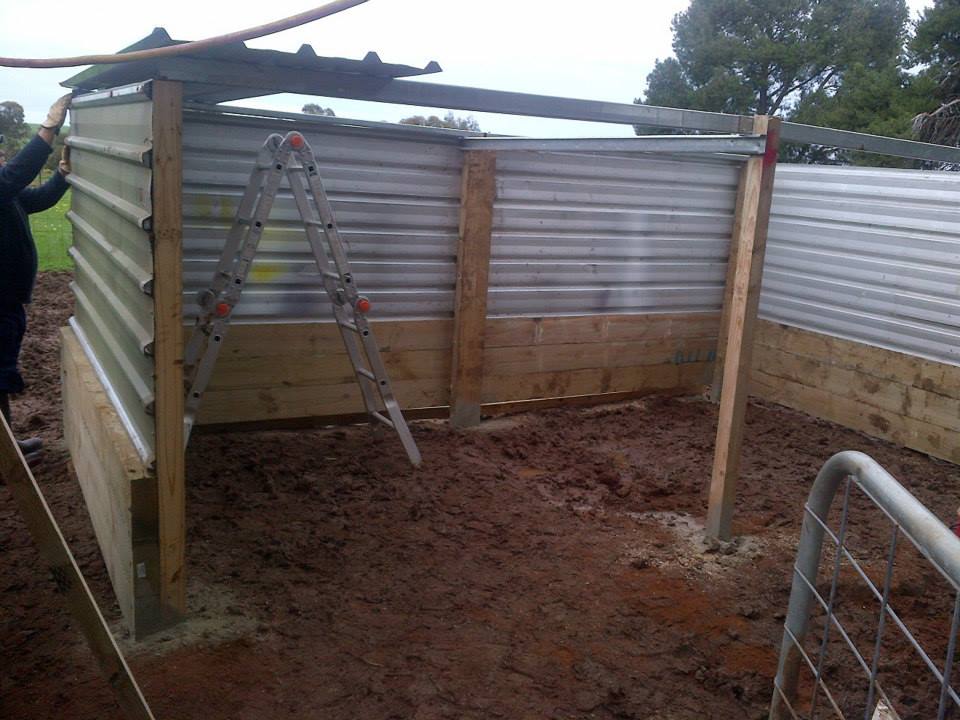
Starting the roof.
All up!
Lastly, we ran power over from the other farrowing shed and put a power strip in. This shed will have two heat lamps and a flood light, so the power strip seemed a good idea.
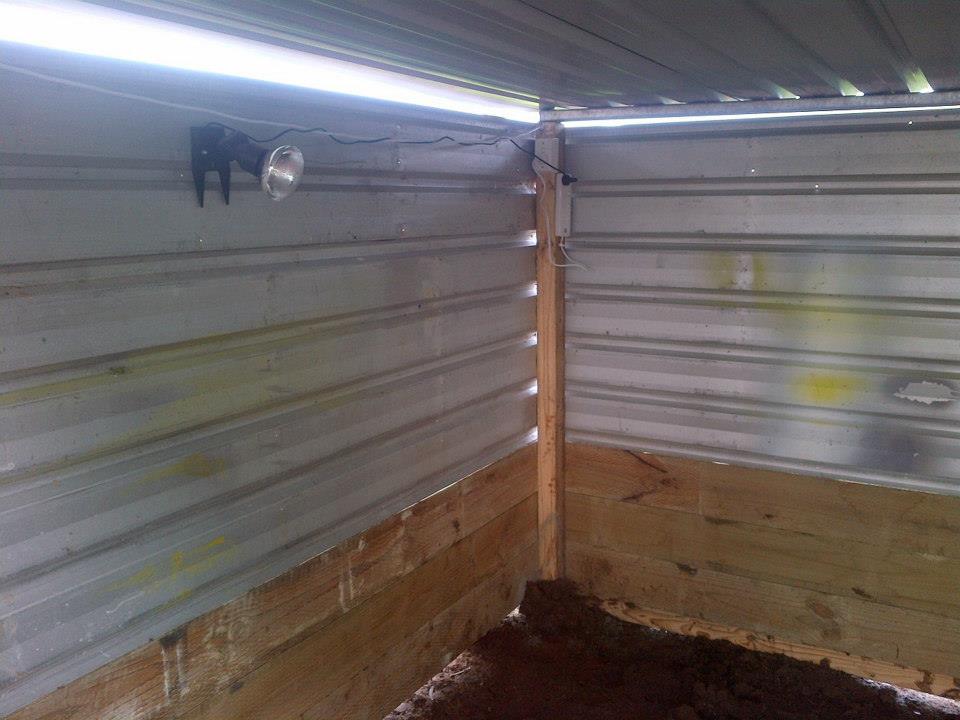
Power attached.
All that’s left is the creep area, which we can do over the next month.
The real challenge with this shed, and with everything we build here, is that the land slopes towards the south and west. With the shed, we started on the high part, dug in a little way, and made everything level with that. By the time we were at the opposite corner, we were significantly higher than the ground level. We ended up having to modify things a little to make sure we had enough post in the ground. We used a couple of lengths of the 50mm x 75mm along the back to fill in the gap down the bottom. We also reduced the overall height of the shed from the plan 2.1m to 1.8m. It ended up working well, and I actually think it’s a little better being a little lower.
The other good infrastructure project we managed was a pig feeder prototype. What we wanted was a good, solid, sturdy feeder that was still light enough that we could carry it and move it if required. We came up with a design that is 4 feet wide and a little shy of that high. It has a baffle that directs any feed we drop in to the front, and feeding trough area. It means that we’ll be able to load it with a lot of feed if necessary, and it will basically gravity feed out as the pigs eat.

Feeder in place!
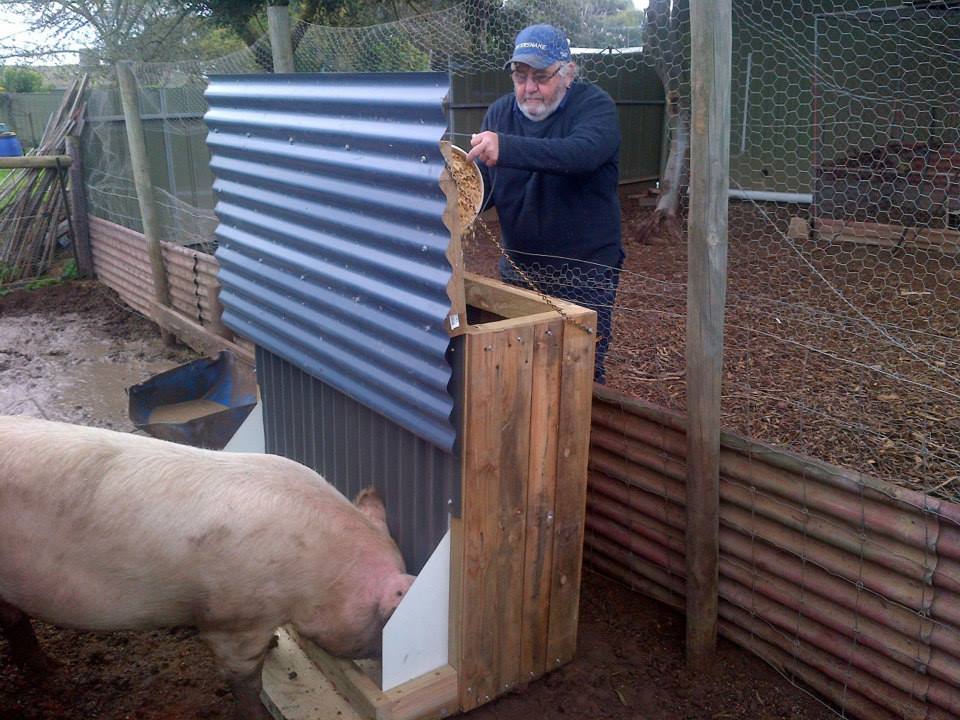
Dad and the first test of the feeder.

This is the baffle that makes sure the grain gravity feeds into the trough.
This prototype is a little heavier than the mass-produced variety will be. I knocked apart a couple of hardwood pallets and used the wood to clad the feeder. This makes it a decent two-man lift. I think the next one, and the dozen or so after that that we’ll need, will be clad in tin. This will make them lighter, and also a bit quicker and easier to make. Either way, this one works perfectly, and proves the design and concept.