
April was huge for farm projects. On top of that we had some advances in growing our own food, both the meat and vegetable kind.
MEAT
In April we had our second sheep and our first goat done. This was a significant learning experience, and showed us just how different the meat vs. dual purpose breeds can be.
The sheep we bought were merino or merino crosses, and were dual purpose animals, meaning they’re used for both meat and wool. The goats we bought were boer, which is a purely meat breed. The amount of meat we got from the goat versus the sheep was hugely evident, and showed us the benefits of going for meat breeds.
Our biggest win with the meat raising, however, was hatching our own ducks! The ladies were collectively sitting on a stack of eggs, most of which turned out to be duds. We ended up hatching 4 babies, and ended with 3 girls and 1 boy. There is a big difference between buying in animals to feed up and breeding your own. Seriously, the satisfaction in raising animals you bred yourself can’t really be overstated.

First egg hatching! The mum’s do not like it when you do this…
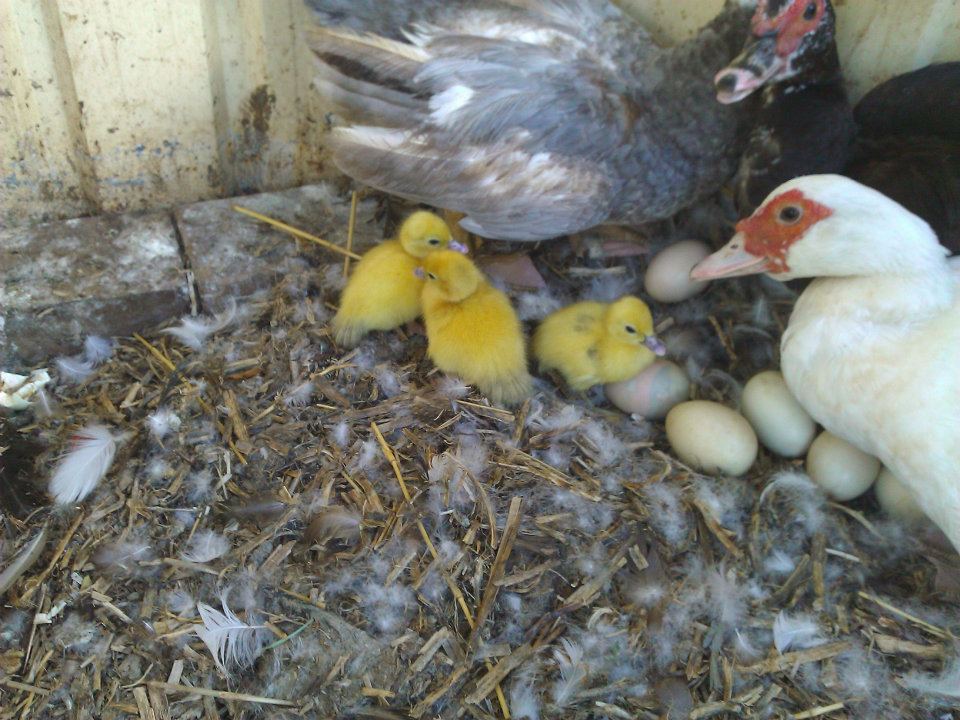
Protective mums.

Naaaawwwwwww
VEGGIES
We cleaned out the second ornamental garden bed out the back, and planted it out with veggies. This was a big job, despite being the smaller of the two beds. It was covered in a couple of prostrate conifers, which were super dense and prickly. I was fairly happy to add them to the bonfire pile.

Second reclaimed veggie area.
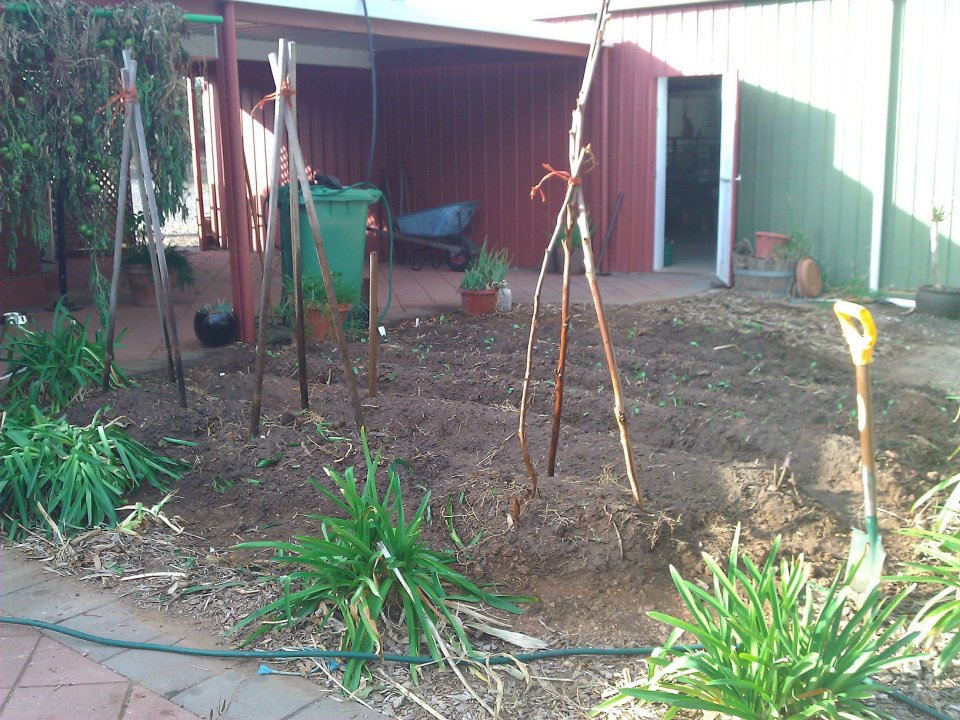
Ready for veggies!
On top of increasing our productive area, we learned a few things. The first bed wasn’t ready until relatively late, the result of which was planting out things much later than I normally would. The two that struck me most were corn and chillies. I normally start my corn around September/October, depending on how warm it is, and stagger the plantings up to the beginning of December. However, here I was planting corn in January, and wasn’t at all confident. I figured the young plants would get too much heat, be too water stressed, and then maybe extend their fruiting too far into cooler weather. The same for the chillies – I wasn’t at all sure they’d perform. However, we ended up doing well with all of the veggies, and I was able to modify my veggie patch plan to include things like staggered corn plantings into January.
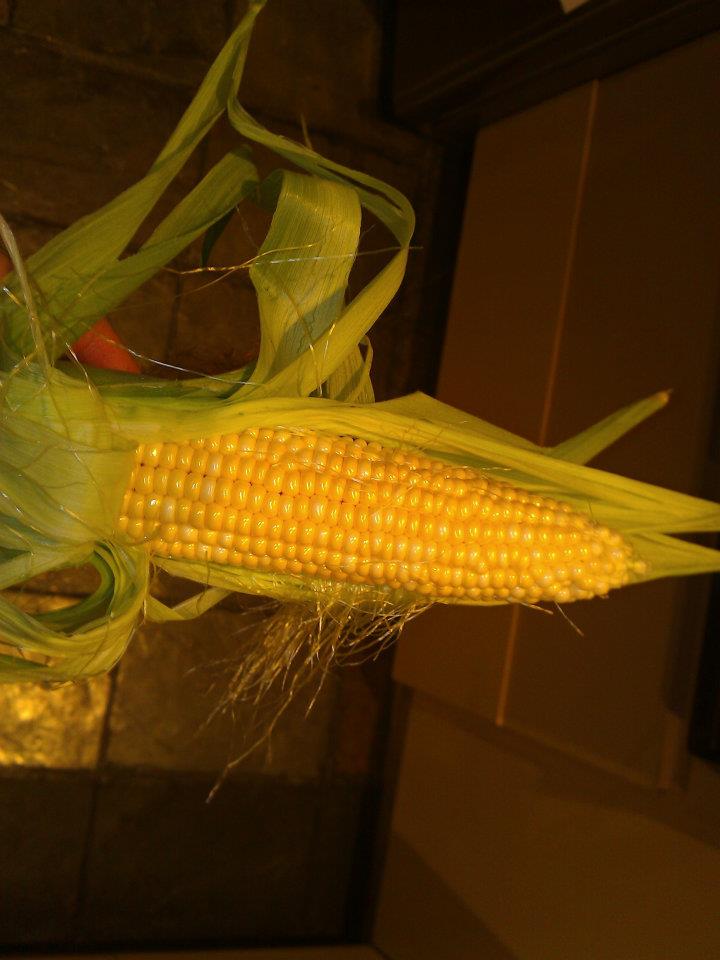
The corn was an unexpected success.
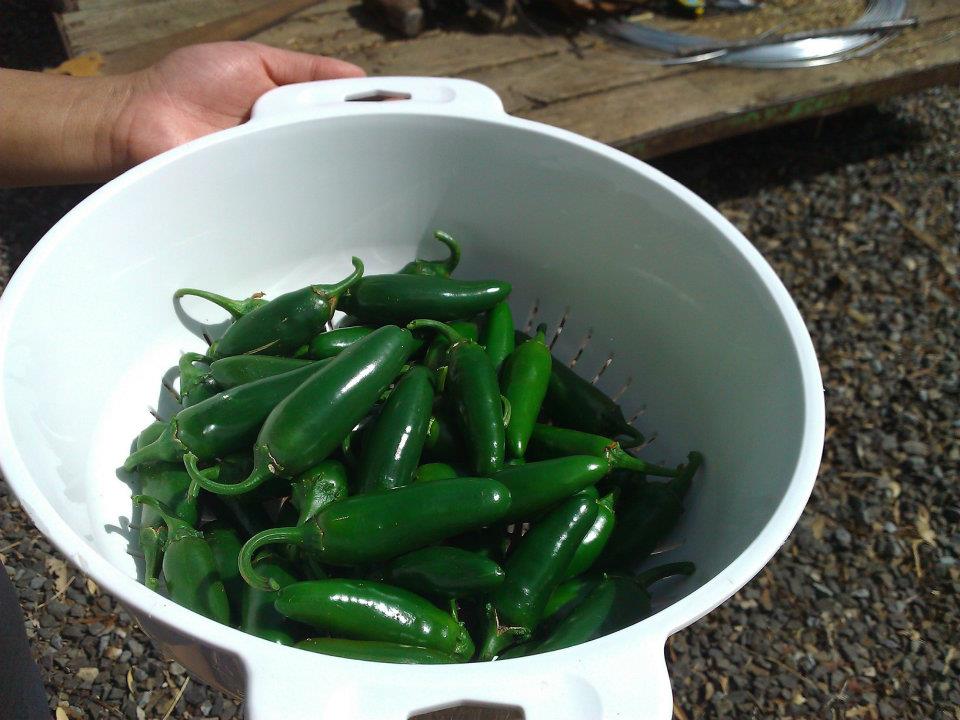
Bumper jalapeno harvest, despite the late start.
FARM PROJECTS
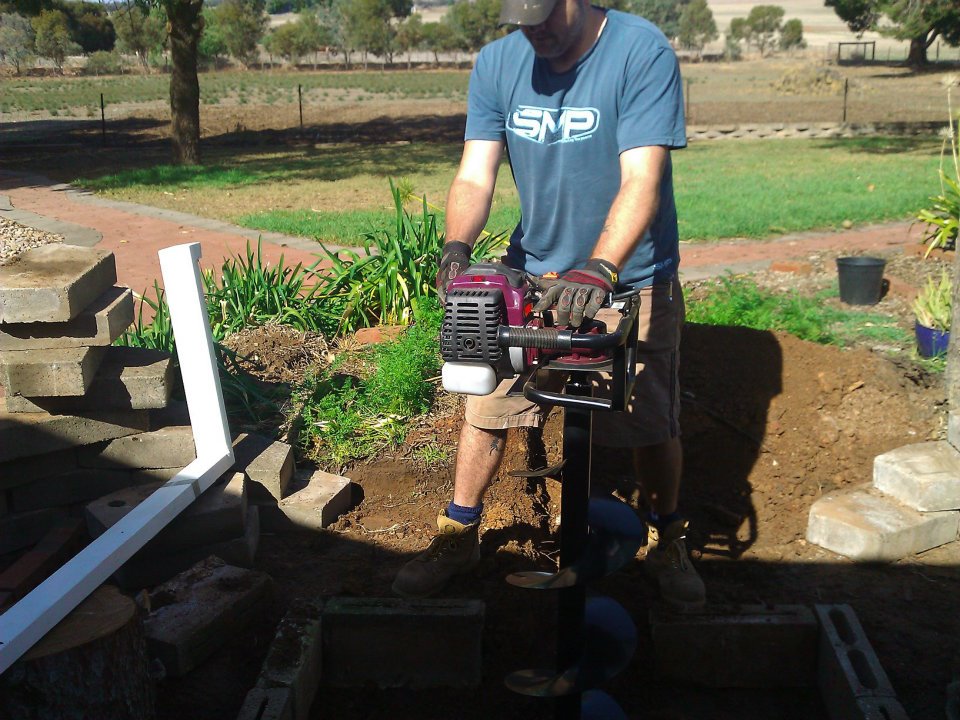
Firstly, we hung a gate between our neighbours to the back and us, at the end of their right-of-way along the side of our place. Hanging a fence doesn’t sound like a big job, and it really isn’t once you know how. The issue is learning how. The soil here is heavy clay, and it gets super silty when you dig/drill it. It means that it really doesn’t hold posts very firmly, and you need to build self-straining structures. This was our first shot at one, and it turned out fairly well. Since then we’ve become pros, but that first one was quite a proud moment…
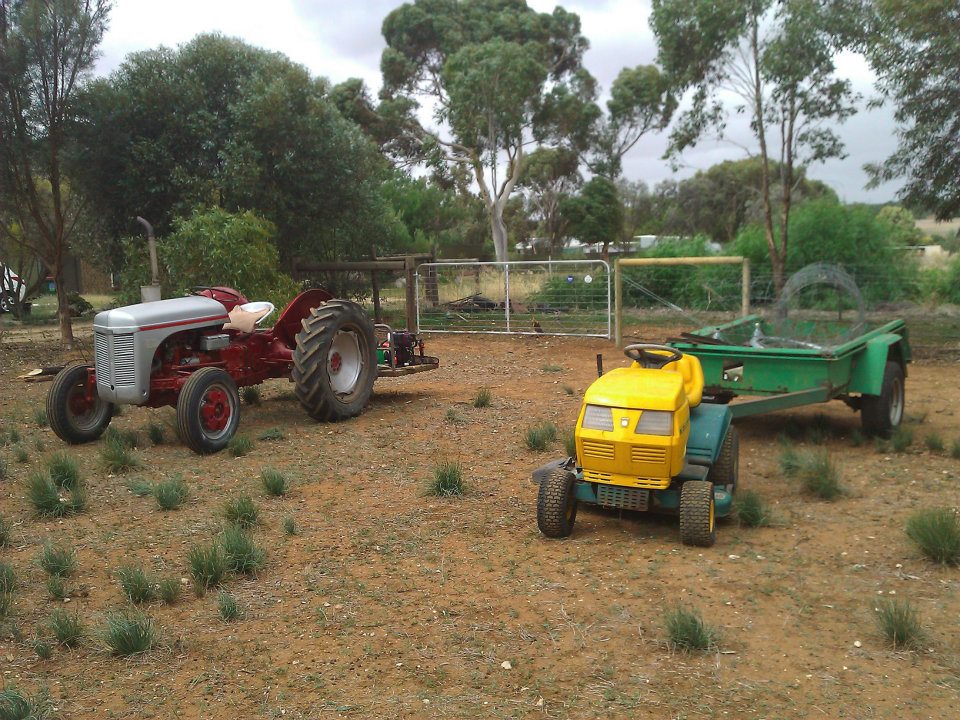
The new gate with a gratuitous farm machine shot.
Our second project was redirecting and catching some rainwater. With our sheds and the house, we have over 400 square metres of potential catchment. However, the place has only ever used a little over a tenth of that. There were some pipes that were run under some pavers and then dumped into the garden beds via perforated agricultural pipe (ridiculous idea!). I was able to isolate where it dumped out from under the pavers, so we hooked a couple of downpipes together and ran them into our rainwater tanks, effectively doubling our catchments.
This was a bit of a learning experience too. We reused some of the PVC fittings that had been part of the original system and that we’d scrounged from around the property. We ended up having to dig up and fix this new system a couple of times, and each time it was due to the recycled fittings failing. I can be a bit of a stickler when it comes to reusing material, but there are times where you just have to bite the bullet, toss out the old stuff, and start with new.
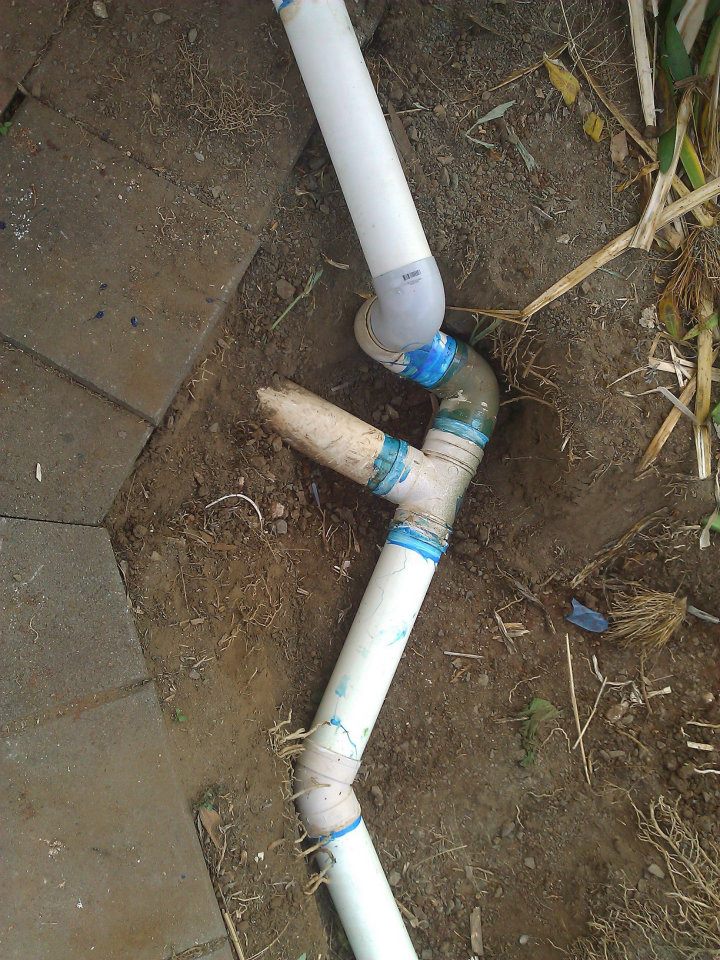
Fixing 20 years of stupid.
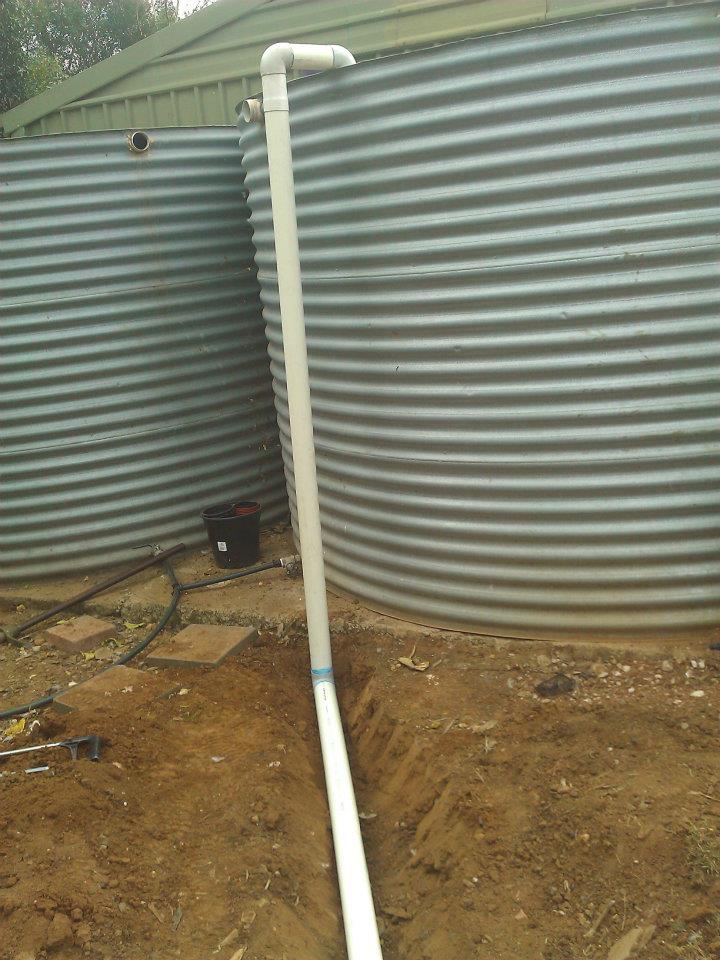
This works as long as the top of the inlet is below the line of the gutters.
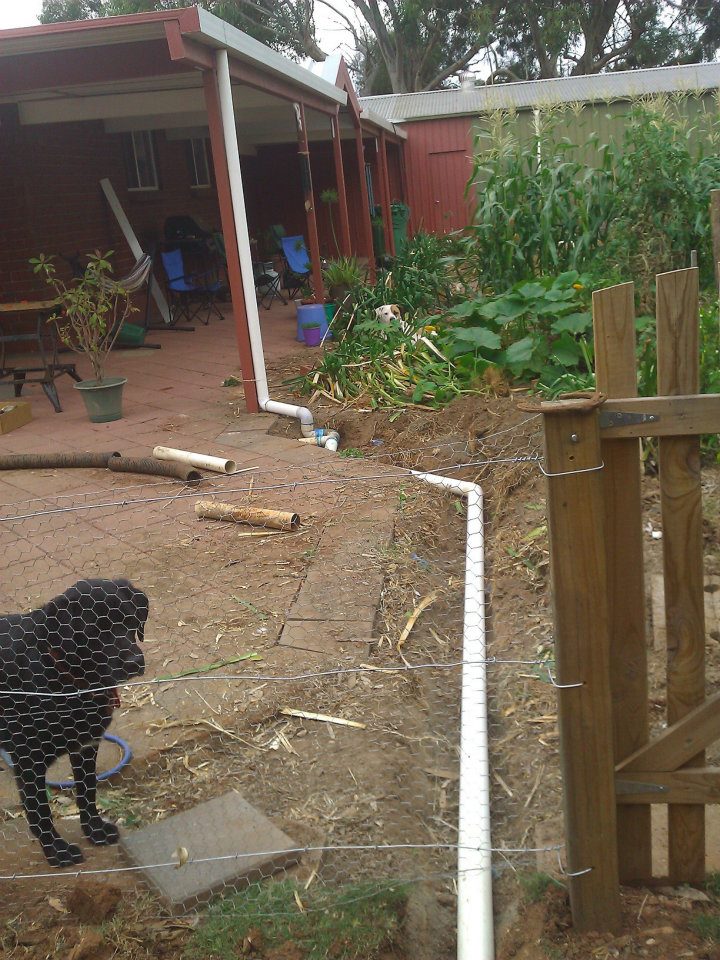
This is mostly to show one of the many trenches I had to dig… and Domino.
Our third April farm project was projects within projects. First of all, dad made an amazing gate from scratch using 100% recycled components.
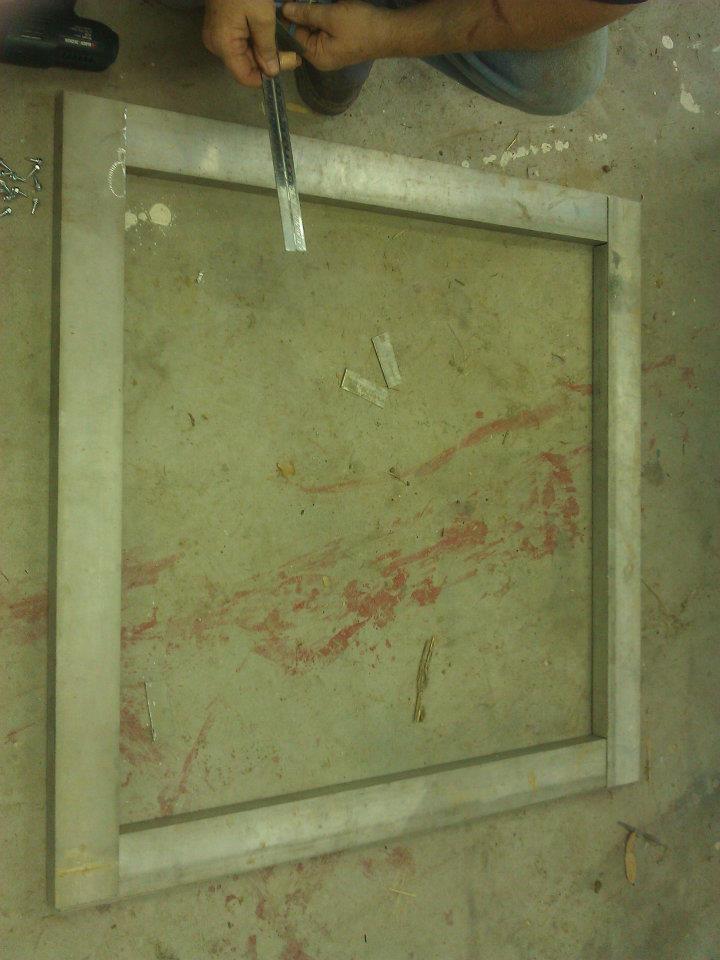
The start of dad’s gate.
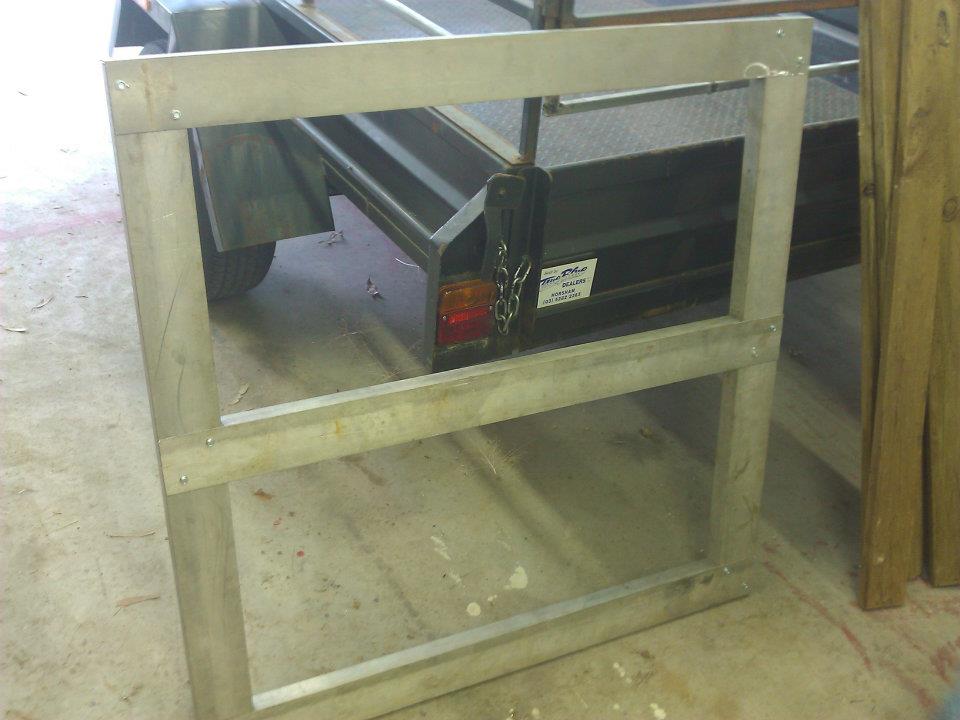
Gate taking shape…
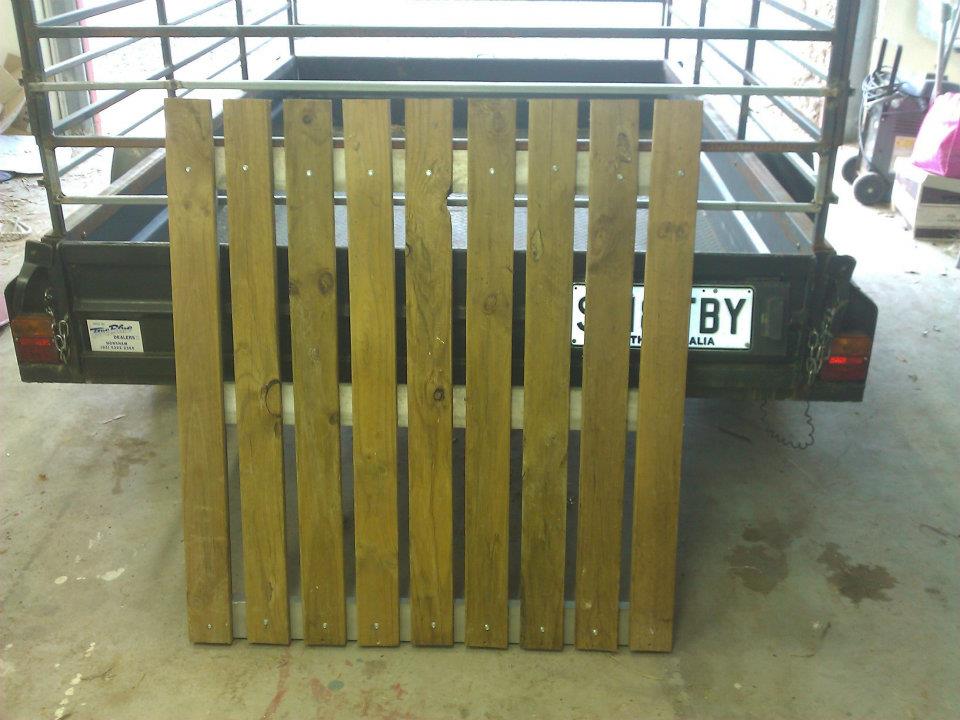
Awesome gate and 100% recycled!
Next, we were able to recycle one of the crappy old sheds that had been left in the back paddock. It was 3 sided and had been propped against a pine tree, where it seemed to have spent its life banging in the breeze. I dragged it down and stored it early on, and we used it to reclaim a poultry area. I’m not at all sure that the area had ever been used, though it had definitely been designed for poultry and was an extension of the big run. We put the crappy old shed in there, using our big shed as the missing side. We spent some time tacking up the fence, hung dad’s great gate, and had a fully productive, and relatively fox resistant poultry area.
This area has since been used for egg chooks, meat chooks, ducks, and even pigs.
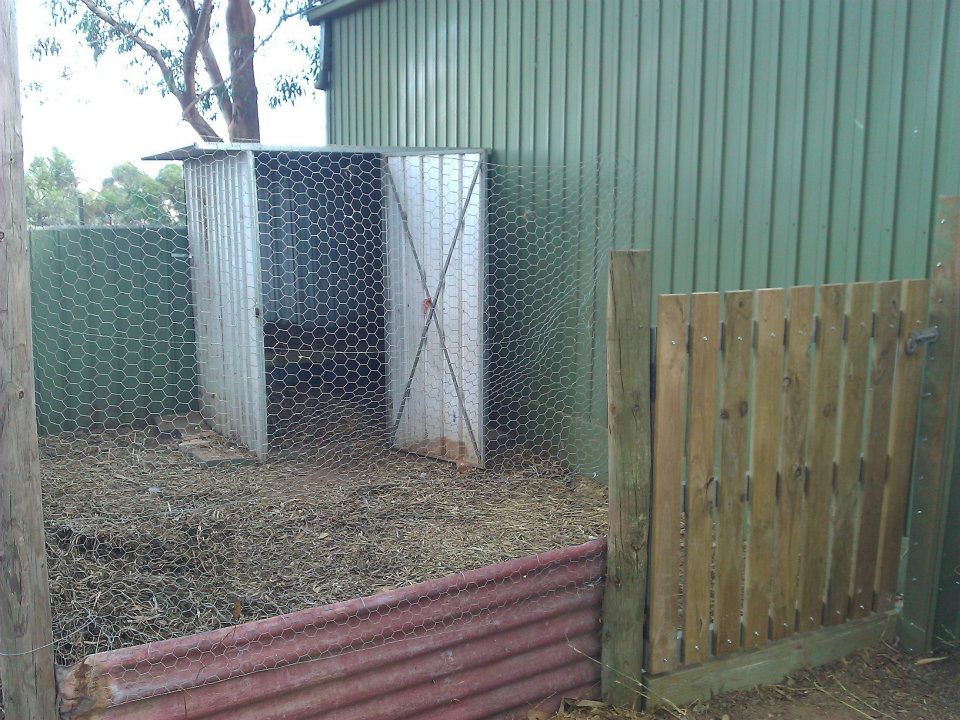
Reclaimed poultry area with dad’s gate and the recycled shed.
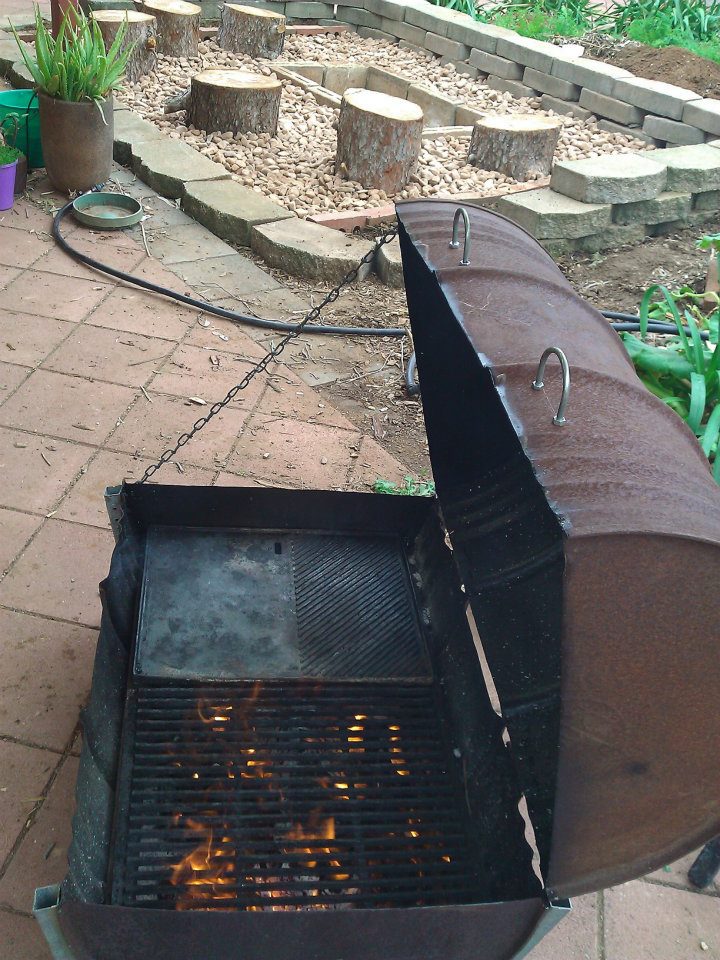
The last two projects were my favourite, though they didn’t really contribute to our productivity. The first of those was a fire barrel/BBQ. We scored an old 44 gallon drum from a mate of dad’s, cut it in half, and fashioned a wood BBQ out of it. We used all recycled parts, including some old barbie plates I’d held on to for years. The result was amazing, and we used it as both an outside open fire and BBQ all through the colder months. We are now looking at using it as either a self-contained smoker, or as a smoke source for a smoker.
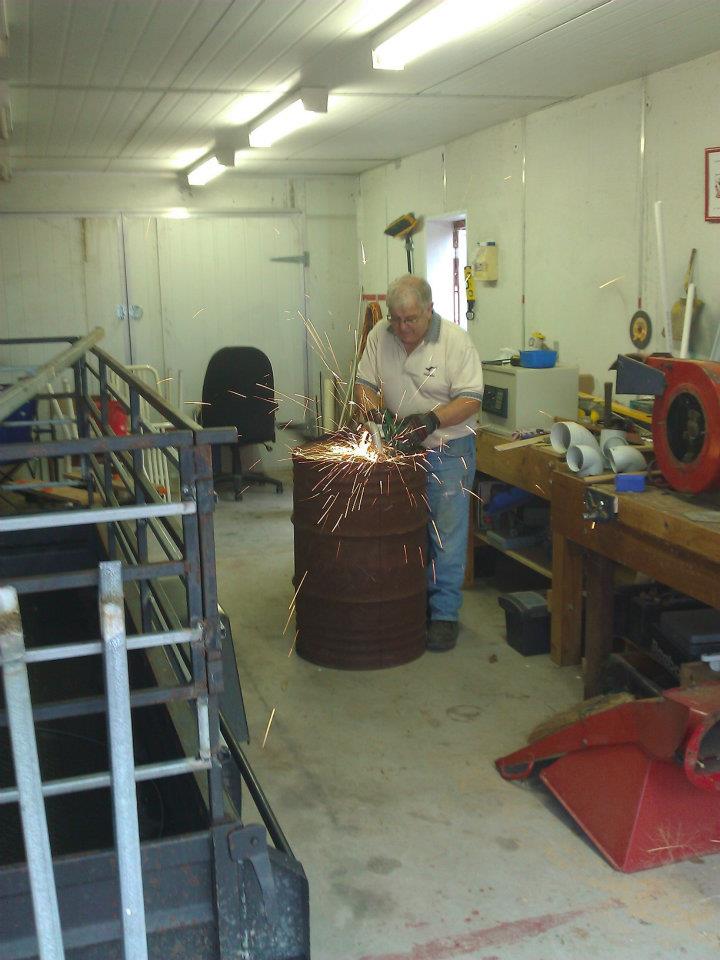
Dad starting the fire barrel.
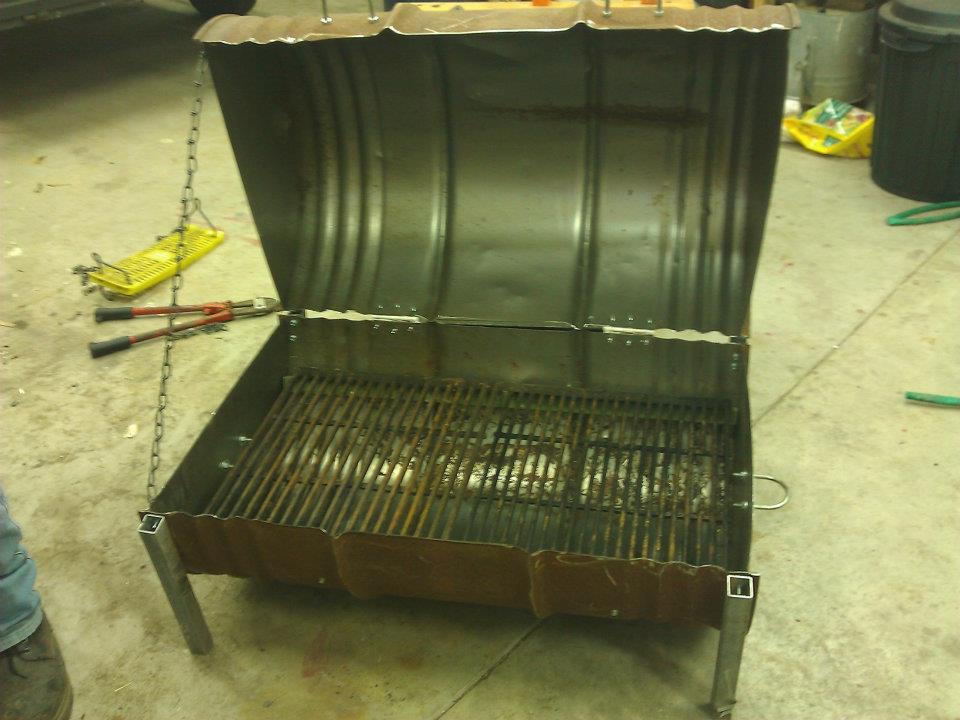
Fire barrel done!
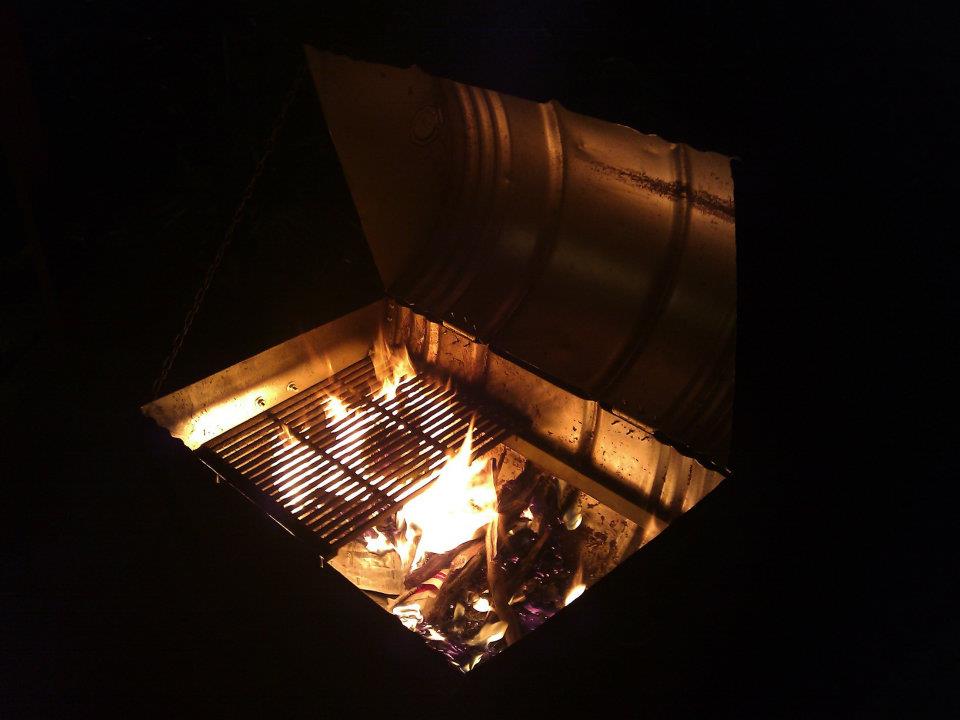
Maiden voyage a success!
The second of these projects was an outside fire pit, and was much bigger. We used reclaimed retaining wall blocks to edge it, ran a couple of herb beds down either side, dug a soakage pit with a vent trench and used a recycled bit of metal down-pipe to vent it outside of the surrounding wall. We used some pine rounds as seats, lined the actual fire pit part with reclaimed bricks, and the only thing we bought was $60 worth of landscape pebbles to pretty it up.
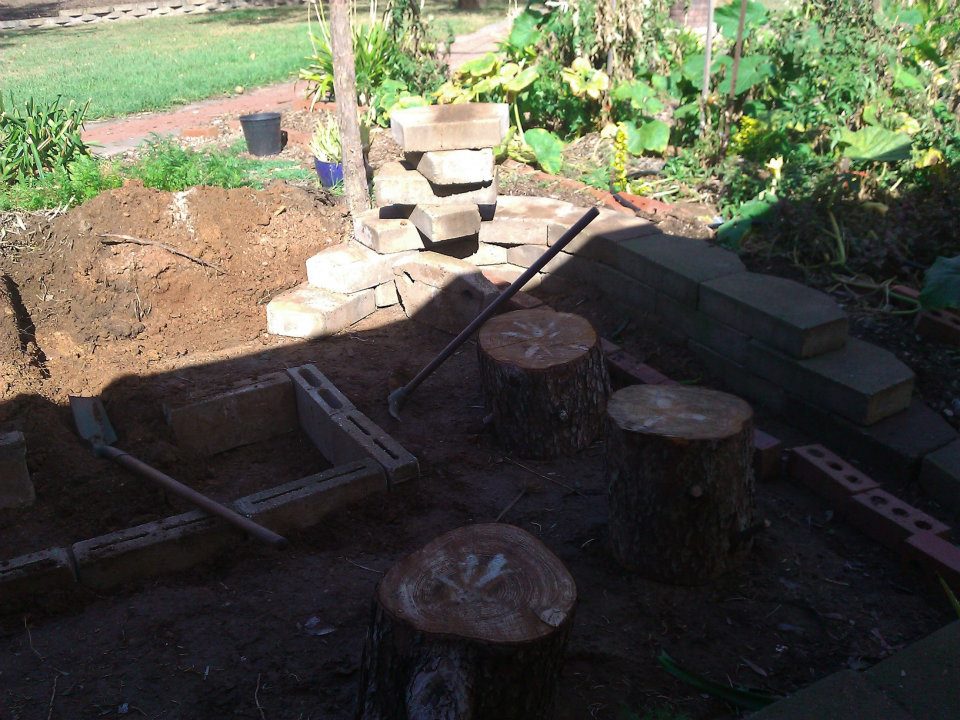
Starting the fire pit.
Digging a drainage/soakage pit.

Drainage/soakage pit done!
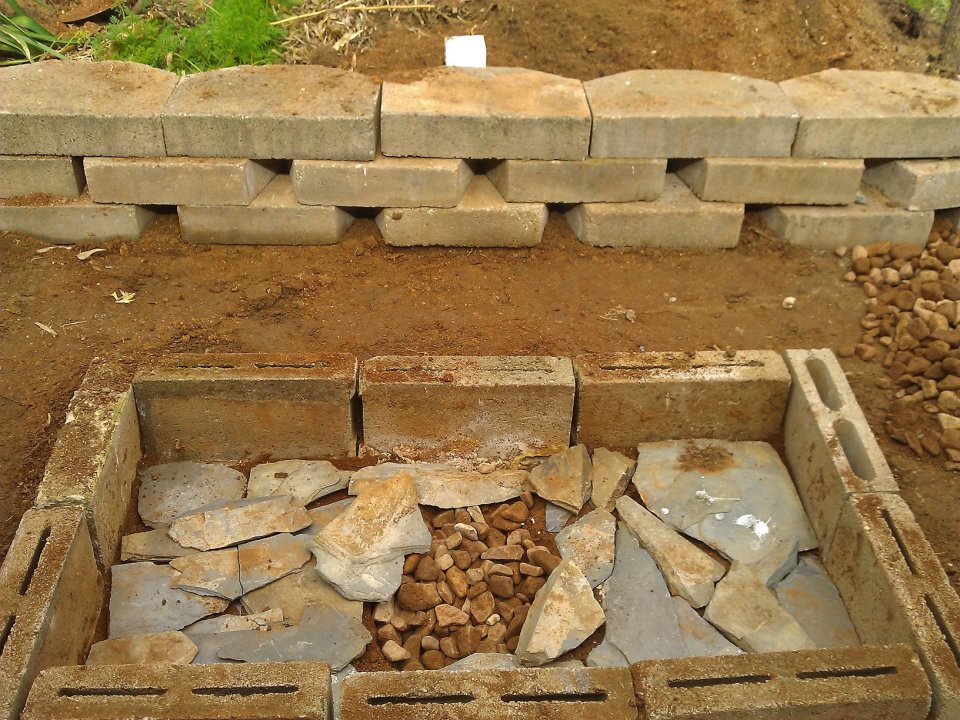
The pit is assembled and we put in a flu-like arrangement to vent it.
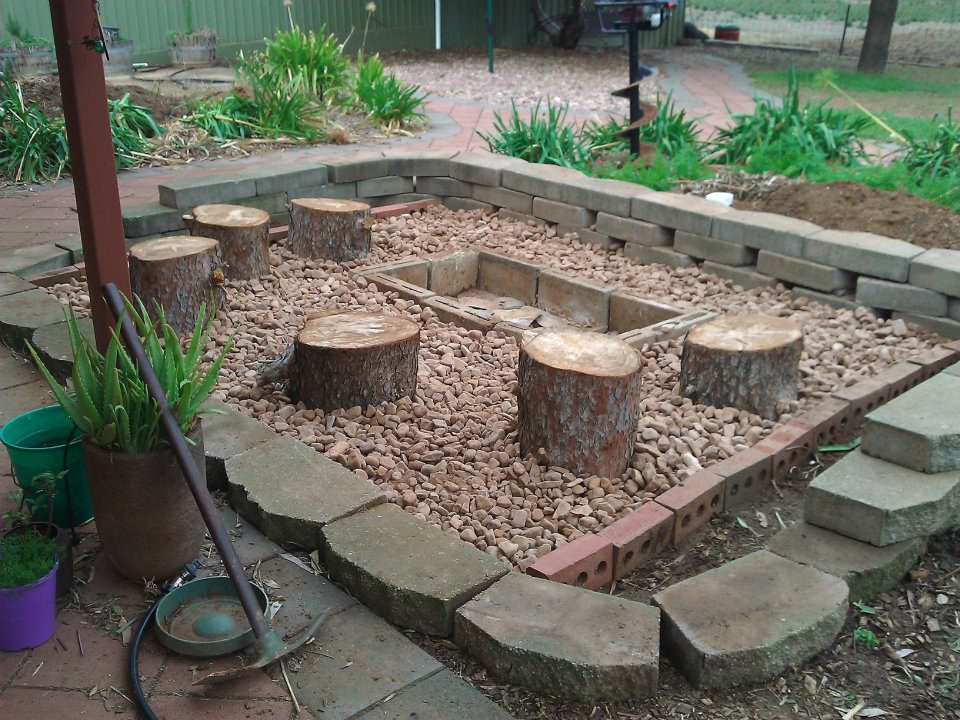
Finished fire pit!
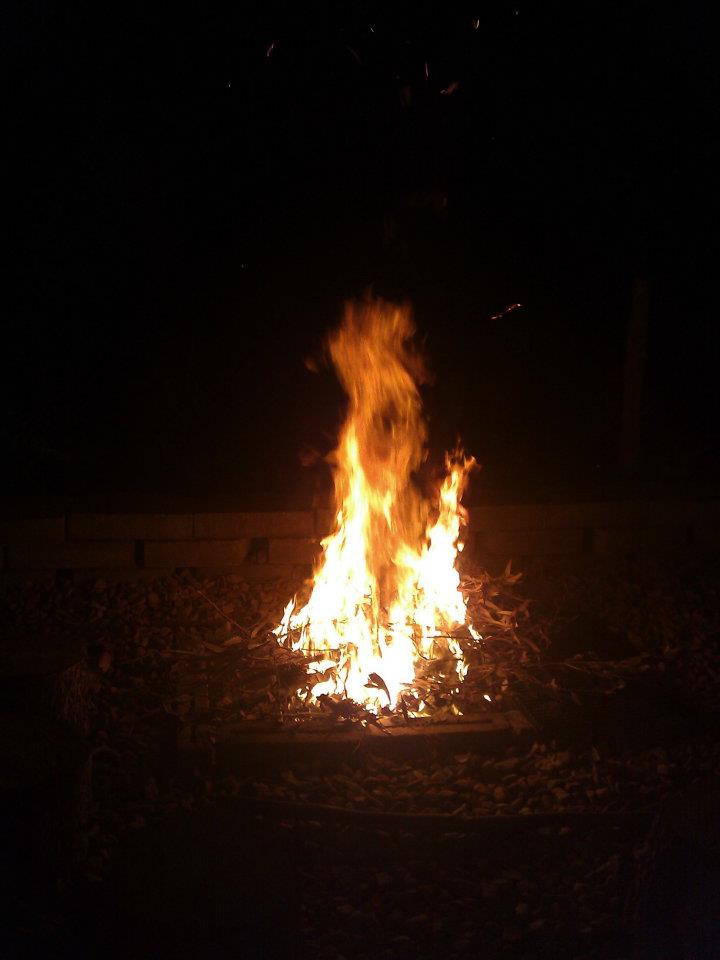
Another maiden fire voyage.
These last two things helped us change our thinking as to how we managed our fire wood also. I am absolutely determined that nothing useable leave our property, be it building material or organic matter. We live in a disposable society, and it really sickens me. That’s why there’s so much emphasis on using recycled components in things like our fire barrel and fire pit. Along those lines, our fire wood had begun to worry me a little.
Originally, I had planned on storing anything big enough for us to burn in our combustion heater, save some smaller stuff for kindling, but mulch things like leafy branches. That works up to a point, but when you end up with a large volume of branches they invariably dry out before you can mulch them all, and it actually becomes quite difficult. A fresh leafy gum branch tip can be mulched, but it doesn’t take much for that to get hard and become a hazard. Now we had the perfect way to use that material rather than just bonfiring it. We now stack all of the non-mulchable limbs and use them as outdoor fire fuel.
Farm Fire Fun FTW!

Pingback: Planning The Patch!!!! | The Atherton Farm Blog