I think about food a lot. All the time. I’m constantly asking Neil what he wants to eat, sometimes because I’m really hoping what he wants to eat is what I want to eat but I haven’t said out loud what it is and then get disappointed that we didn’t want the same food 😛 But sometimes I think about food a little too much. So much so that our dinner plan changes every hour, back and forth until it’s too late and we have to go out for pizza. It almost happened on Saturday but I was saved! We ended up not selling two of our lamb legs at the market and with my sister and her partner coming over for dinner it was the perfect amount of meat and the perfect cut of meat to make yiros! Or Gyros or souvlaki or kebab or whatever else they’re called in your part of the world.
The basic idea behind a good yiros is really simple. Tasty meat on some sort of flat bread with some garlic sauce and salad. How you make is going to depend on how you like it. As a teenager I’d have my yiros with mayo, bbq sauce, and cheese. I’m not even ashamed, it was delicious! As an adult I make my own tzatziki for my sauce and quinoa tabouli as my salad, I still have cheese though 😀 If I’m being good I’ll even make the flatbread. It sounds like a lot of work because you’re making a few different things but when you take it step by step and if you have time make it over a couple of days it’s really very simple.
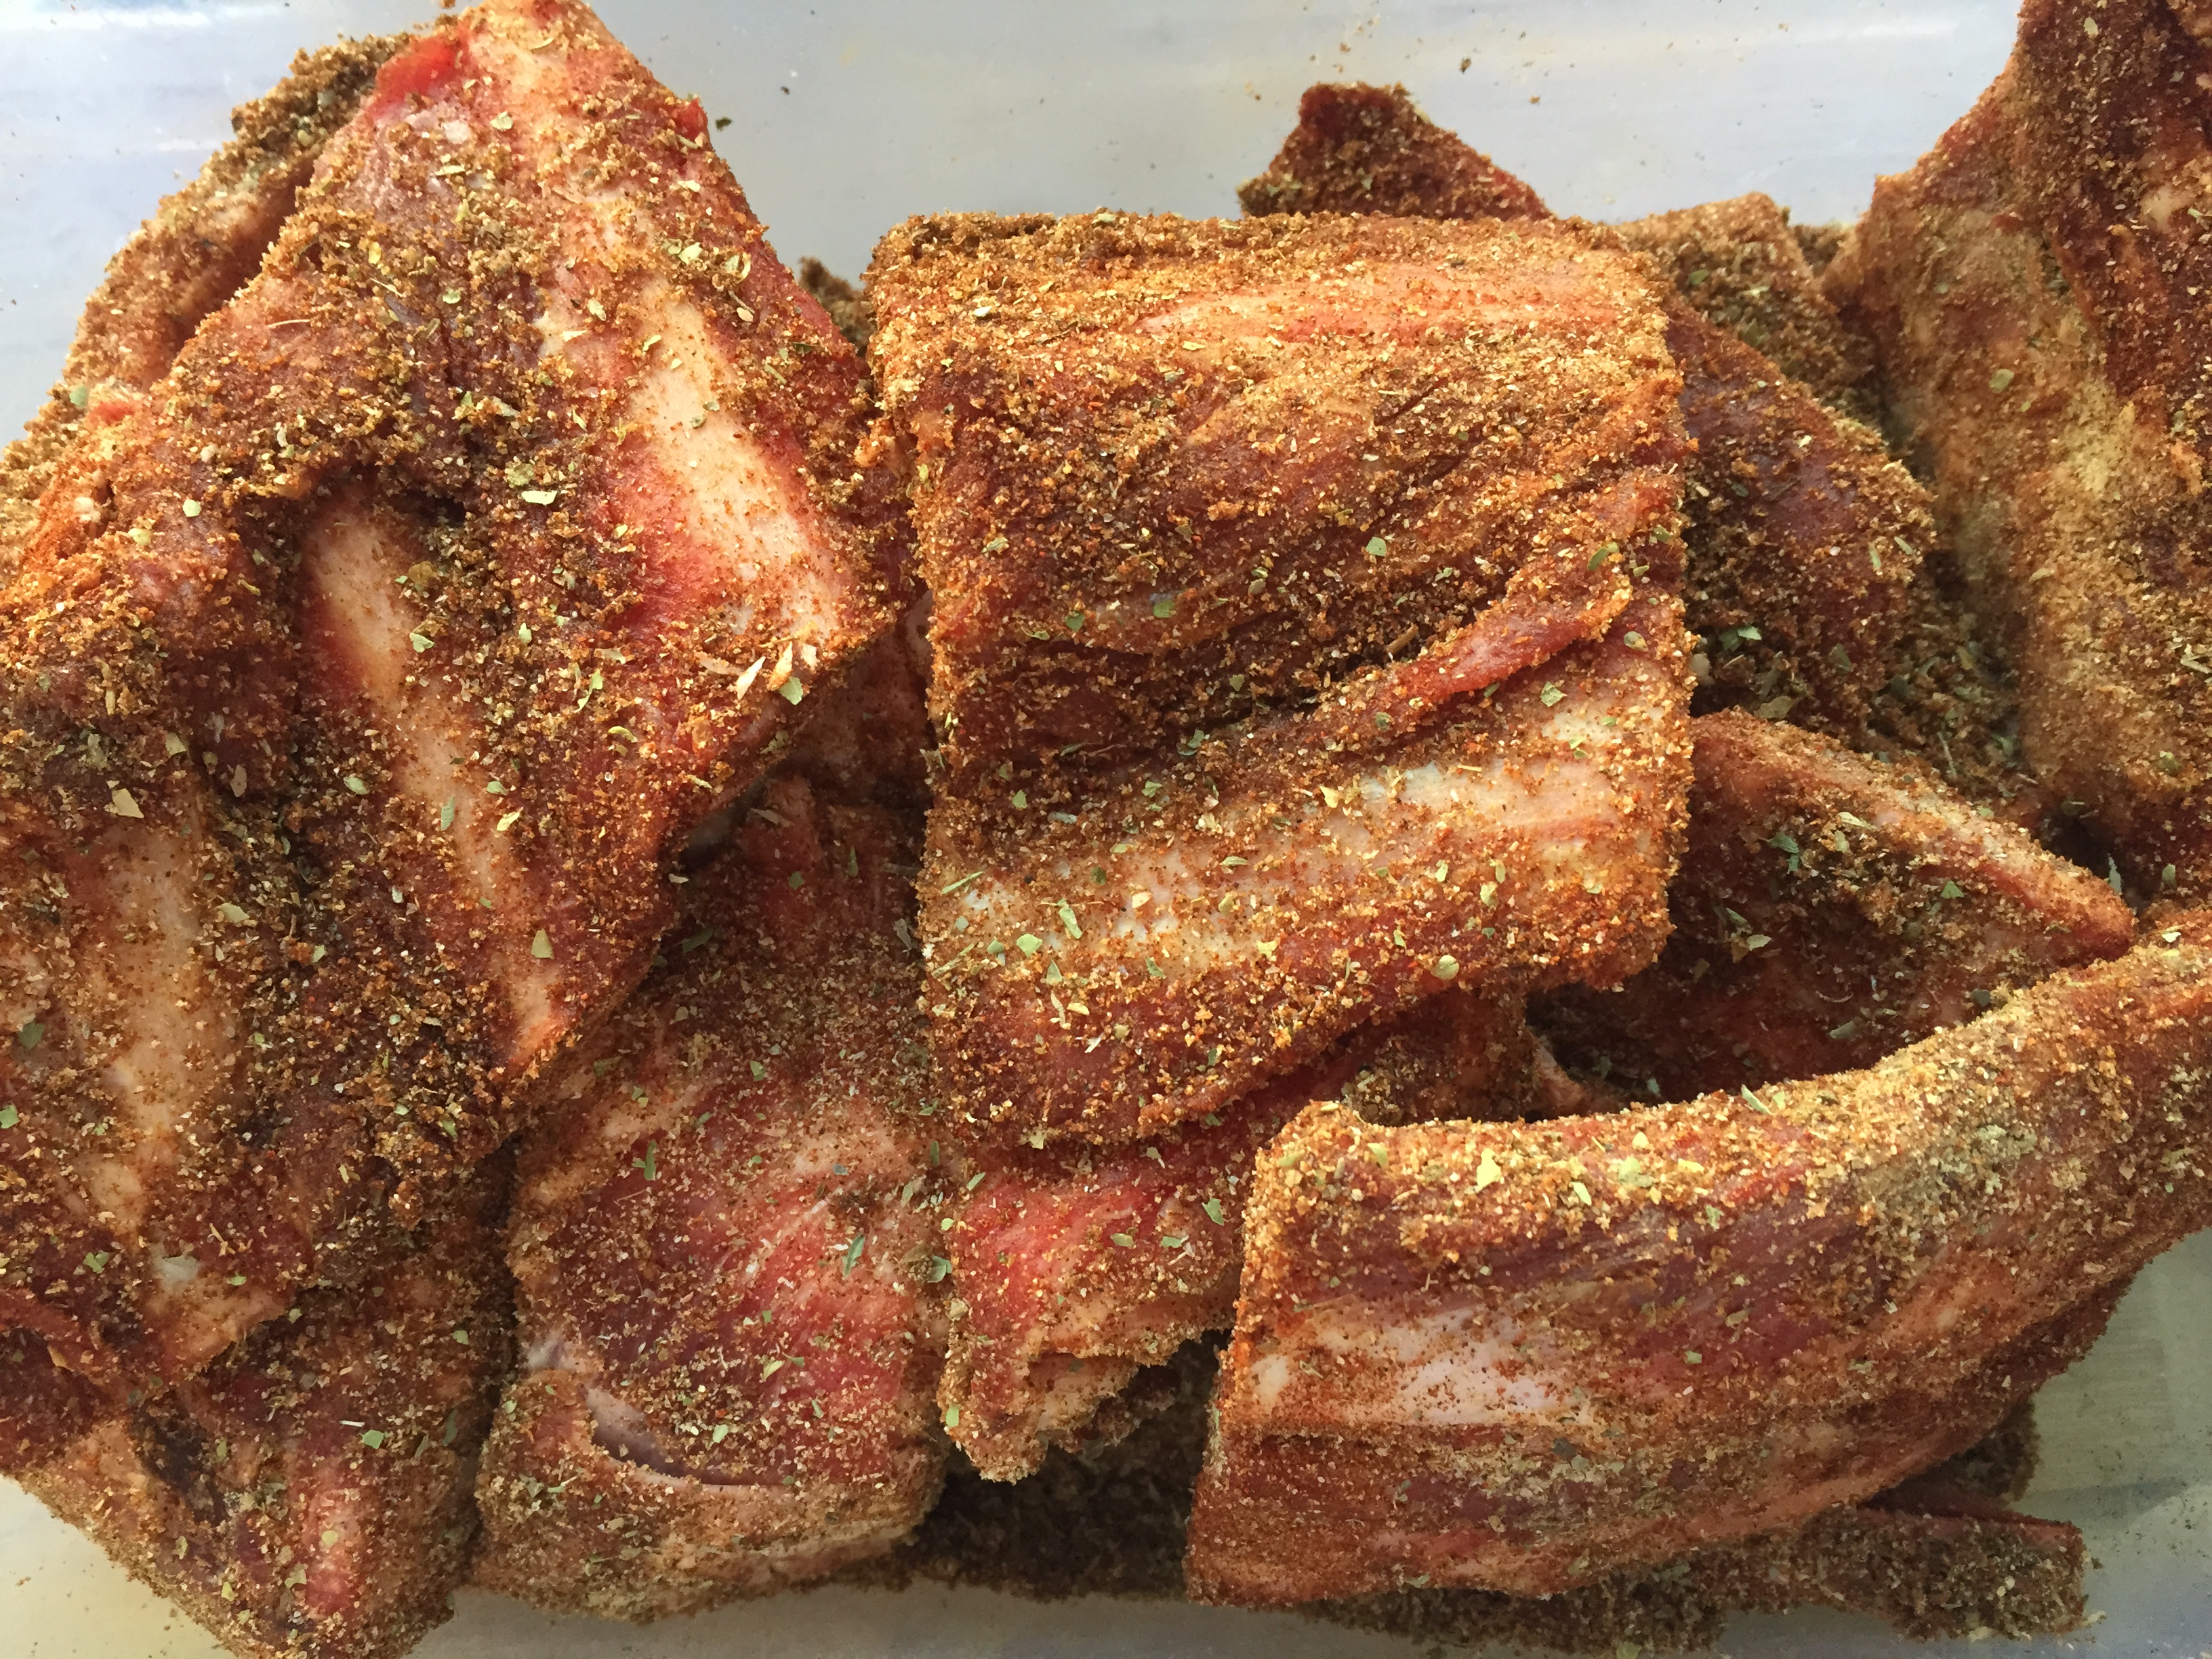
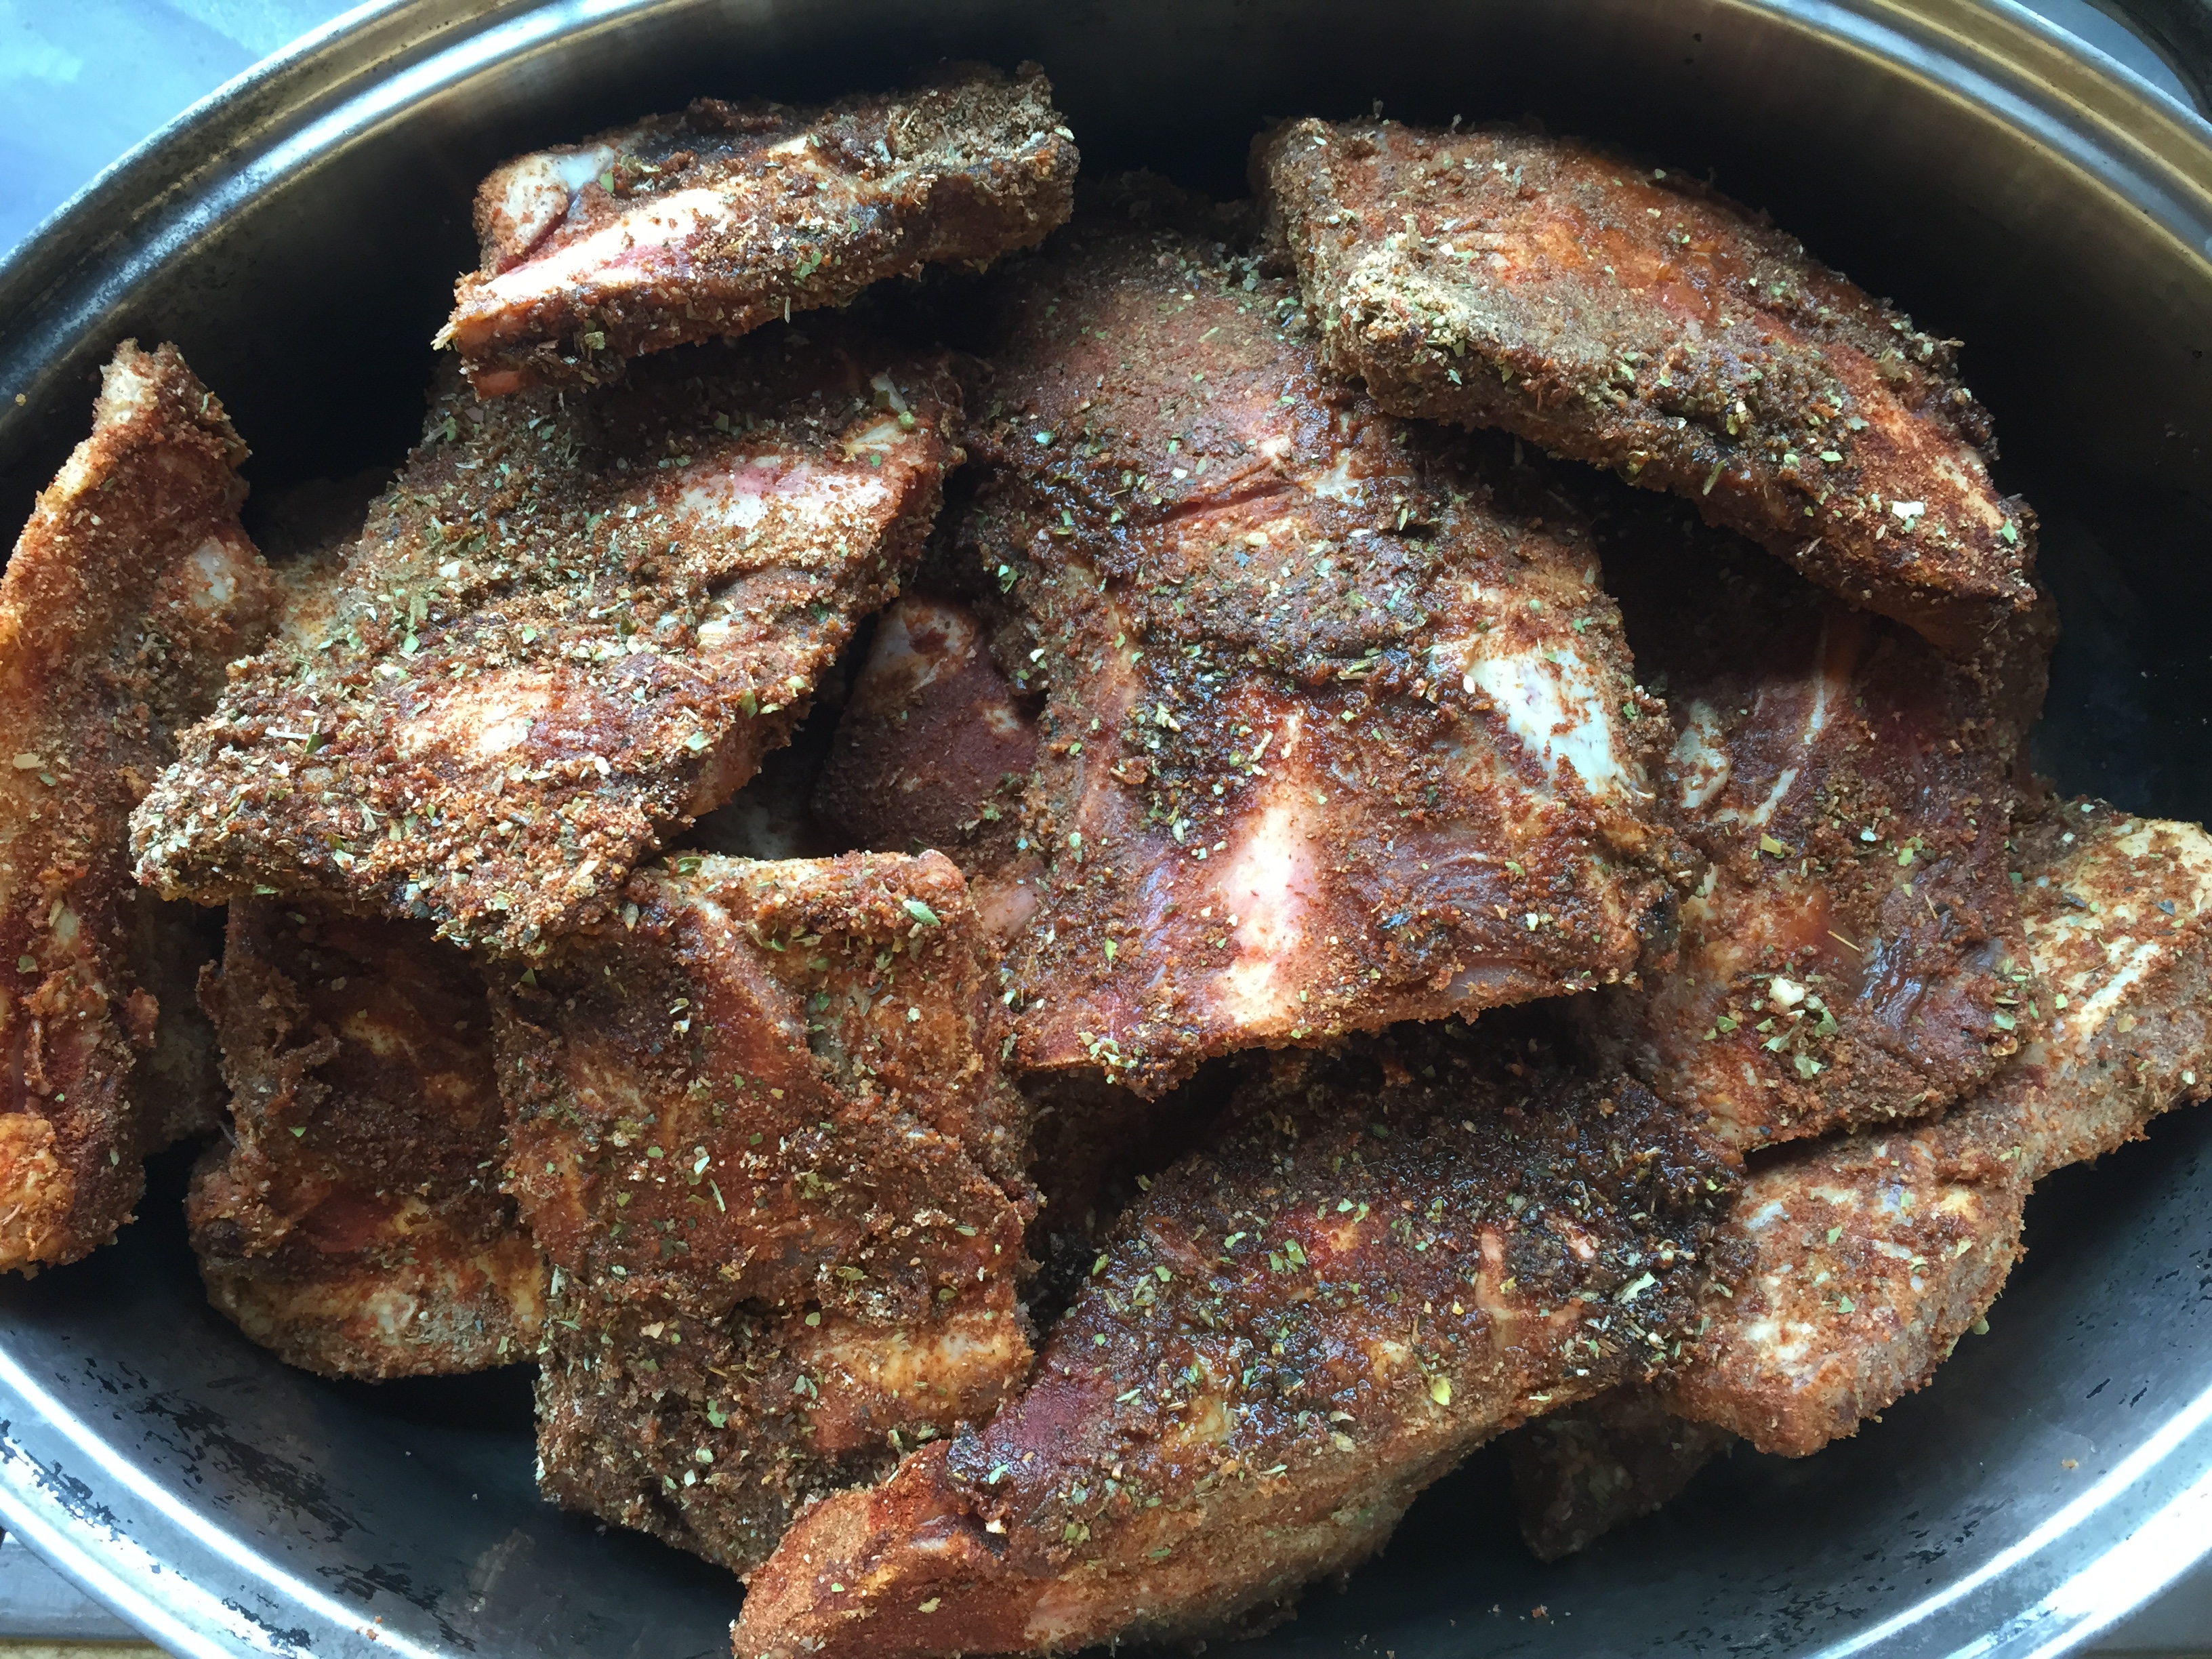
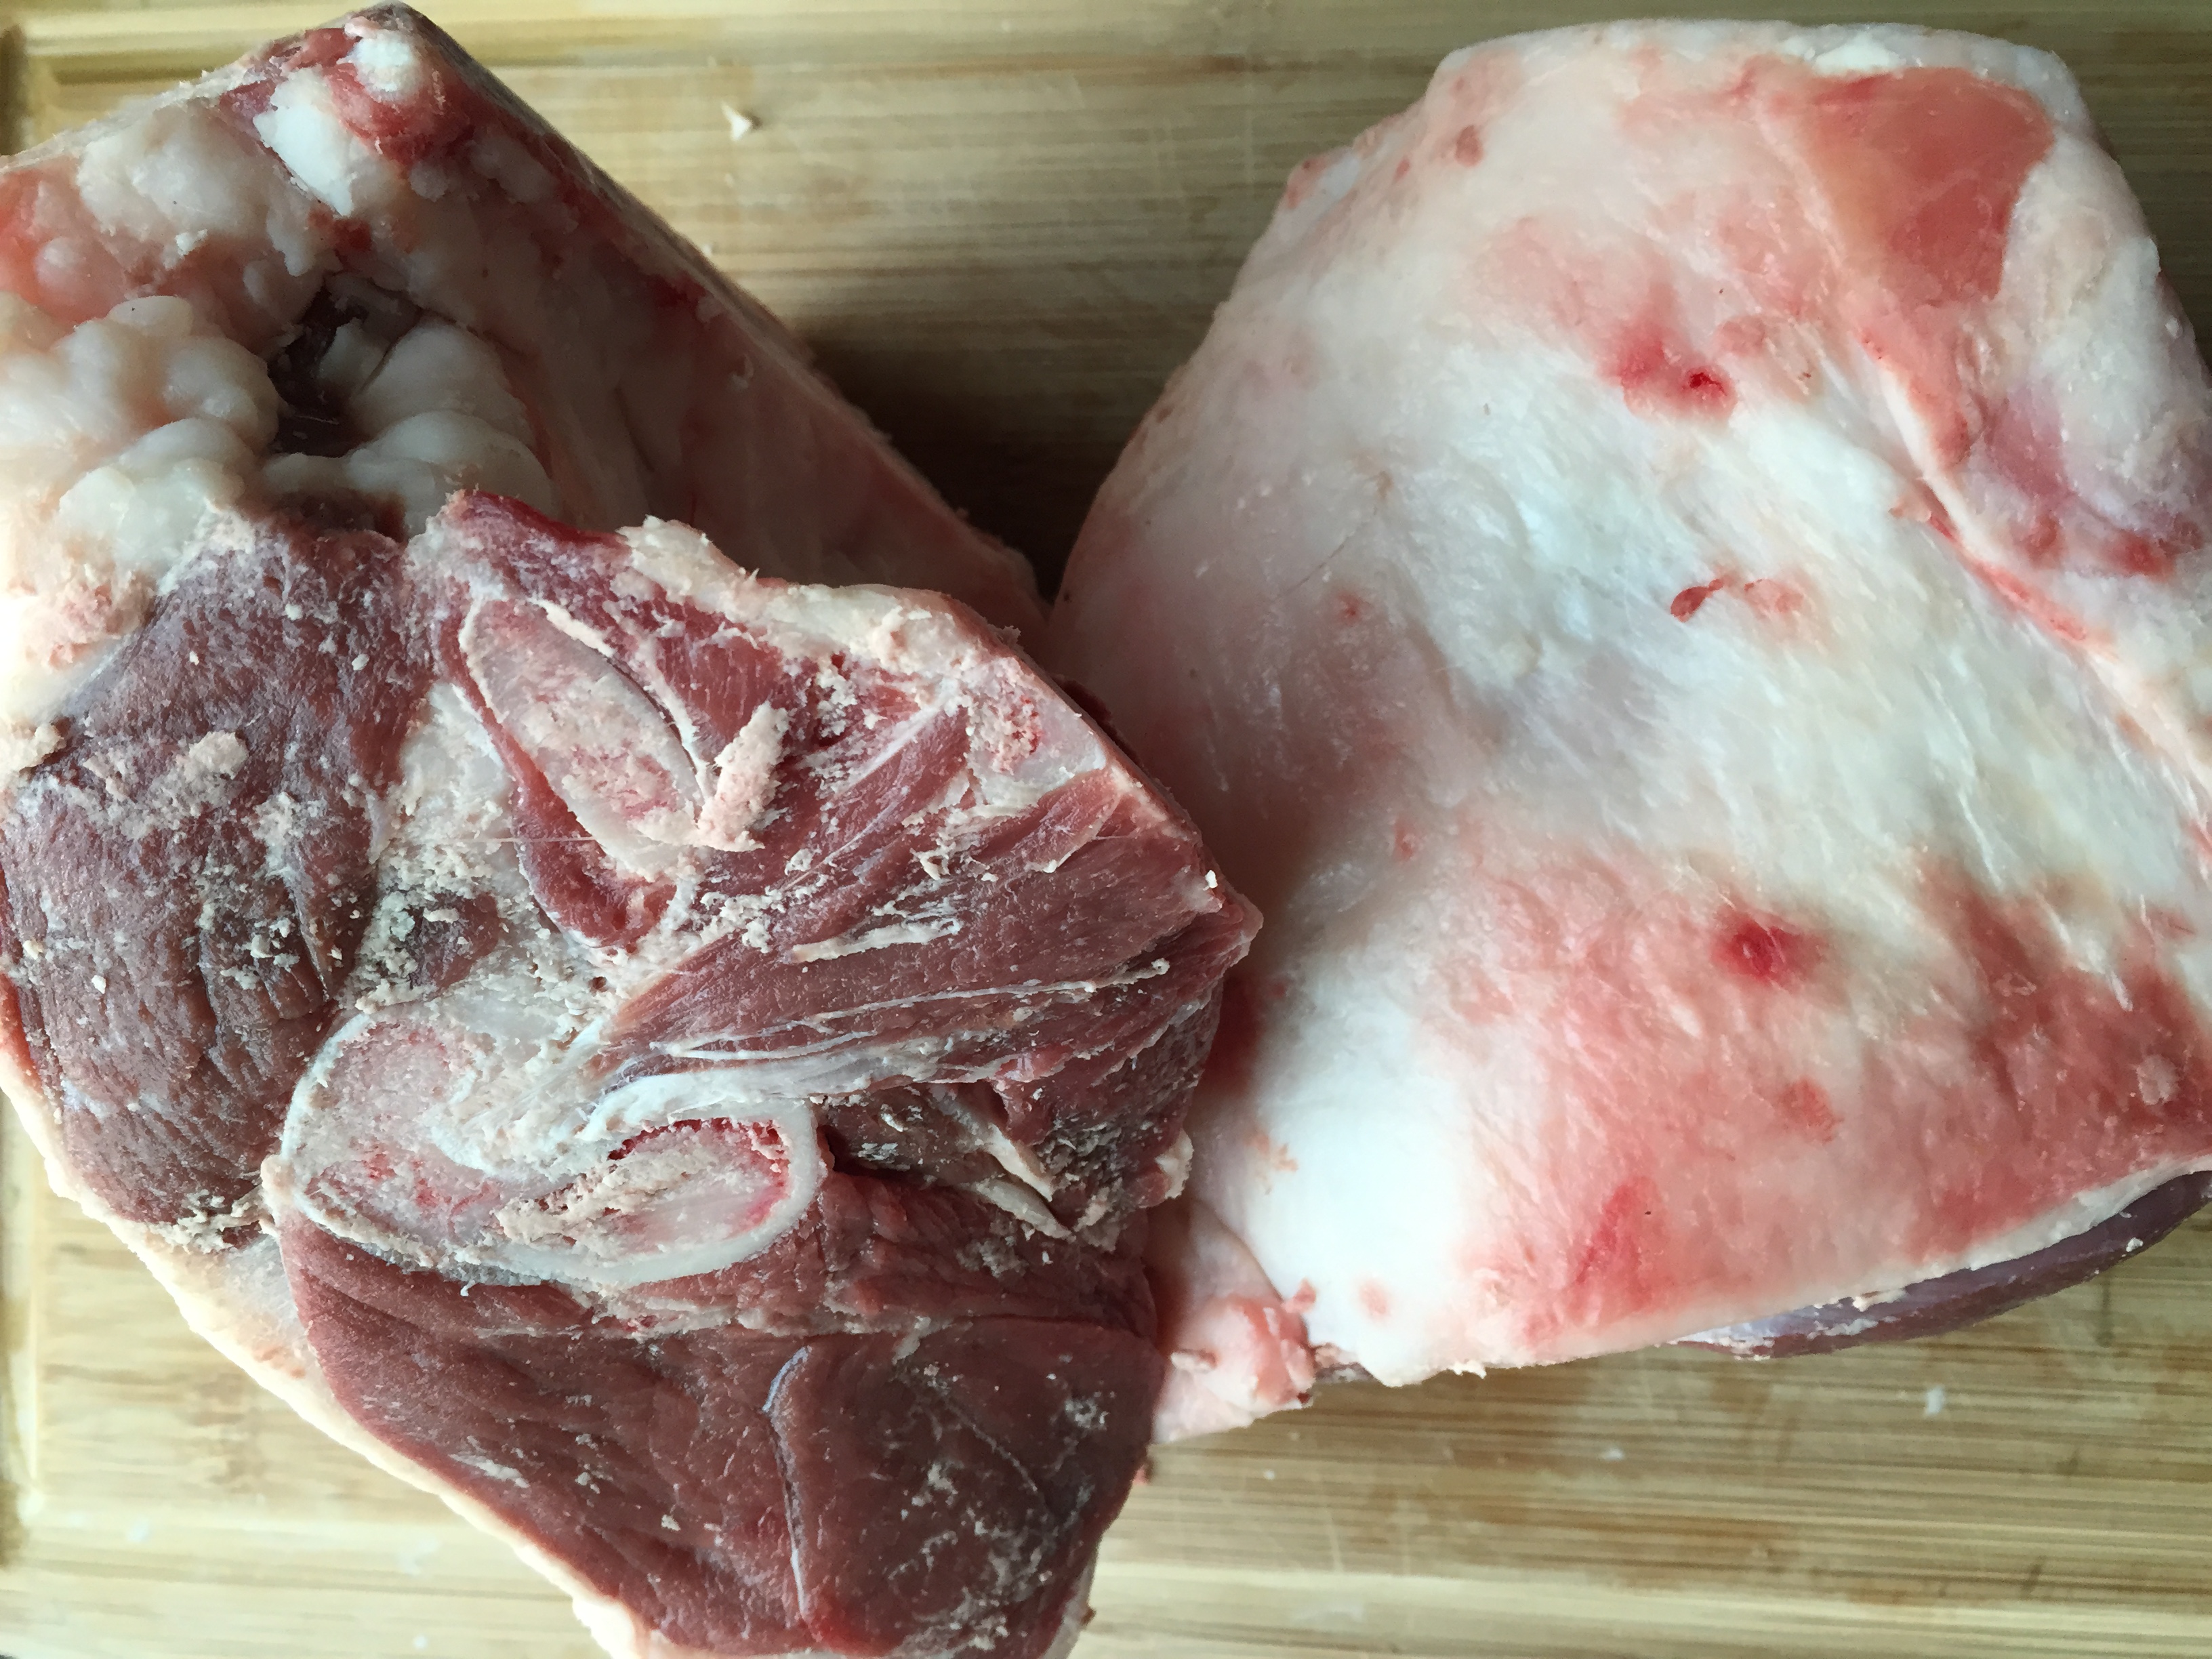
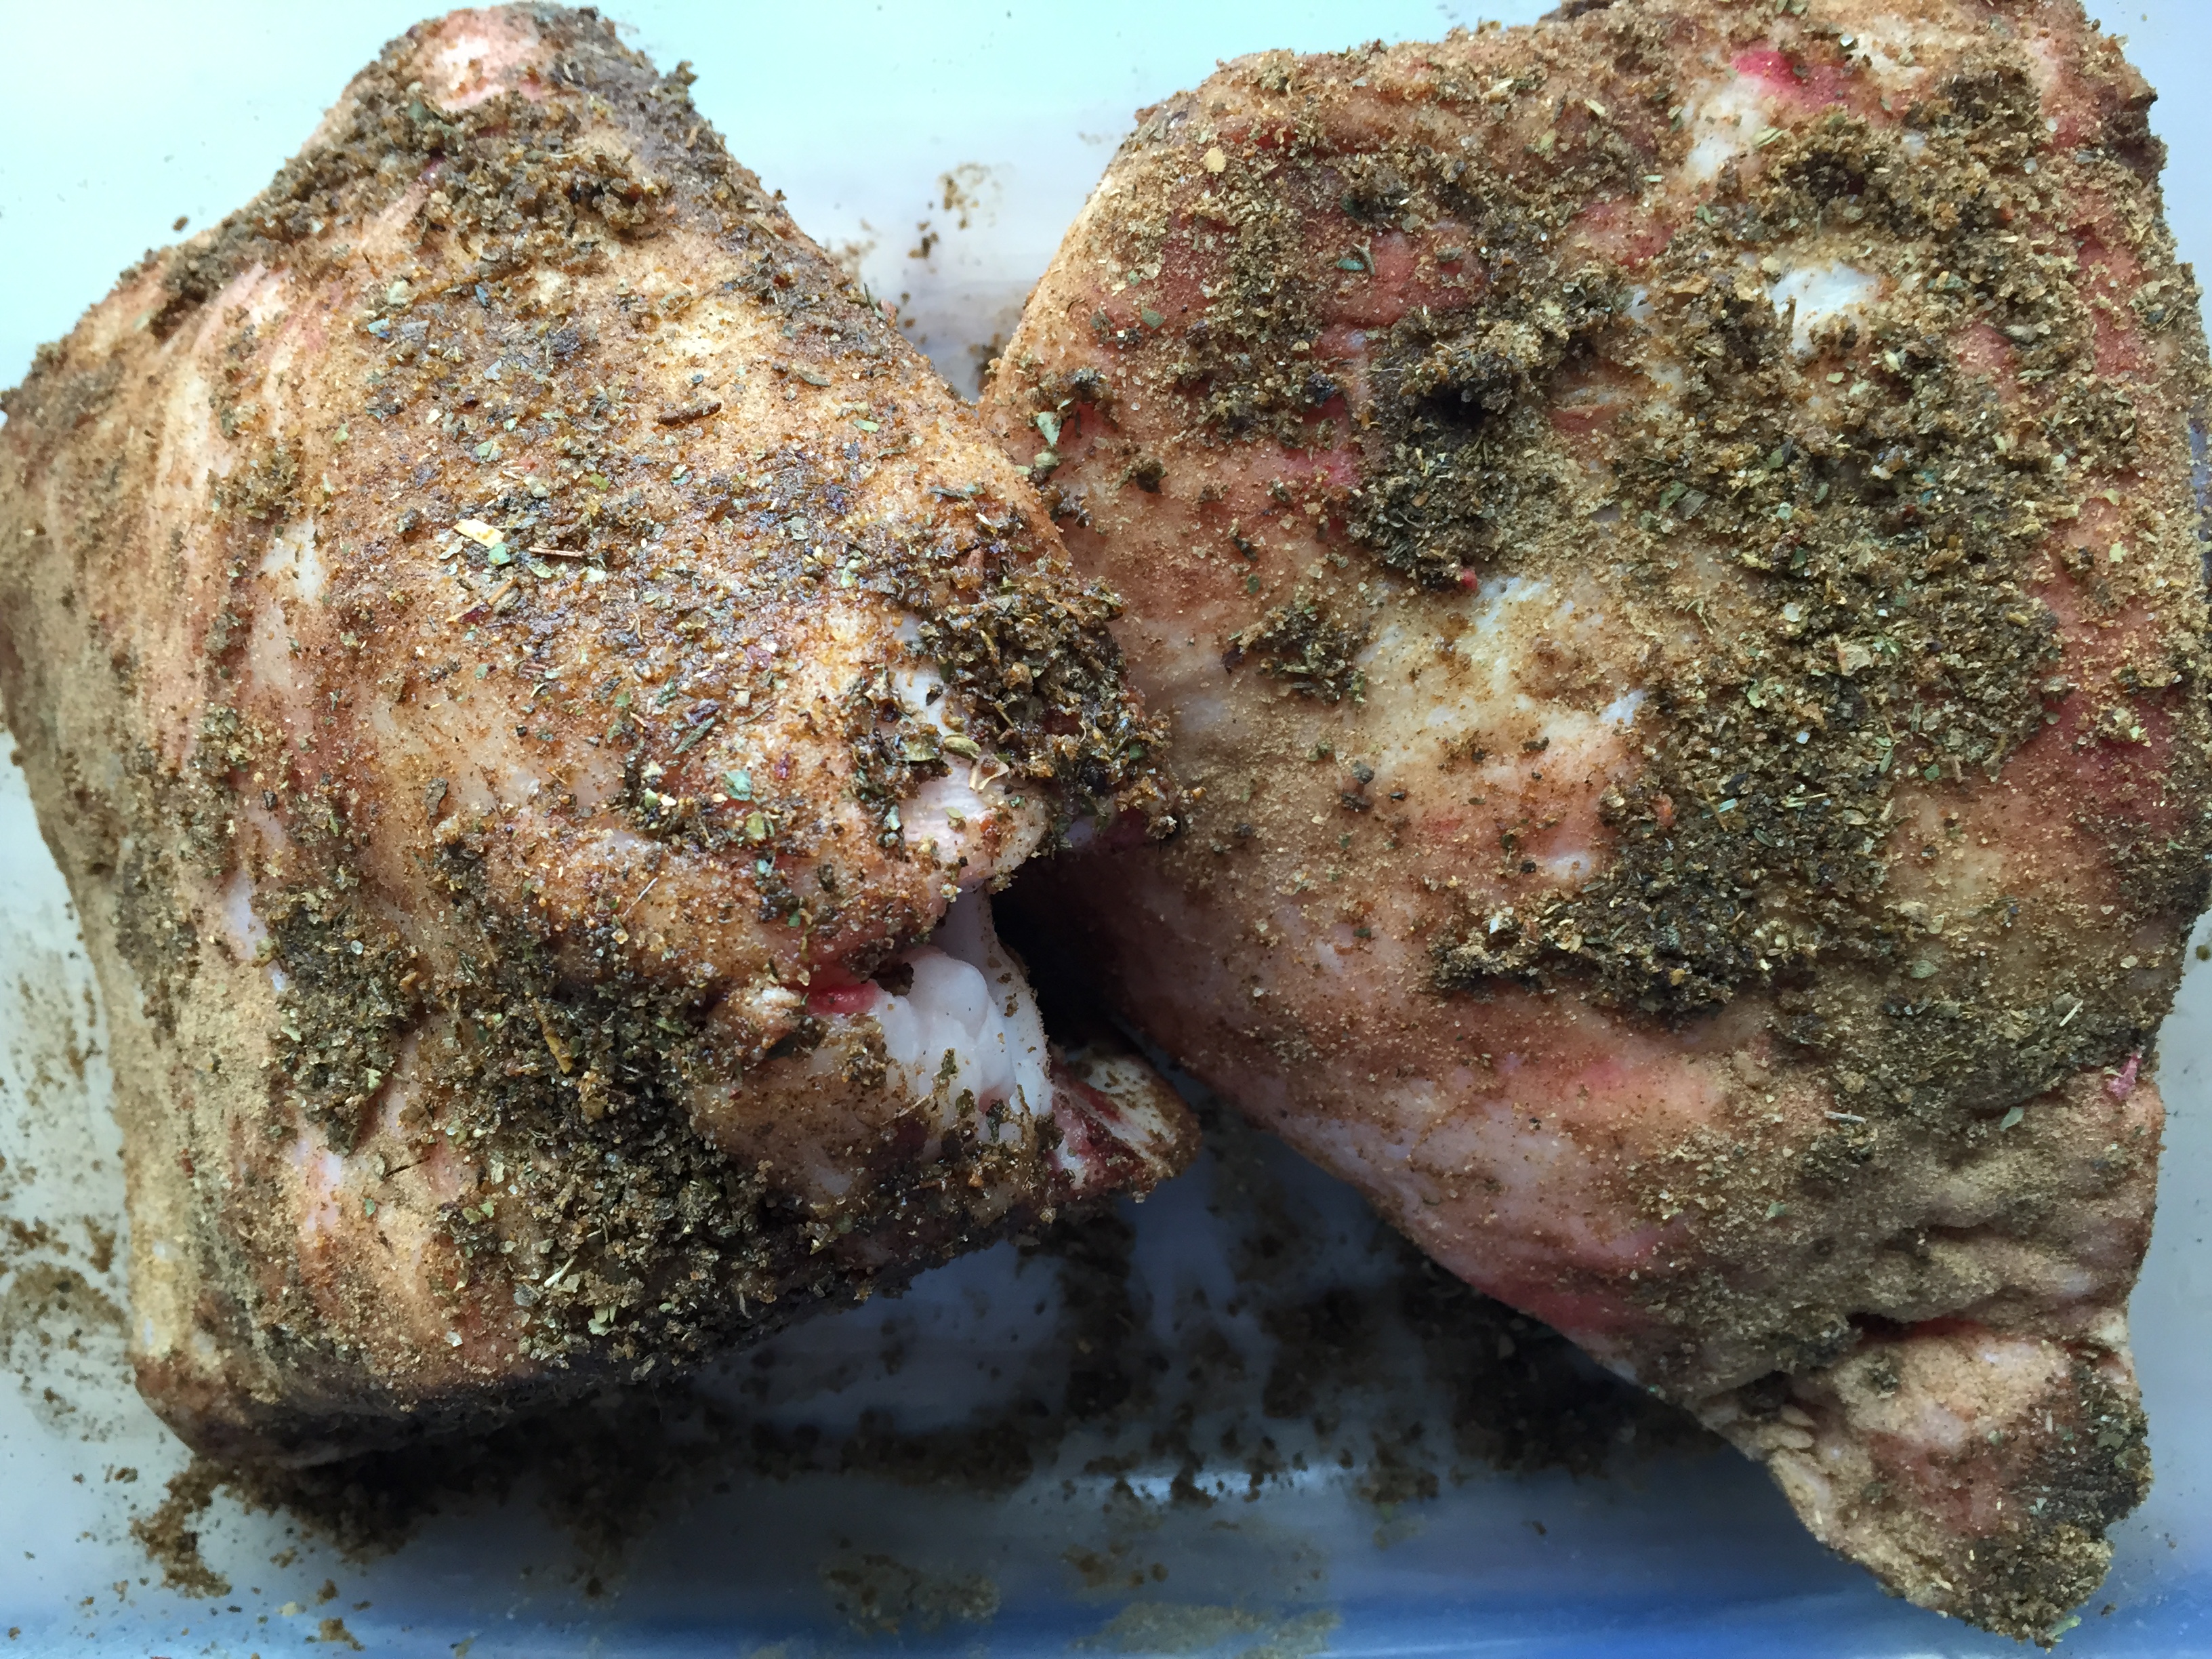
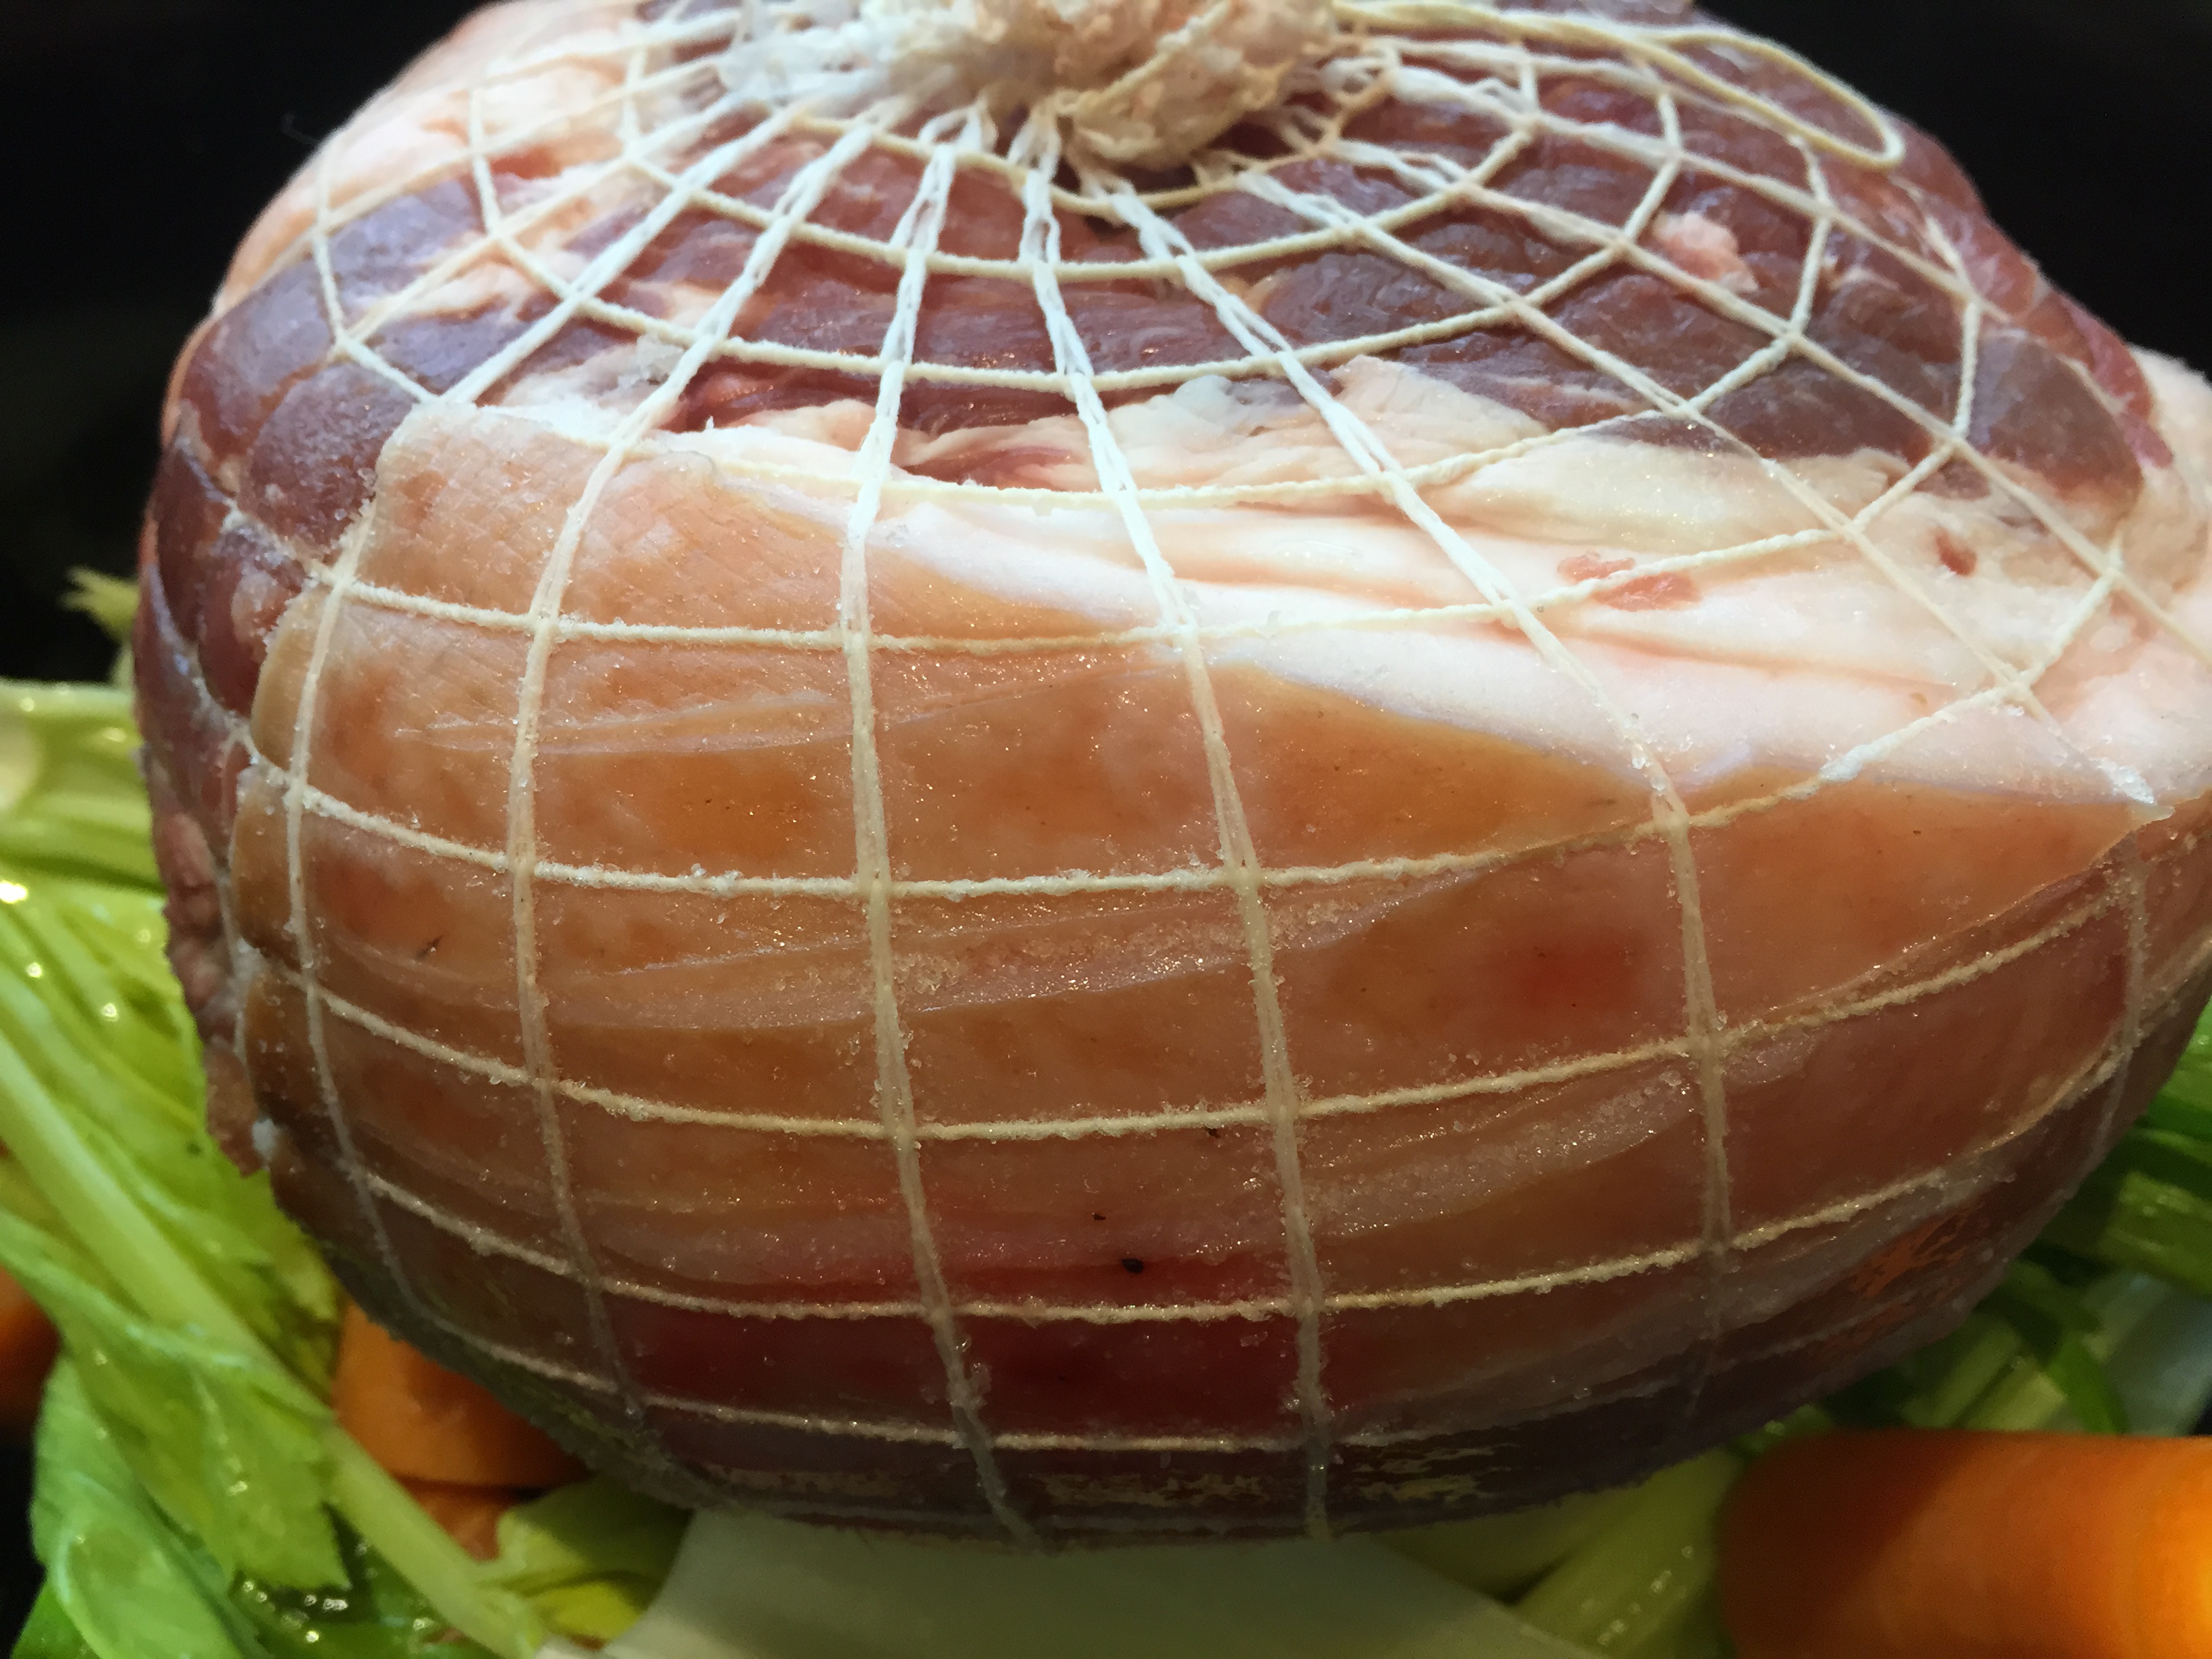
We’ll start with the meat. I had two 1.6kg lamb legs, they were the top part of the leg, so a little less meaty than lower down but still just as tasty. If I’m strapped for time like I was, then I’ll coat the meat in olive oil and Nostimini. Nostimini is our go to BBQ seasoning, I want to say it’s heavy on the cumin and oregano. If I have time to marinate overnight, I’ll do it in olive oil and a combination of fresh herbs and spices, still heavy on cumin and oregano. My lamb had a nice layer of fat on it and probably didn’t need the oil but I went with it anyway out of habit more than anything and I only had 45 minutes of marinating time.

2×1.6kg lamb legs

Seasoned!
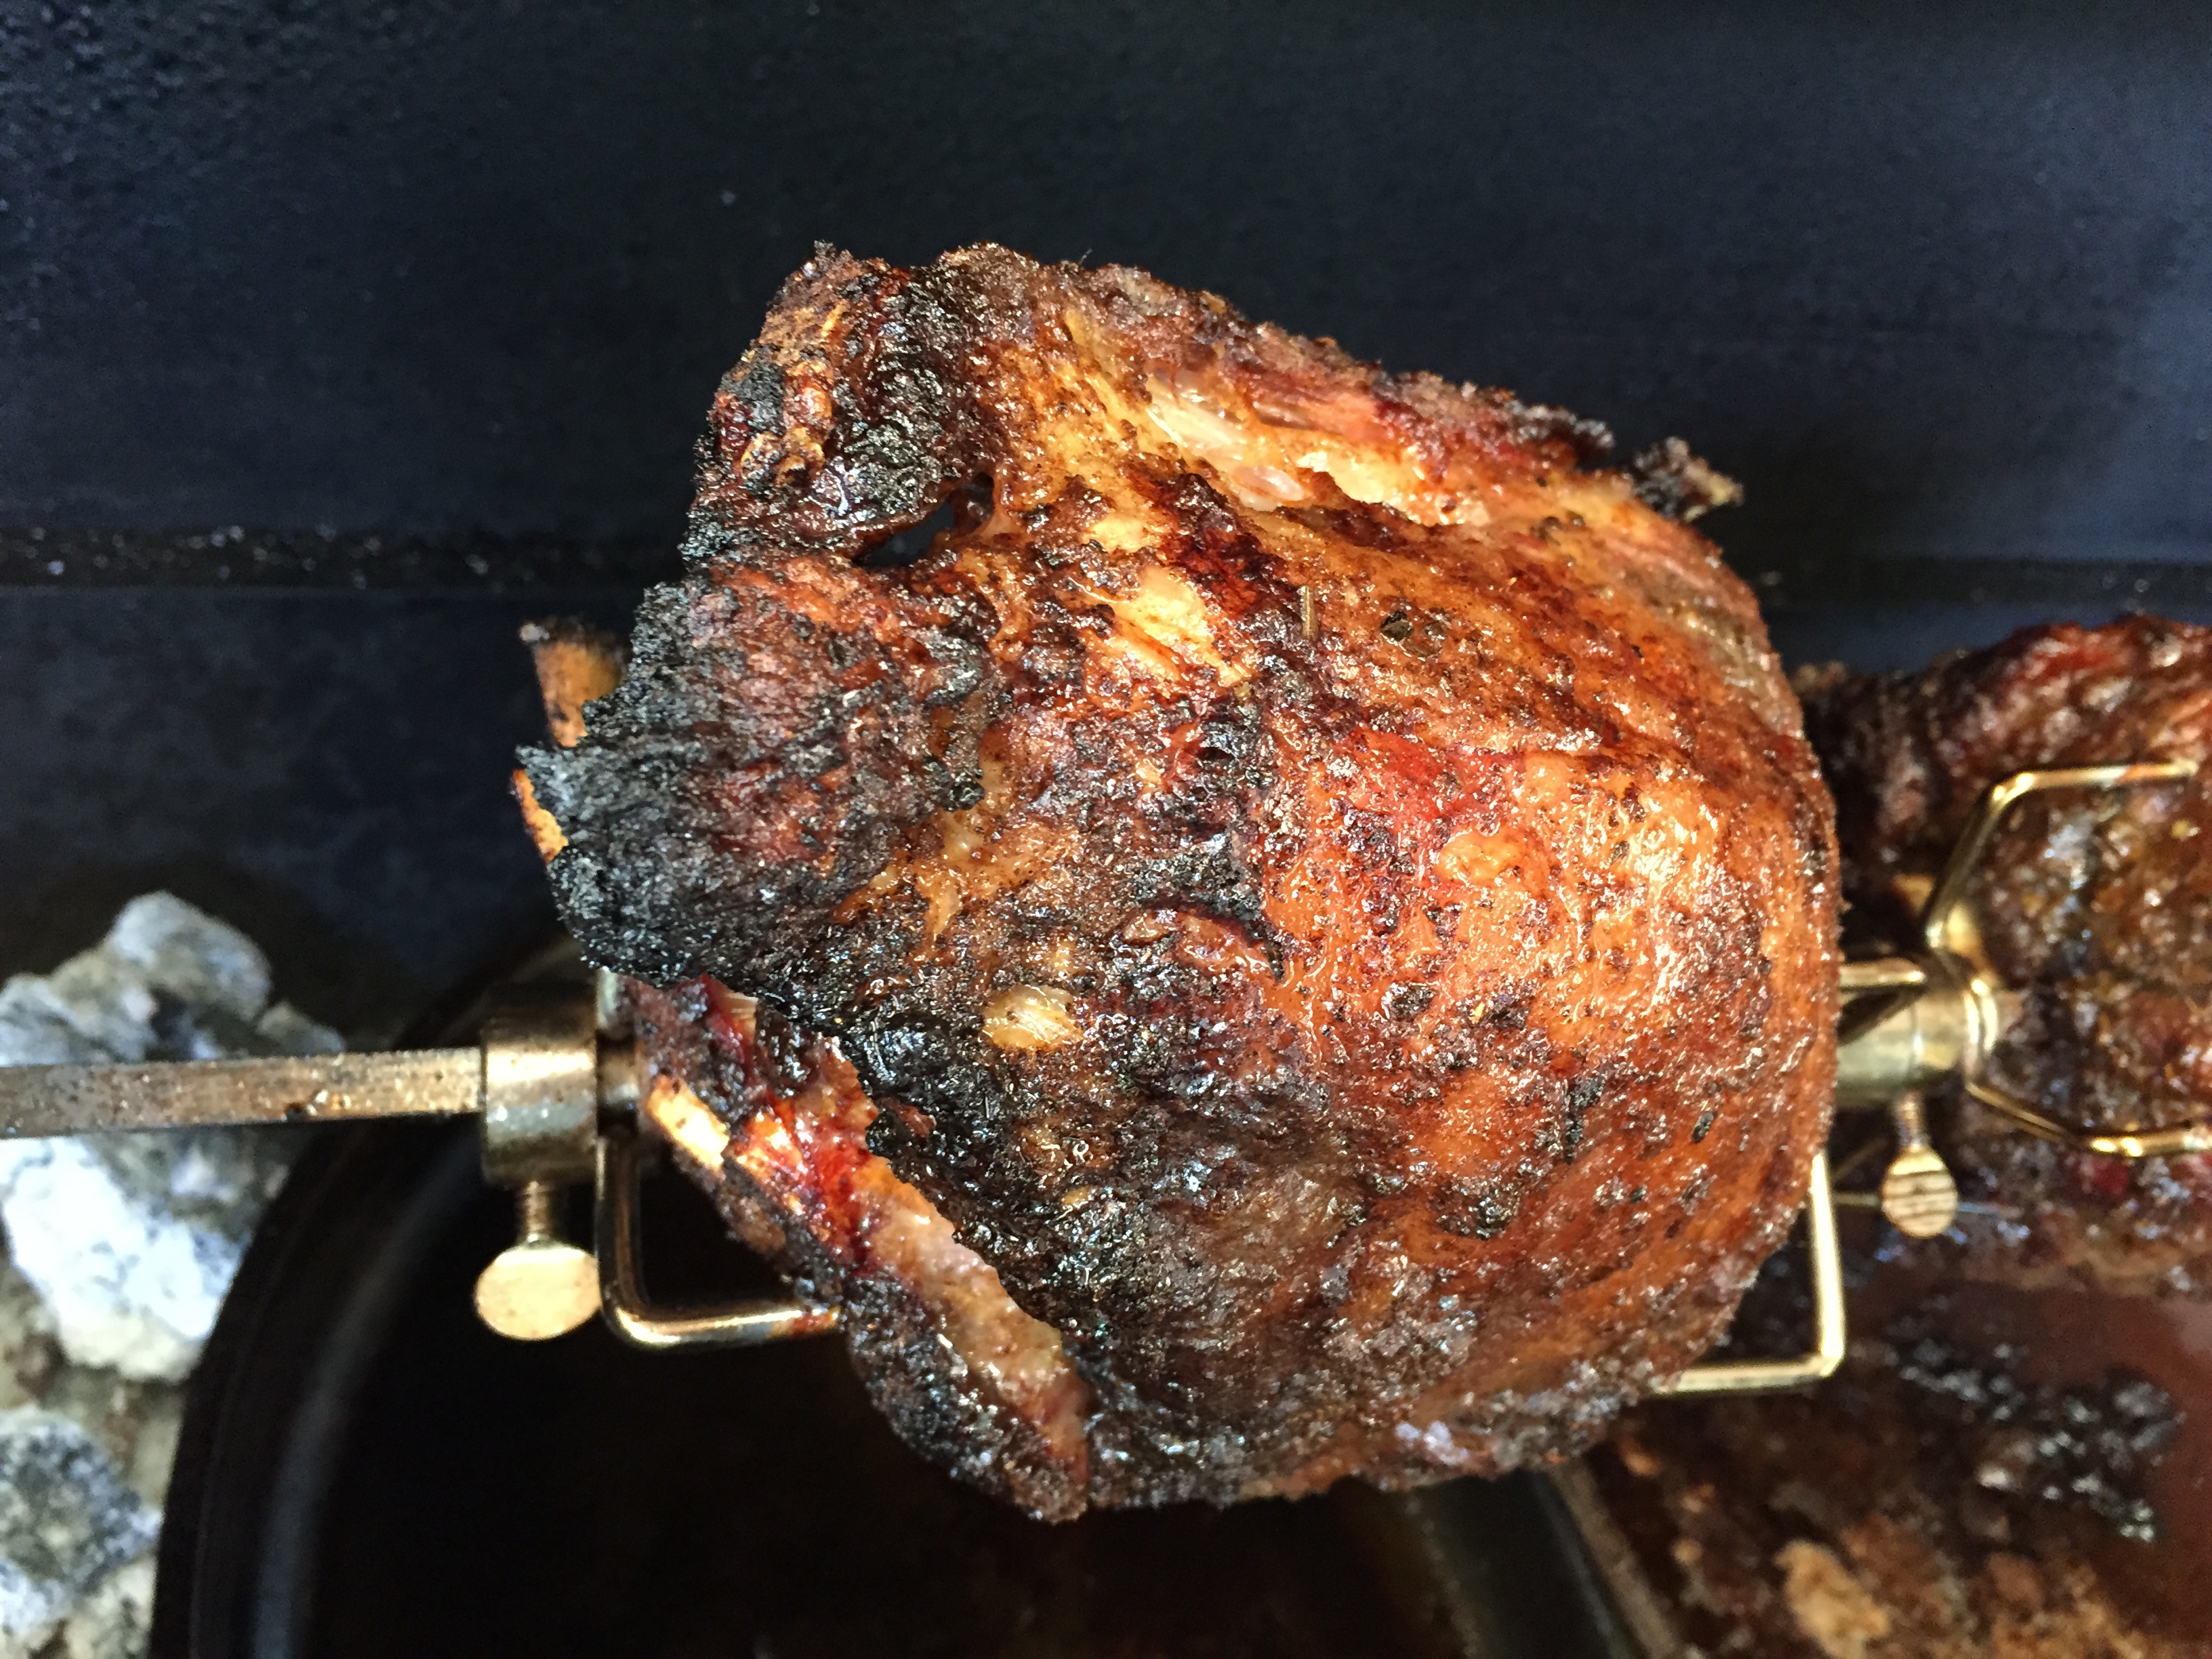
When we first started at the farm we did our own meat chickens and we bought a rotisserie attachment for our BBQ, it was one of the greatest farm purchases to date. We rotisseried everything! We rotisseried so often ours stopped working and we took out the one we bought for my sister as a Christmas present and used hers. I think we still owe her one… A gas BBQ is pretty straightforward, you only use the burners on either side of the spinning meat. We’ve upgraded to a heavy duty charcoal BBQ for our rotissering now. If you know what you’re doing and you don’t mind risking some arm hairs it’s awesome. Welding gloves come in handy too. Nothing beats the charcoal smoky-ness.

Cooking! Coals at either end and a drip tray in the middle.
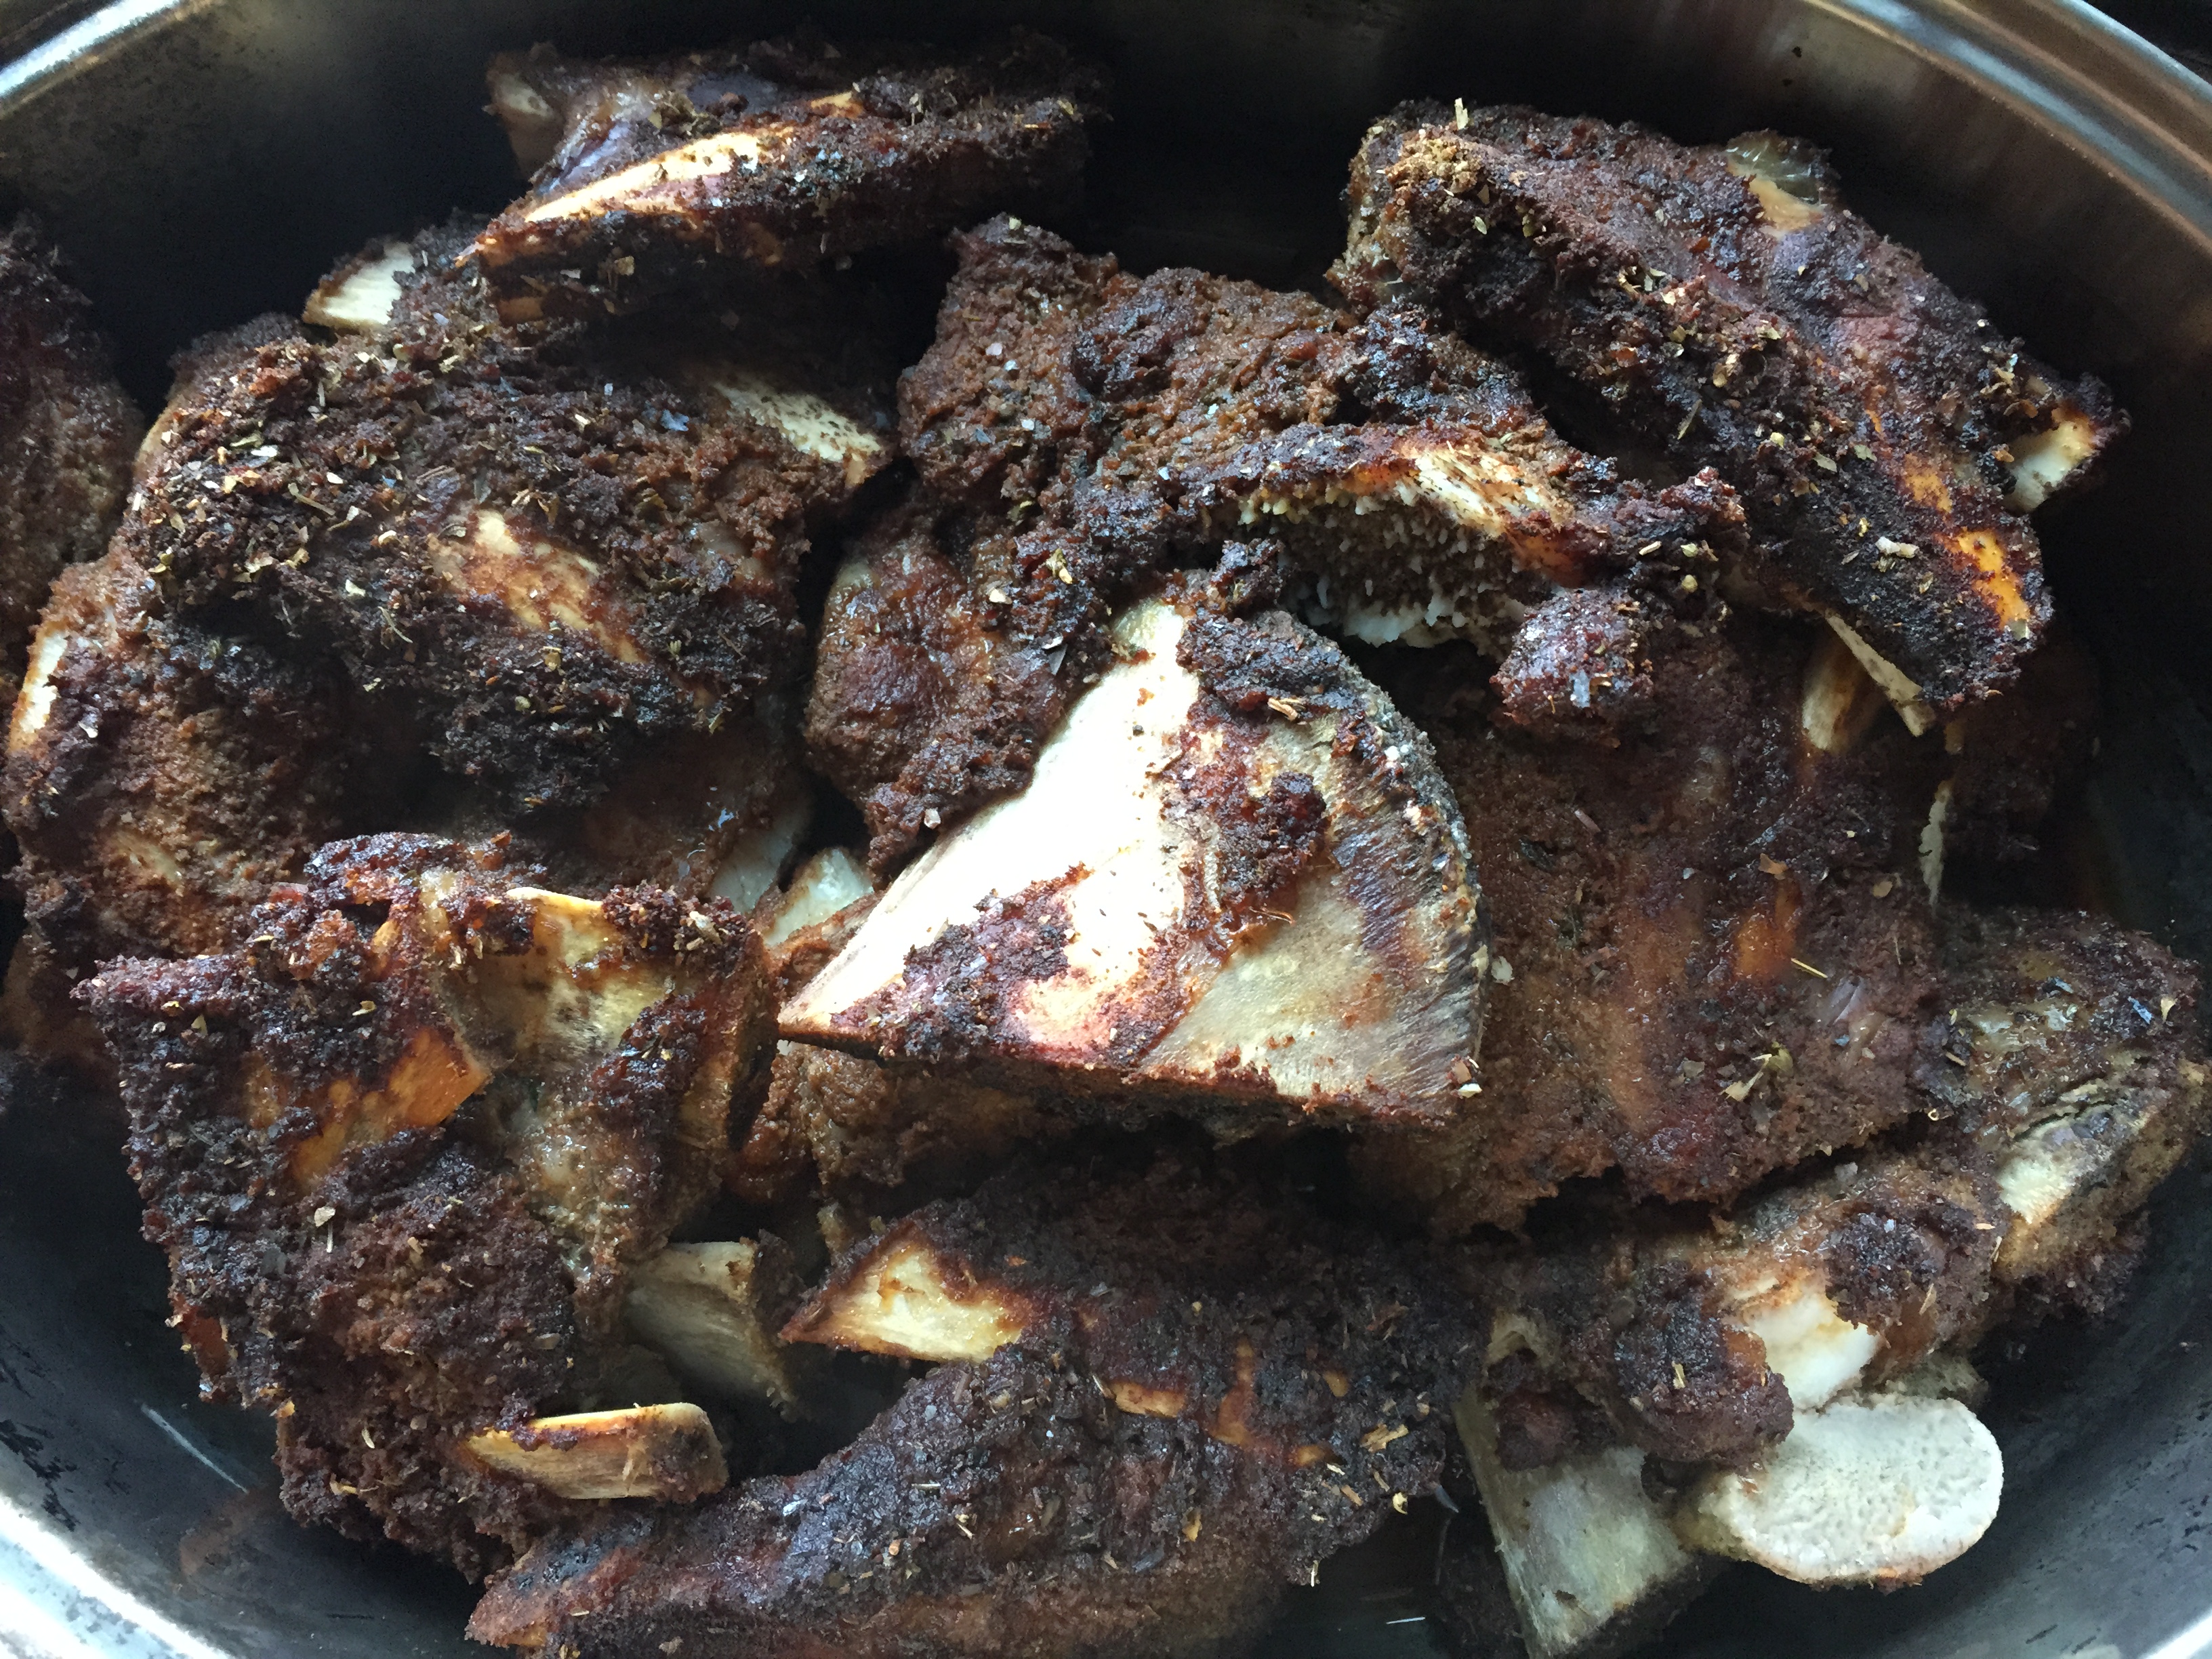
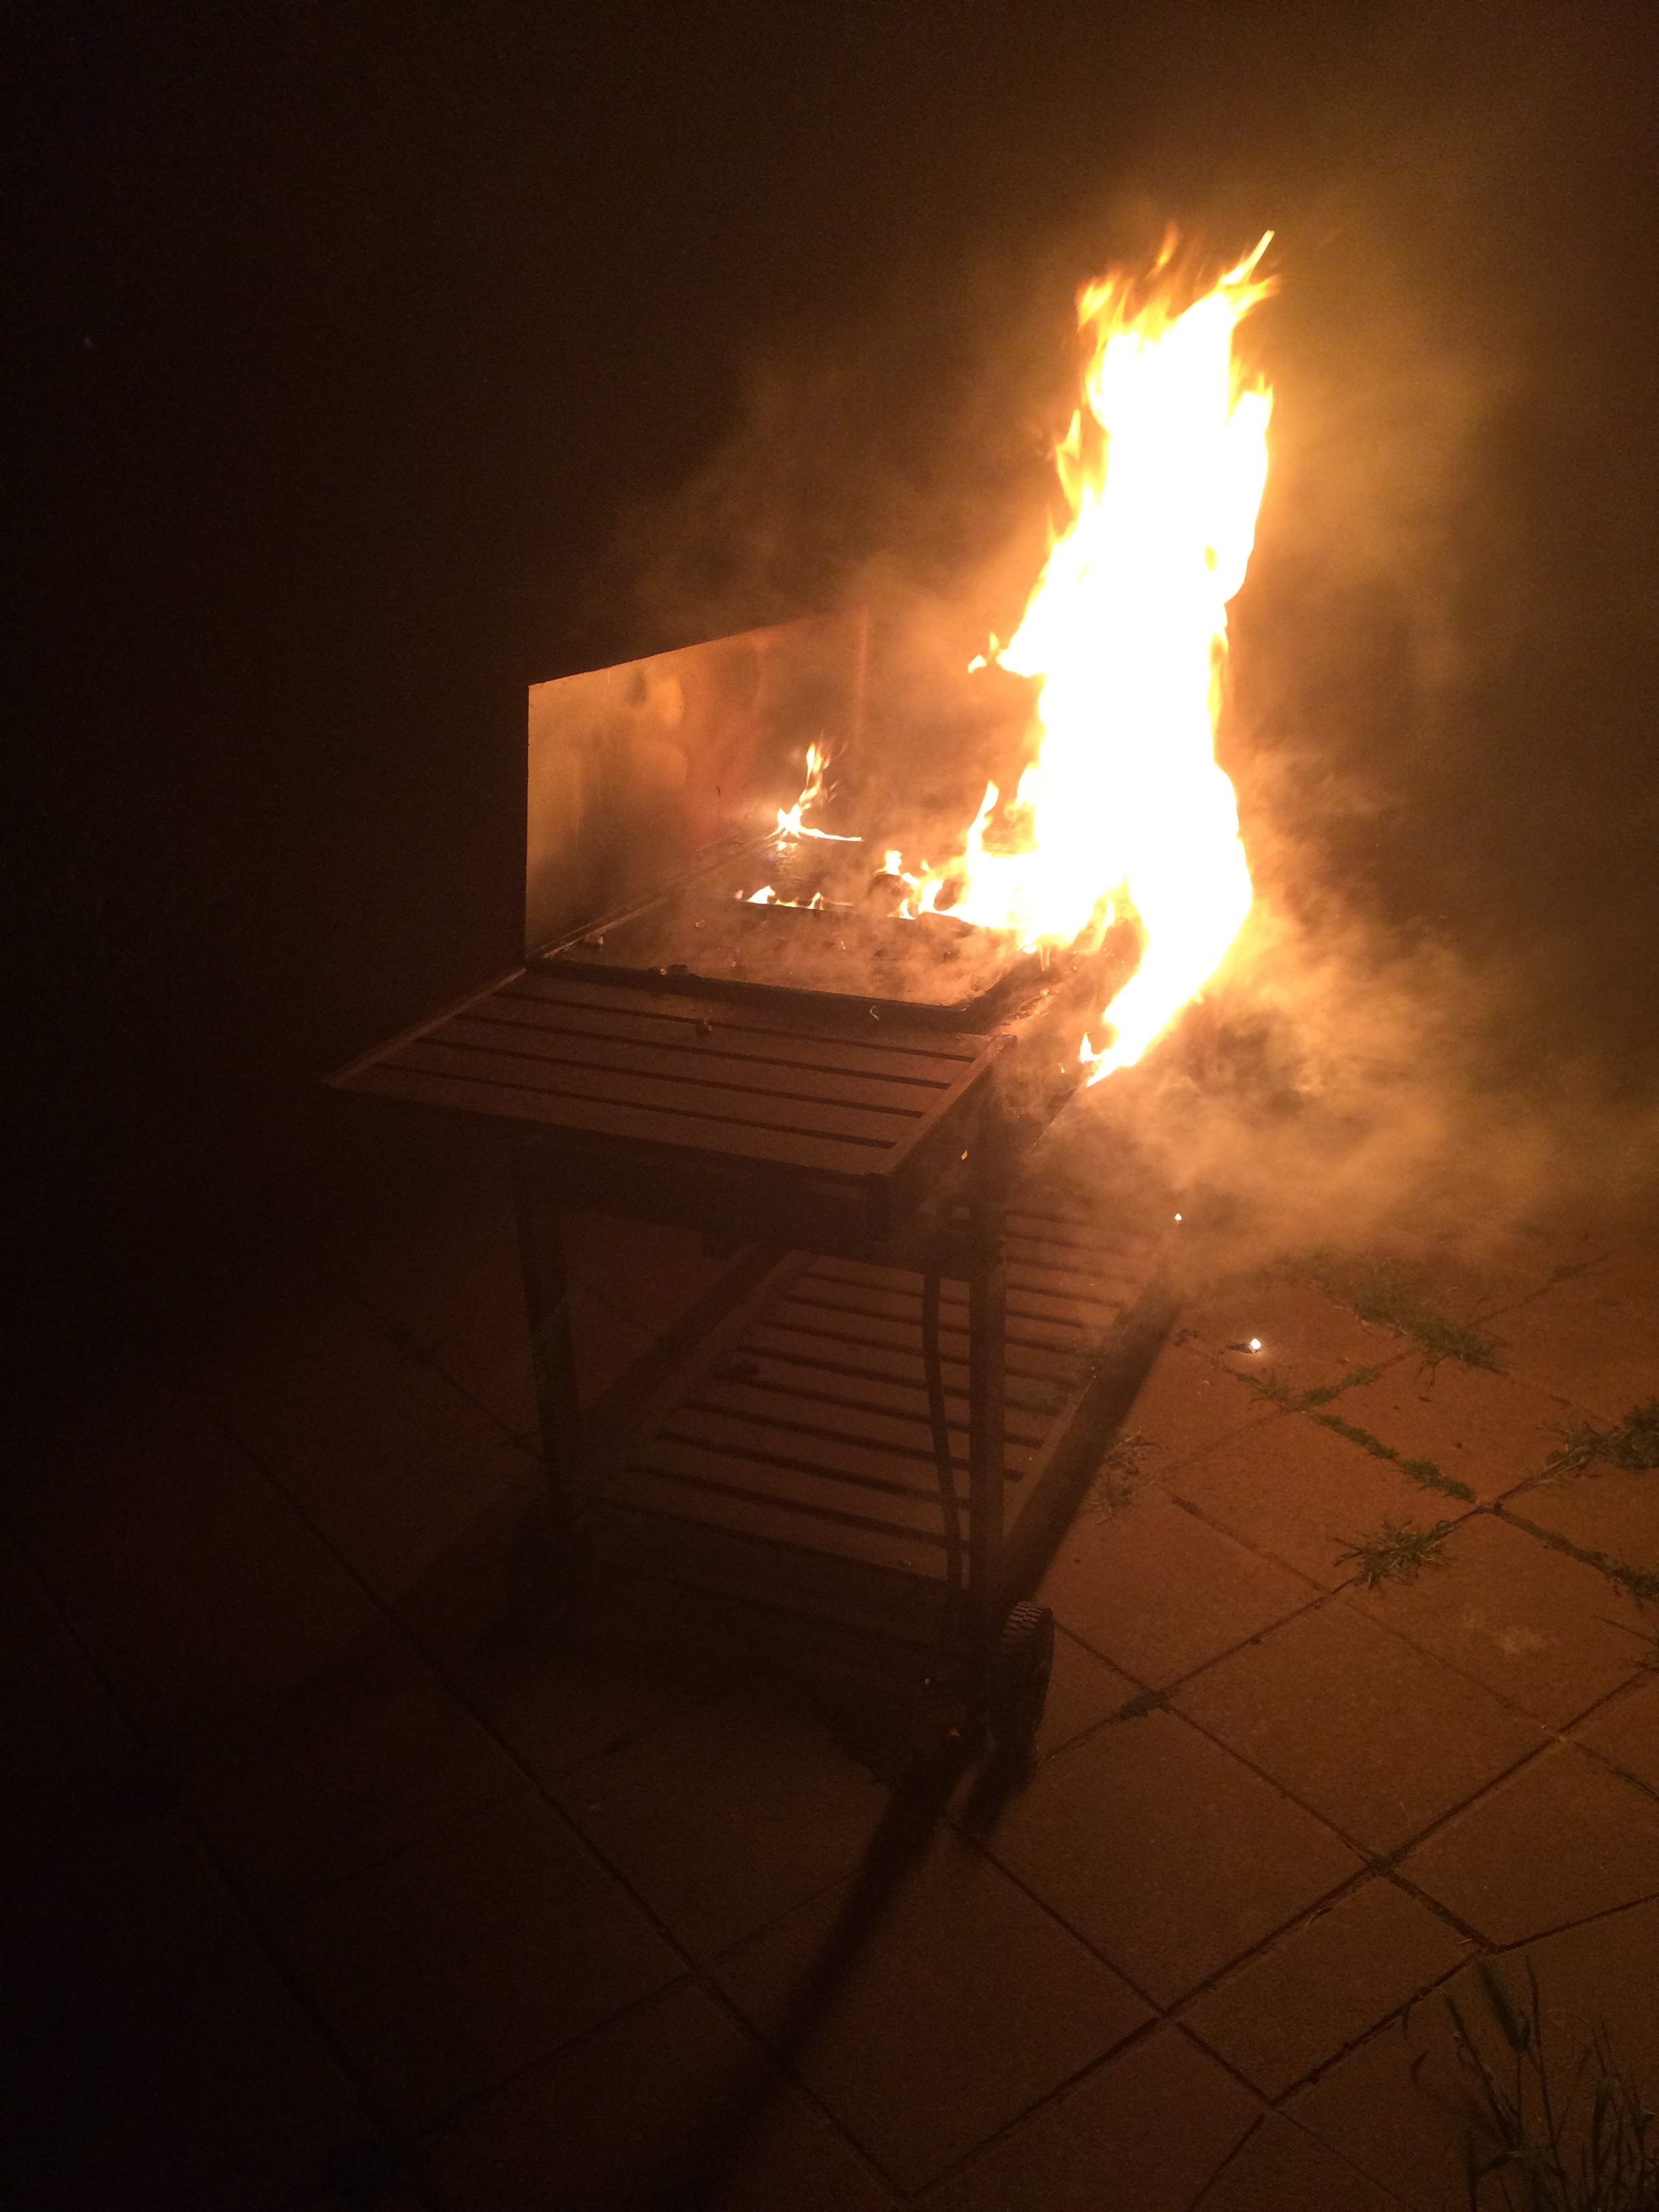
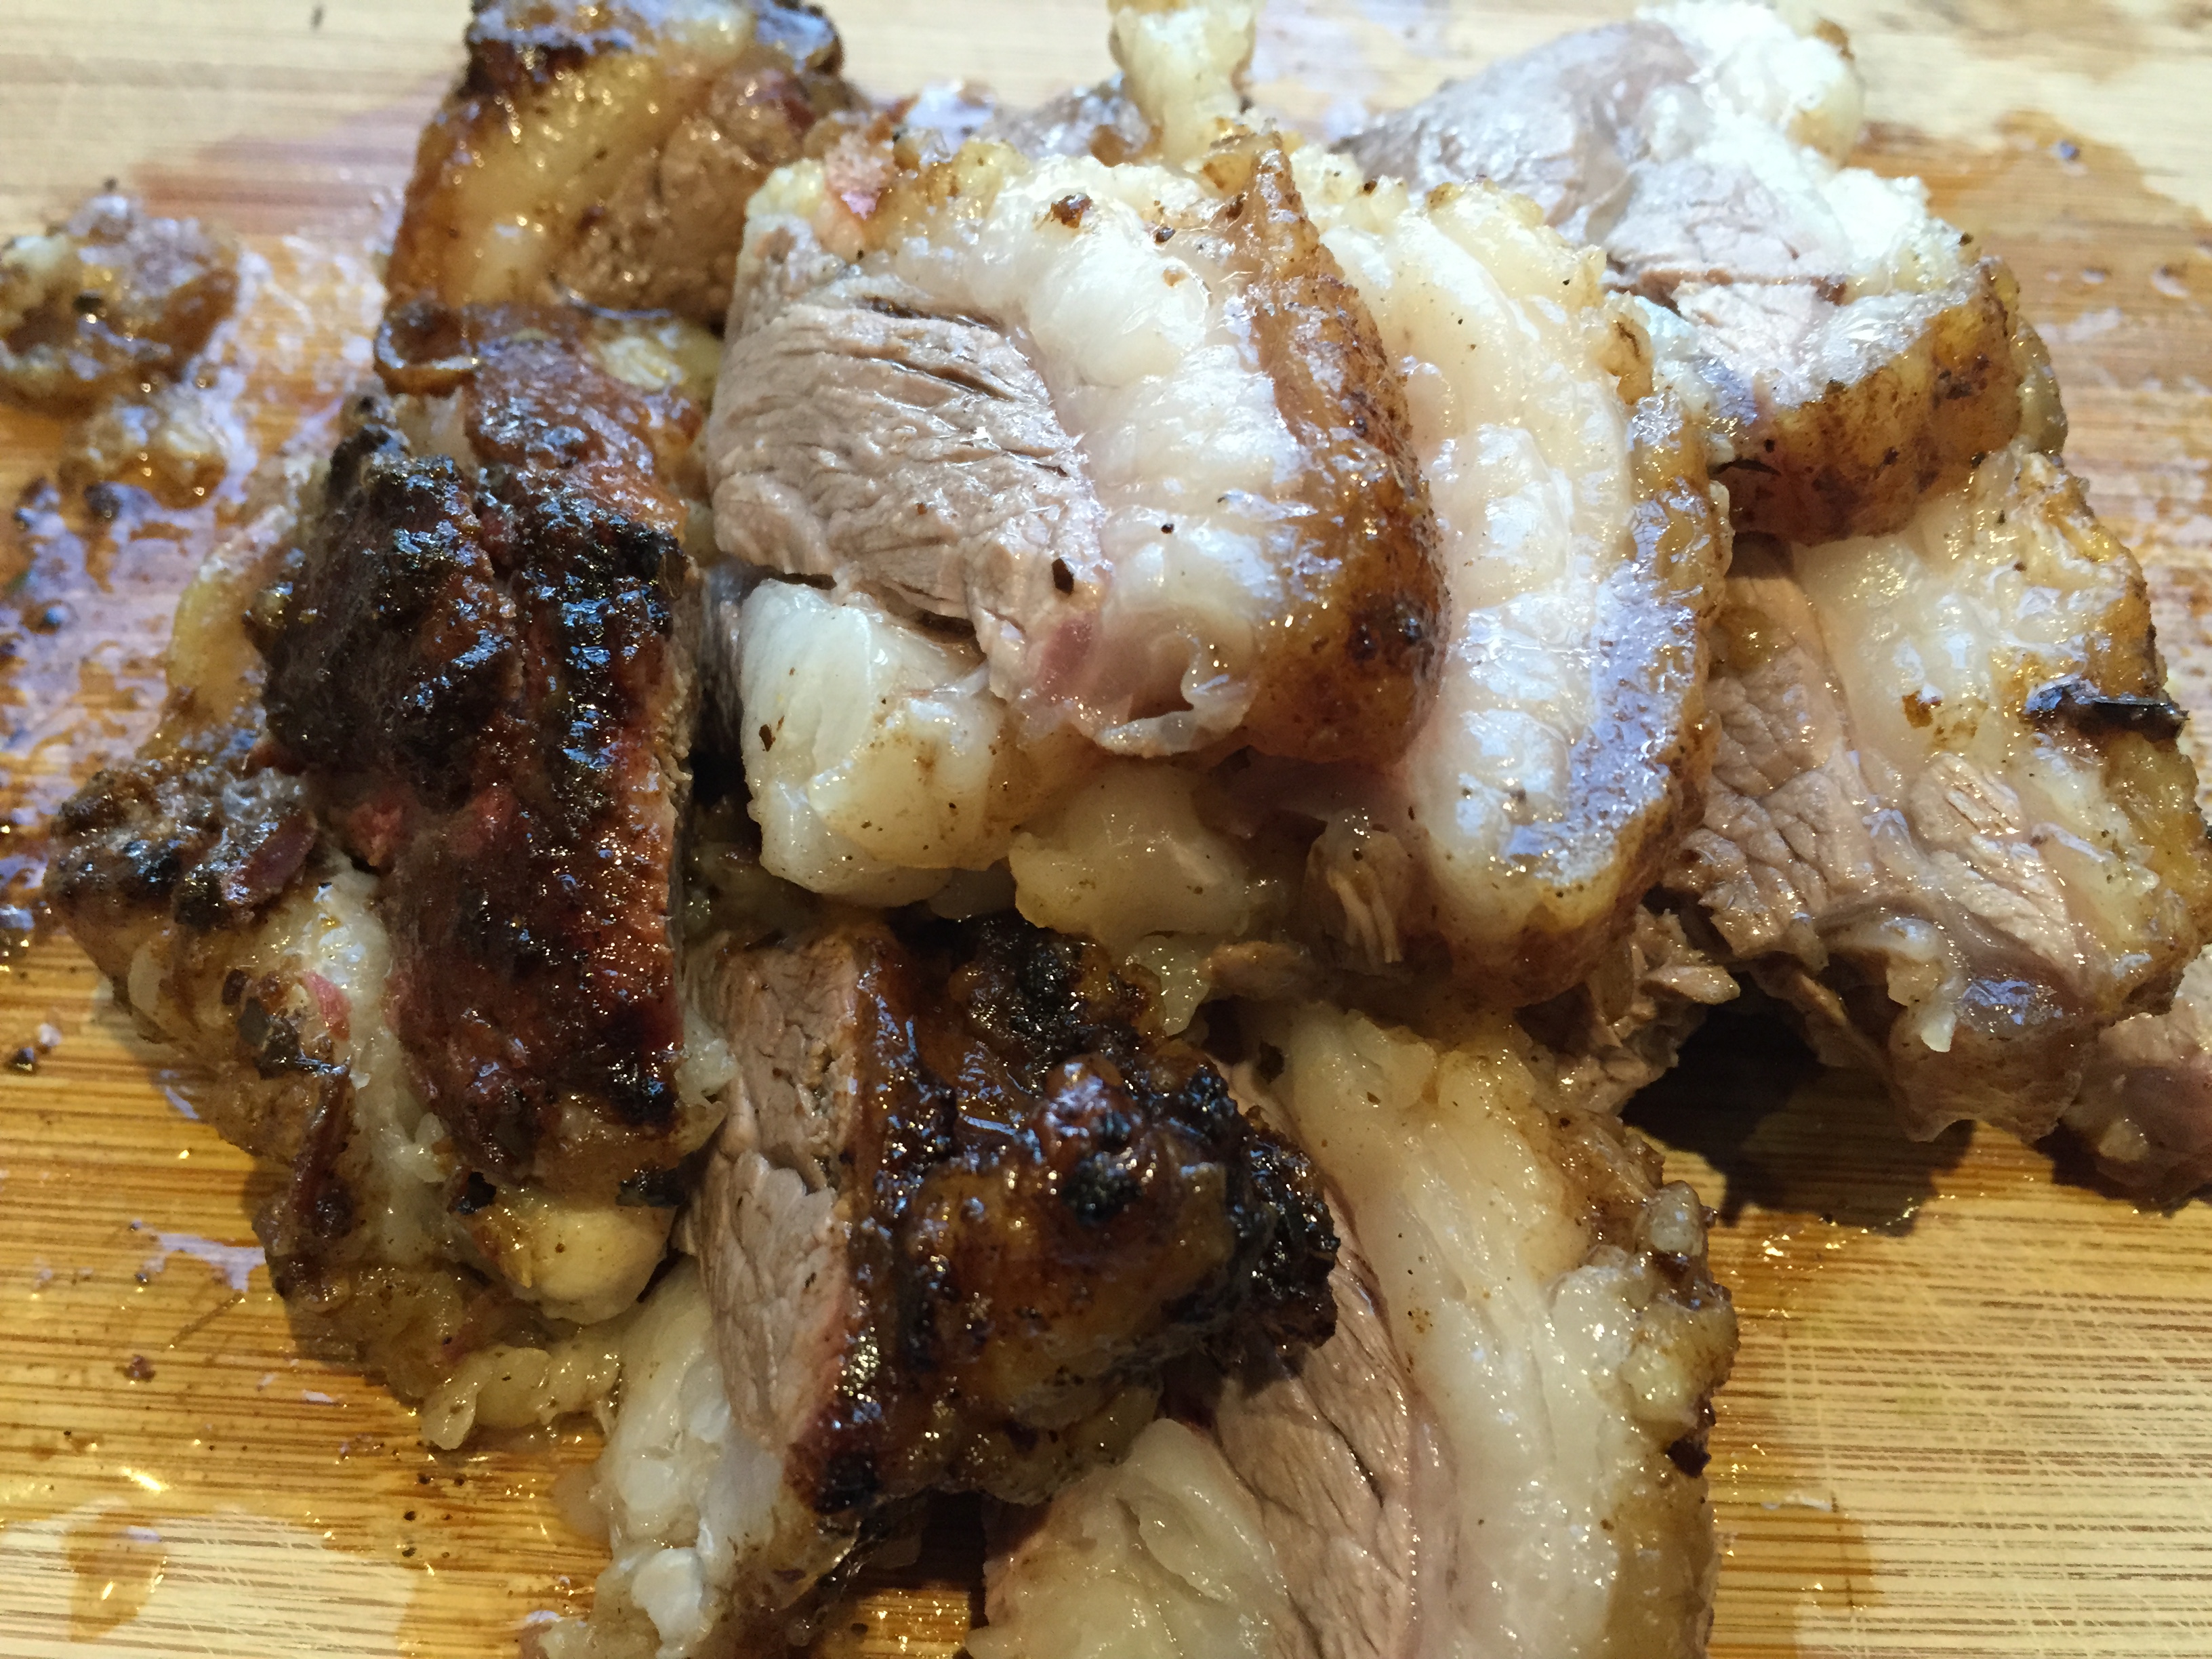
You might have to google the finer details of using charcoal but from my understanding you heat up the charcoal on either side of where your meat will be and wait for it to become white and the flames have died down. Position the meat on the rod and away you go! Having a drip tray under the meat is a good idea, also watch the meat in the beginning. We’ve sometimes had dinner catch fire because there was no drip try and the fire was directly under the meat. If we aren’t cooking for a long time we start with the temperature at 200C and it’ll drop a little bit during the cooking time. If you’re cooking for any longer than a few hours you’ll need to top up the charcoal. Our lamb cooked for about an hour and a half and rested for an hour. It’ll probably work just as well in the oven and if you wanted to you could cut your meat into strips and fry it in a pan or a BBQ plate.

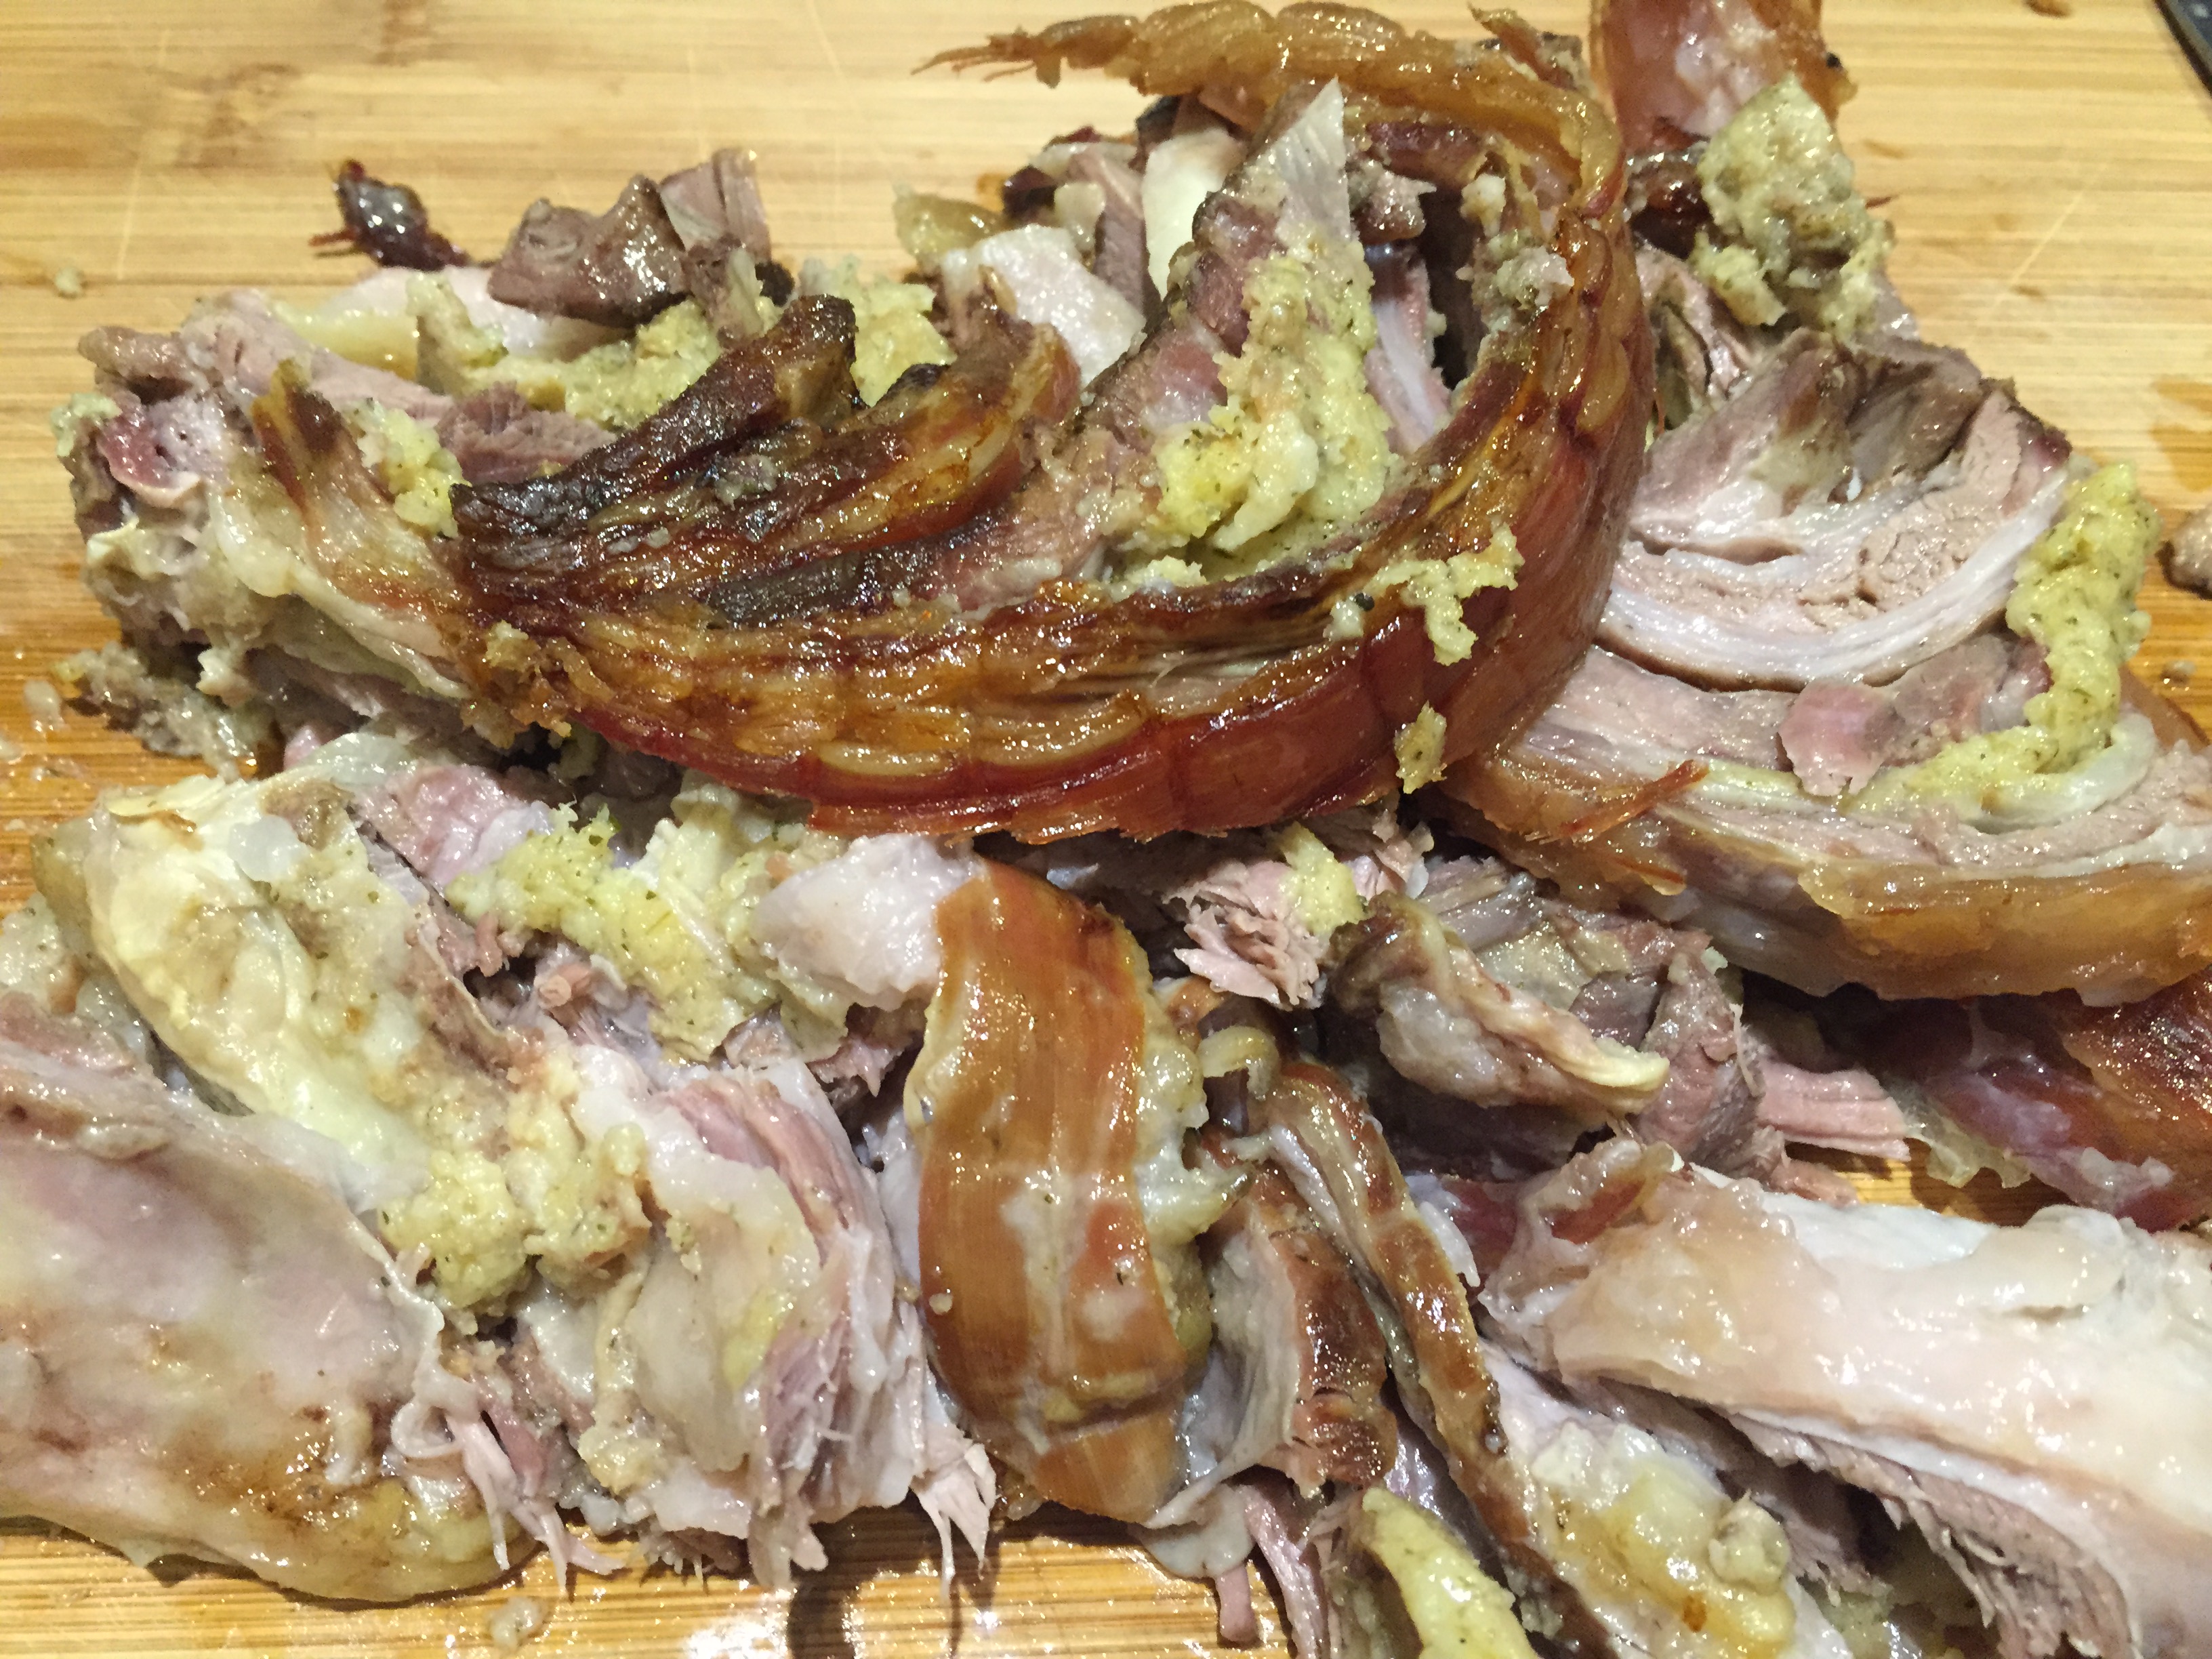
Done! After an hour and a half. The black bits are the best!
While the meat was cooking and resting I managed to get the other bits done.
Tzatziki is best started a day ahead. If you have the time and the patience, put your greek yoghurt into some cheese cloth (I use a new bit of chux) and let it drain. It makes the tzatziki thicker and richer. I didn’t have the time to wait so I didn’t drain mine, if you have a thick yoghurt to start with it’s not going to matter but if you have a thin yoghurt your tzatziki will be runny. Still tasty but runny. I used 3 continental cucumbers to a litre of yoghurt, though the number of cucumbers is up to personal taste. You will need to squeeze the water out of the cucumber, mix in a tablespoon of salt and let it sit for a few minutes before squeezing out the water, the salt makes it easier. Everything else in the tzatziki is purely up to your own taste.

We love tzatziki at home. We’ll eat it with almost anything.
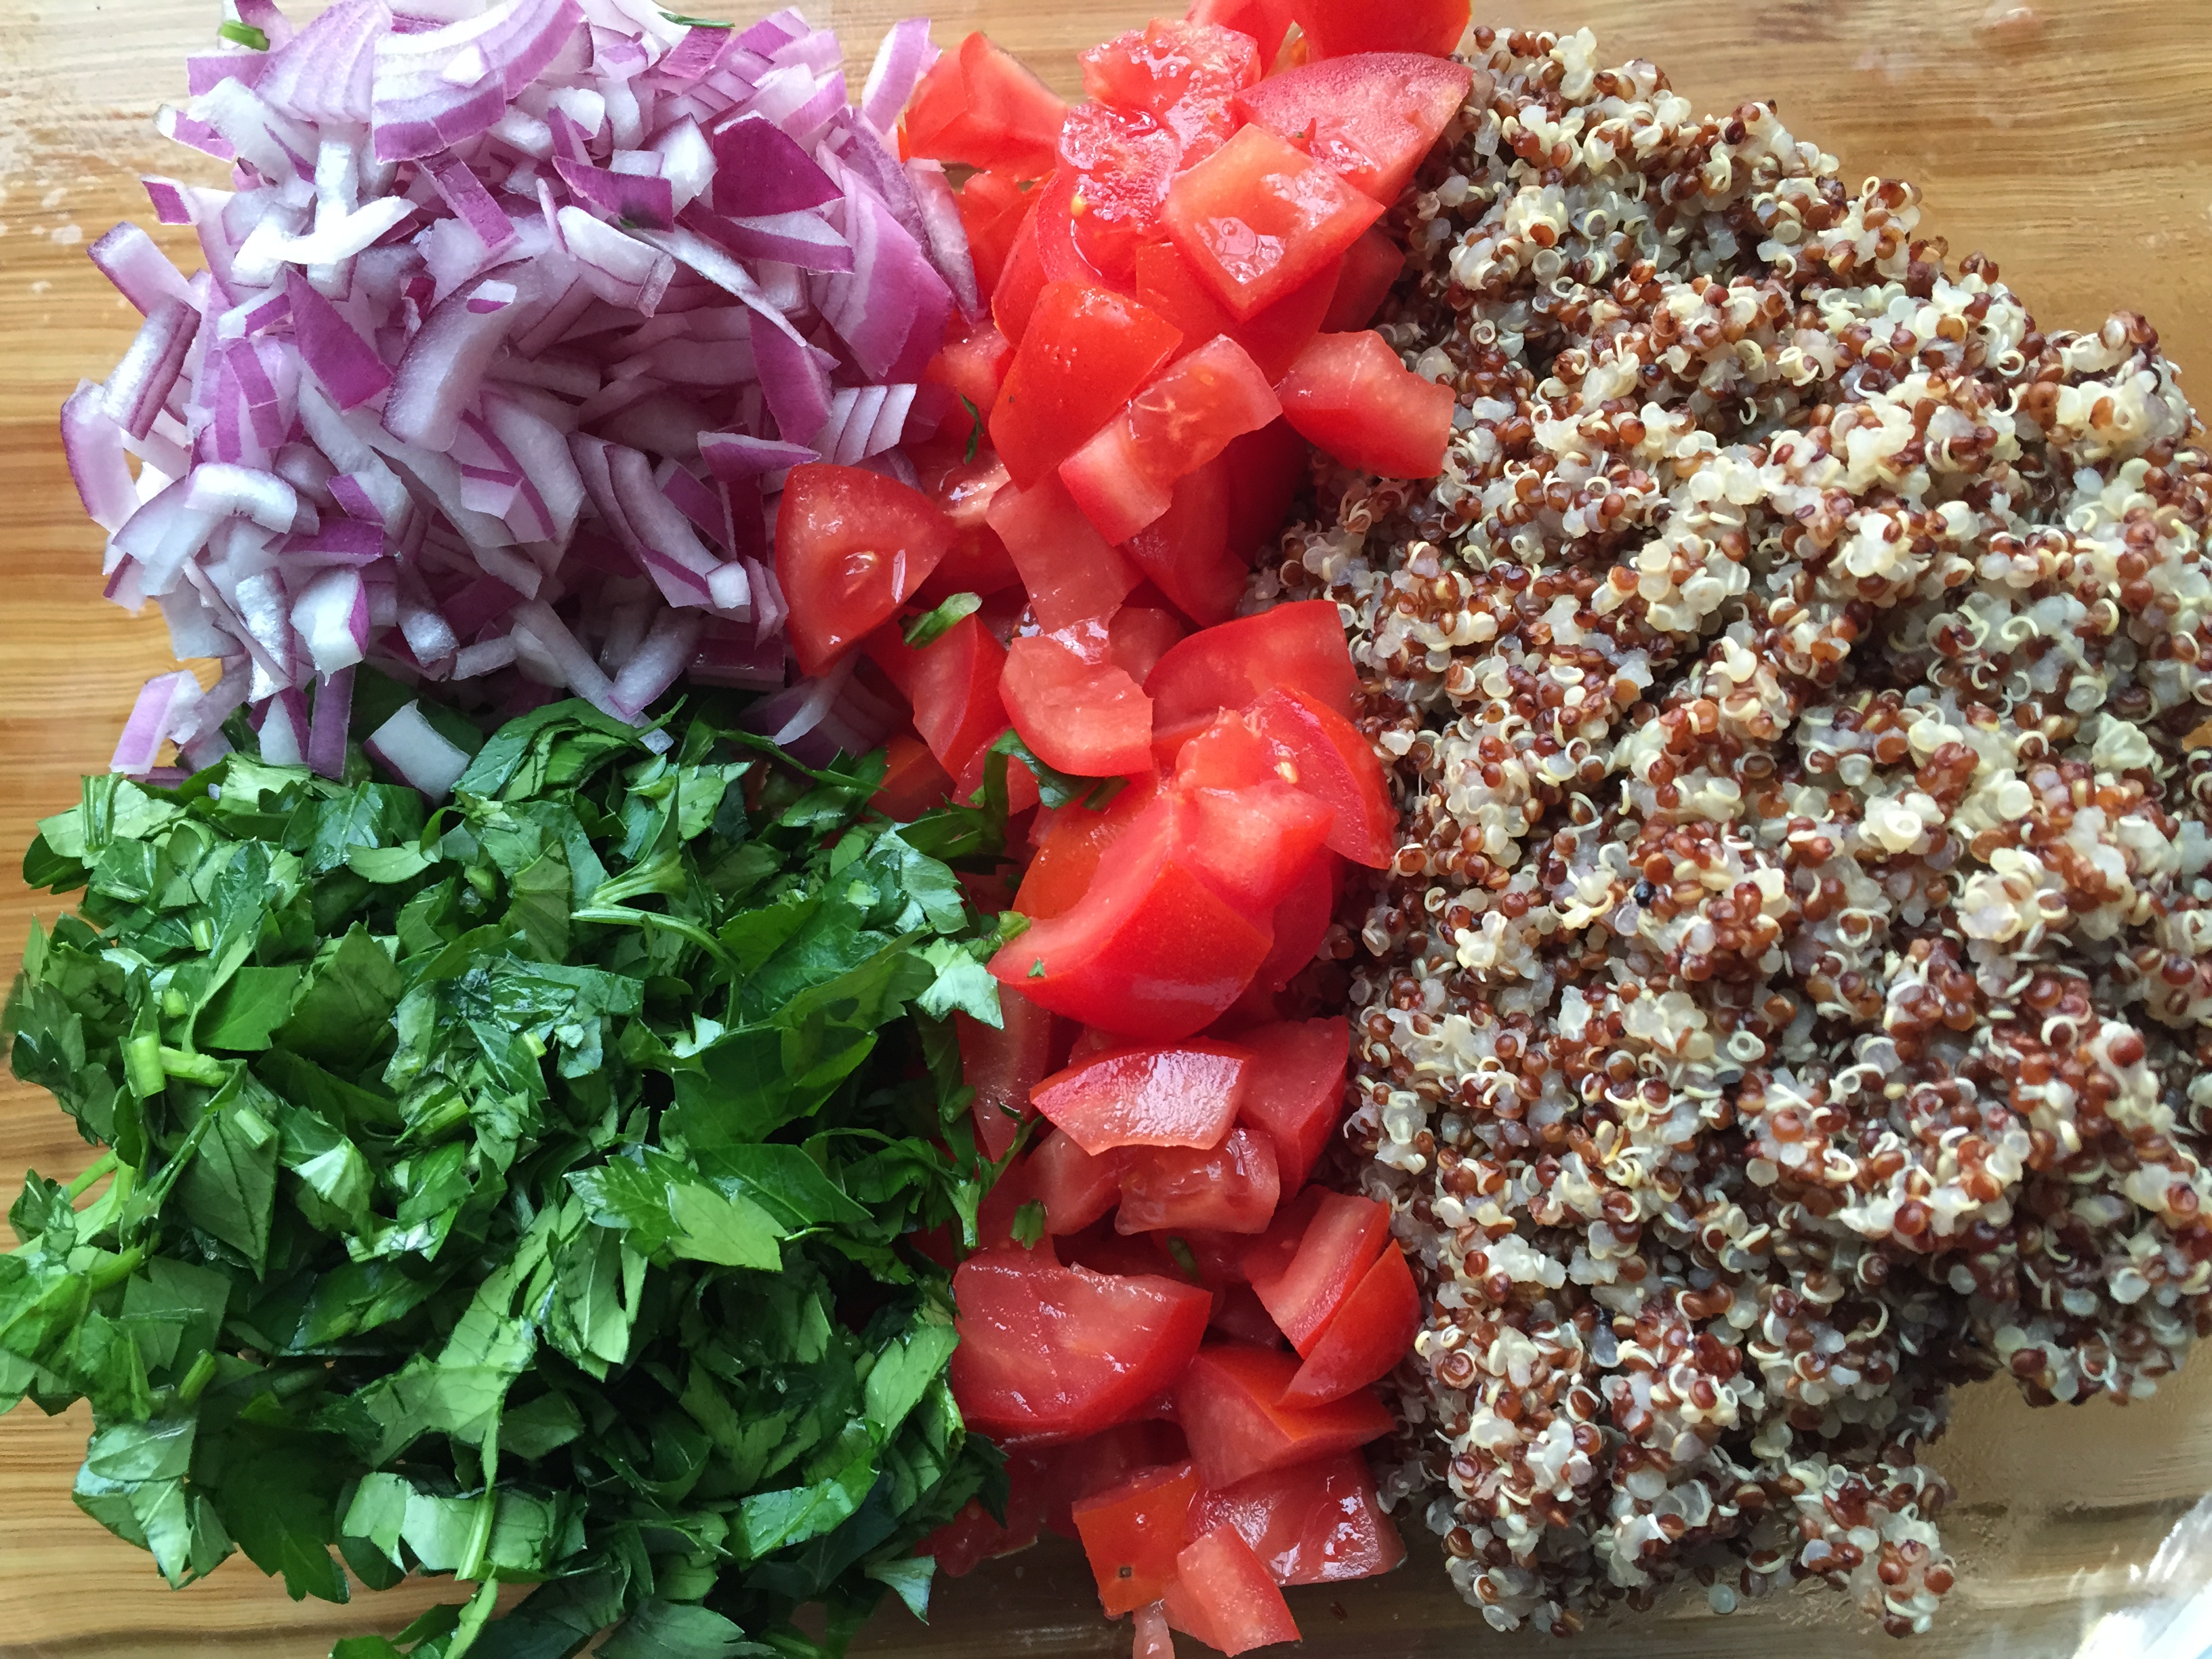
I have never been a fan of tabouli and I think it’s because the ones I’ve eaten have too much parsley, so while I’m calling this tabouli others might think of it as quinoa salad. Also, I don’t think I’ve ever seen burghul in the supermarket and that’s why I use the quinoa. I prefer the flat leaf parsley for no other reason that I like how it looks over the curly leaf parsley. Also a cup of quinoa makes a lot of cooked quinoa, I learnt that lesson the hard way the first time, and we were eating it for days! Making this a day before serving is fine.

So many pretty colours! And so easy to make!
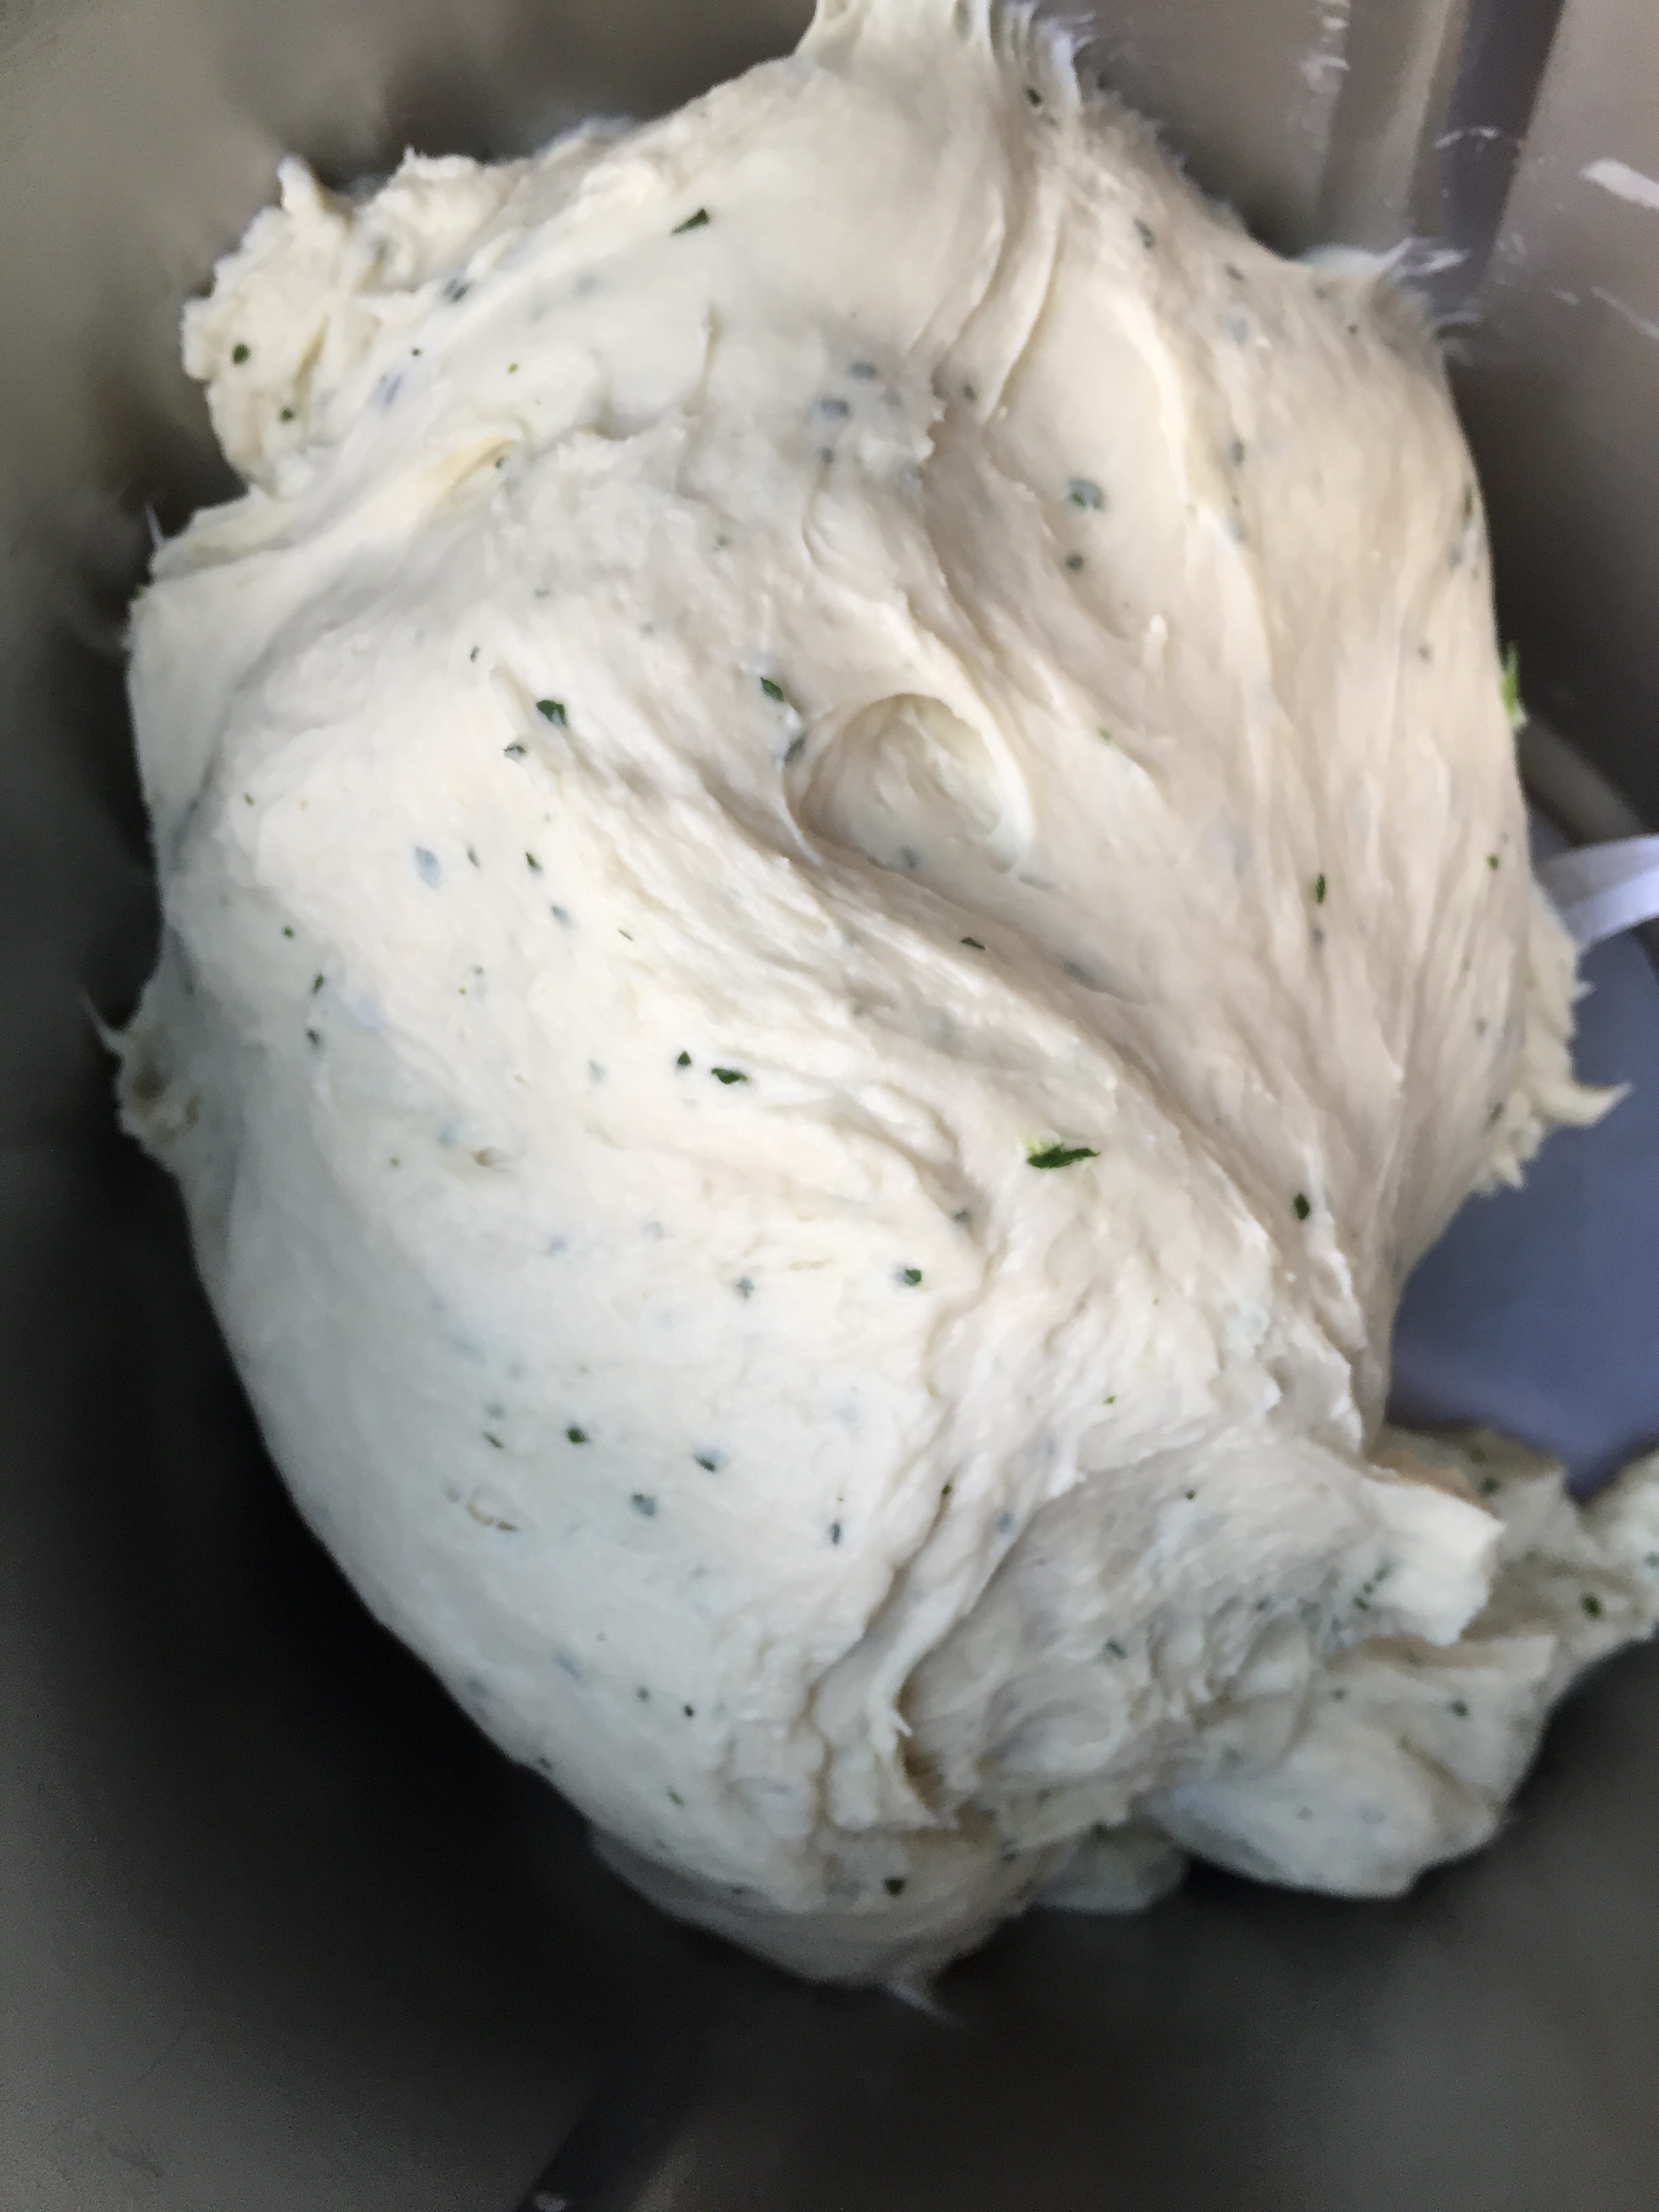
I would never buy store bought tzatziki to me that seems crazy but having said that I do buy flatbread all the time when I’m being lazy. But flatbread is a much much simpler process than tzatziki! I use this flatbread in place of naan if we eat curry and just don’t roll it out as thin. I’ve grilled it the next day to make it crispy so I can shovel leftover tzatziki in to me. It’s versatile and easy. I should make it more often! But I have to confess. I cheat when I make this, I don’t spend 10 minutes standing over it kneading like you’re supposed to. I throw all the ingredients into my food processor and my machine does it for me. The herbs are optional, I like the little green flecks and I had leftover parsley. Sometimes I throw in a tablespoon of Nostimini, other times I leave it plain. It’s completely up to you. We had a bit of a panic moment when we made these, they seemed a little thin and a little brittle but we adjusted the thickness when we rolled it out and we covered the stack with a damp tea towel as we were cooking and we didn’t have any burst yiros! If you reheat it in the mircrowave the next day and you want it to be soft, sprinkle some water on it before covering and reheating.
From the flatbread quantities I managed to make 14. I had my sister helping me while the meat was resting. I didn’t mean to make 14 but I was pulling out chunks from the food processor. If you want to be really precise about it grab the whole lot and divide it up evenly. Ours were rolled out to about 3-5mm thickness and then fried in a dry pan (no oil) on medium heat. They should puff up at the right heat, you might need to mess around with the first couple before you find the right heat.

Using my food processor to knead my dough for me.

Looking good but still trying to find the perfect temperature.
I managed to get the tzatziki, flatbread, and tabouli done while the meat was cooking and then resting. That worked for me because aside from prepping the meat I had nothing else to do with it, I didn’t even take it off the rod and slice it. If you’re doing it without help you’ll want to do this with lots of time to spare.
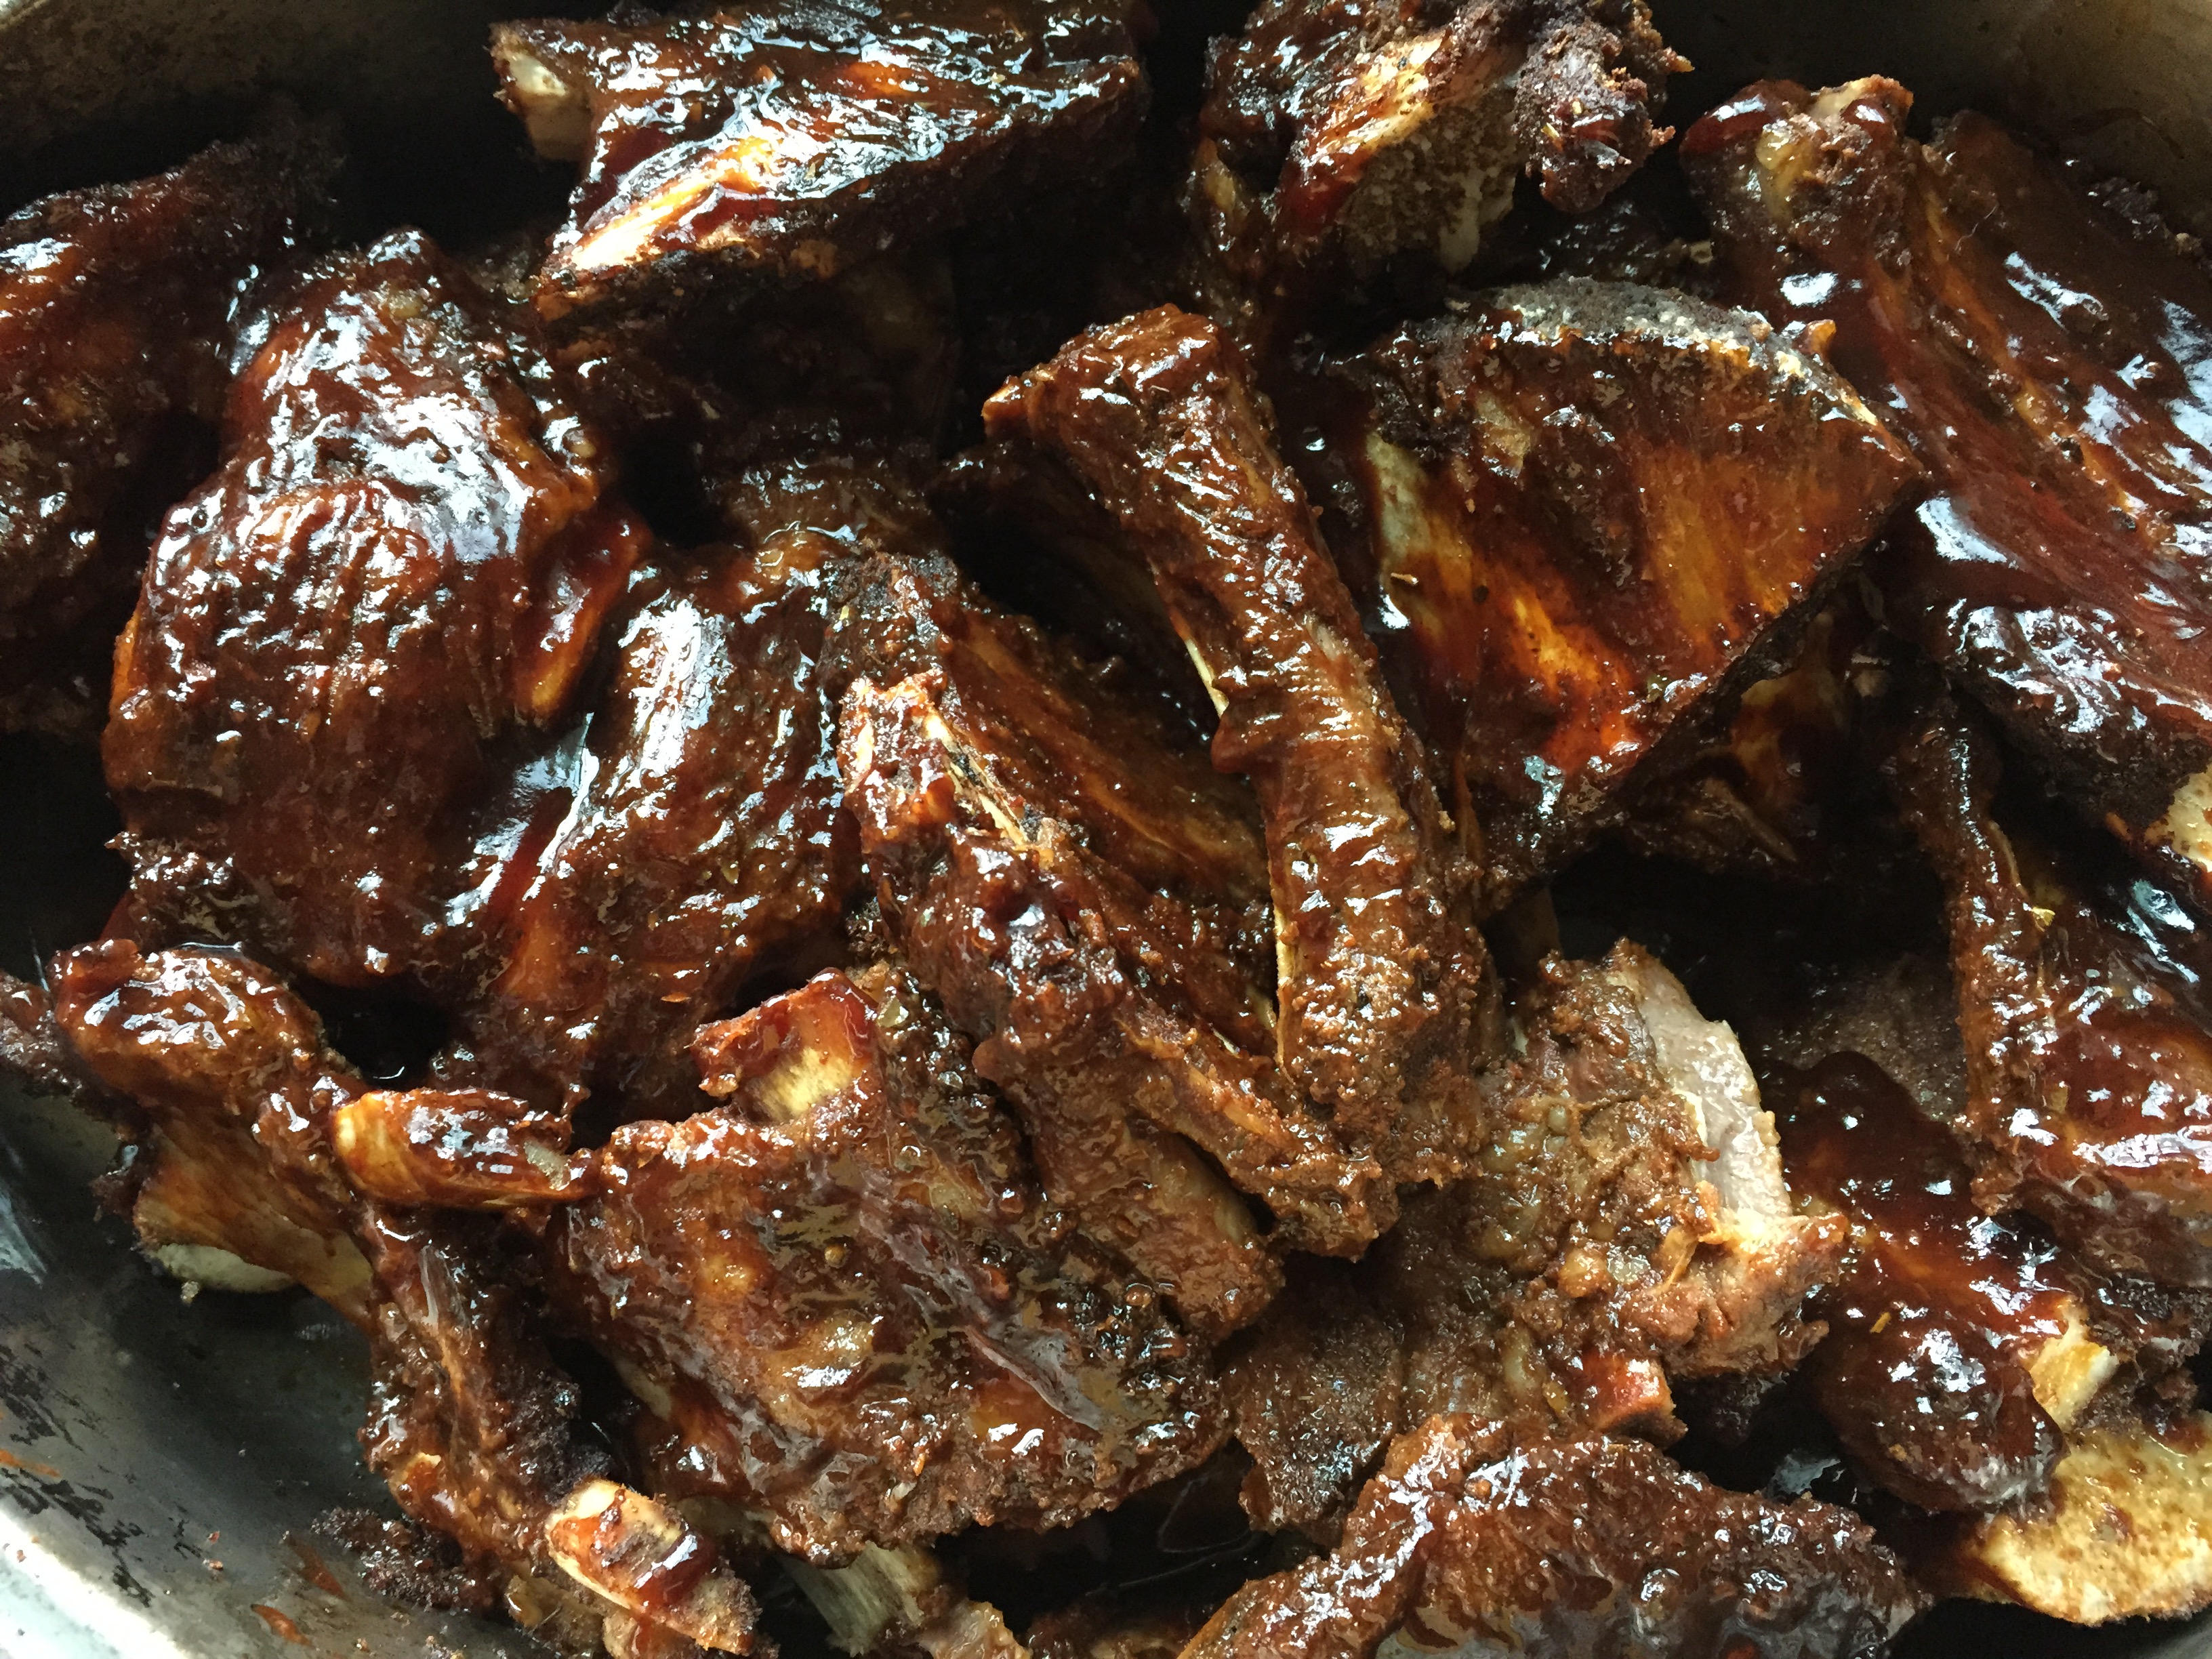
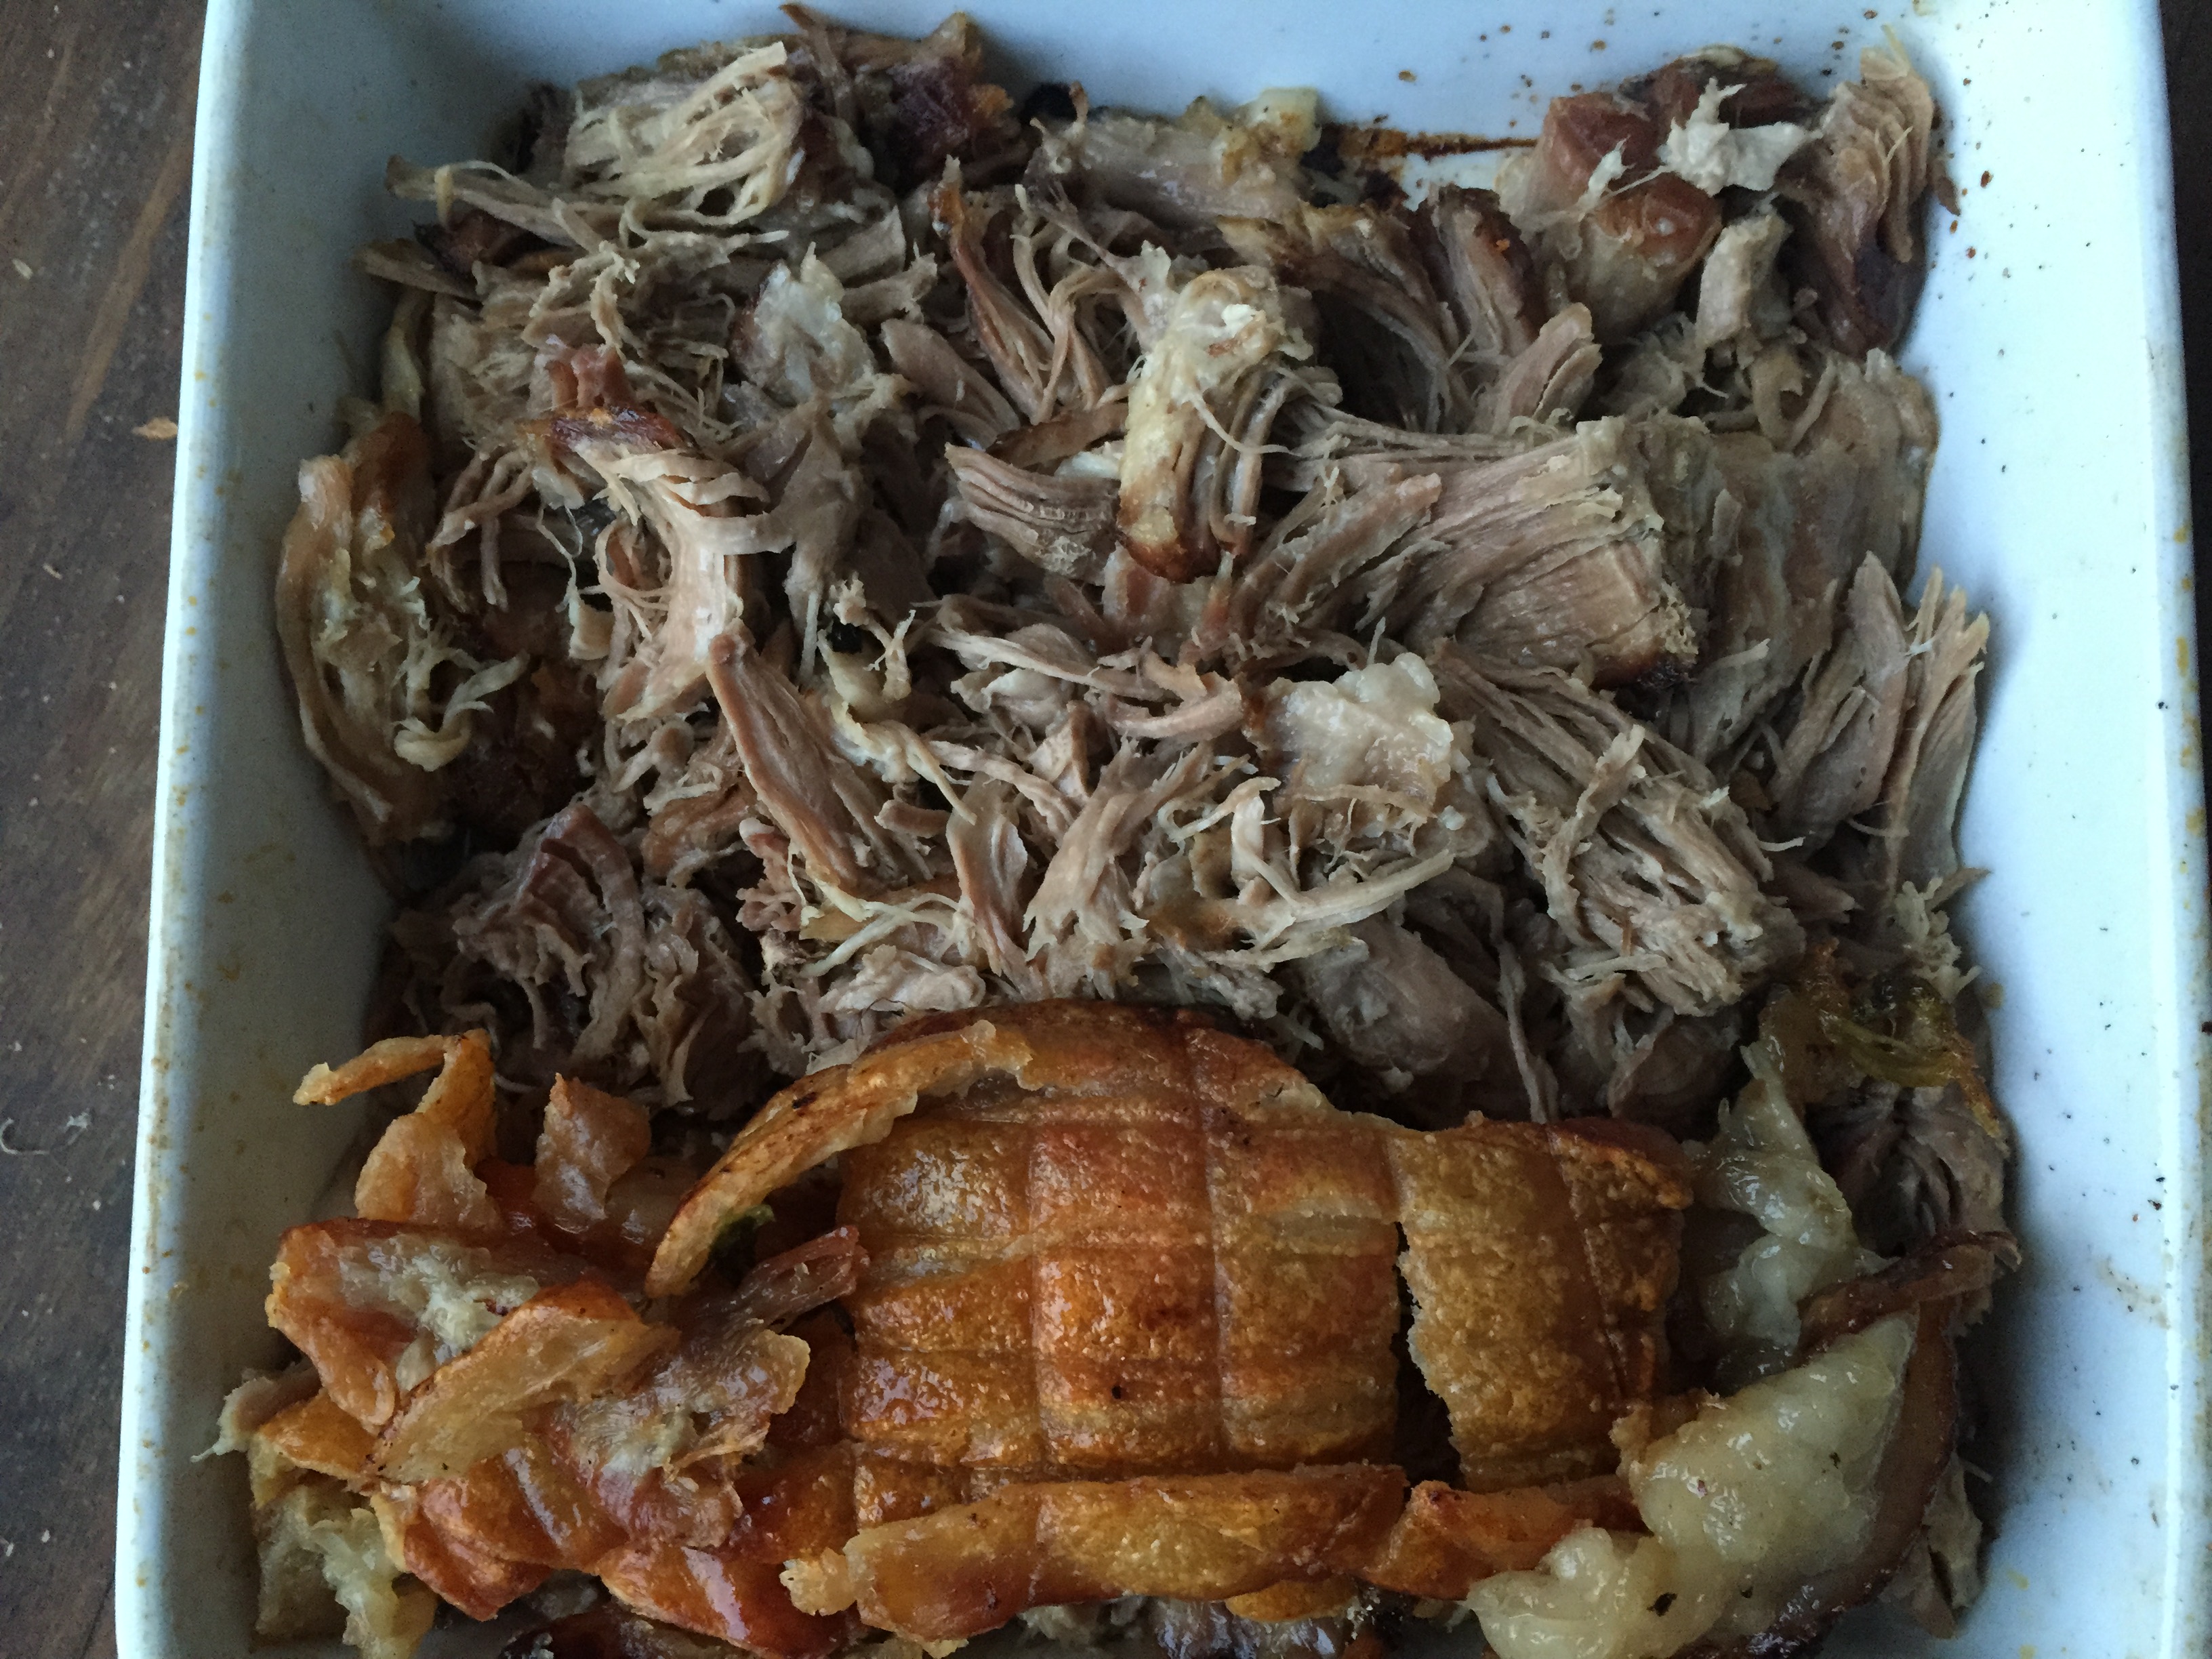
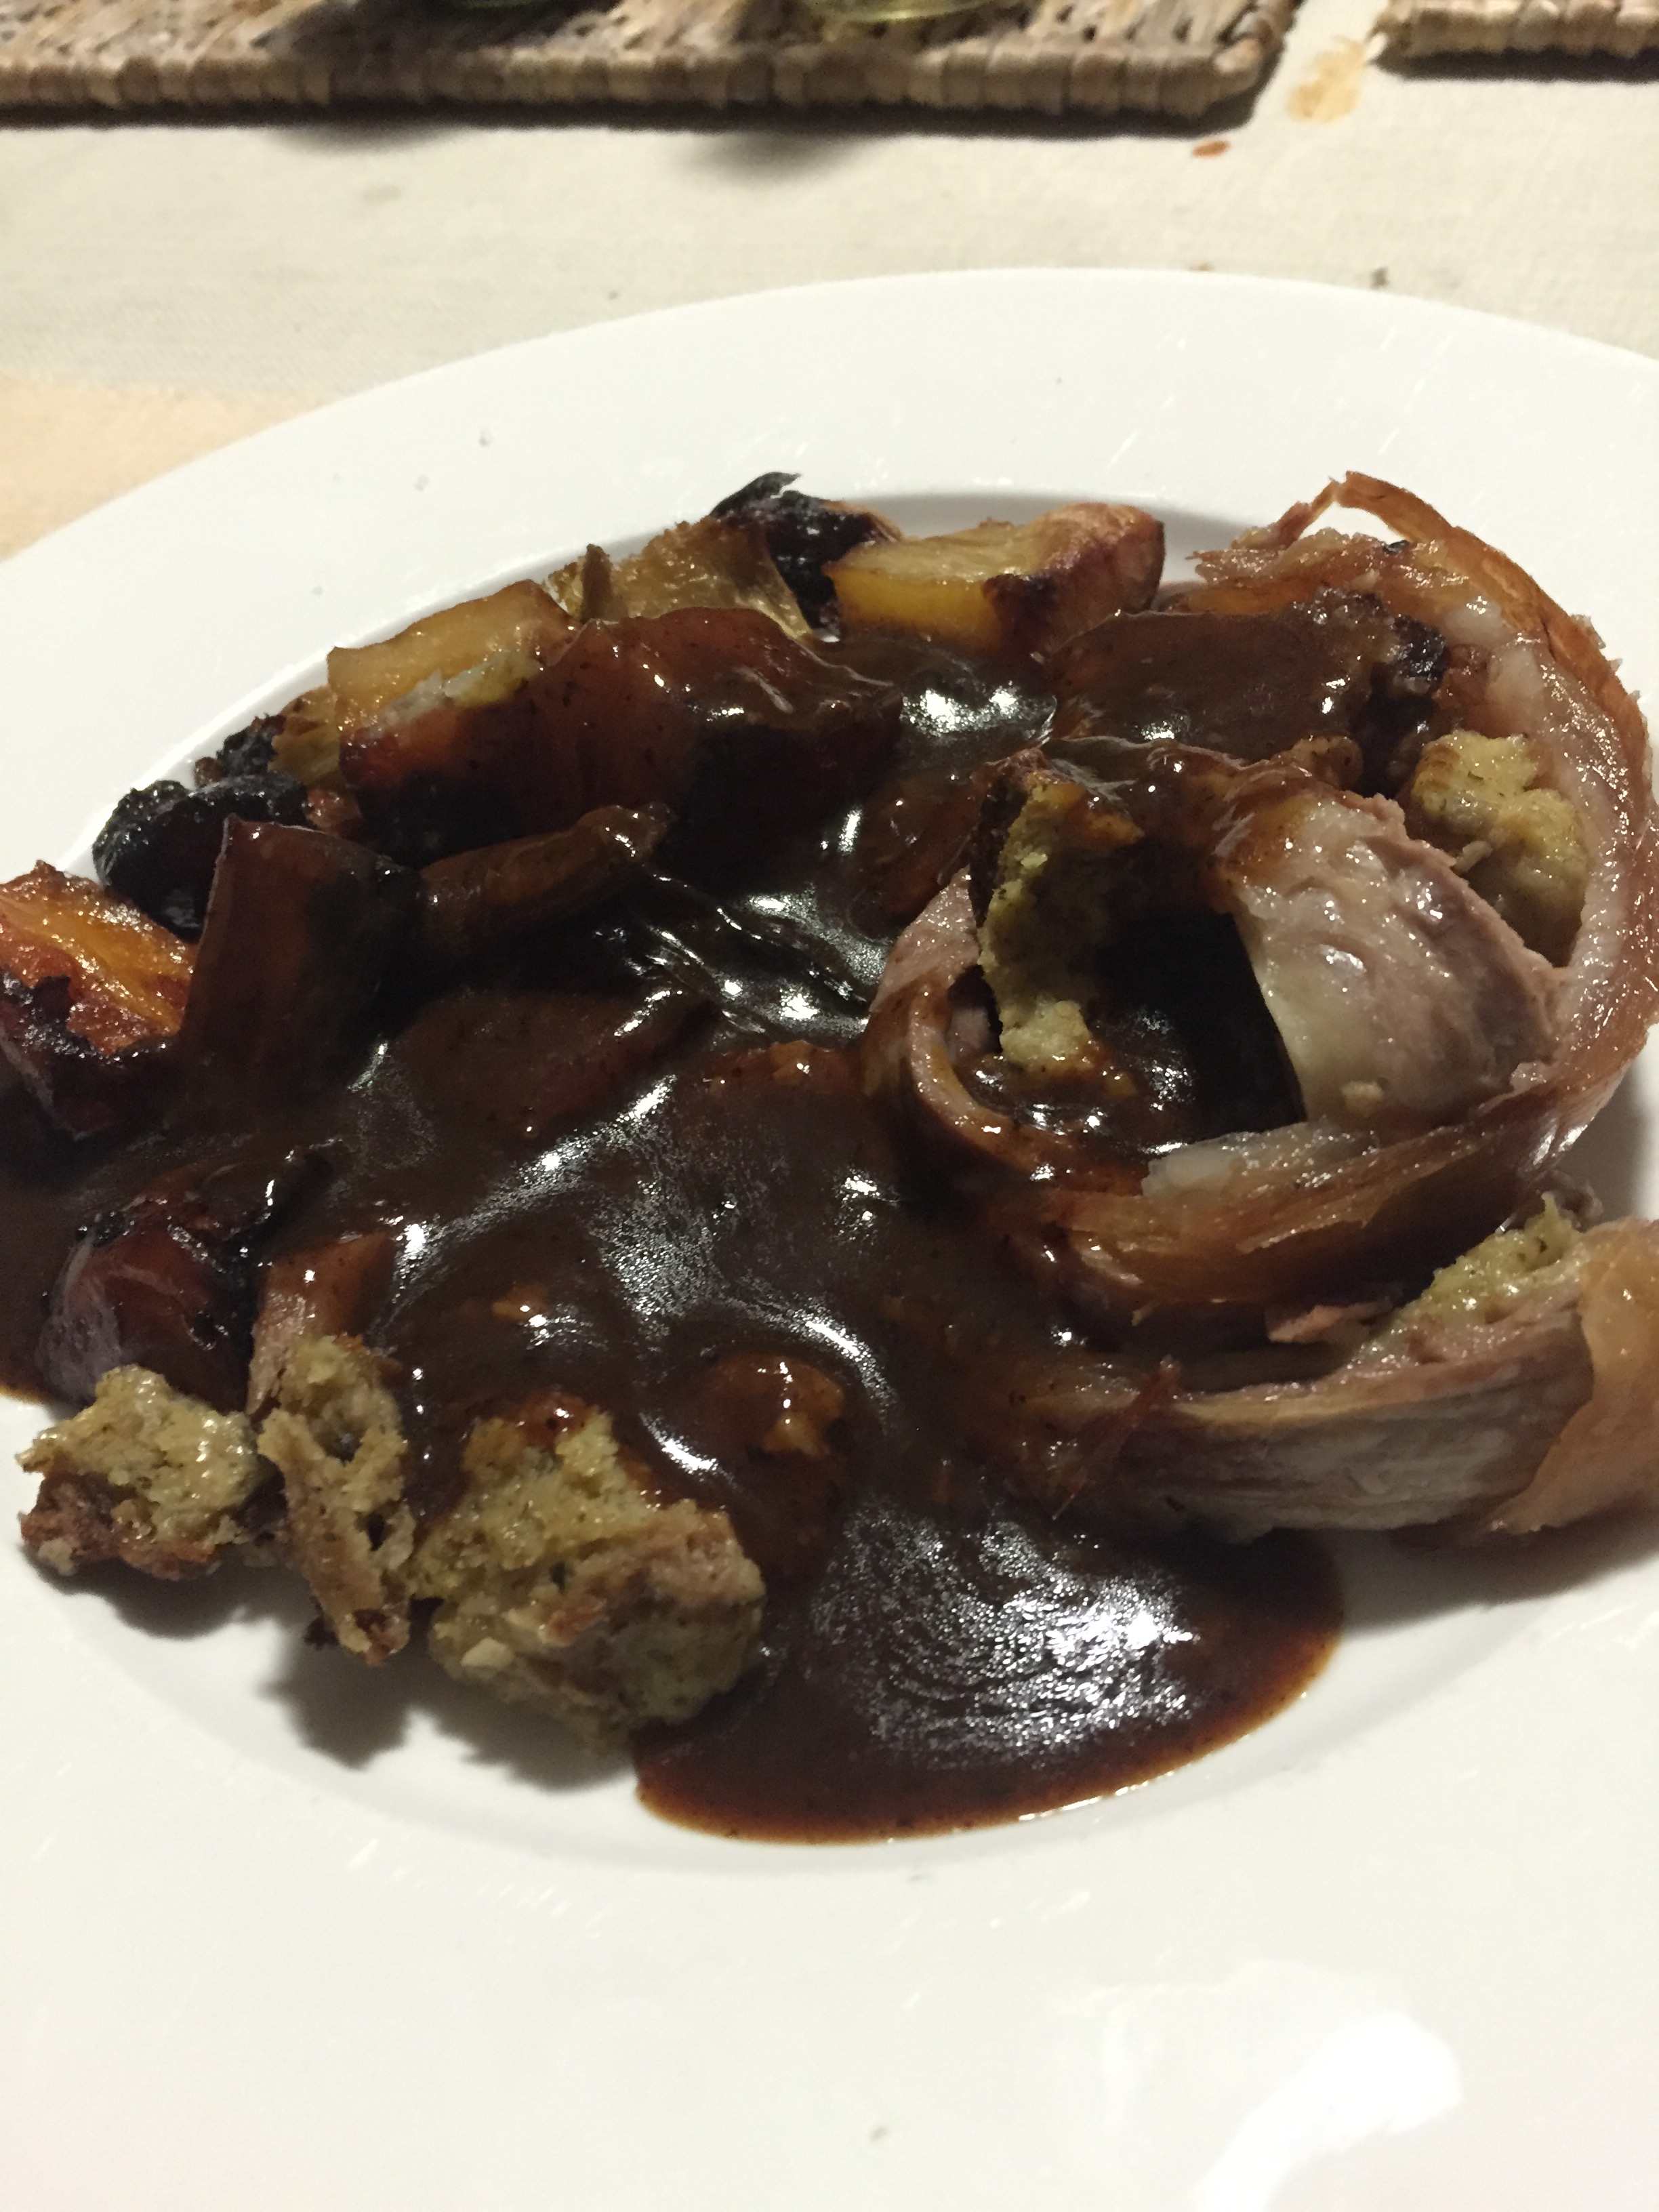
My 3.2kgs worth of meat was enough for 8 serves but you have to remember the cuts of lamb I used had a little more bone in it than the lower end of the leg. So depending on the cut you use you may have more meat. We had the leftovers the next day as breakfast yiros. I warmed the meat in a fry pan and fried it until it was crispy all over. It was the greatest breakfast ever. 😀

Yup there’s a bit of fat but that’s what makes it so tasty!
Lamb
2×1.6 legs of lamb
Oil to coat lamb
Seasoning (Nostimini OR your own mix)
- Coat lamb in marinade and oil and refrigerate until ready. Preferably overnight but as little as 45 mins will do.
- For a Rostisserie: Get charcoal/bbq/oven ready and preheat to 200C
- Position meat and mount on rotisserie unit
- Cook for 1.5 hours or until meat thermometer reads your desired temperature. (med/well done)
- For a BBQ plate: Slice meat to preferred thickness and cook on high heat on the plate until done
- Allow meat to rest, covered under alfoil
- Don’t forget to mix the meat through all the resting juices, it’s the best part!
Tzatziki
1kg greek yoghurt
3 continental cucumbers (peeled, deseeded, and grated)
Small handful of mint leaves (optional)
1 tablespoon salt
1-2 tablespoon lemon juice
1-2 teaspoons of crushed garlic
- Strain the yoghurt of excess whey through cheese cloth (optional)
- Mix salt through cucumber and sit for 10 mintues
- Squeeze out excess water from cucumber
- Mix yoghurt, cucumber, and remaining ingredients together
- Store in fridge until needed
Tabouli
1 cup quinoa
Half bunch parsley (finely sliced)
3 medium tomatoes (diced)
Half a purple onion (diced)
Tablespoon of lemon juice
Tablespoon of olive oil
Salt and pepper to taste
- Cook the quinoa according to packet instructions and allow to cool
- While the quinoa is cooling season with salt, pepper, lemon juice, and olive oil
- Mix in the rest of the ingredients and store in fridge until needed

I love looking at the tabouli! It makes me happy!
Flatbread
Makes12-14
500gm flour (I used bakers flour but plain flour is fine)
300gm water
20gm oil
2 teaspoons yeast
1 tablespoon finely chopped fresh herbs (optional, can be replaced with dried herbs)
Pinch of salt
- Mix all the ingredients together
- Knead on a floured surface for 10 minutes
- Let it rest in an oiled bowl for 15 minutes, covered with a tea towel or cling film
- Divide the dough into balls and cover them with a tea towel. Roughly 12-14 balls.
- Roll out each ball with a thickness of about 3mm, try not to stack them but keep them well floured if you do stack them
- Fry the flatbread in a dry pan until bubbles form on one side and then flip
- Stack the cooked flatbread and cover with a damp tea towel