After the hottest January in recorded history, and a ridiculously hot February, March only felt marginally cooler. It cooled enough that we were able to get some things done, but I wasn’t able to plant out like I wanted. The result was that we ended up with several beds sitting idle after harvest. I always expected some empty beds during the transition periods, but not this many.
I revamped the veggie patch plan in March, in part to accommodate these lessons learned. I actually tweaked it again in April, but haven’t updated the blog yet. The real lessons learned here are that the plan has to be dynamic, and we are completely at the mercy of the elements.
Even with the weather against us, March was an amazingly productive month. This was mostly due to a couple of significant meat wins, but we also managed to get some non-meat runs on the board too. I’ll start with the non-meat stuff…
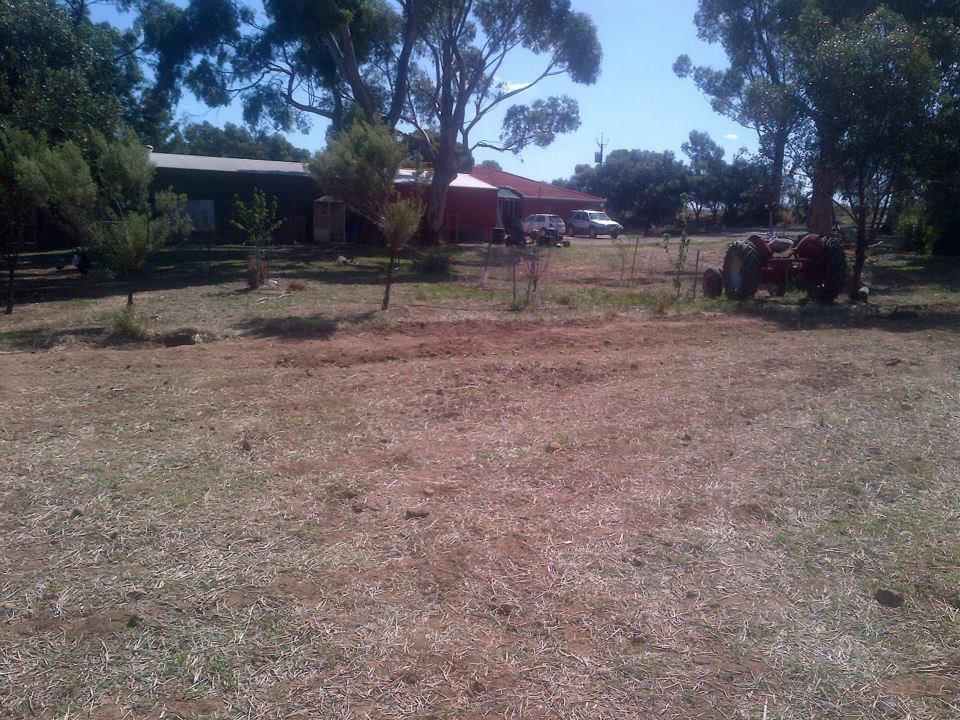
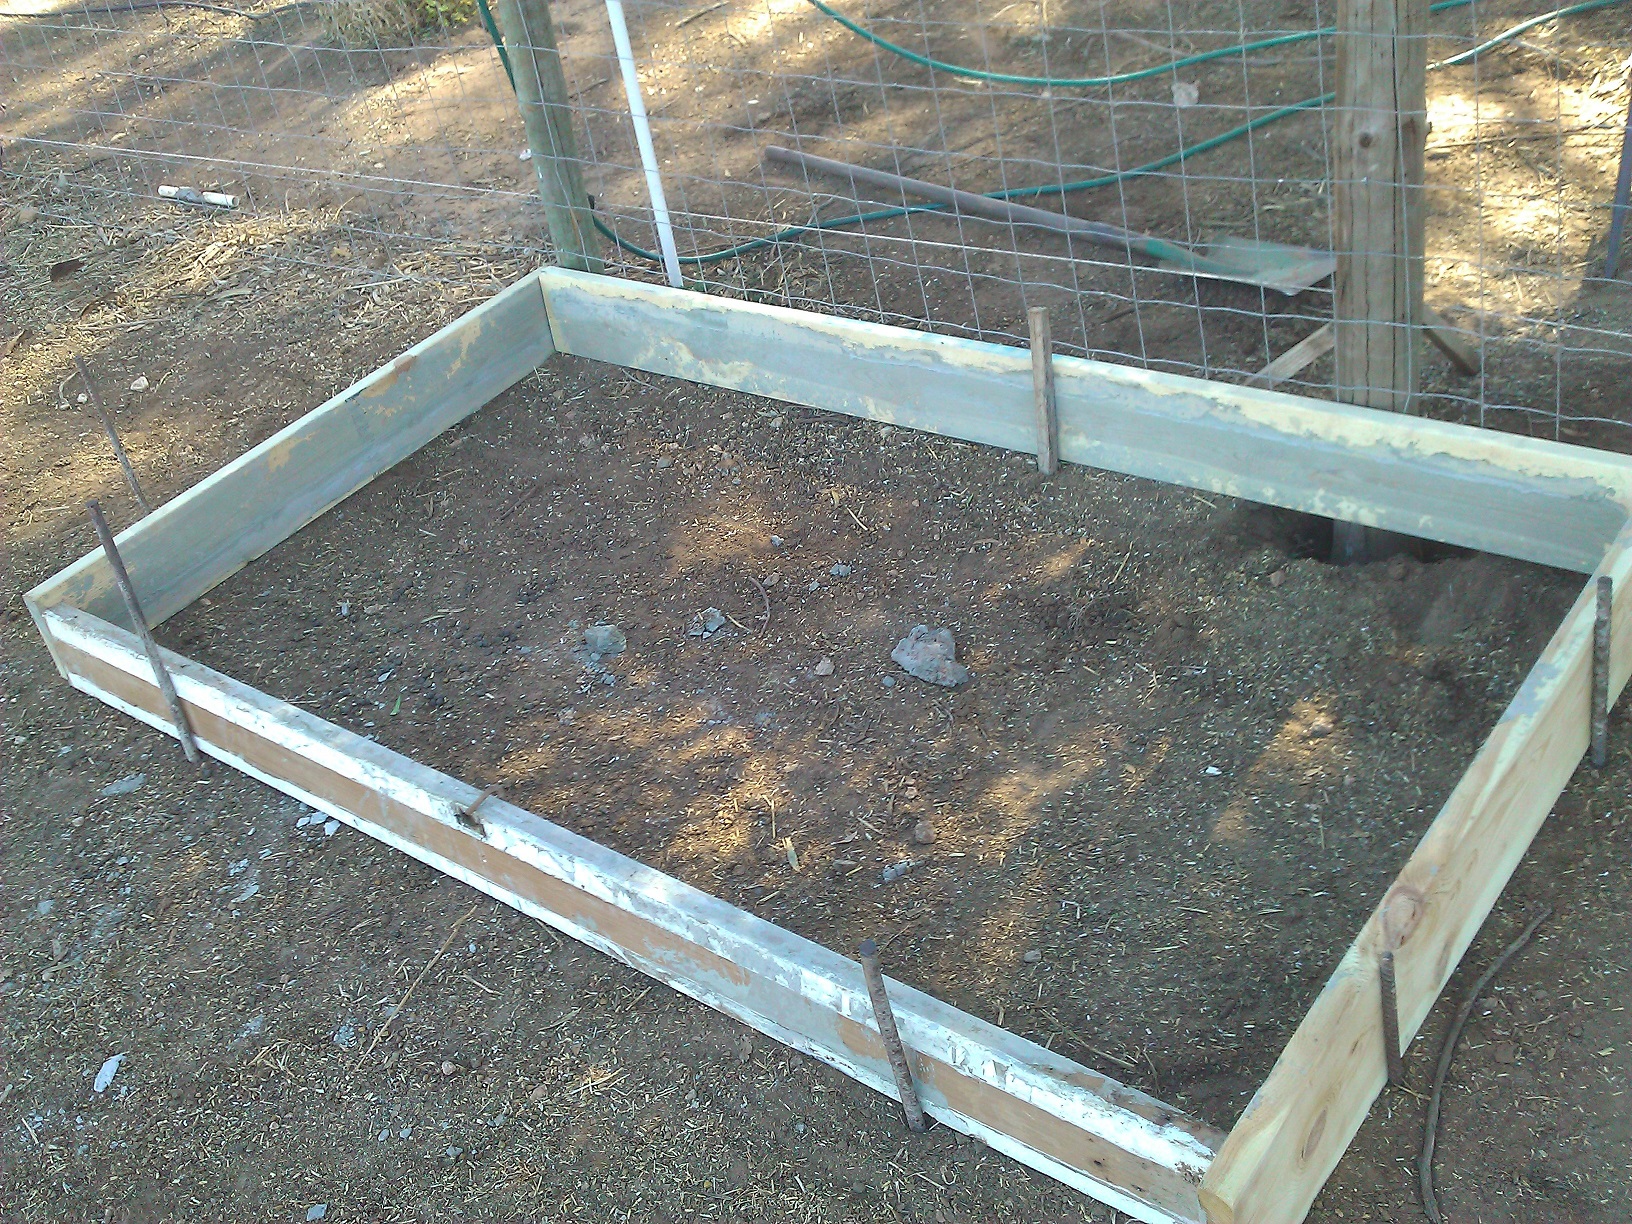
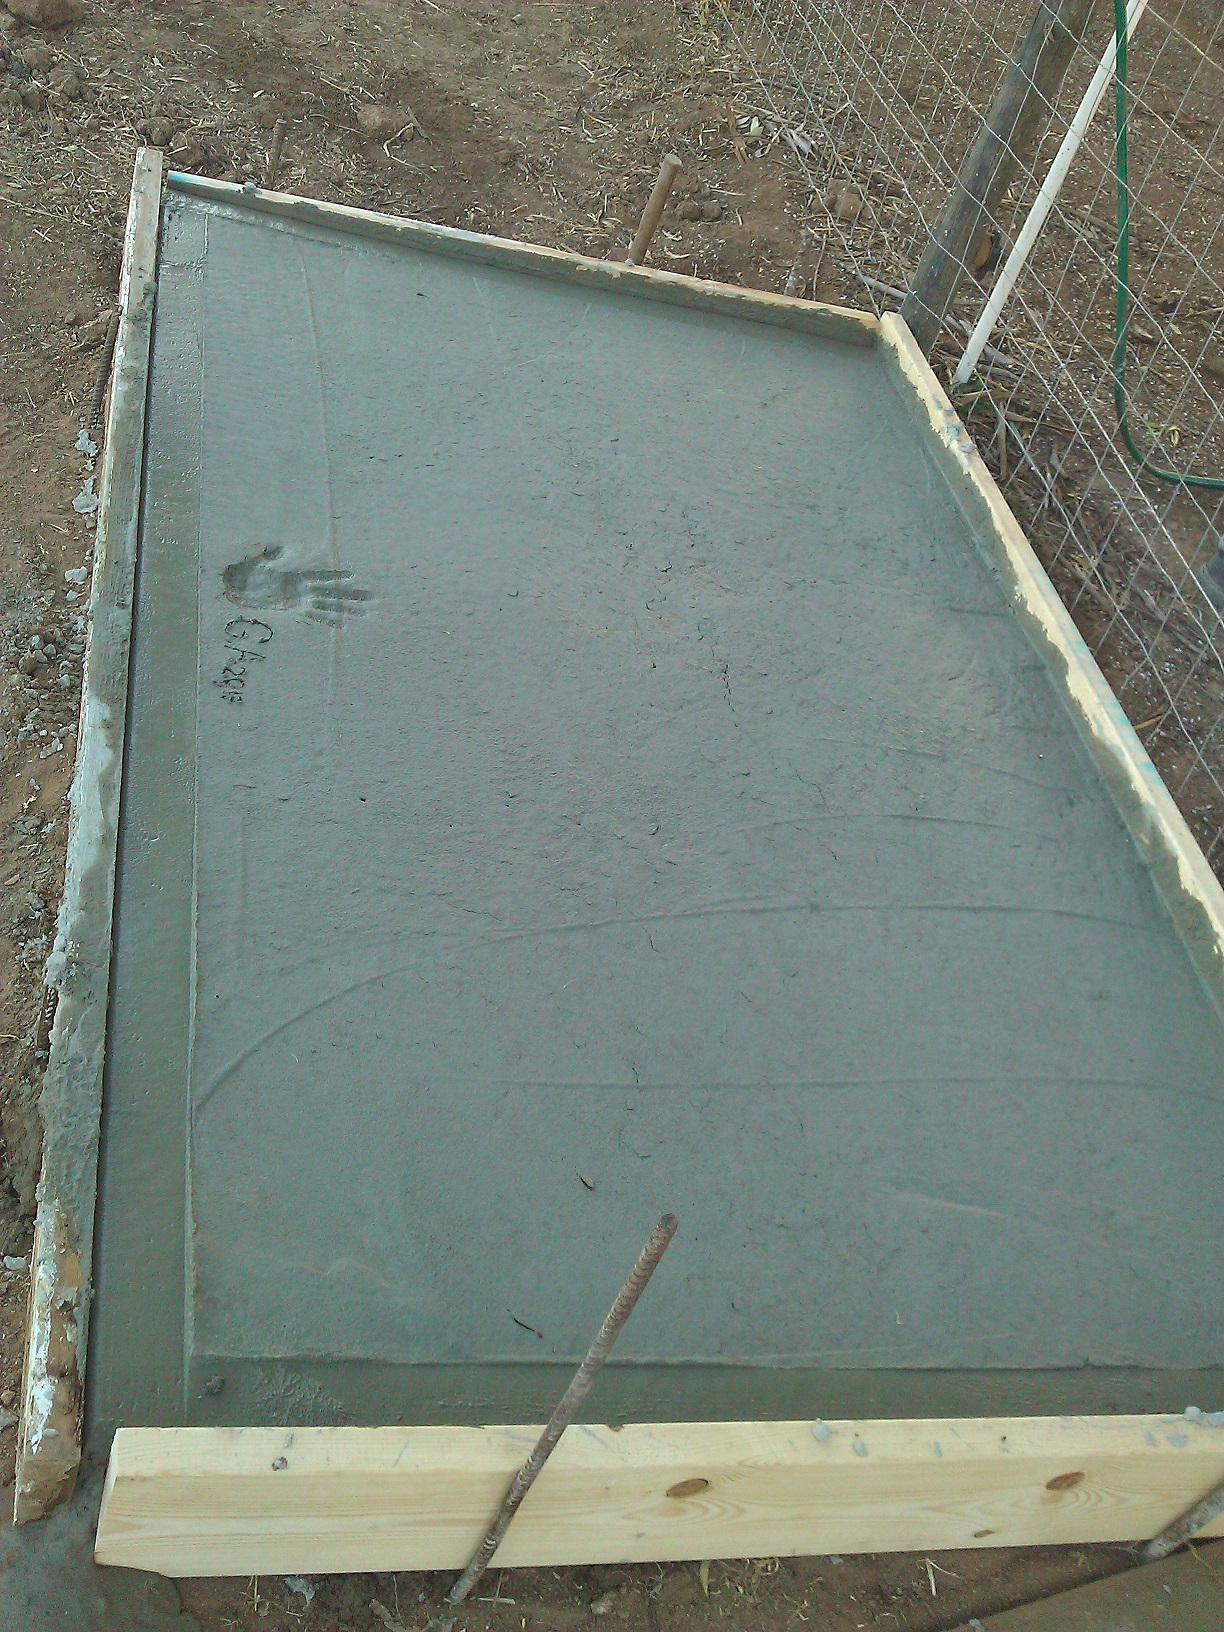
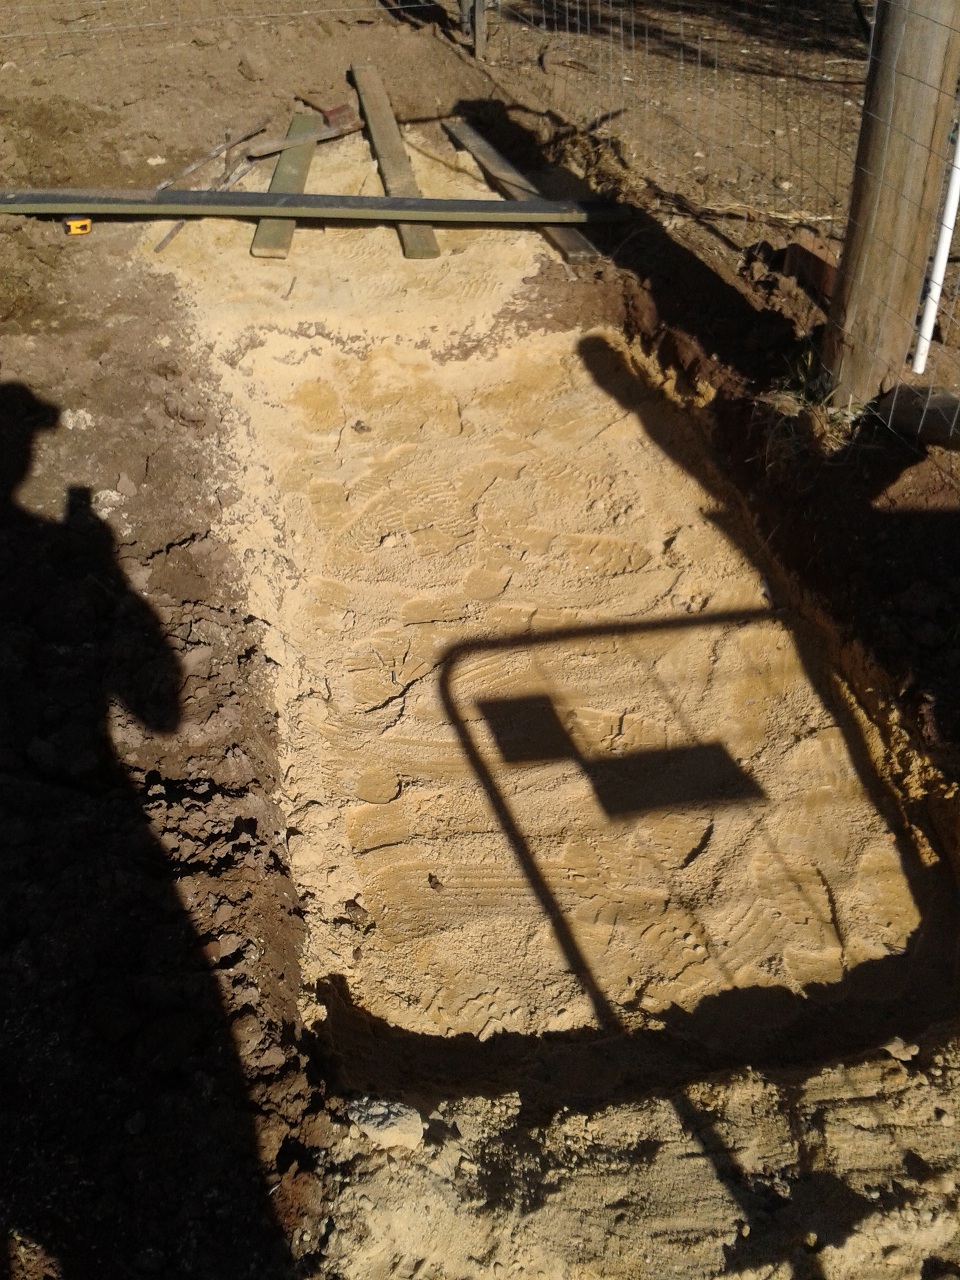
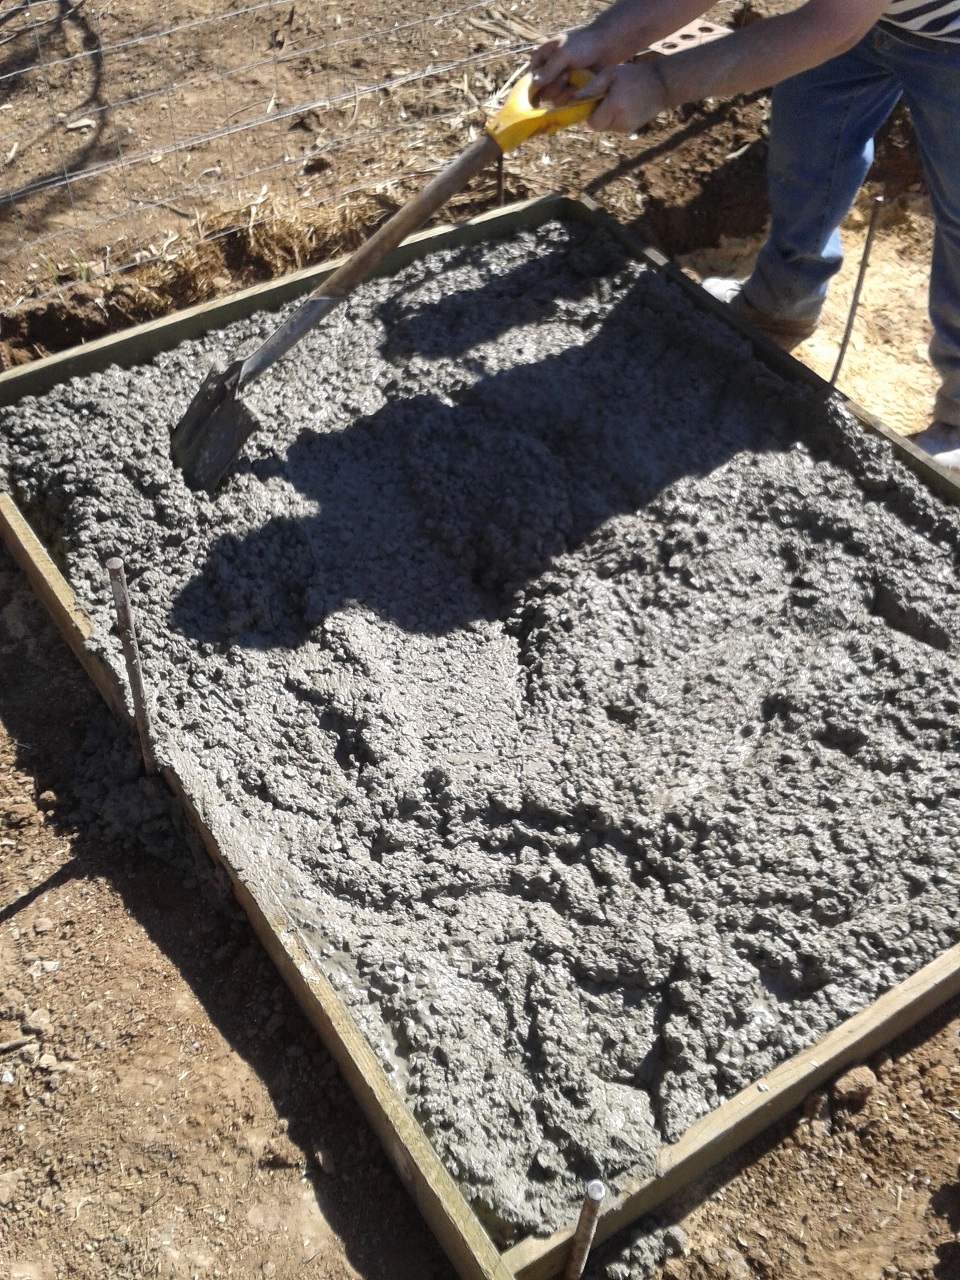
We were able to cement a pad under the boy’s troughs and house in early March, which was our first use of the new (to us) cement mixer. The mixer worked a treat, and we managed over a tonne of cement in only a couple of hours.

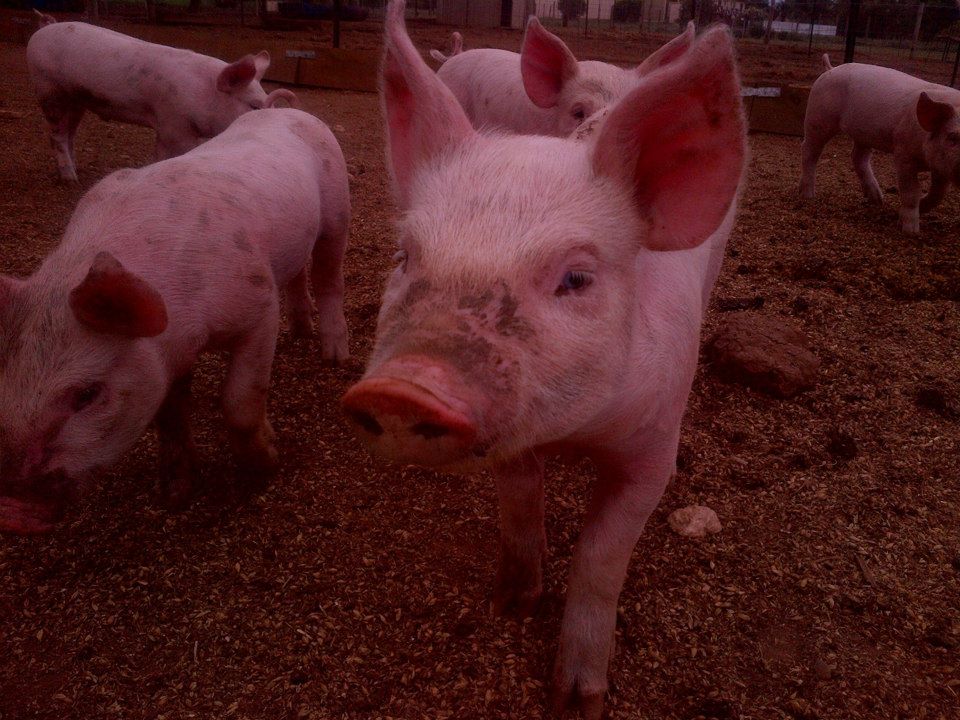
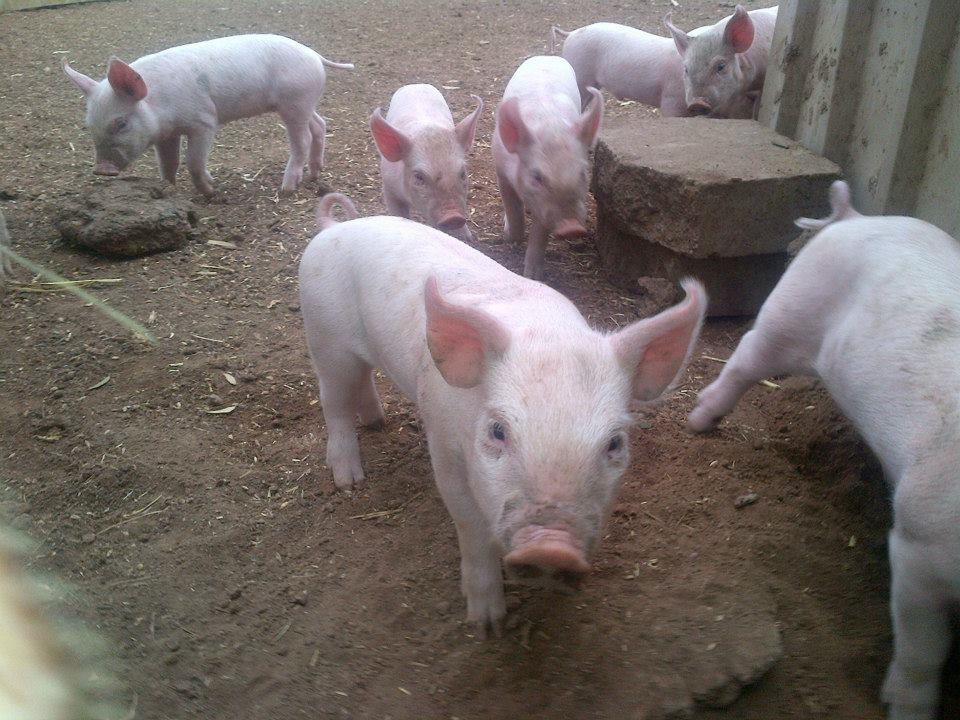
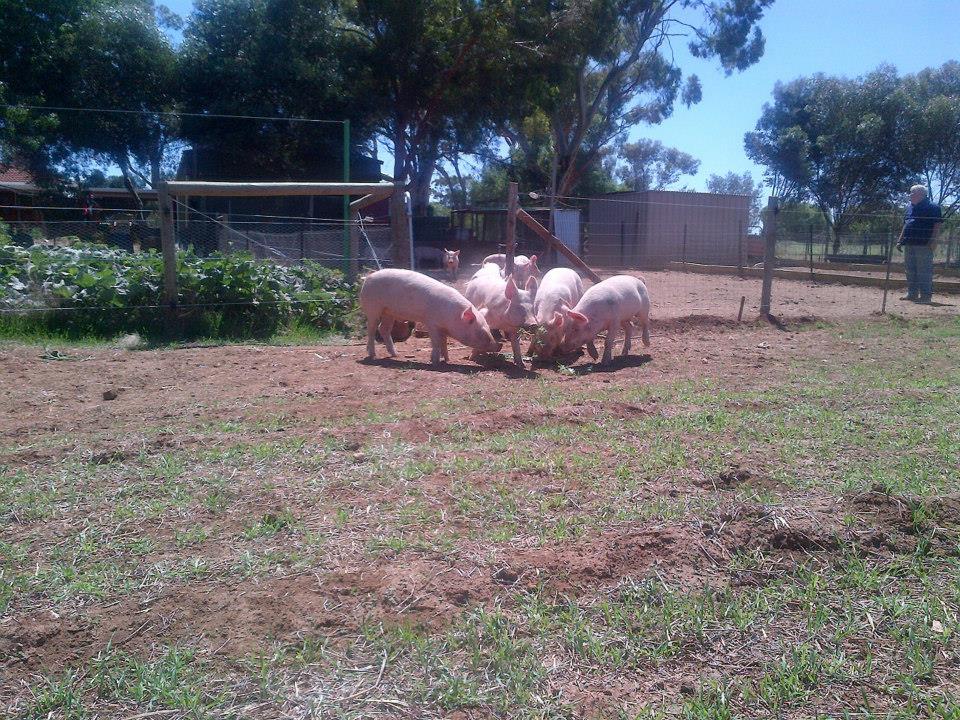
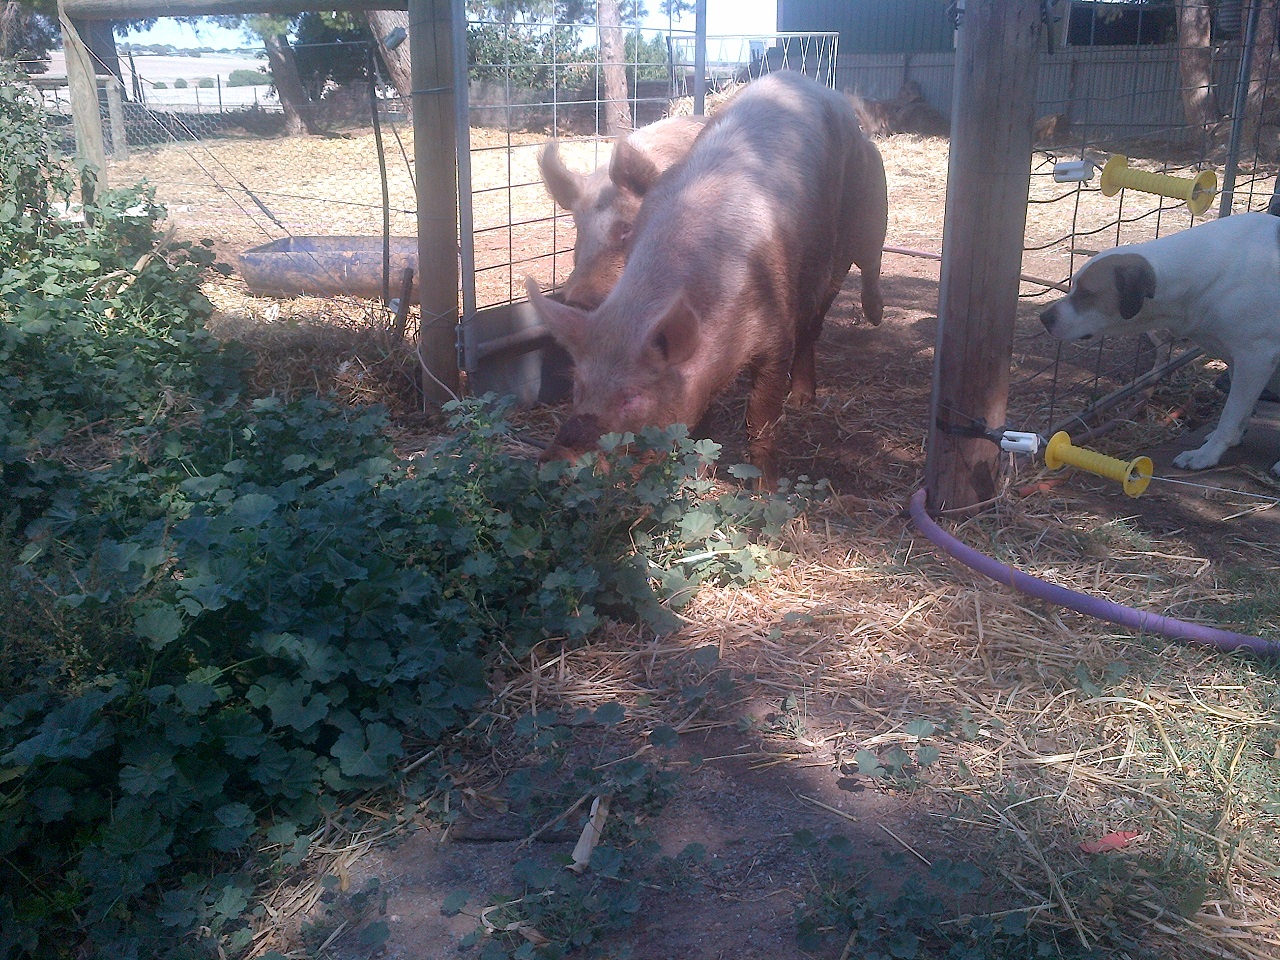
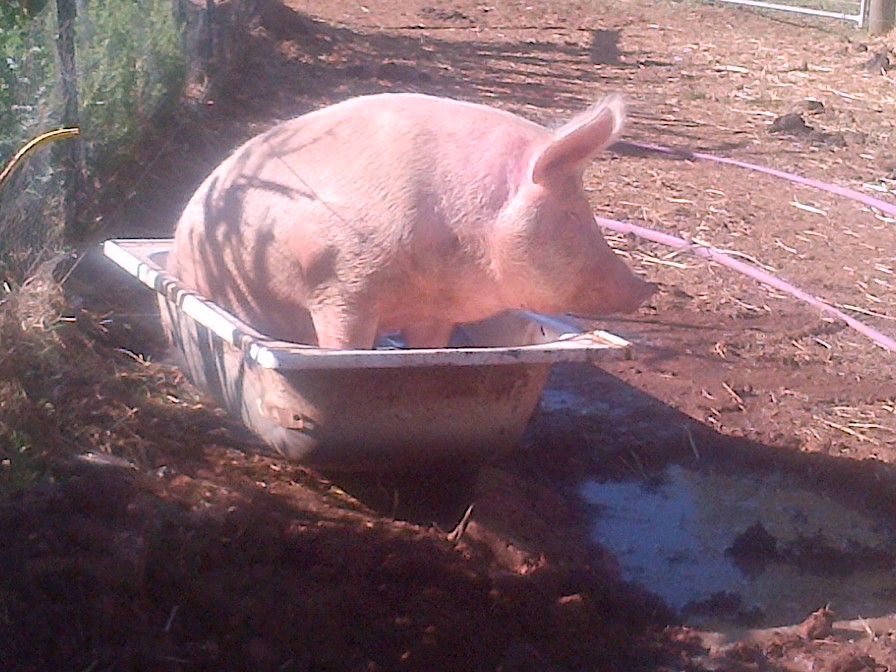
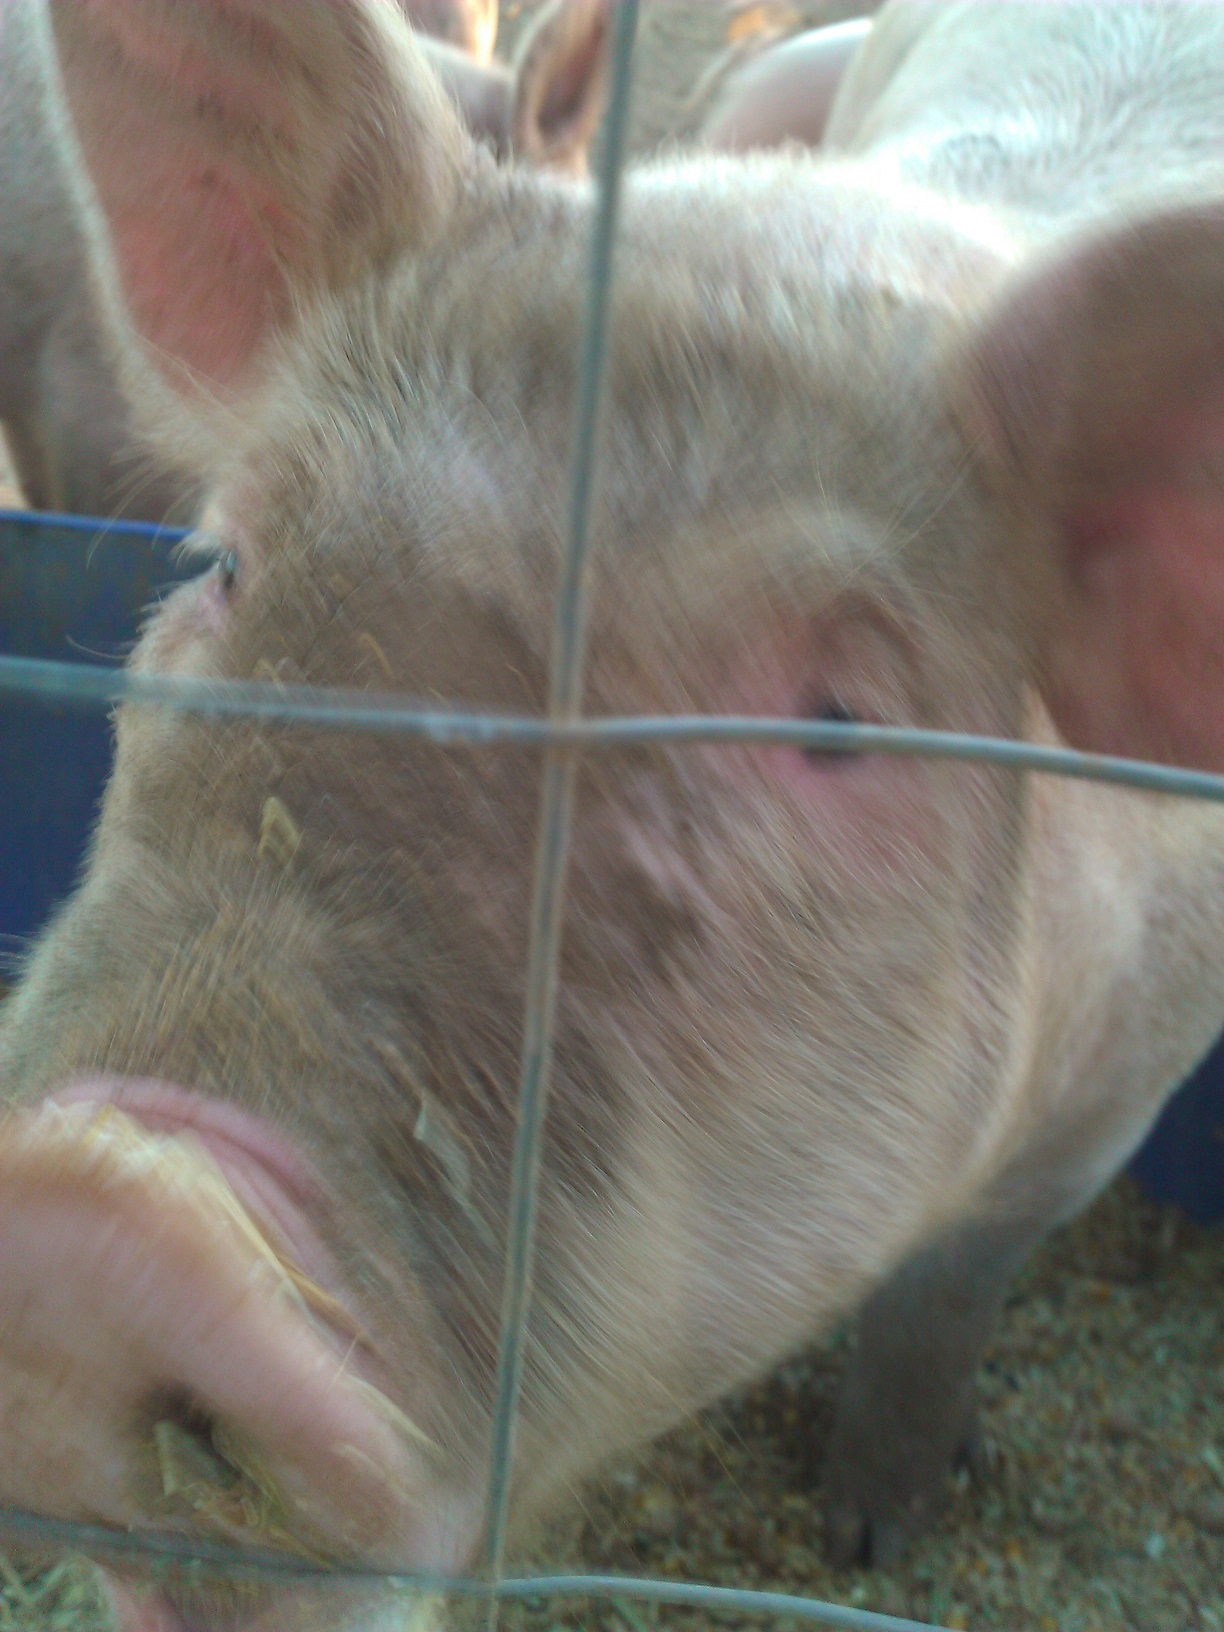
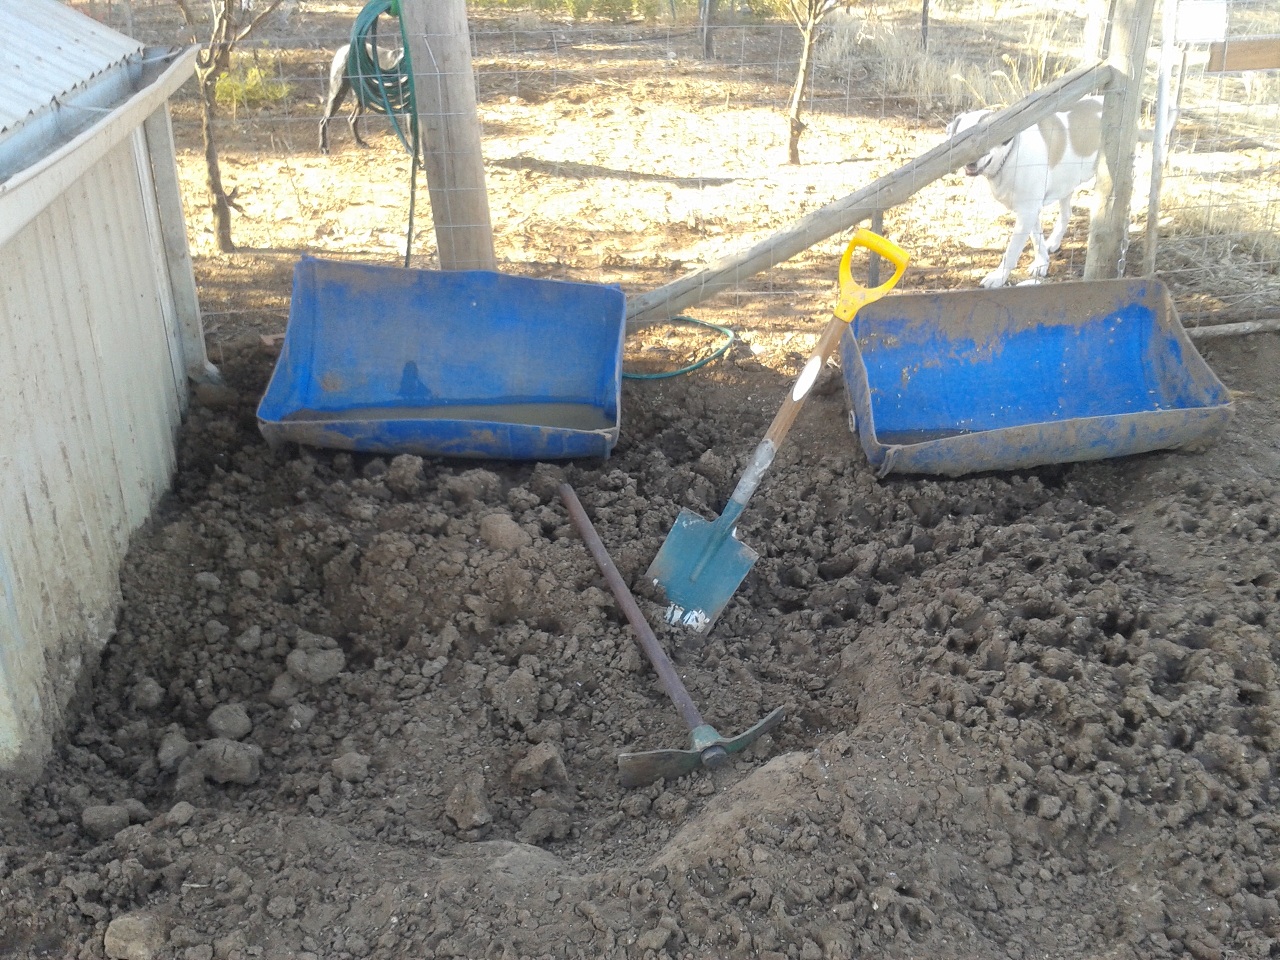
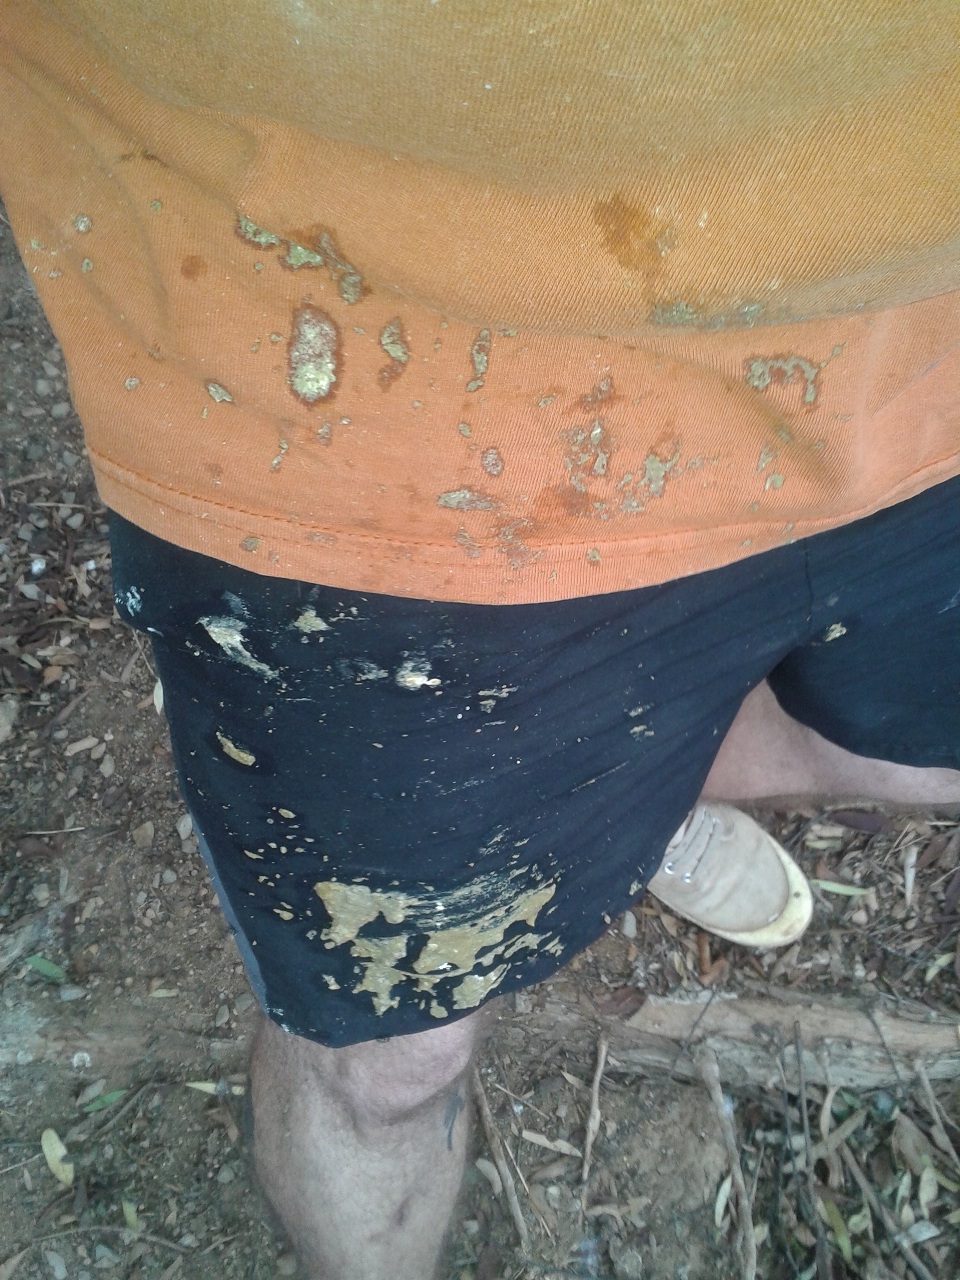
Pigs are both messy and destructive.

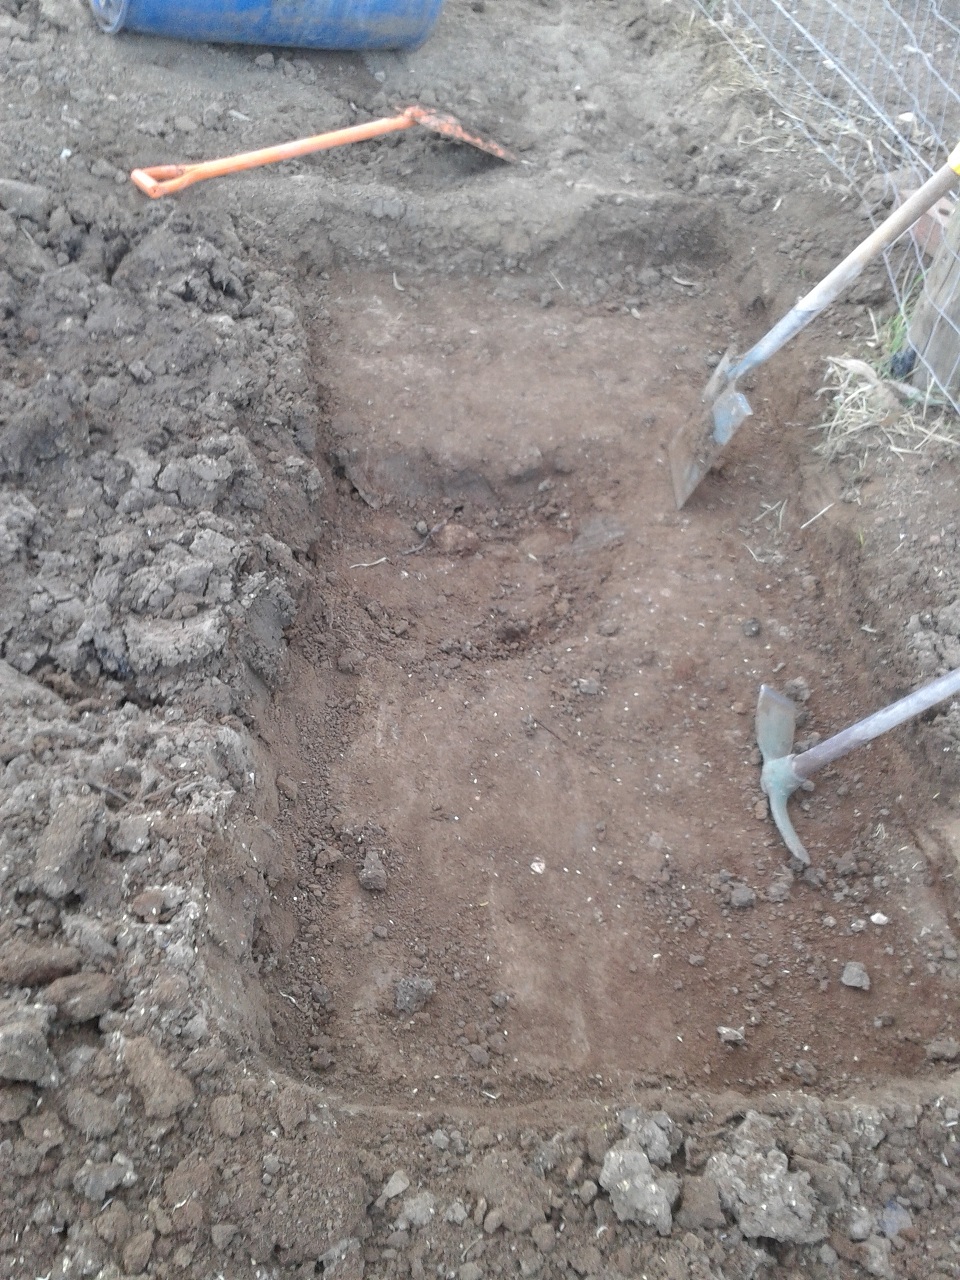
Digging out the wallow.

Evened out the bottom with some left over building sand.

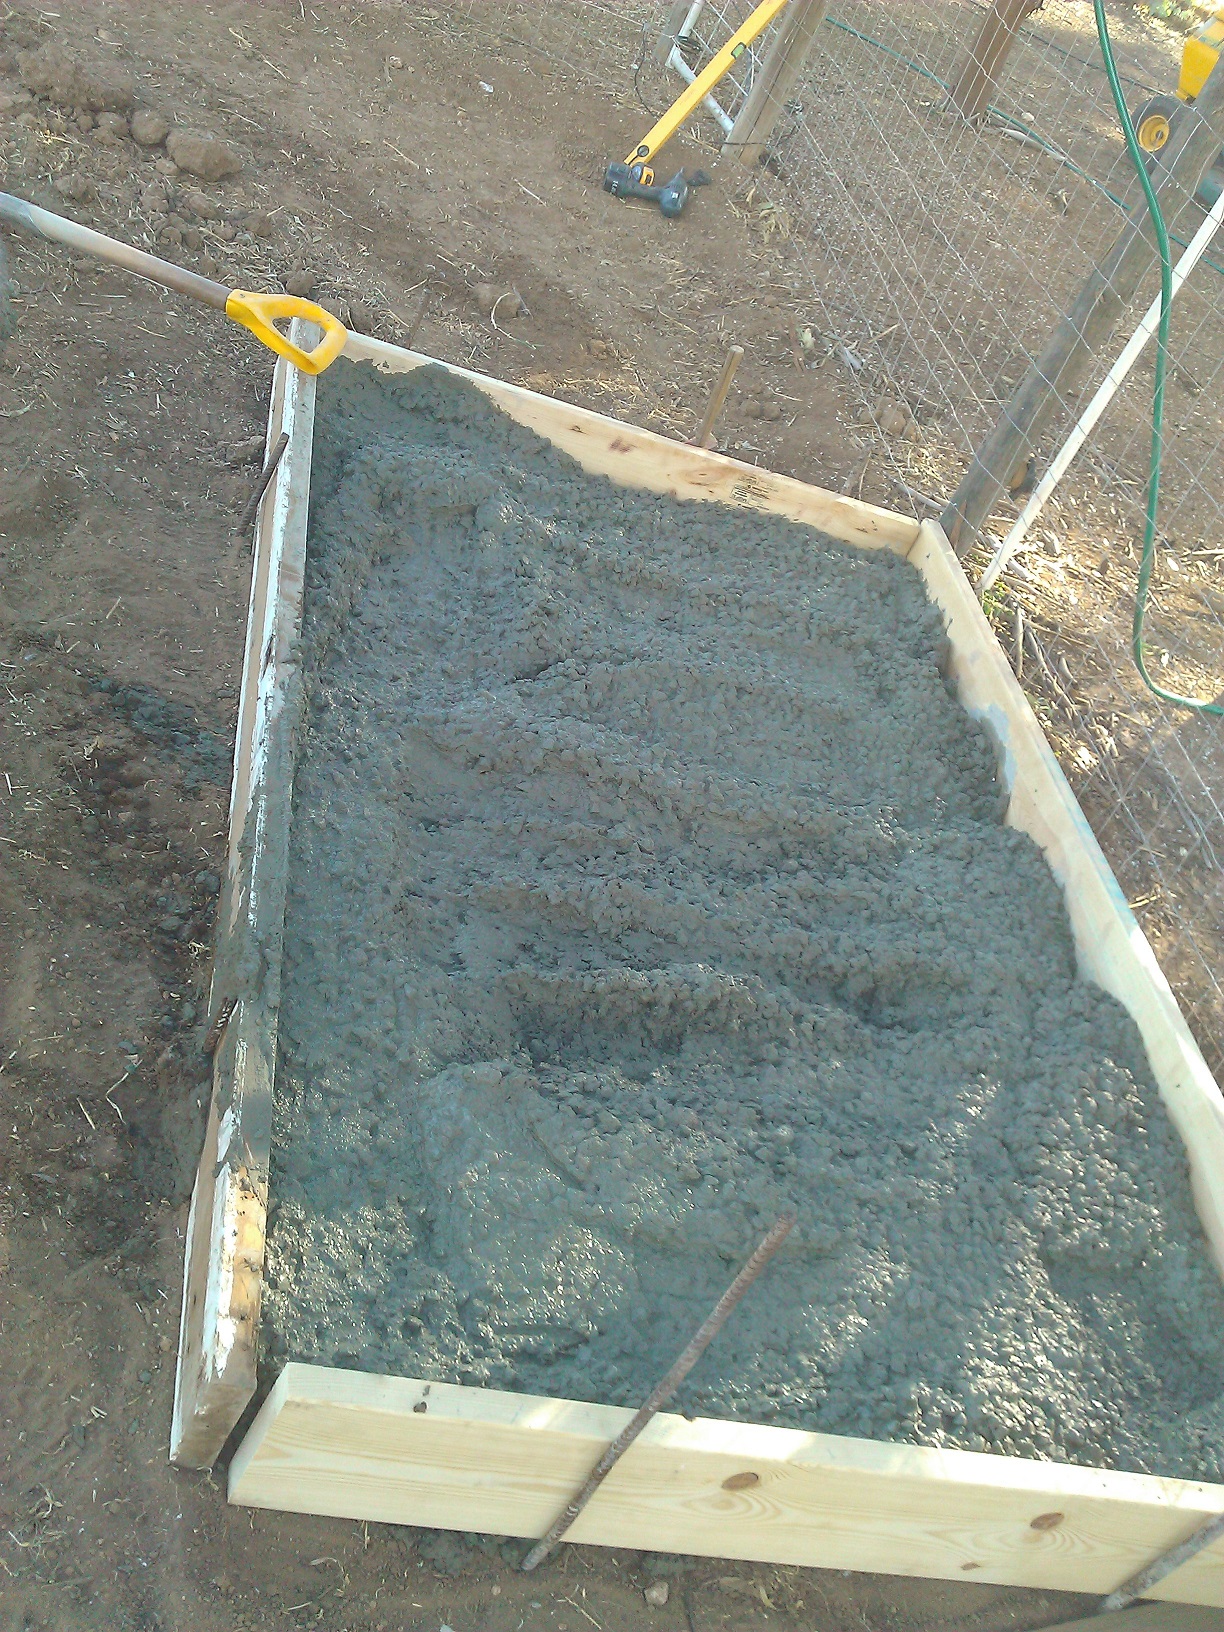
Pouring the pad for the boy’s house.

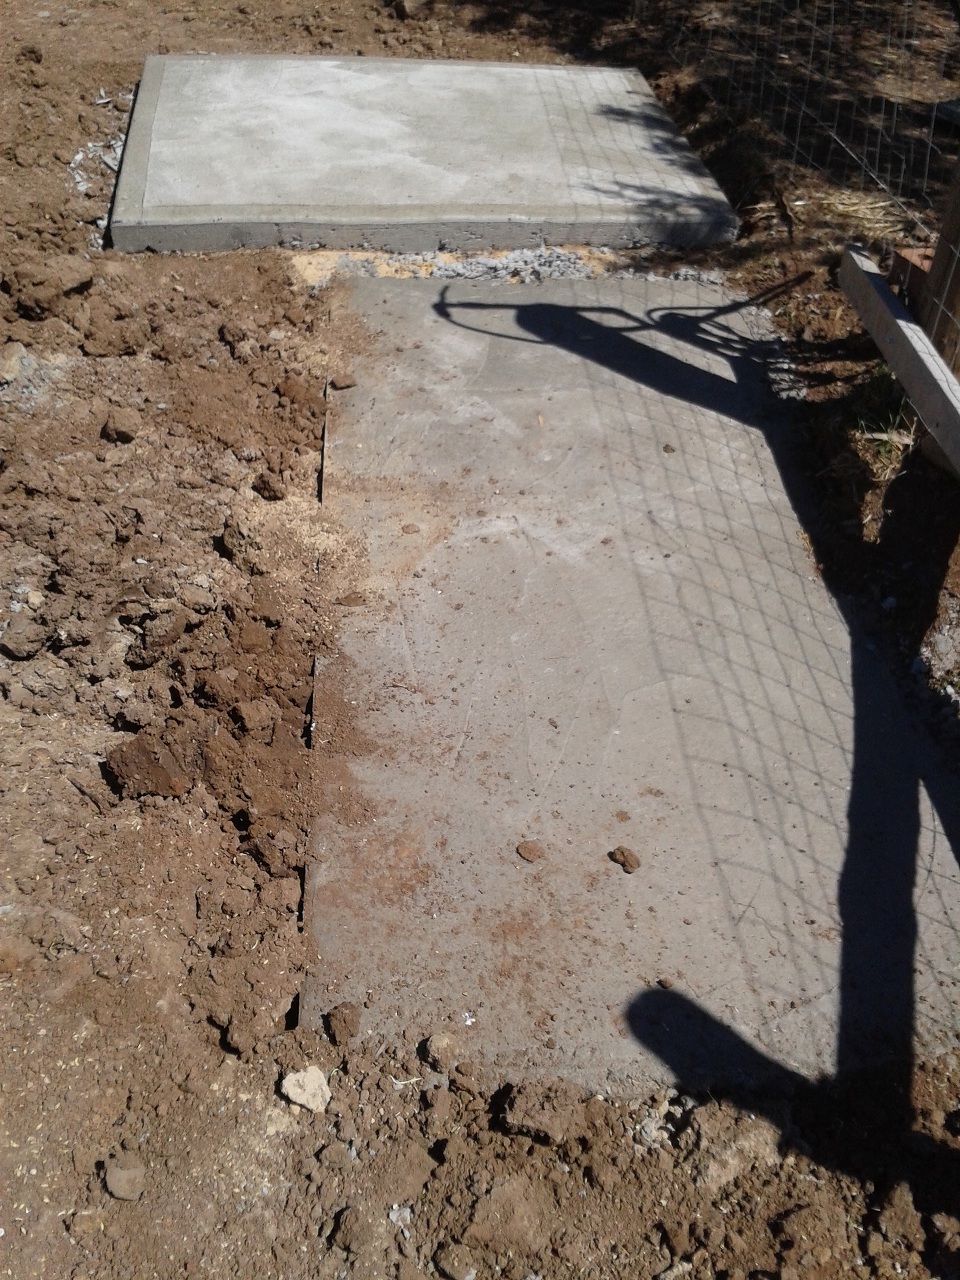
House pad done and floated off.

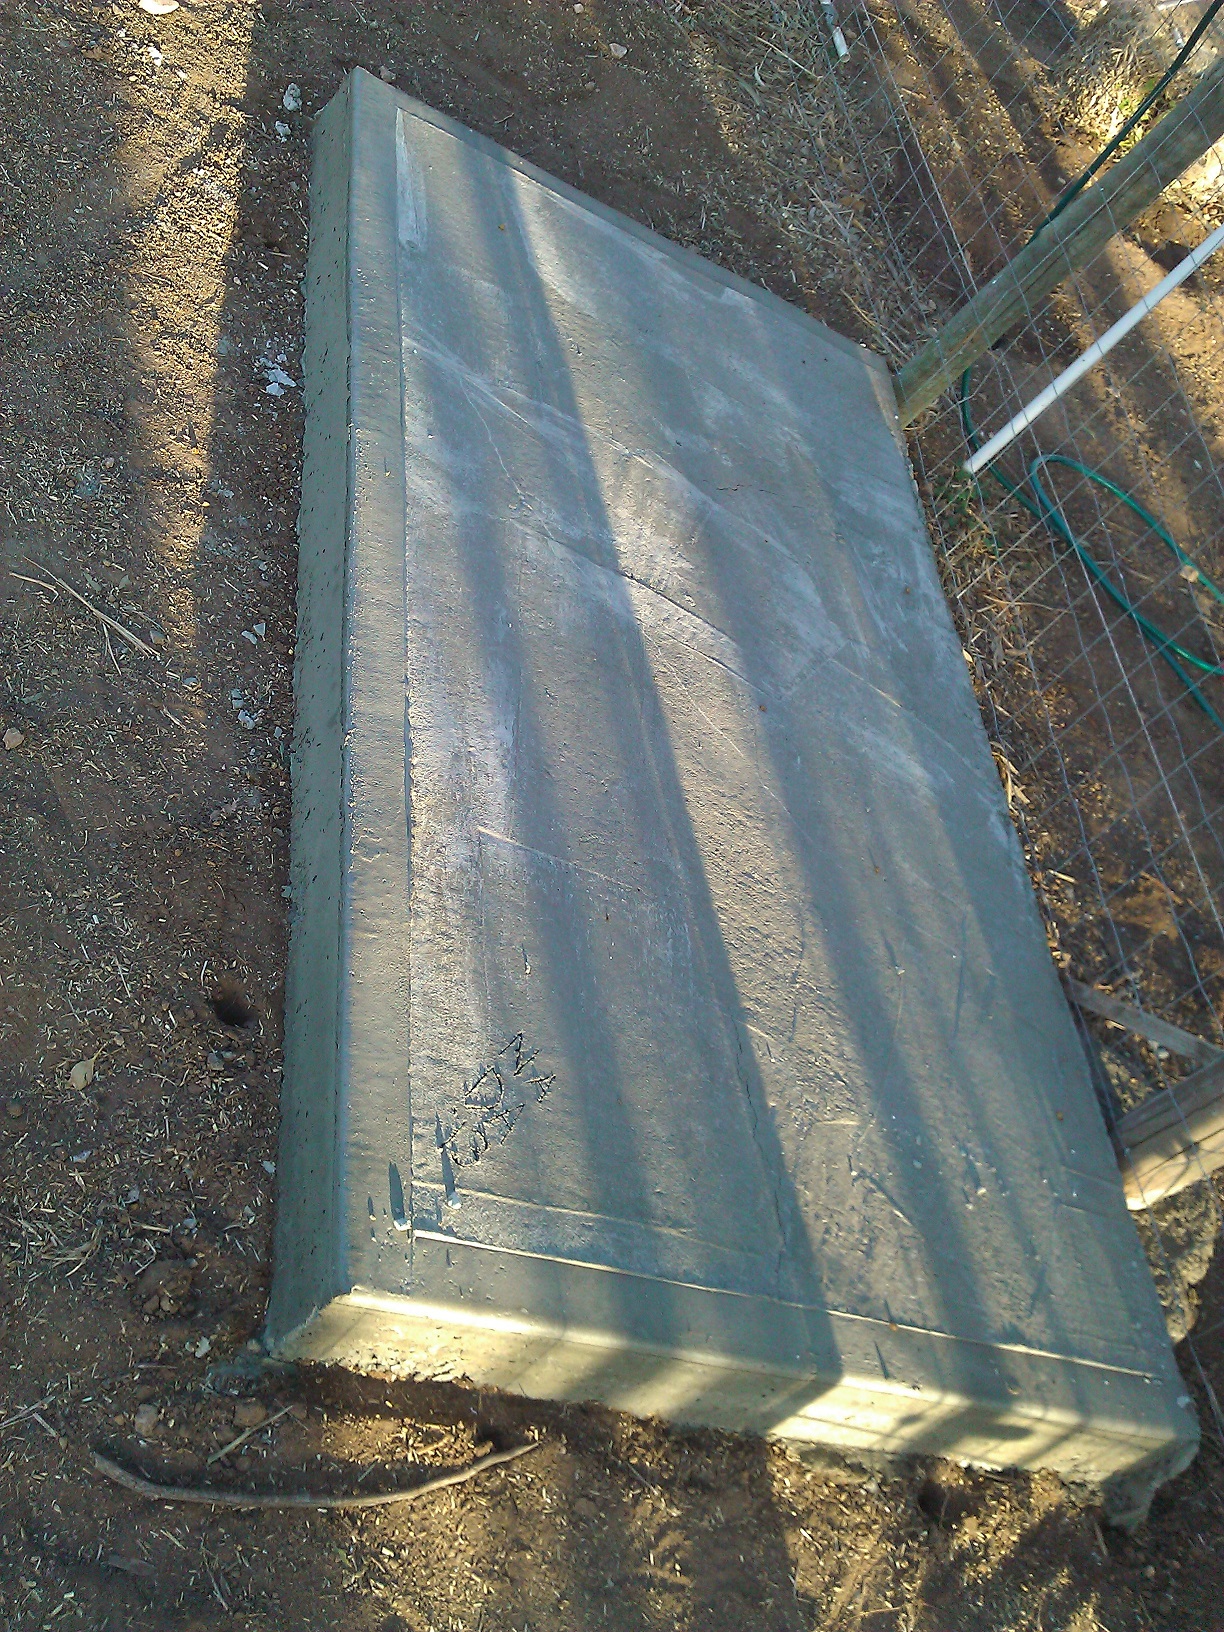
The trough pad floated off.

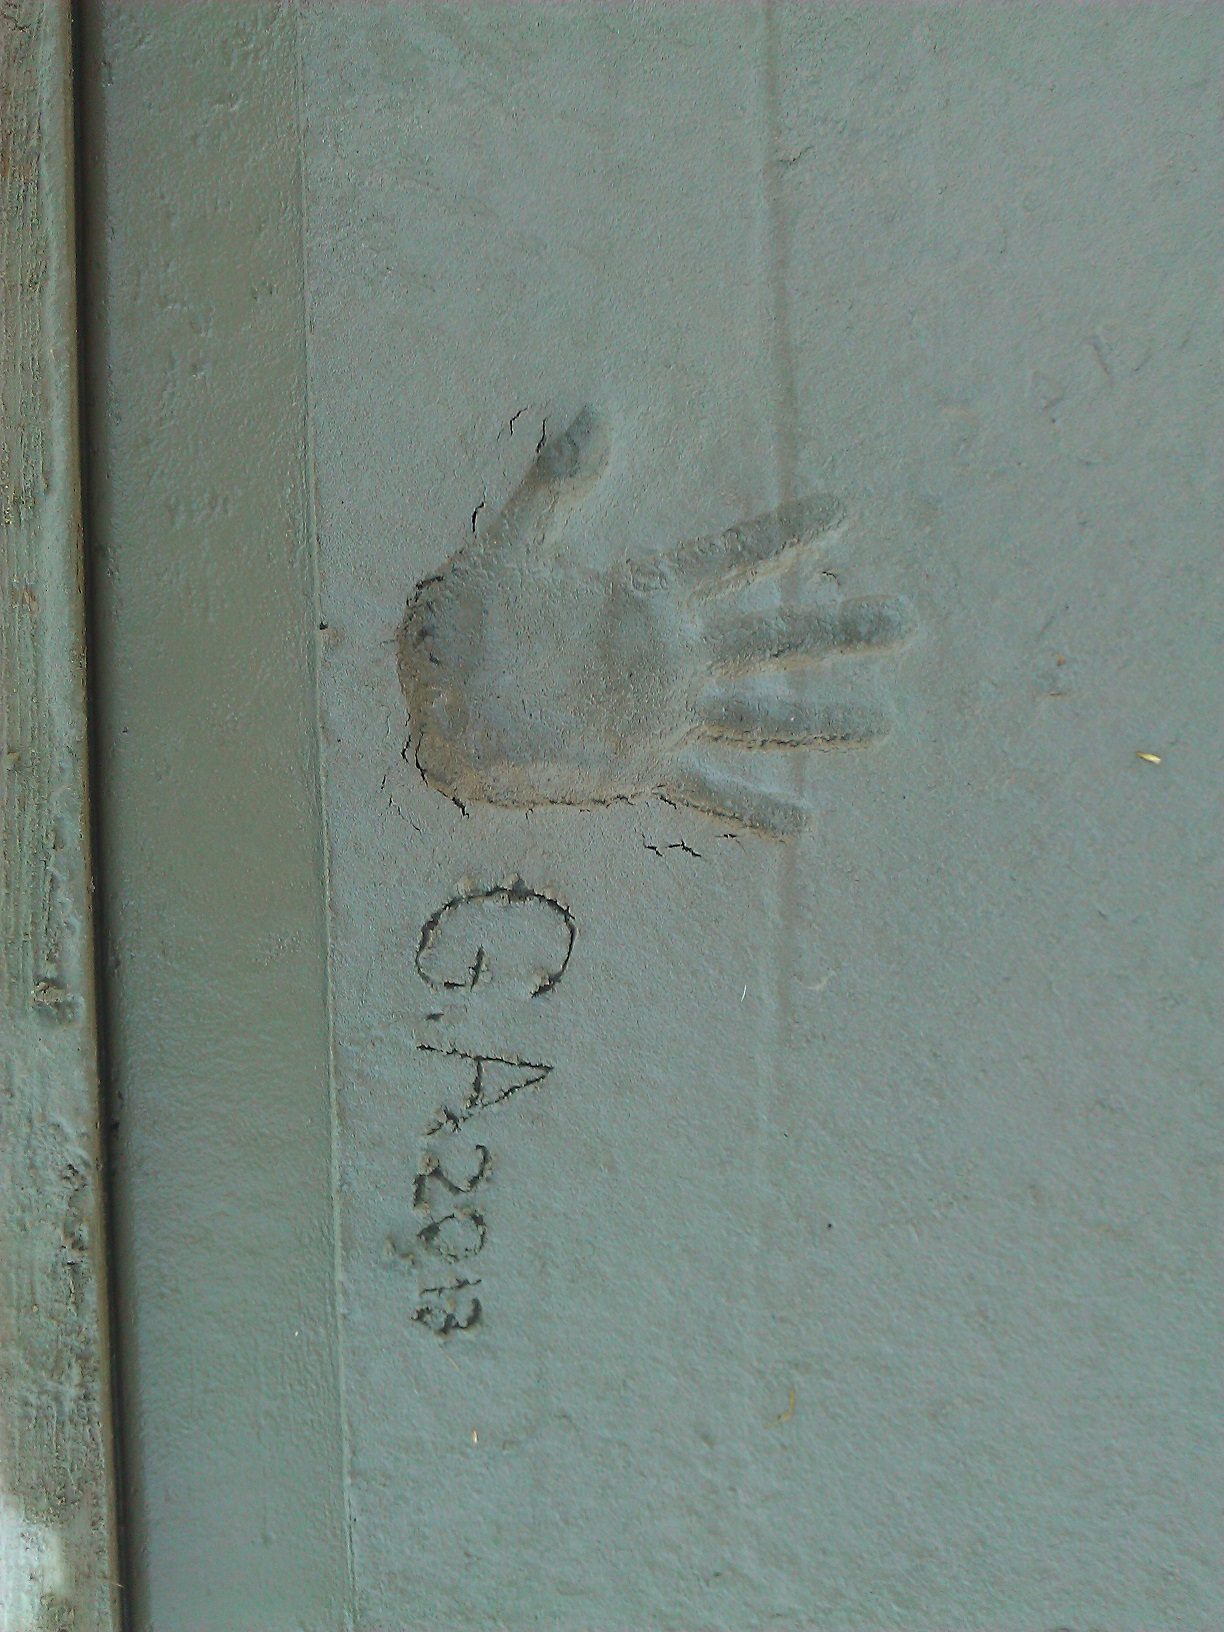
Both pads gone off.

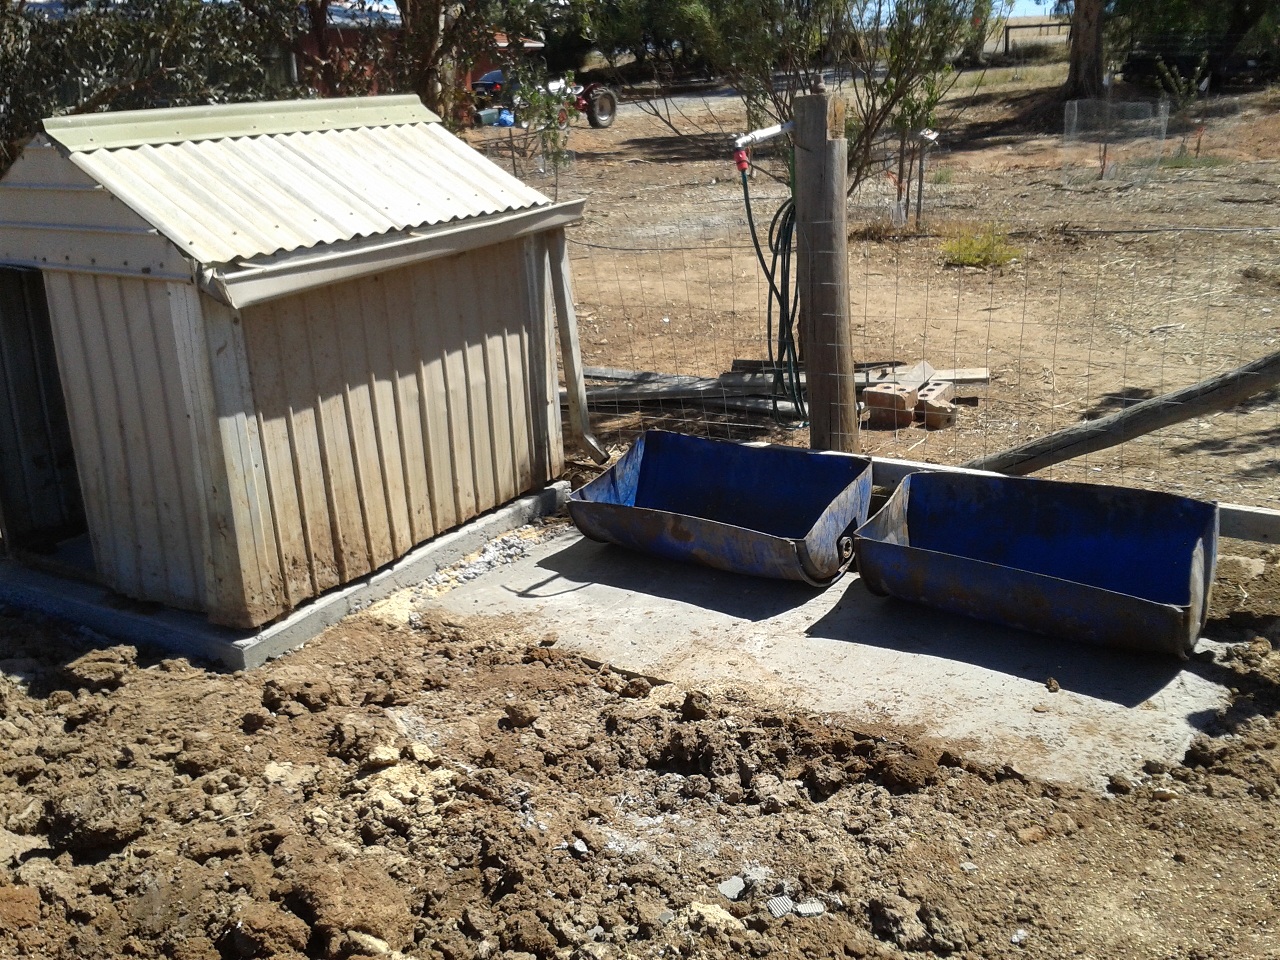
Cemented and assembled!
We thought we had a major setback with Sheldon, our tractor. For a couple of days we though the engine had seized. As it turns out, the reconditioned starter motor, which had actually been quite expensive, had malfunctioned. We had him trailered to a farm machinery service business just outside of Gawler, and they fixed him up and gave him a service. He was probably overdue for that level of TLC anyway, and now he works better than ever.

Sheldon coming home after some TLC. I only let dad unload the tractor because there’s no roll bar.
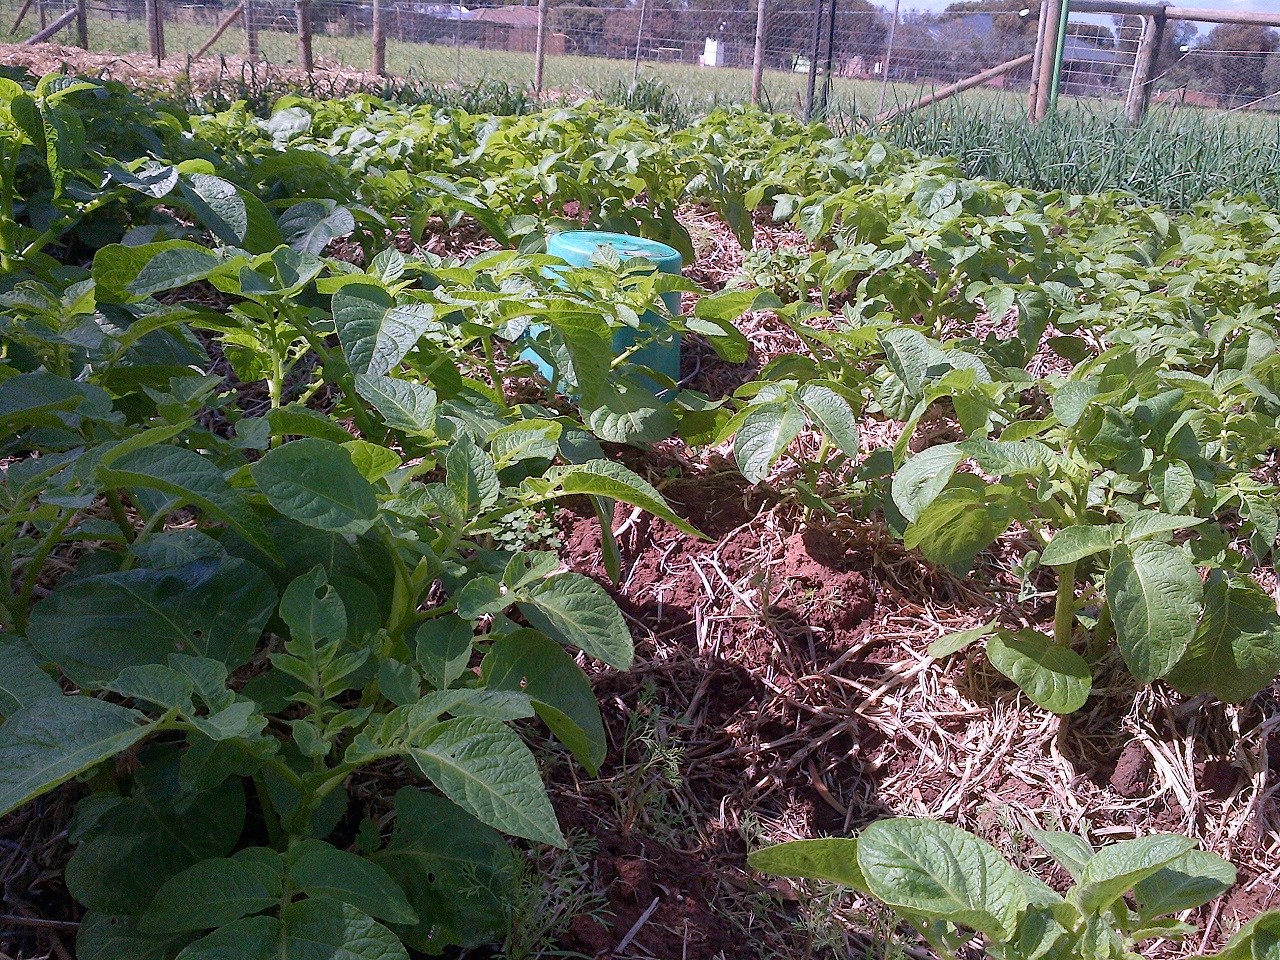
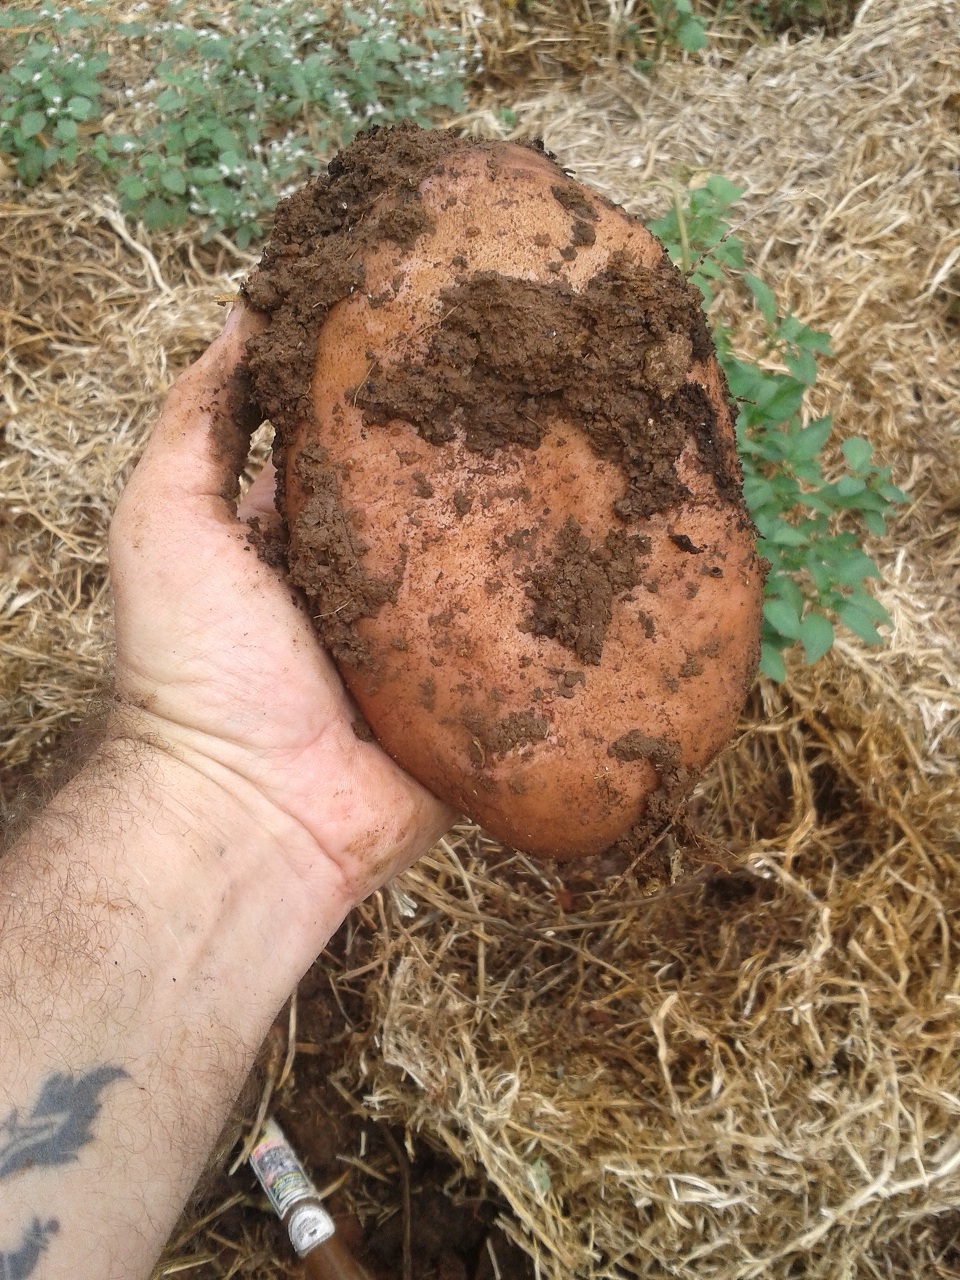
We harvested the rest of our potatoes. I only planted out a little over half the bed, as we weren’t sure exactly what our return was going to be. I noted in February that we needed to change our potato approach a little. Even with that, it looks like we have enough for the whole year, and it took a couple of goes to get them all out of the ground.

We managed to grow some pretty big spuds.

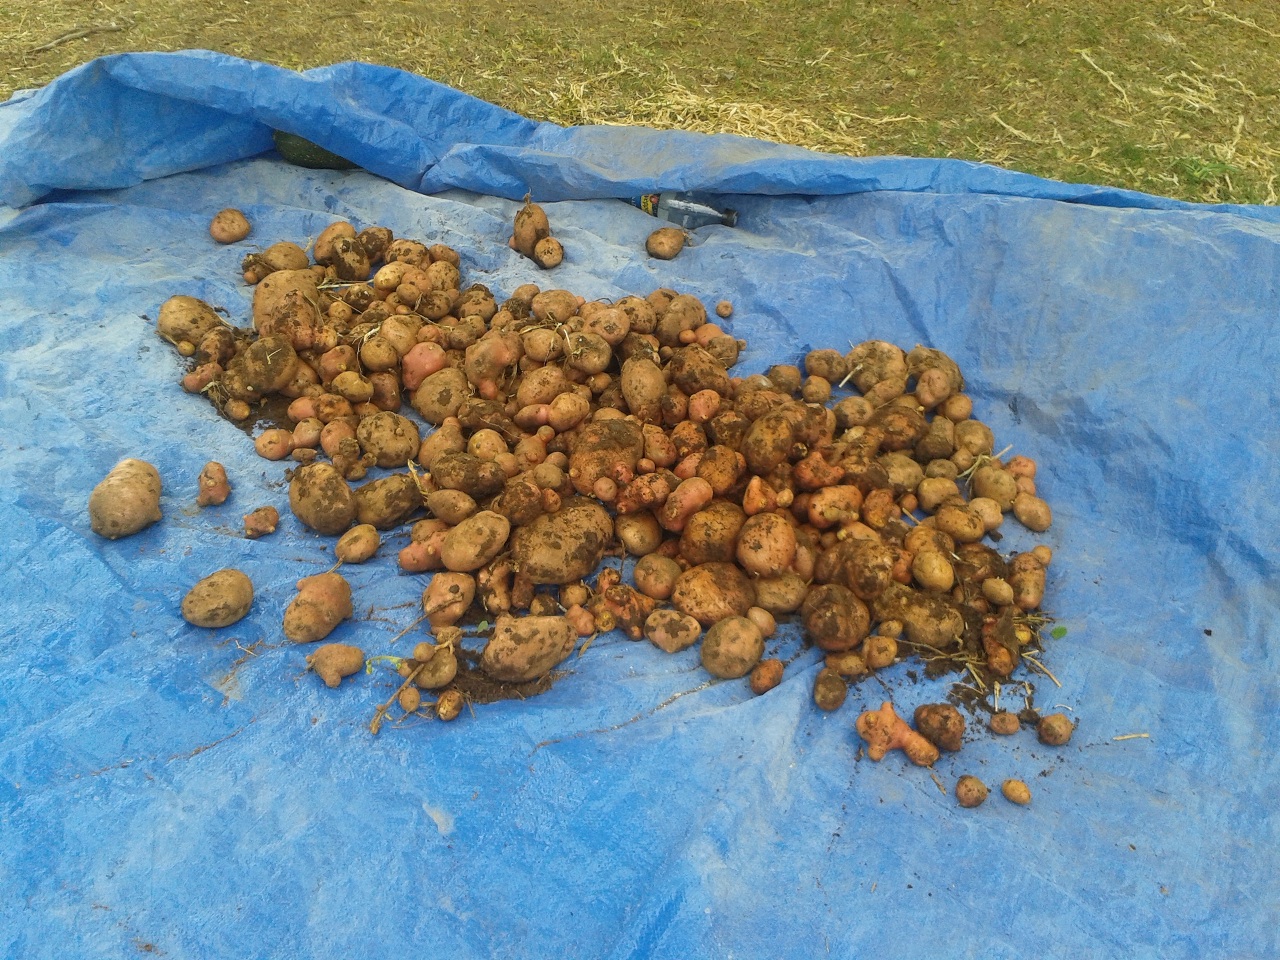
This was one of our spud harvests for the month.

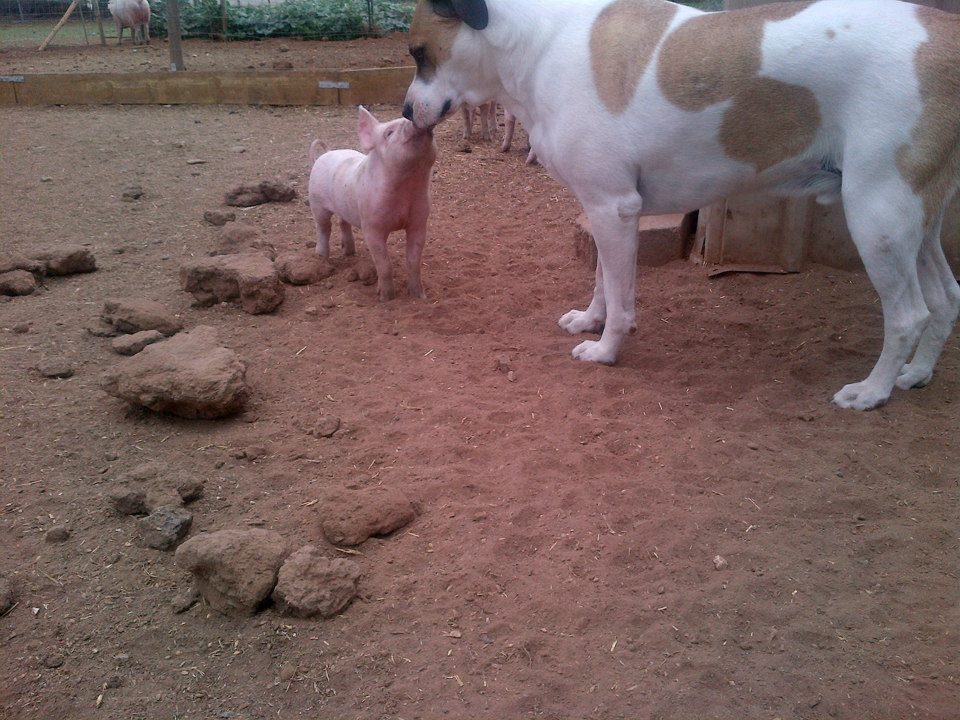
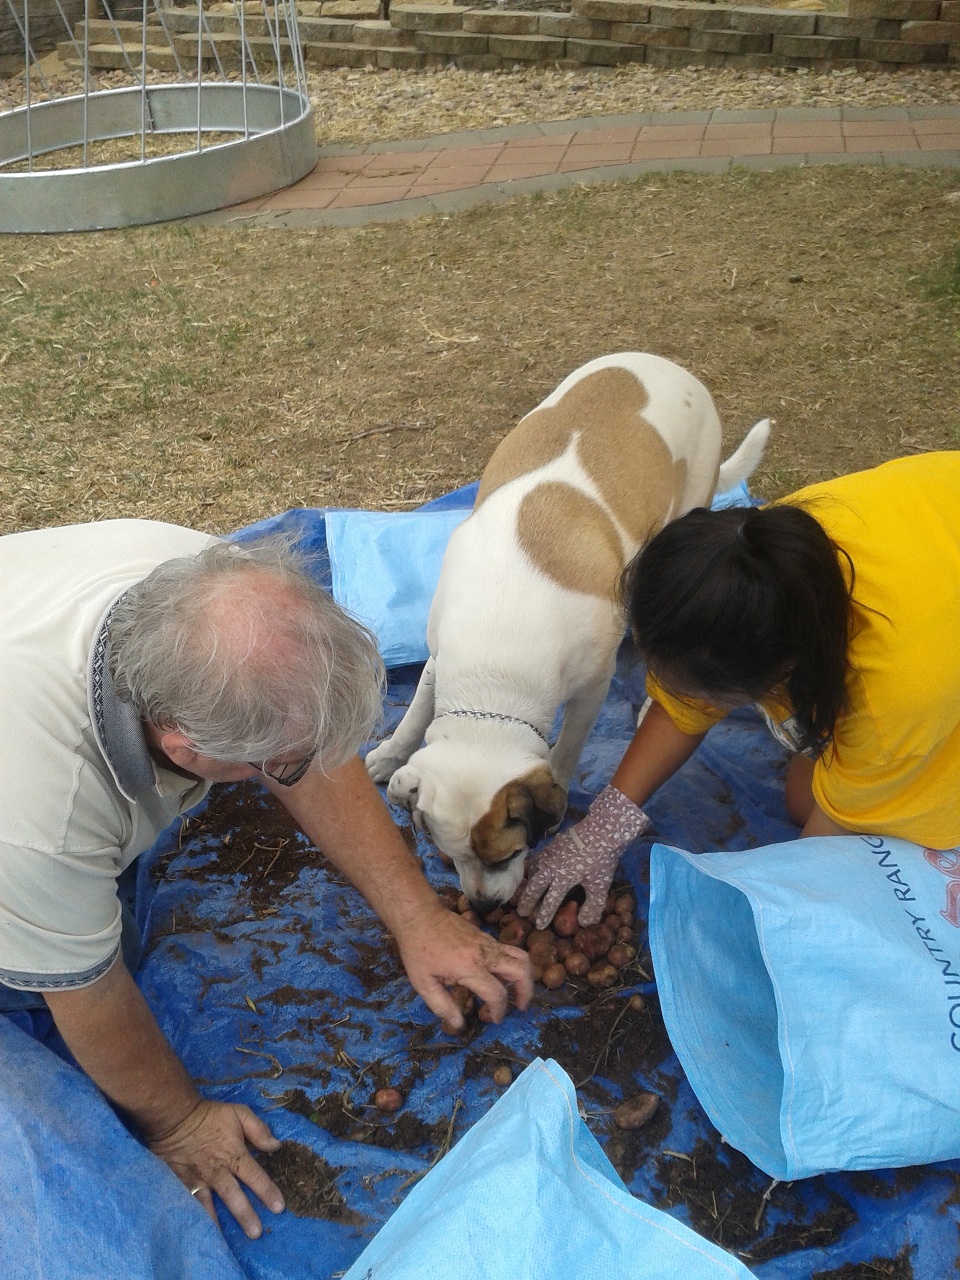
Bruce likes to help.
It’s hard to say, but I’m guessing we have somewhere near 200kg of spuds, and in theory they’ll keep most of the year. Due to a slight malfunction in my labelling process (the words washed away), we’re not exactly sure what they all are. Next year I plan to use seed potatoes, and make sure we know what’s planted where.

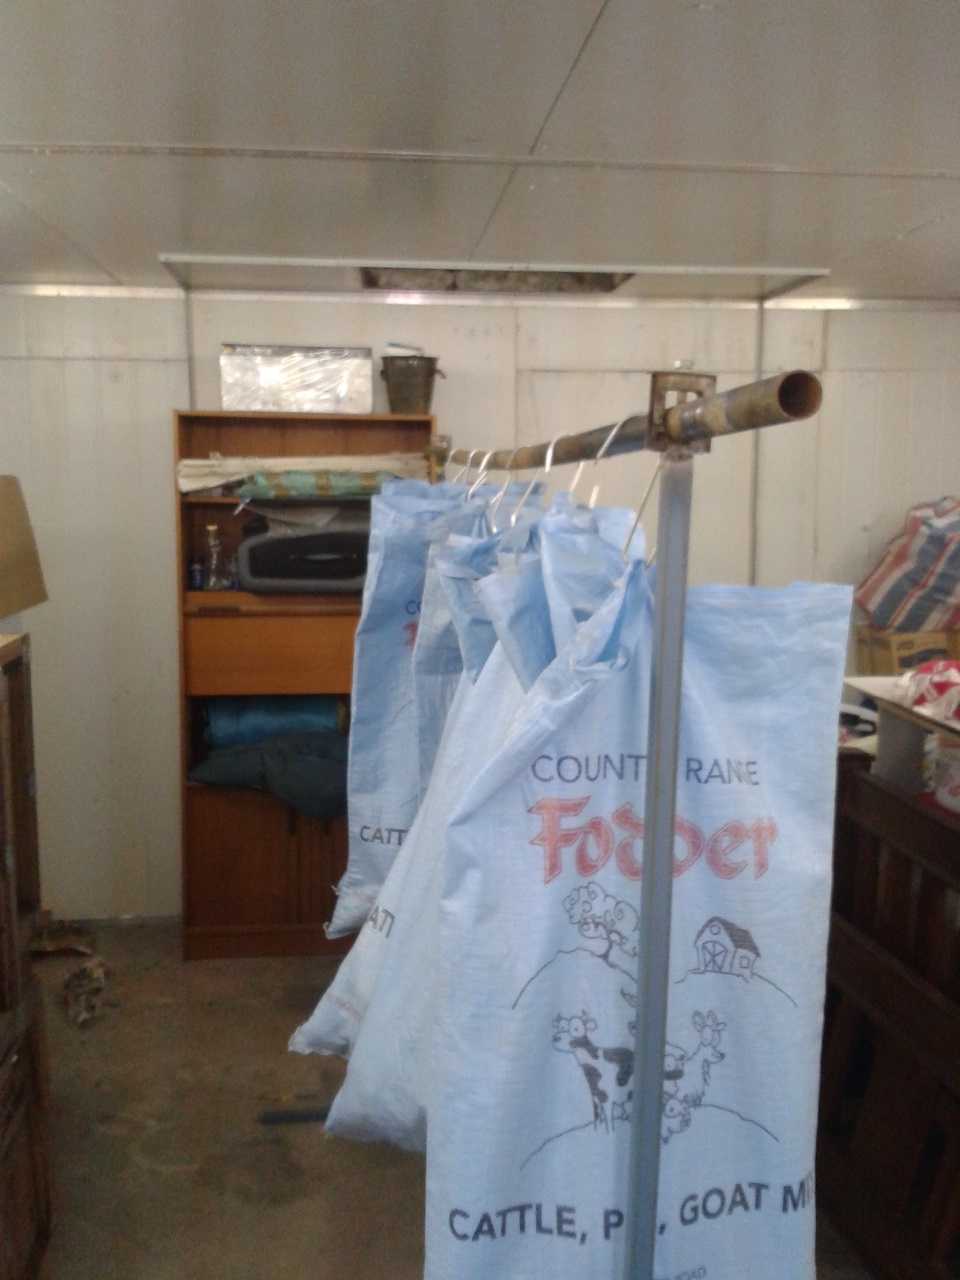
Potatoes out of the reach of rodents. Hopefully.
We also harvested most of the rest of our corn. We blanched and froze probably another 5kg, giving us somewhere near 10kg in the freezer. We’ll have to see if this is enough to last us over winter. If not, we can freeze more next year.
We have enough hanging to use as seed stock next year. As an experiment, I also put some in our dehydrator. I doubt the results are viable seeds, but they may be useful. I whizzed some up as a kind of corn-meal to use in sausages, and they can be used in slow cooker meals. We’ll give them a go and see what happens.
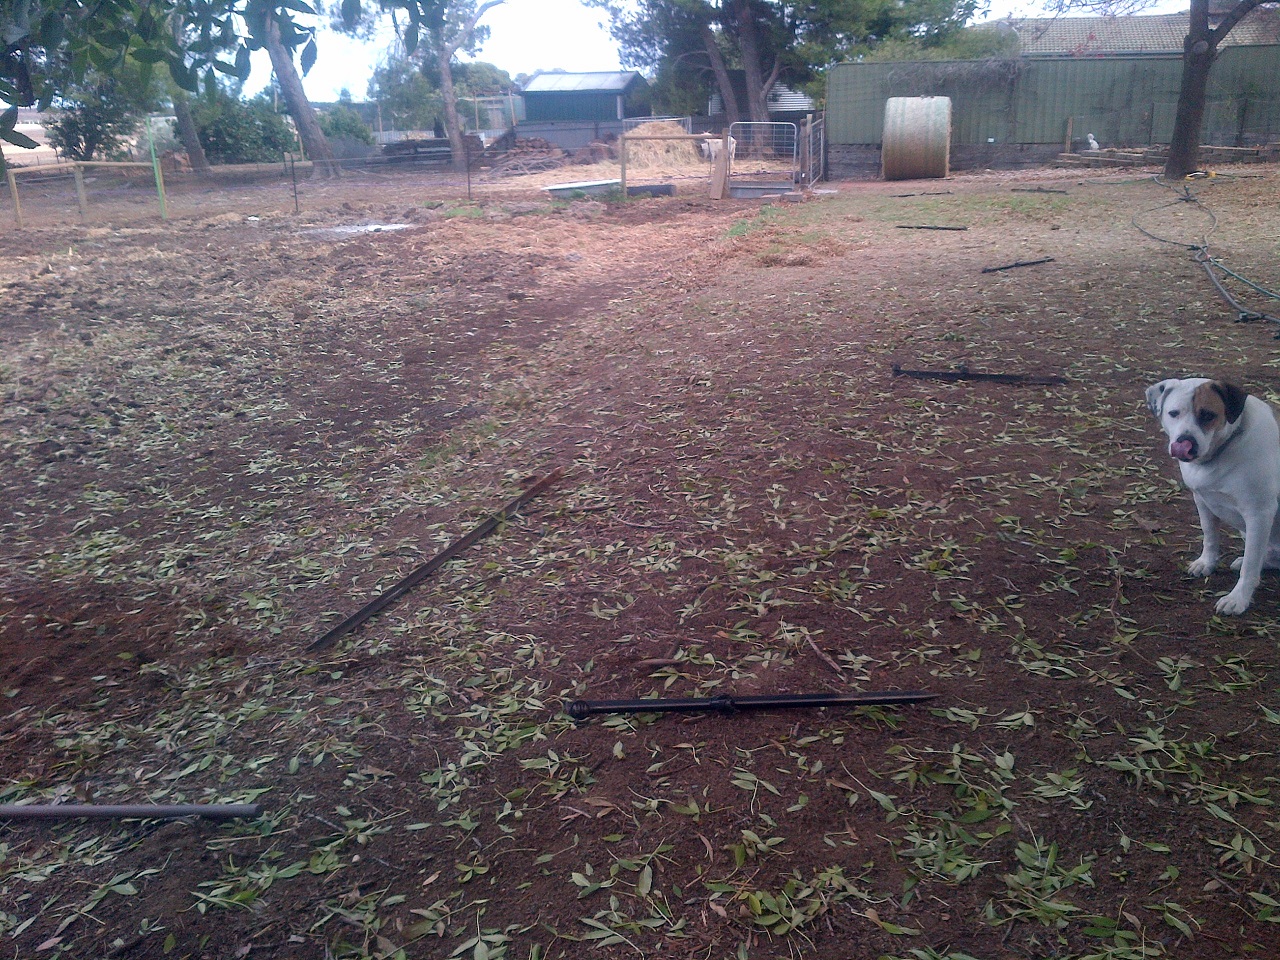
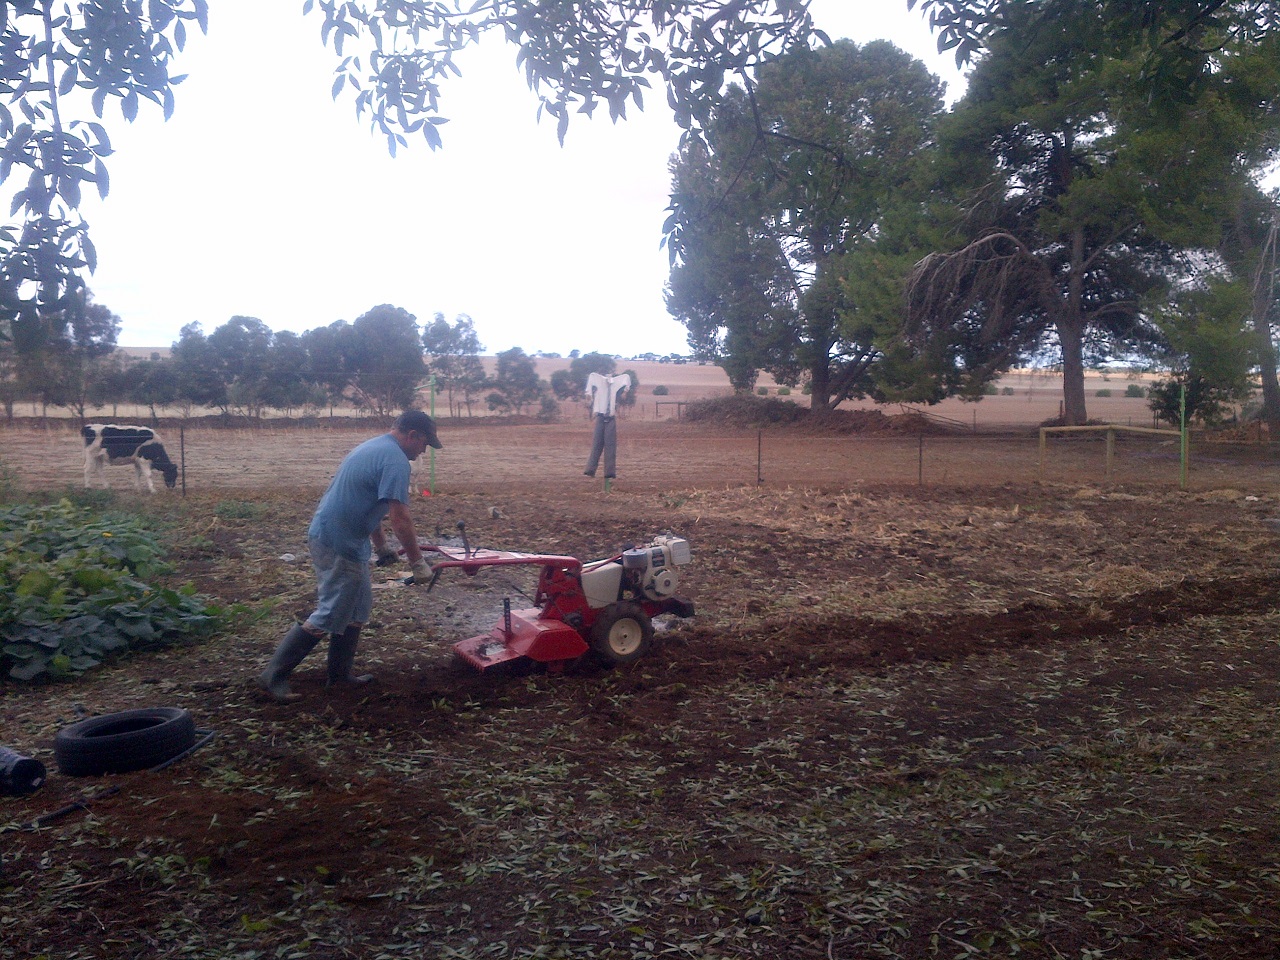
I’ve mentioned it before, but one of the beauties of corn is that the entire plant is useful to us. Corn is a giant grass, and every stock animal we have loves to chow down on it. I cut a heap and fed the stock.
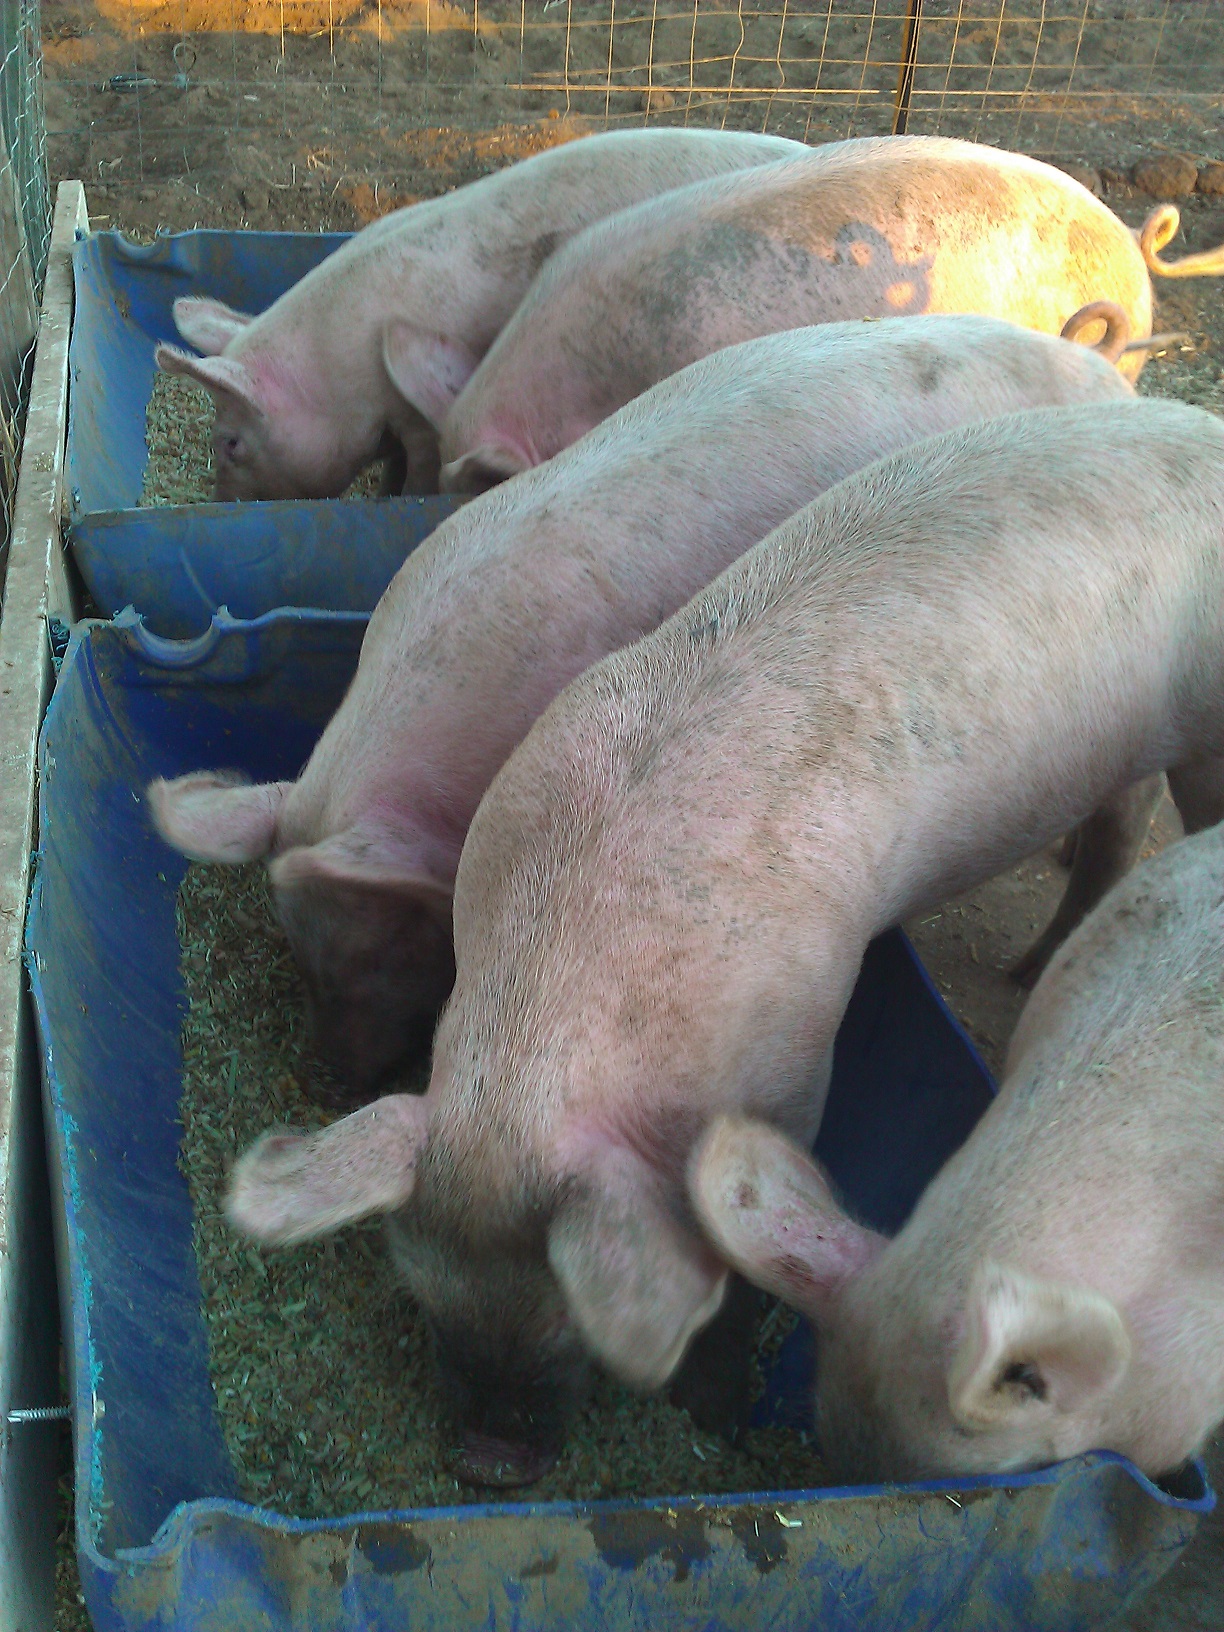
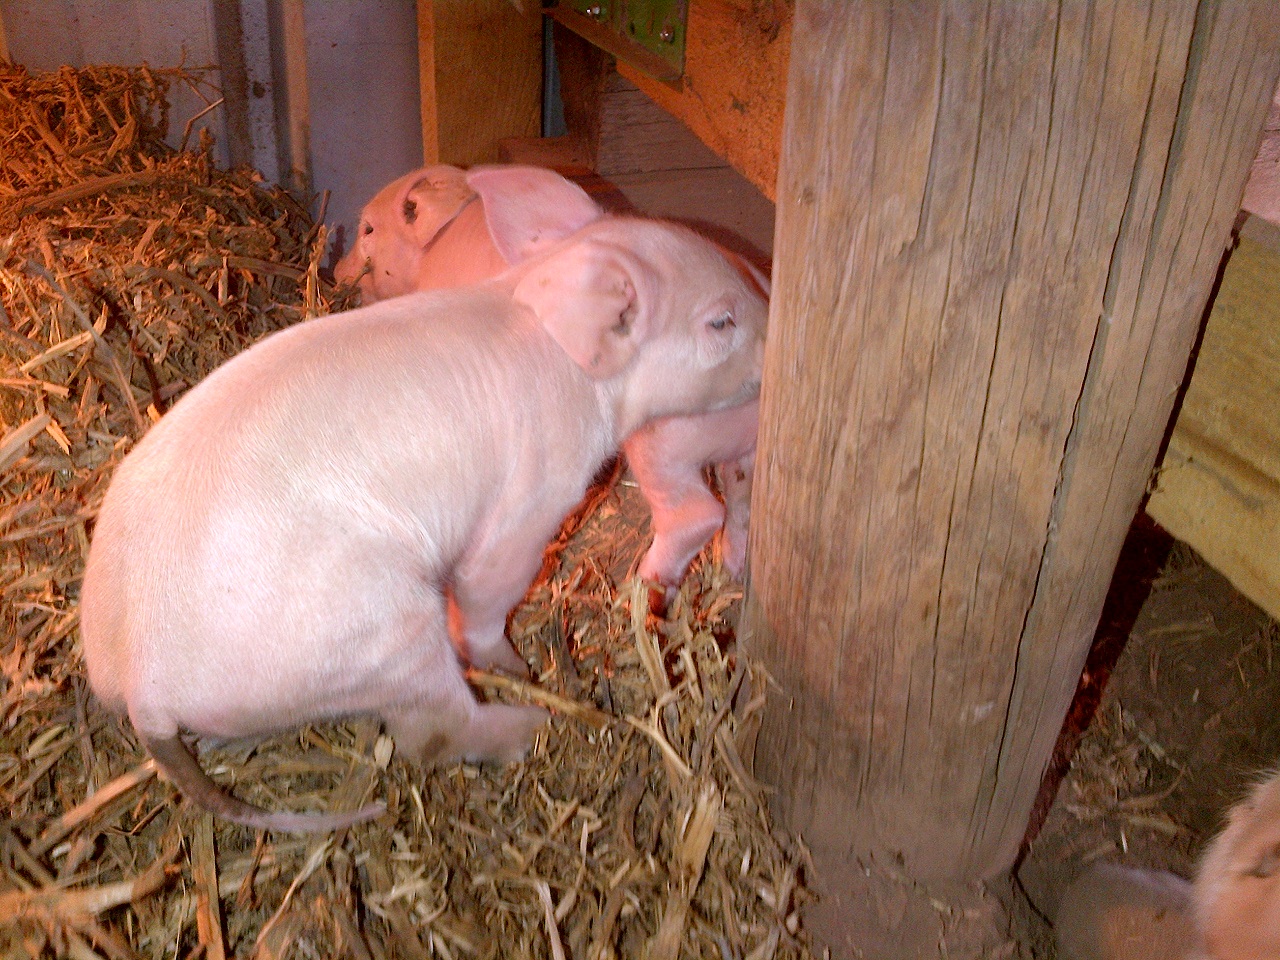
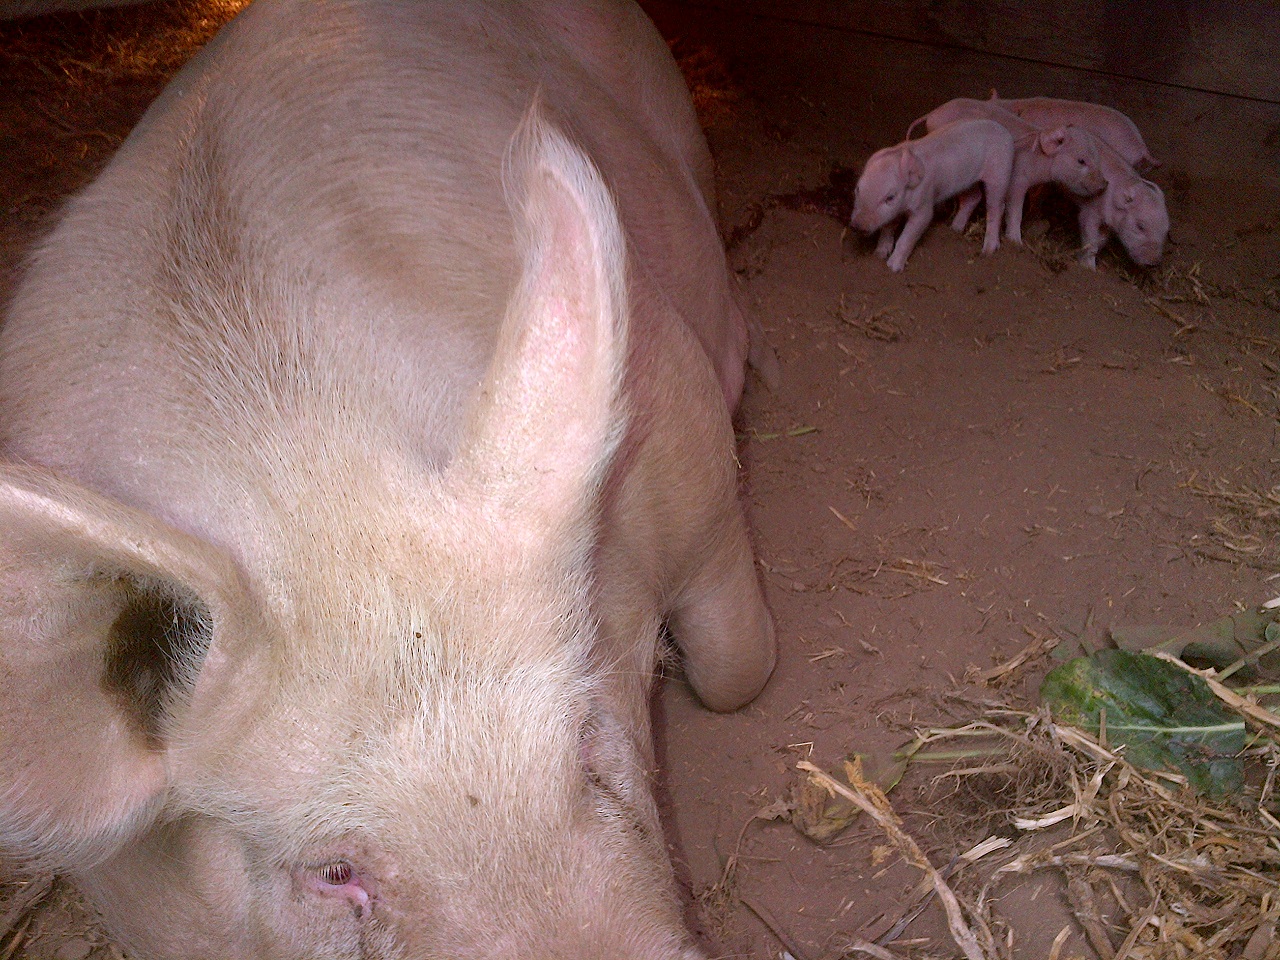
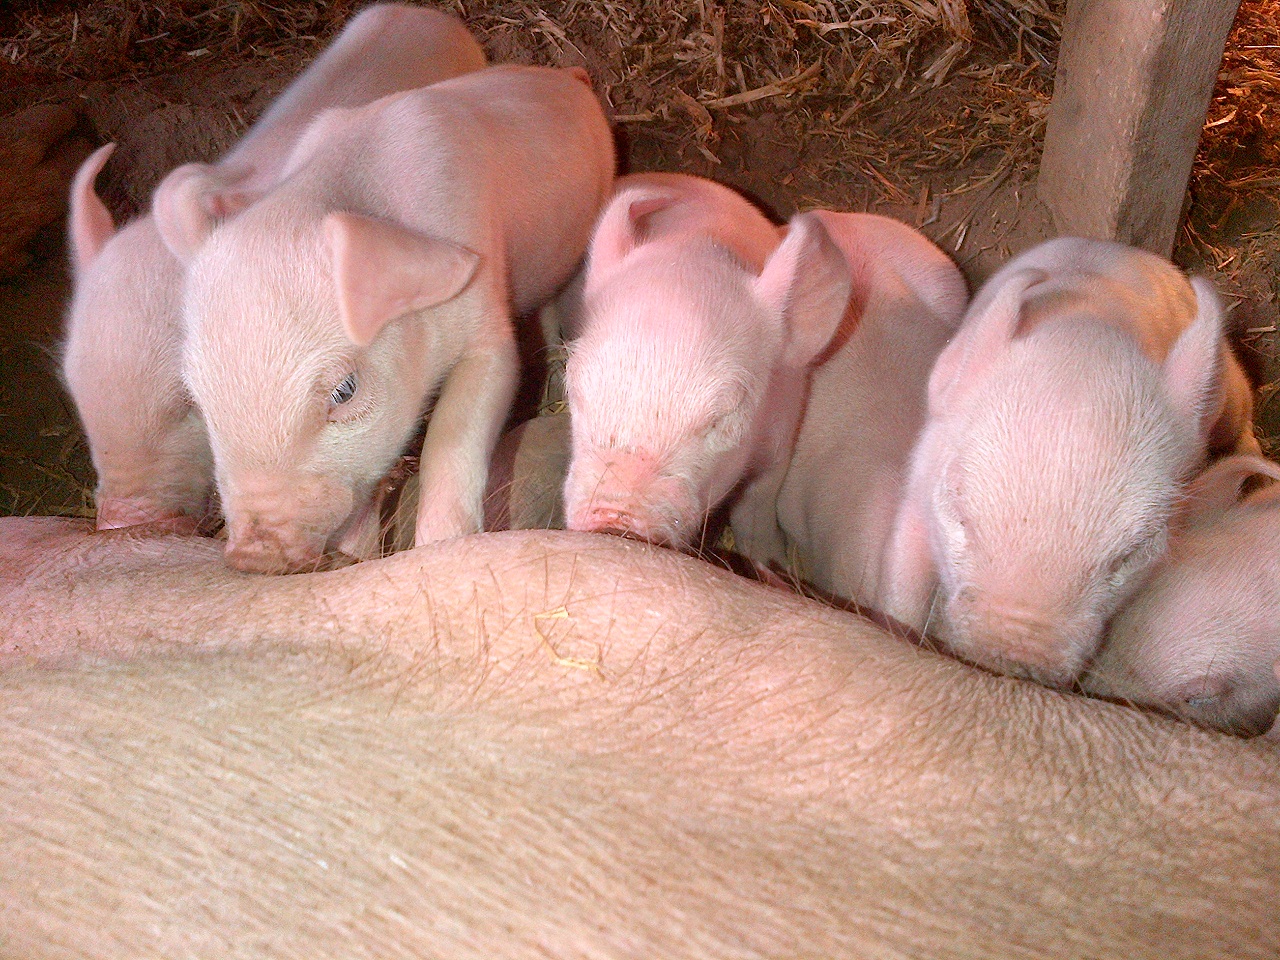
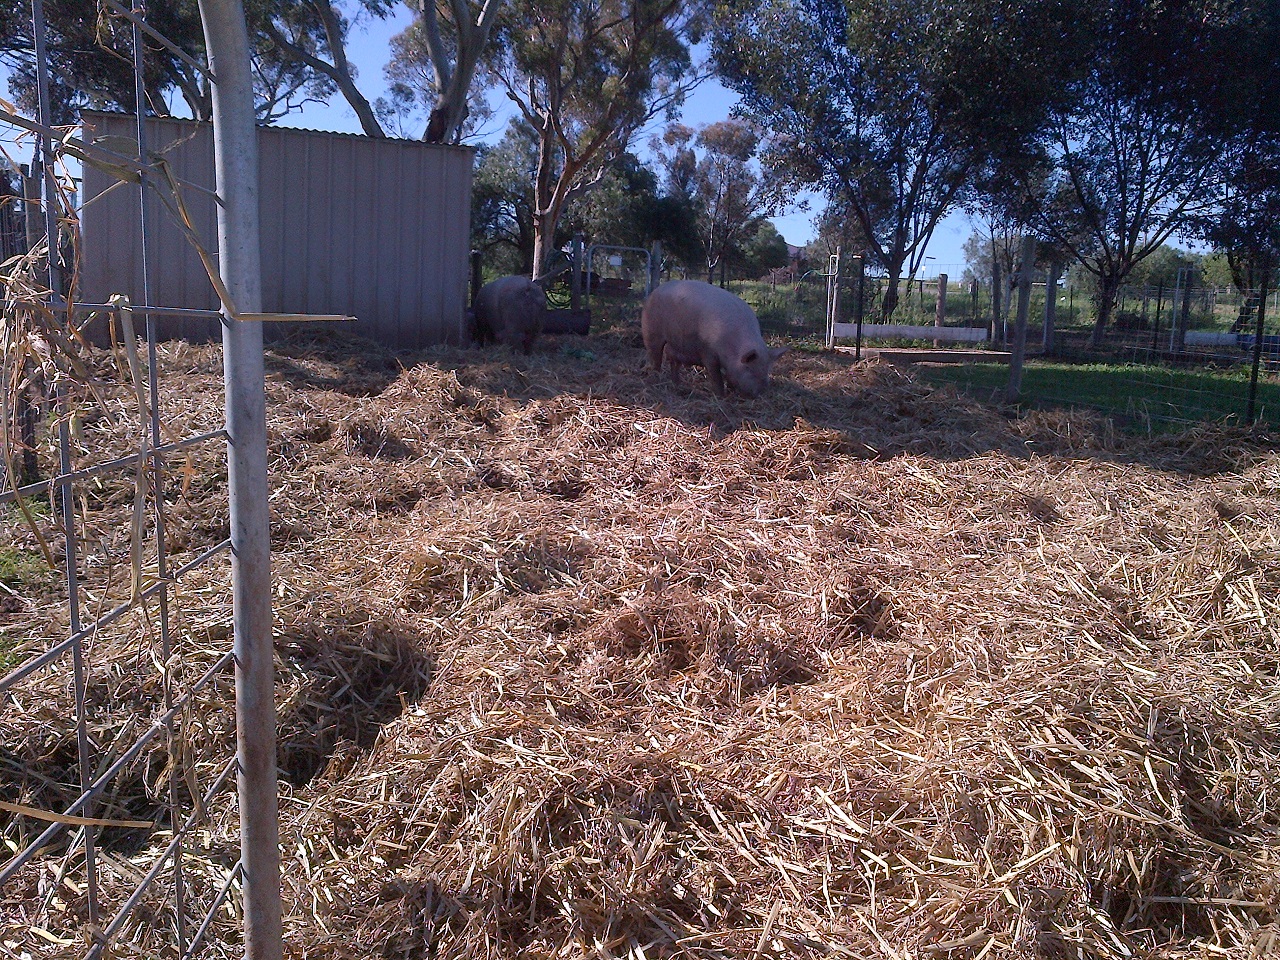
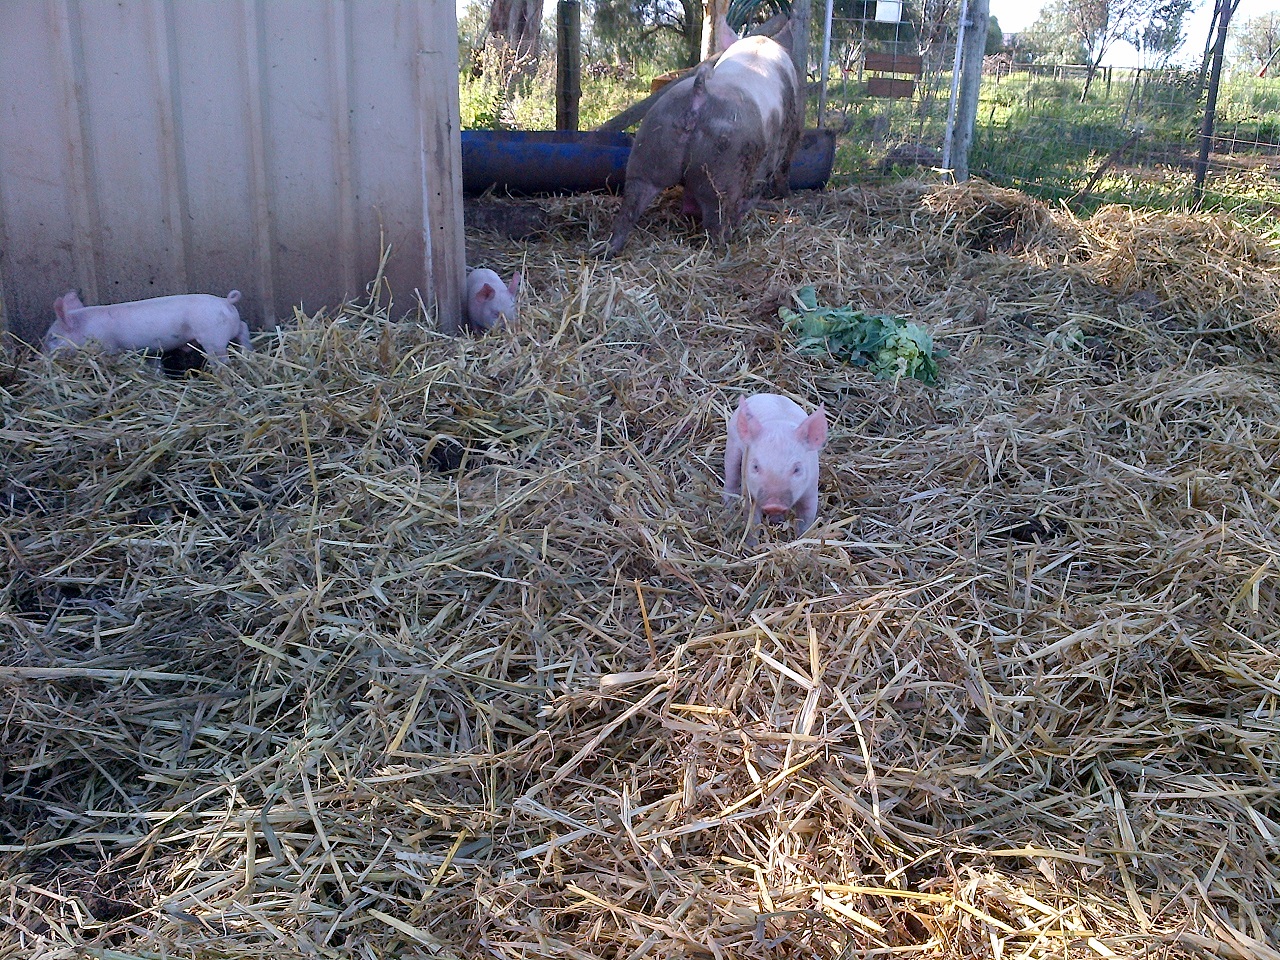
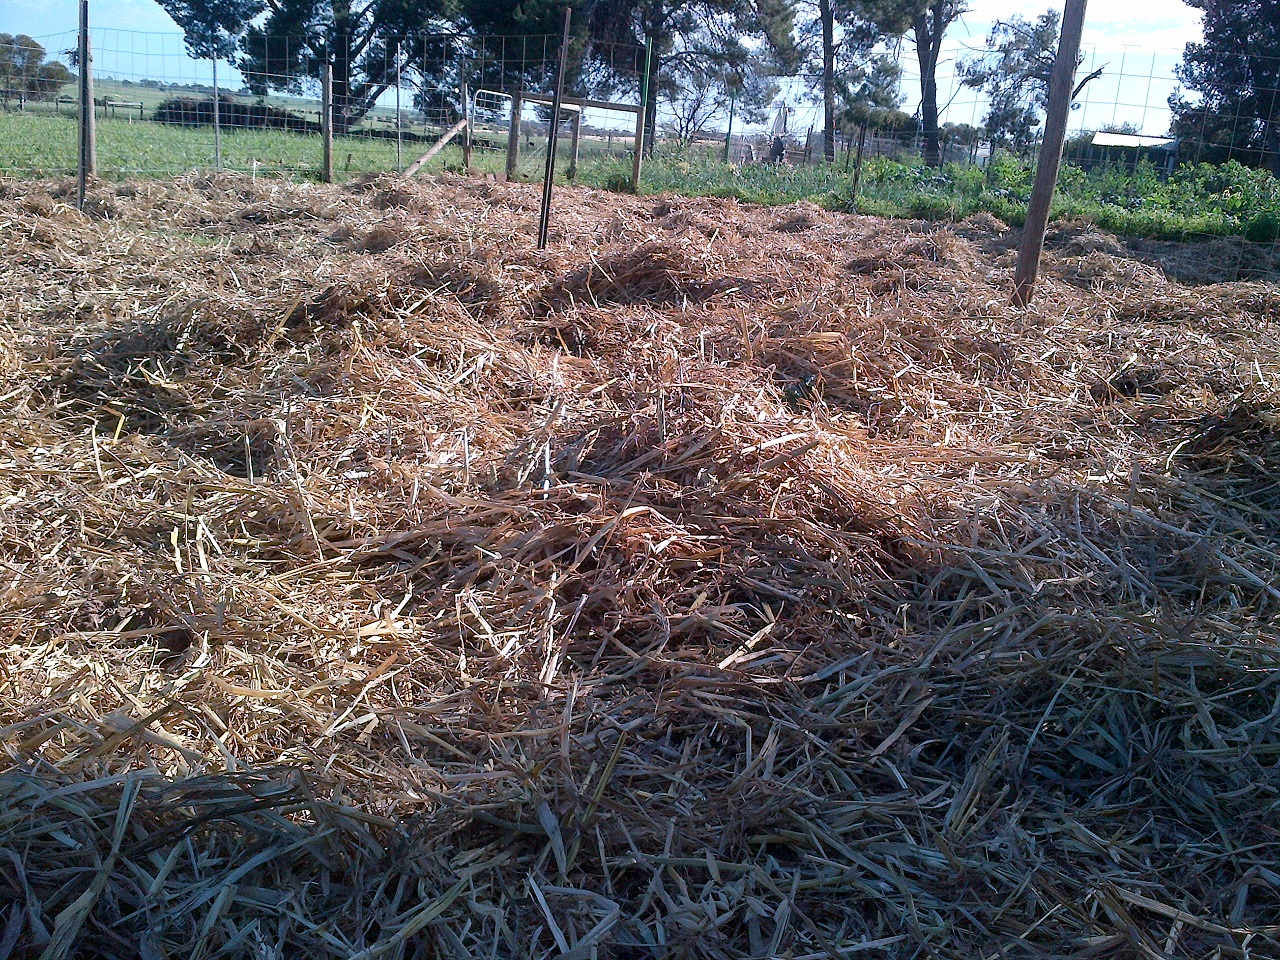
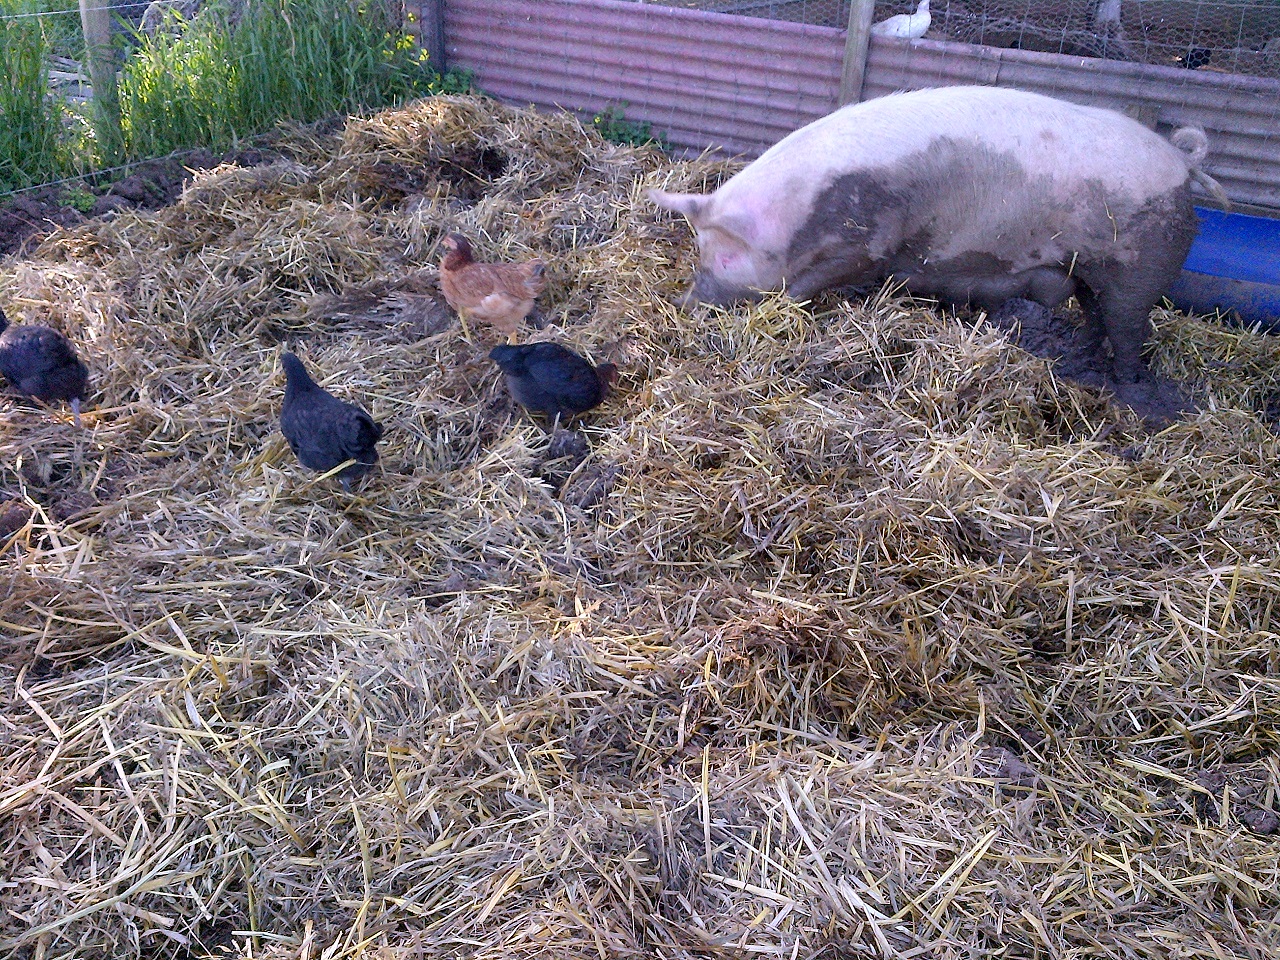
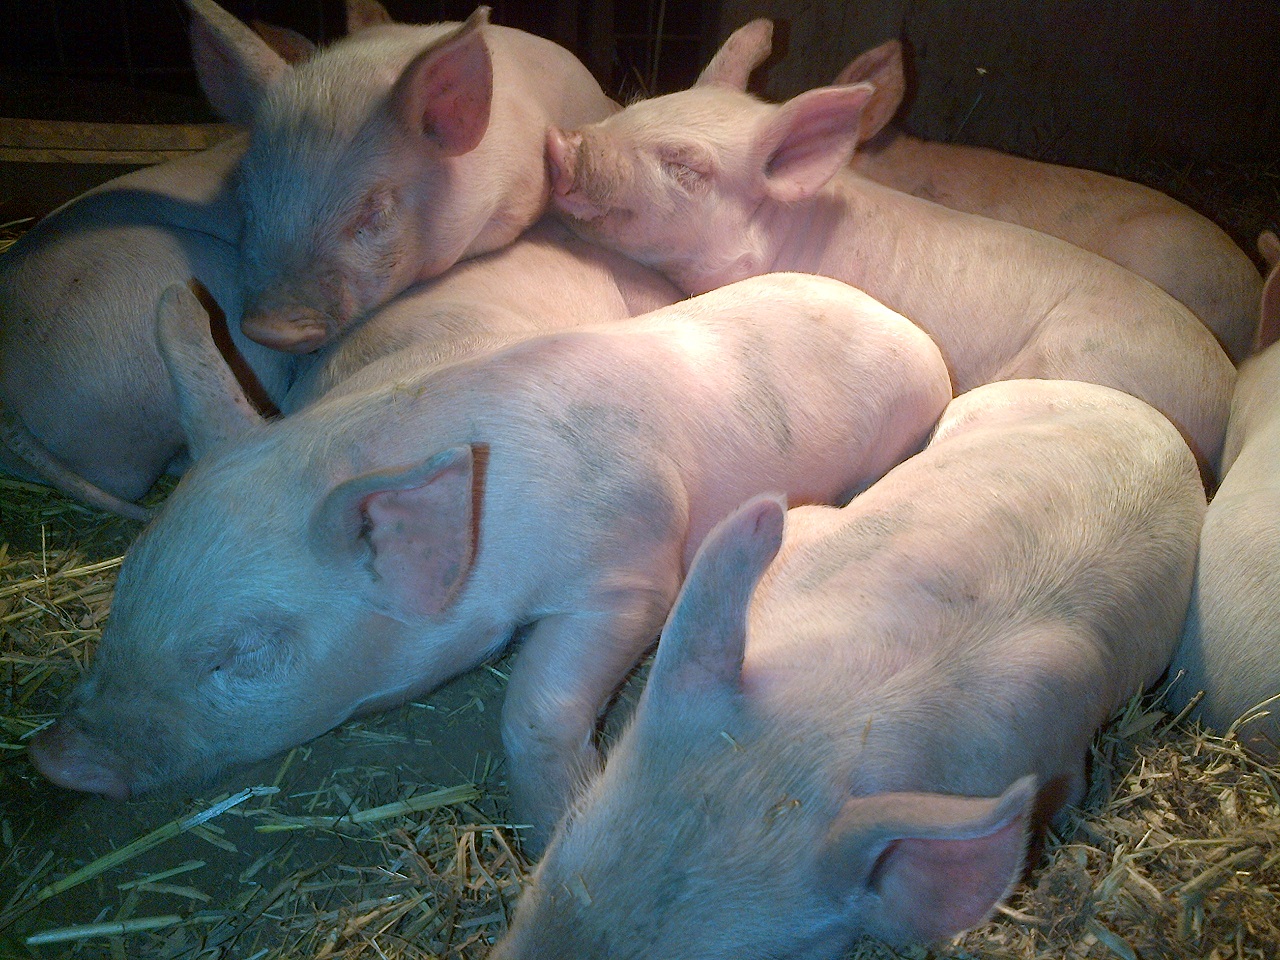
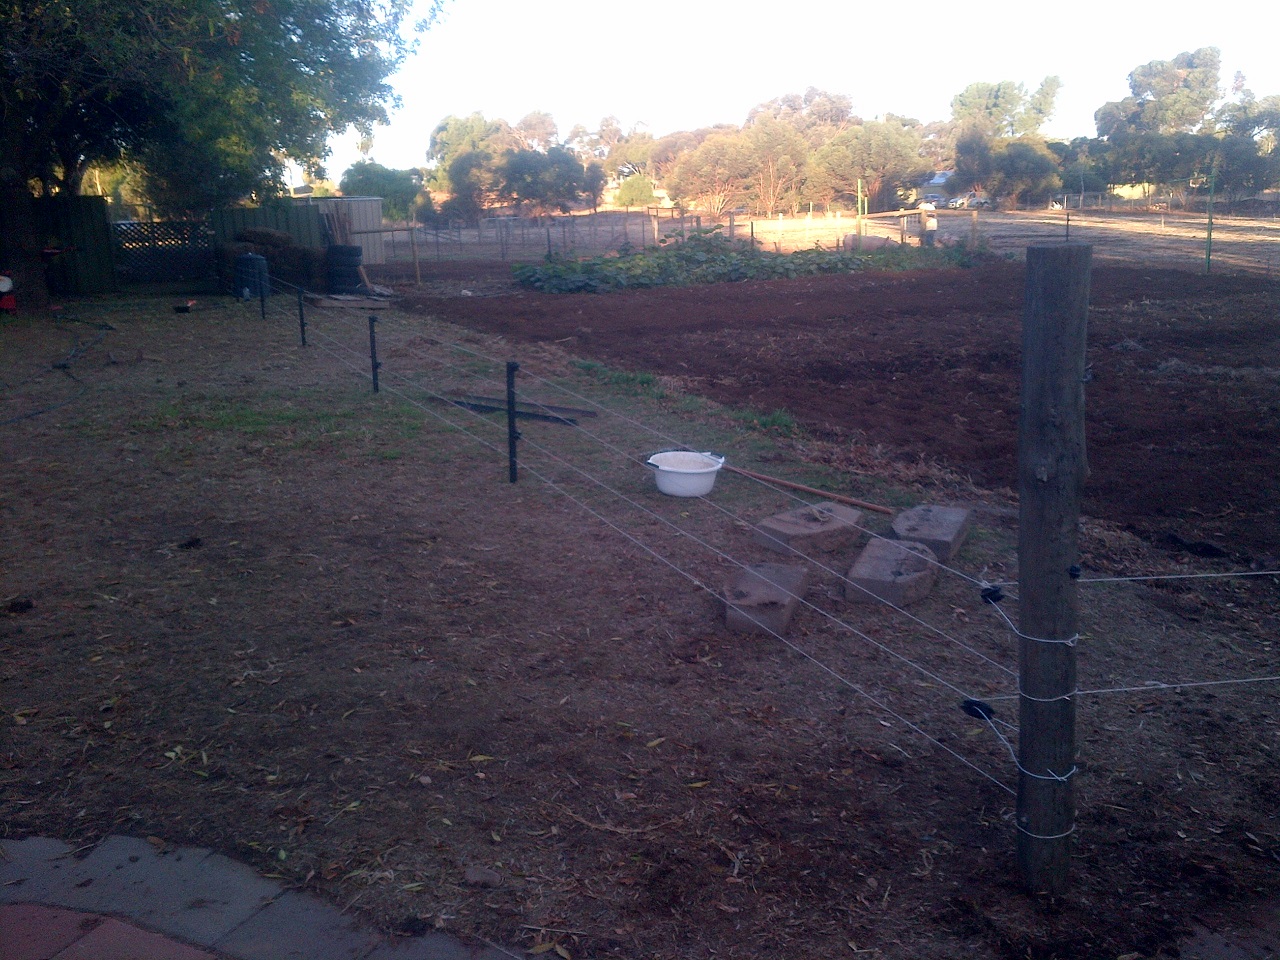
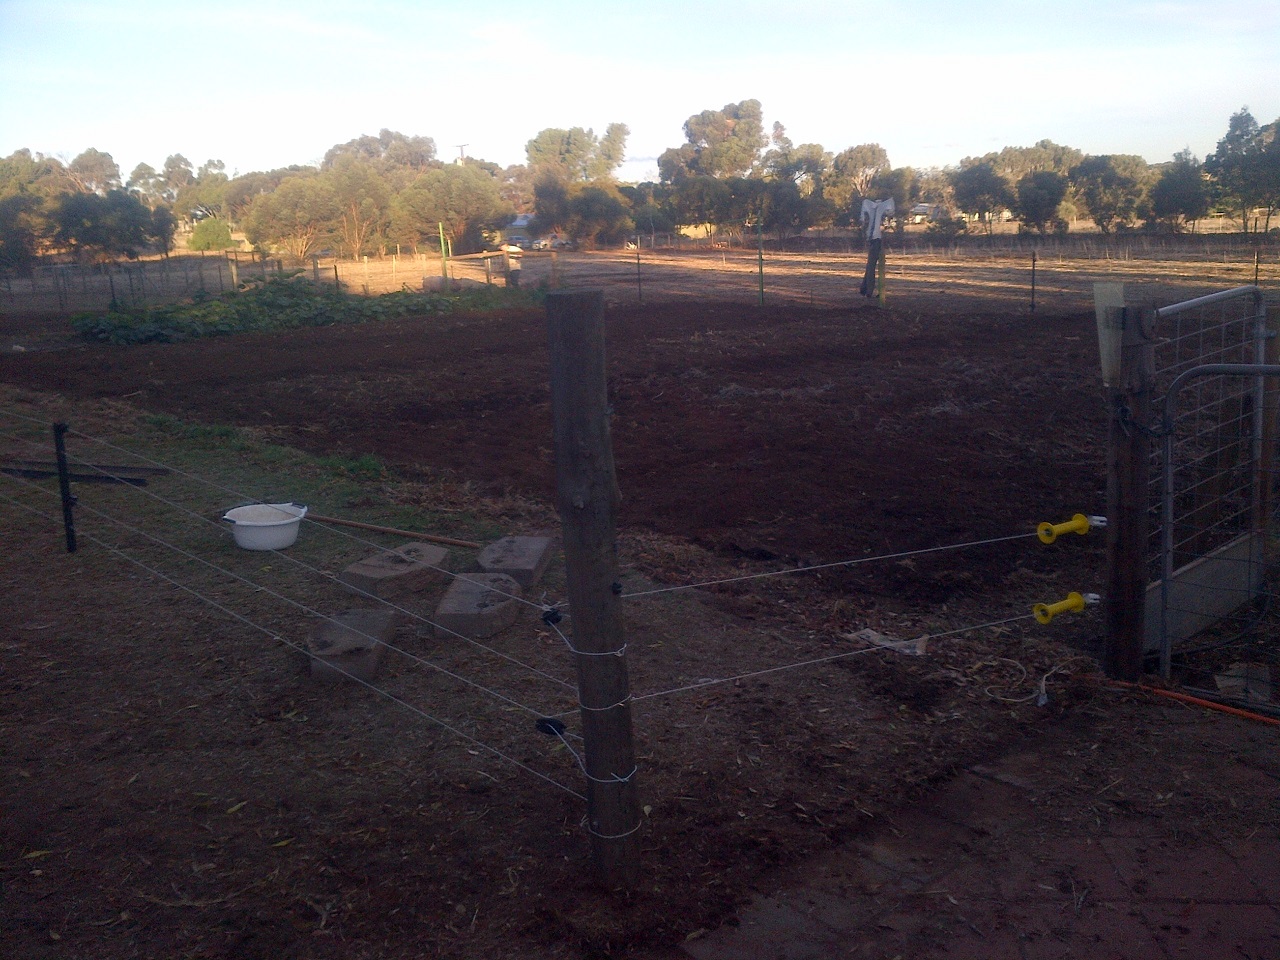
At the same time, we used stand-off fences to let the babies into The Patch to clean up. I’ve read that this is called “cleansing the beds”, as they dig up every weed, root, stem, seed, and all. This was particularly useful in this case, as it allowed me to easily cut the spent corn plants and leave the roots in the ground. Pulling up several hundred corn plants would hurt…

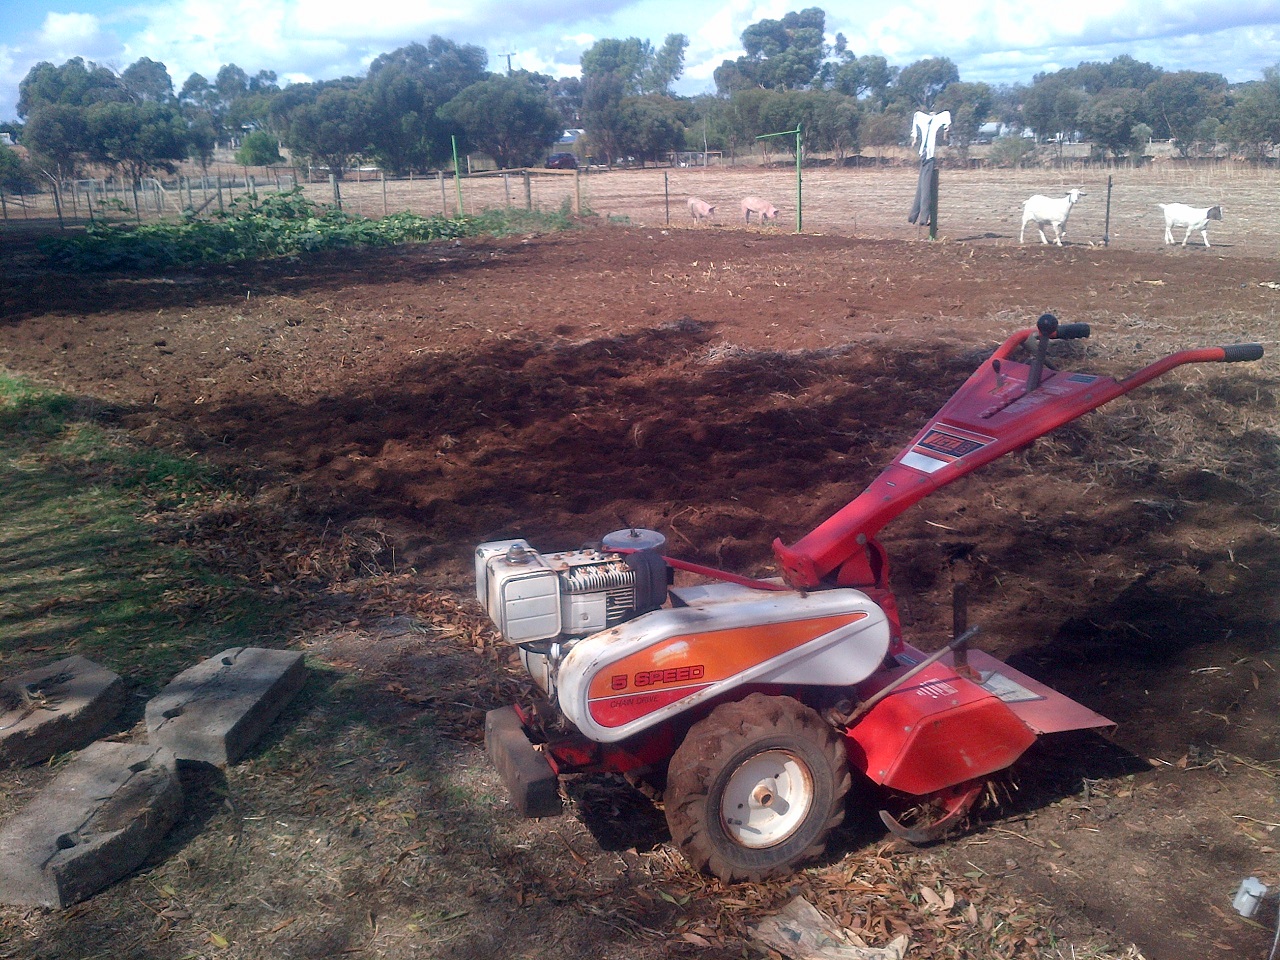
We originally let The Babies into two of the beds, but expanded that to five after a week or so.
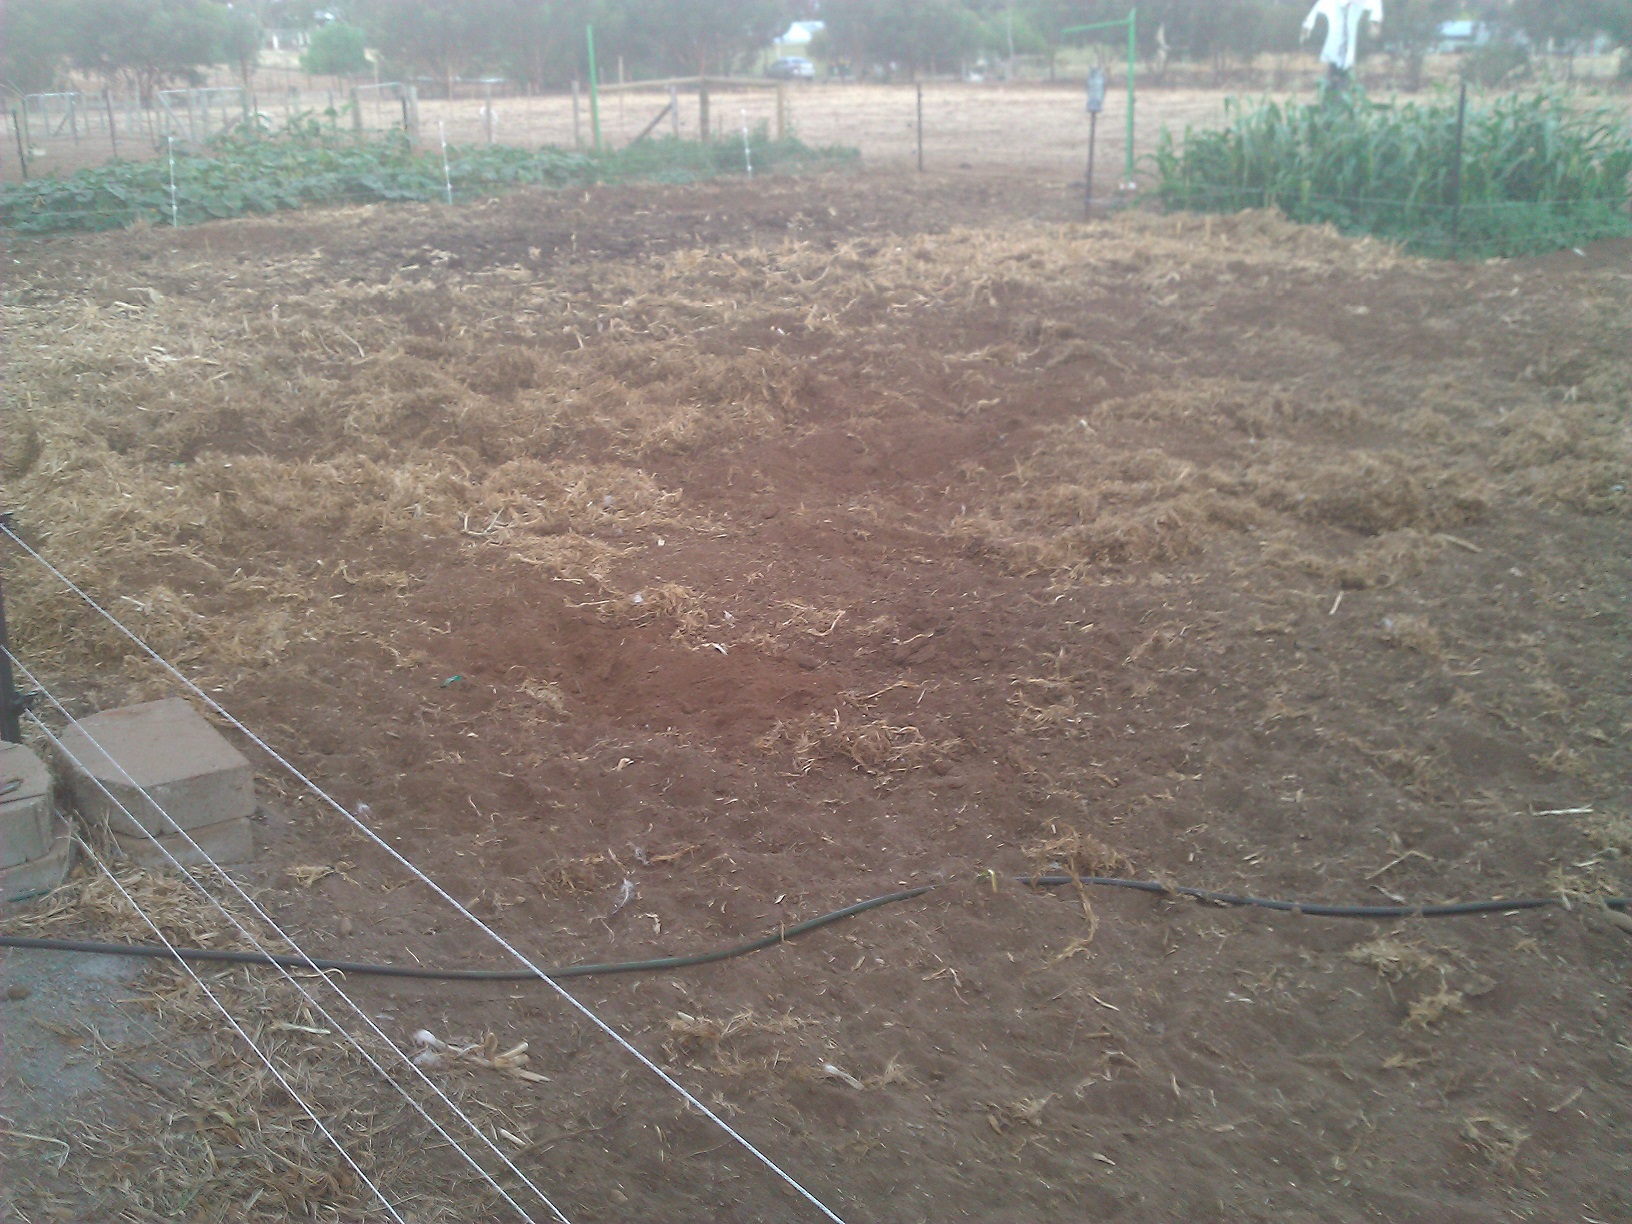
We had always had the plan to let pigs help us in the veggie patch, and it went better than expected. We ended up having them in there for a total of a couple of weeks, and nothing made it through.

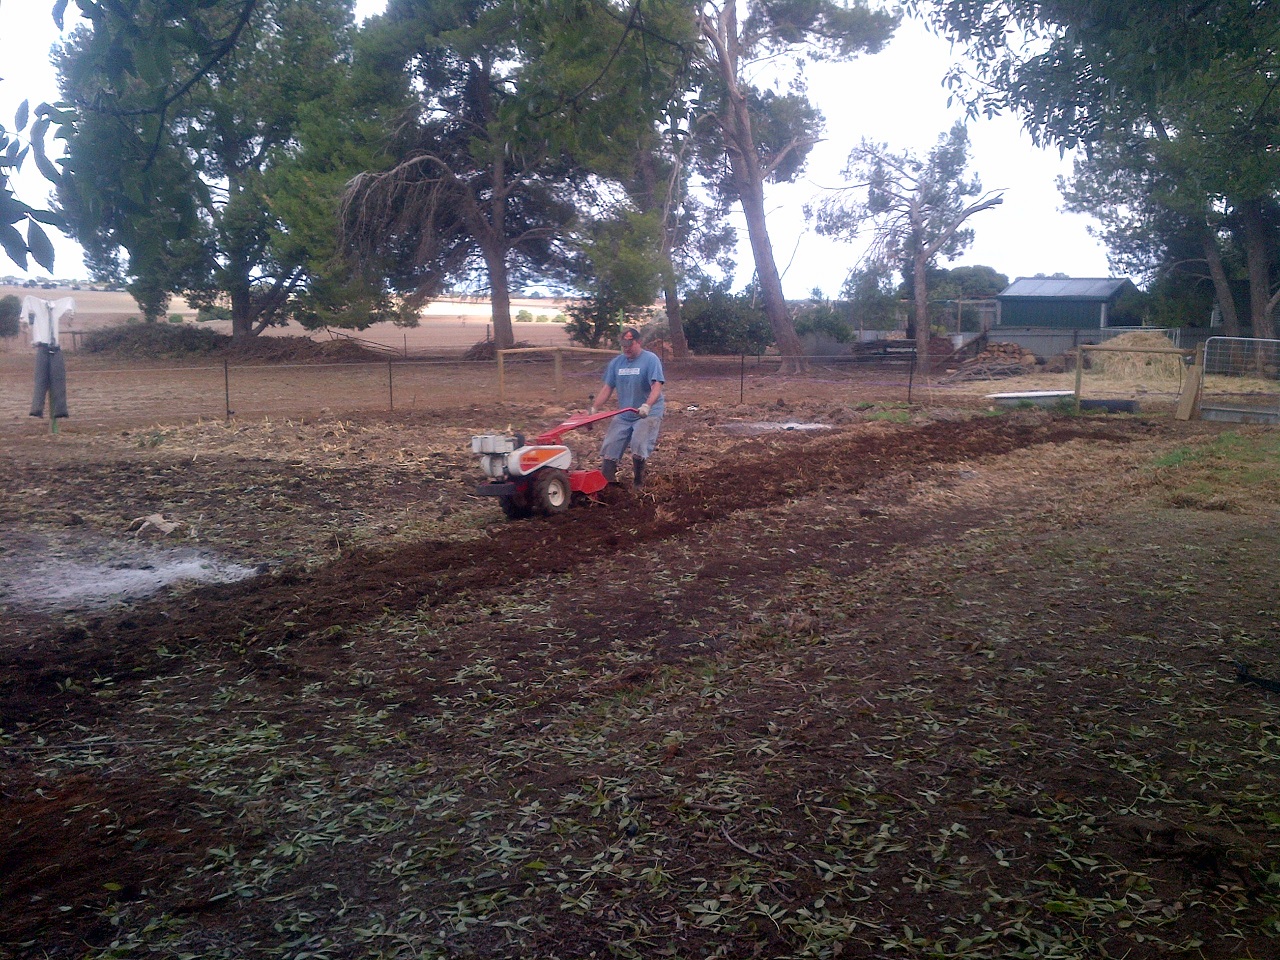
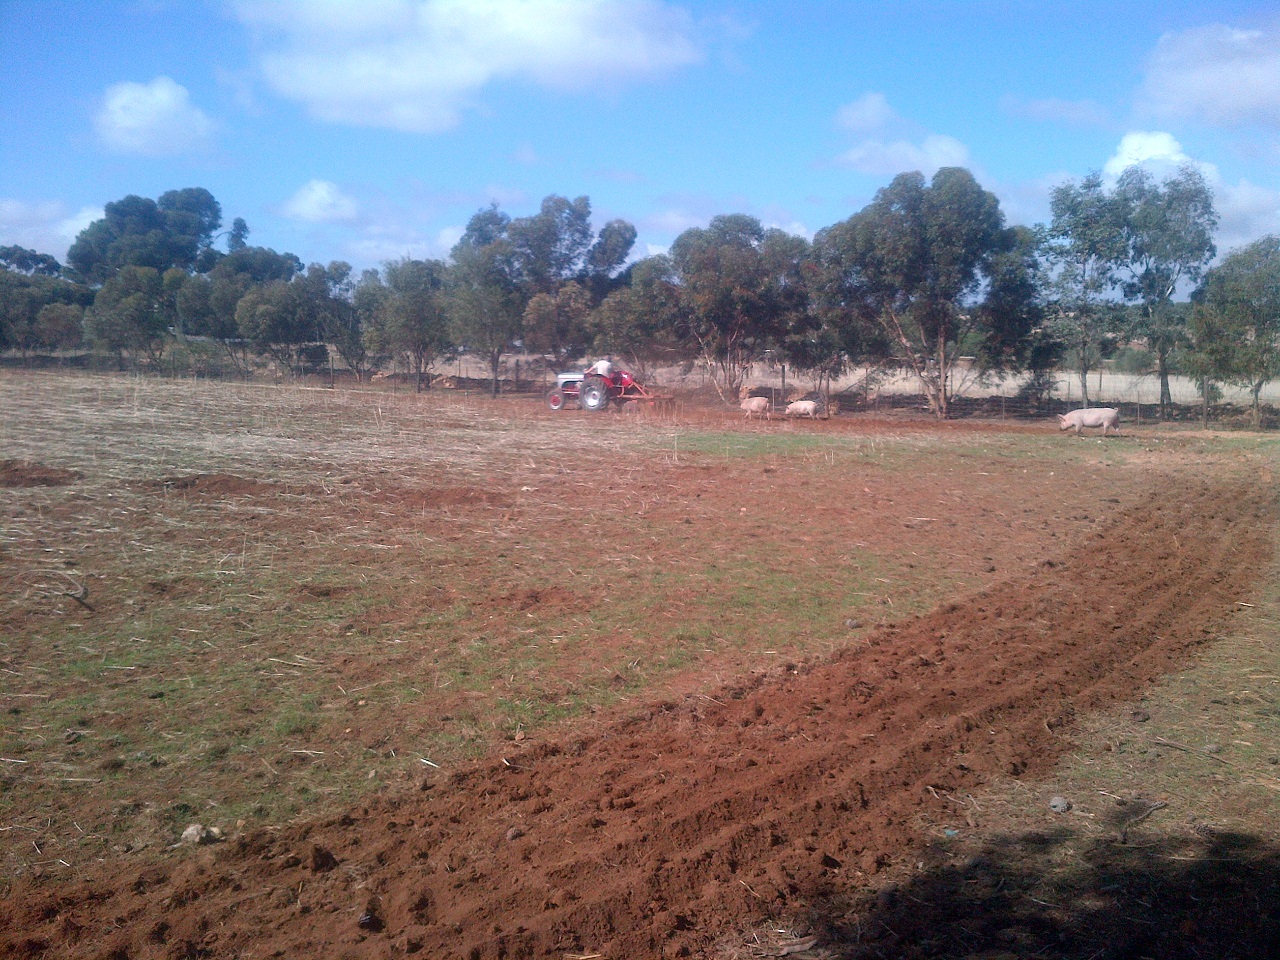
This is what a couple of weeks of pig attention does to spent veggie patches.
I’d tried to keep a last few rows of corn that weren’t quite ready. They were too hard to keep watered though, so we ended up just letting the babies in on them.
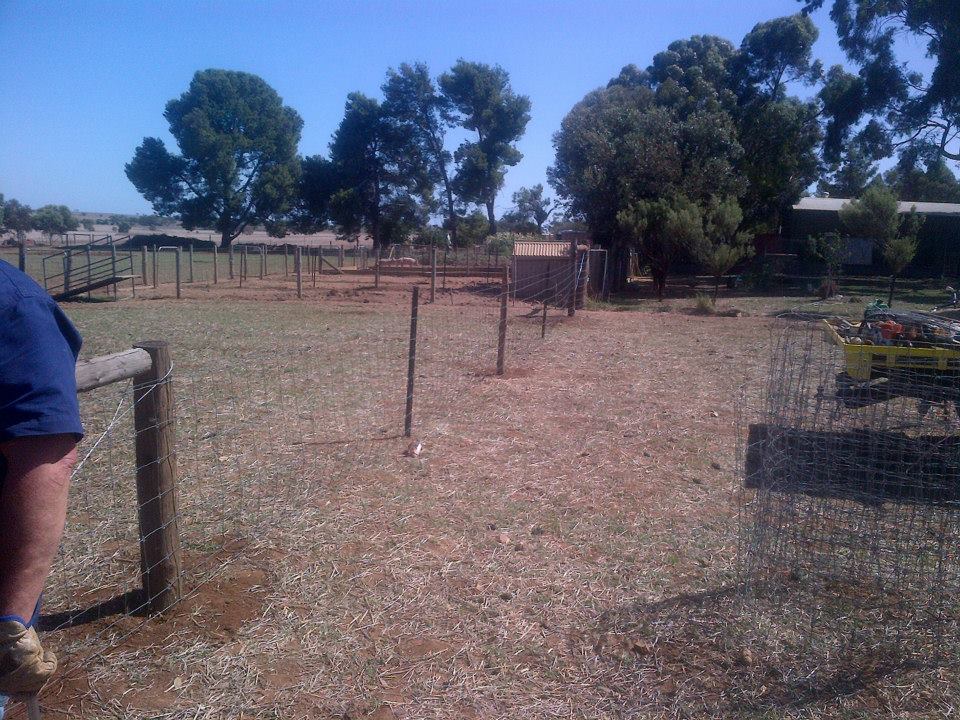
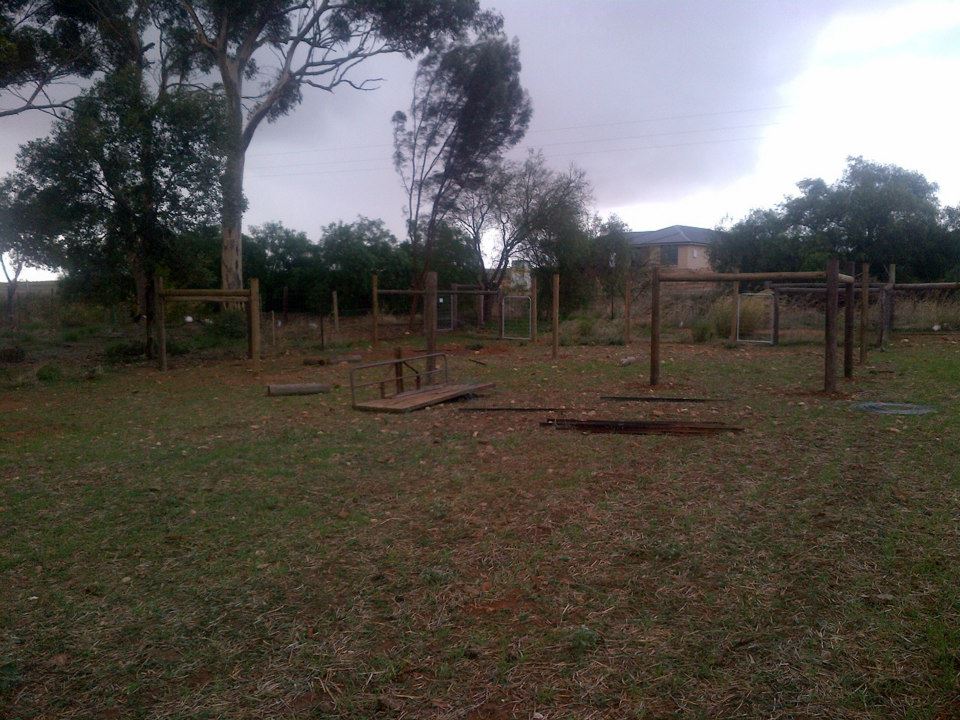
We managed a ton of “little” jobs too. These are the ones that seem to always need doing, and that pile up if you don’t take care of them. This is things like cleaning up a crappy retaining wall and piling the rotted sleepers ready for fire wood. We also cleaned up half of the gum trees between us and Farmer John, as well as the row along the driveway running along the front of the property, as they’d dropped a stack of limbs over the warmer months and were threatening the fence.
Other little wins involving slightly less work included:
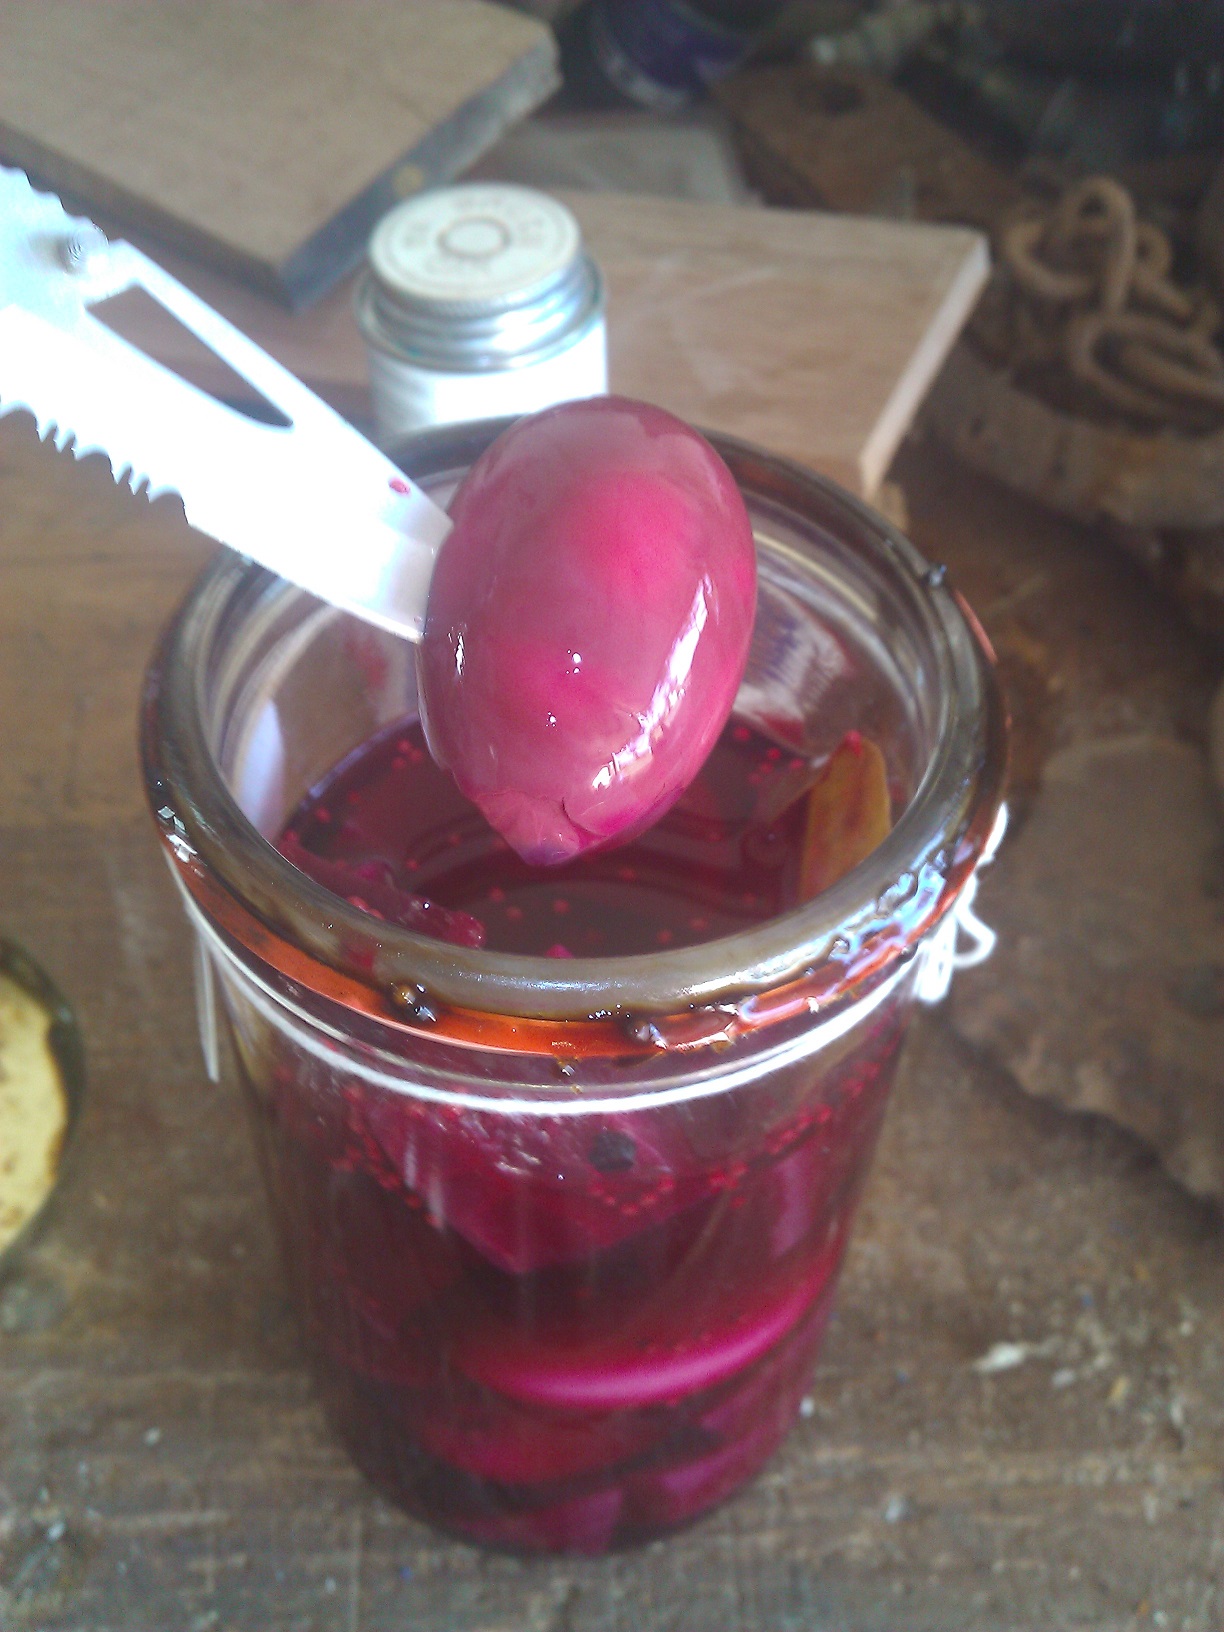
Opening our beetroot-pickled-egg experiment to find them delicious!

Beetroot Pickled Eggs. YUM!
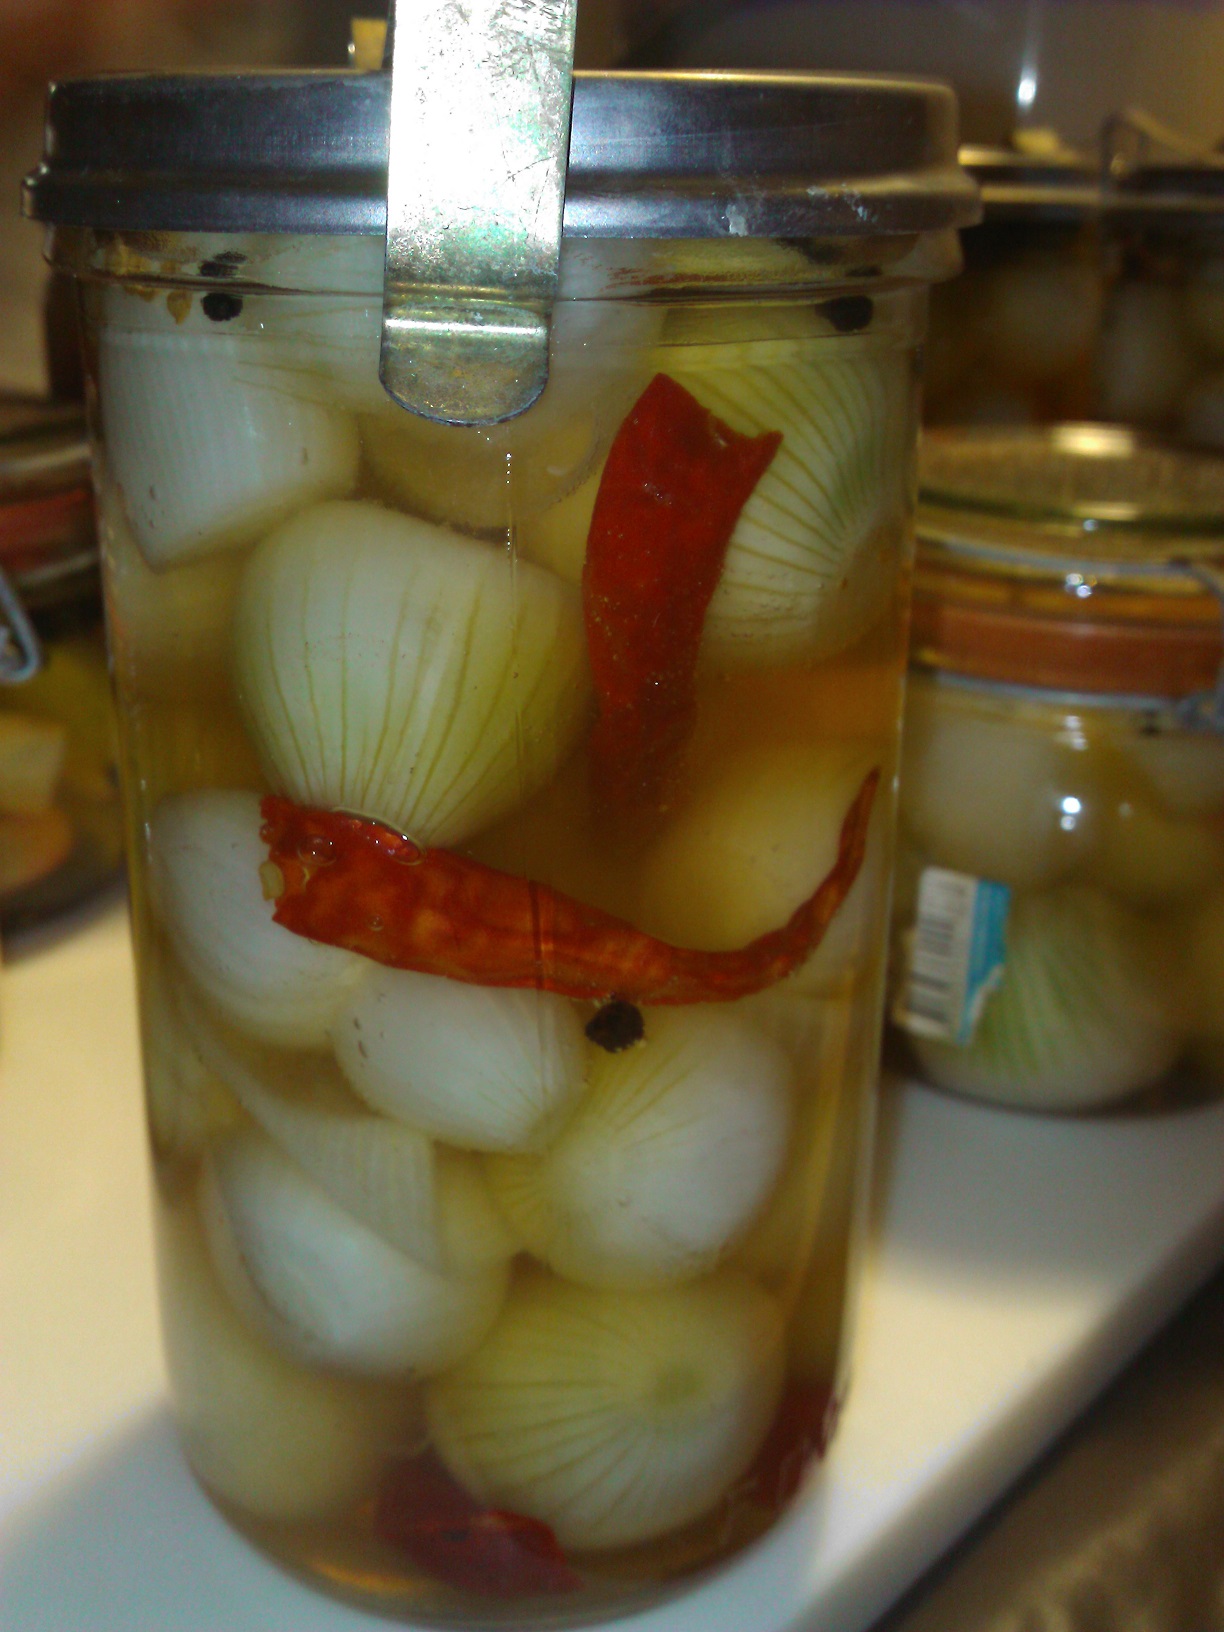
Opening some of our chilli-pickled-onions to find them equally delicious, if somewhat fiery.

So very, very hot…
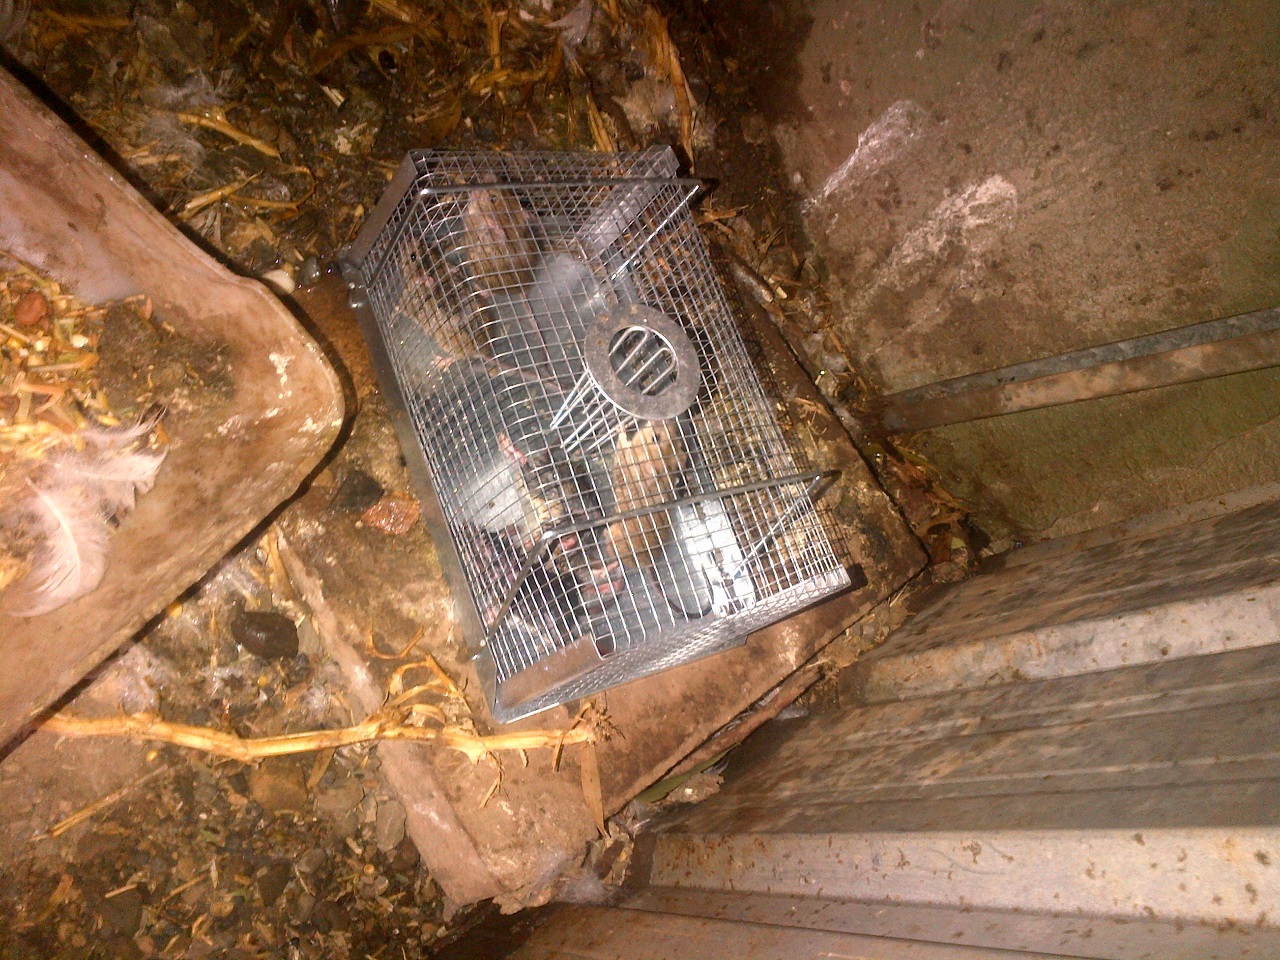
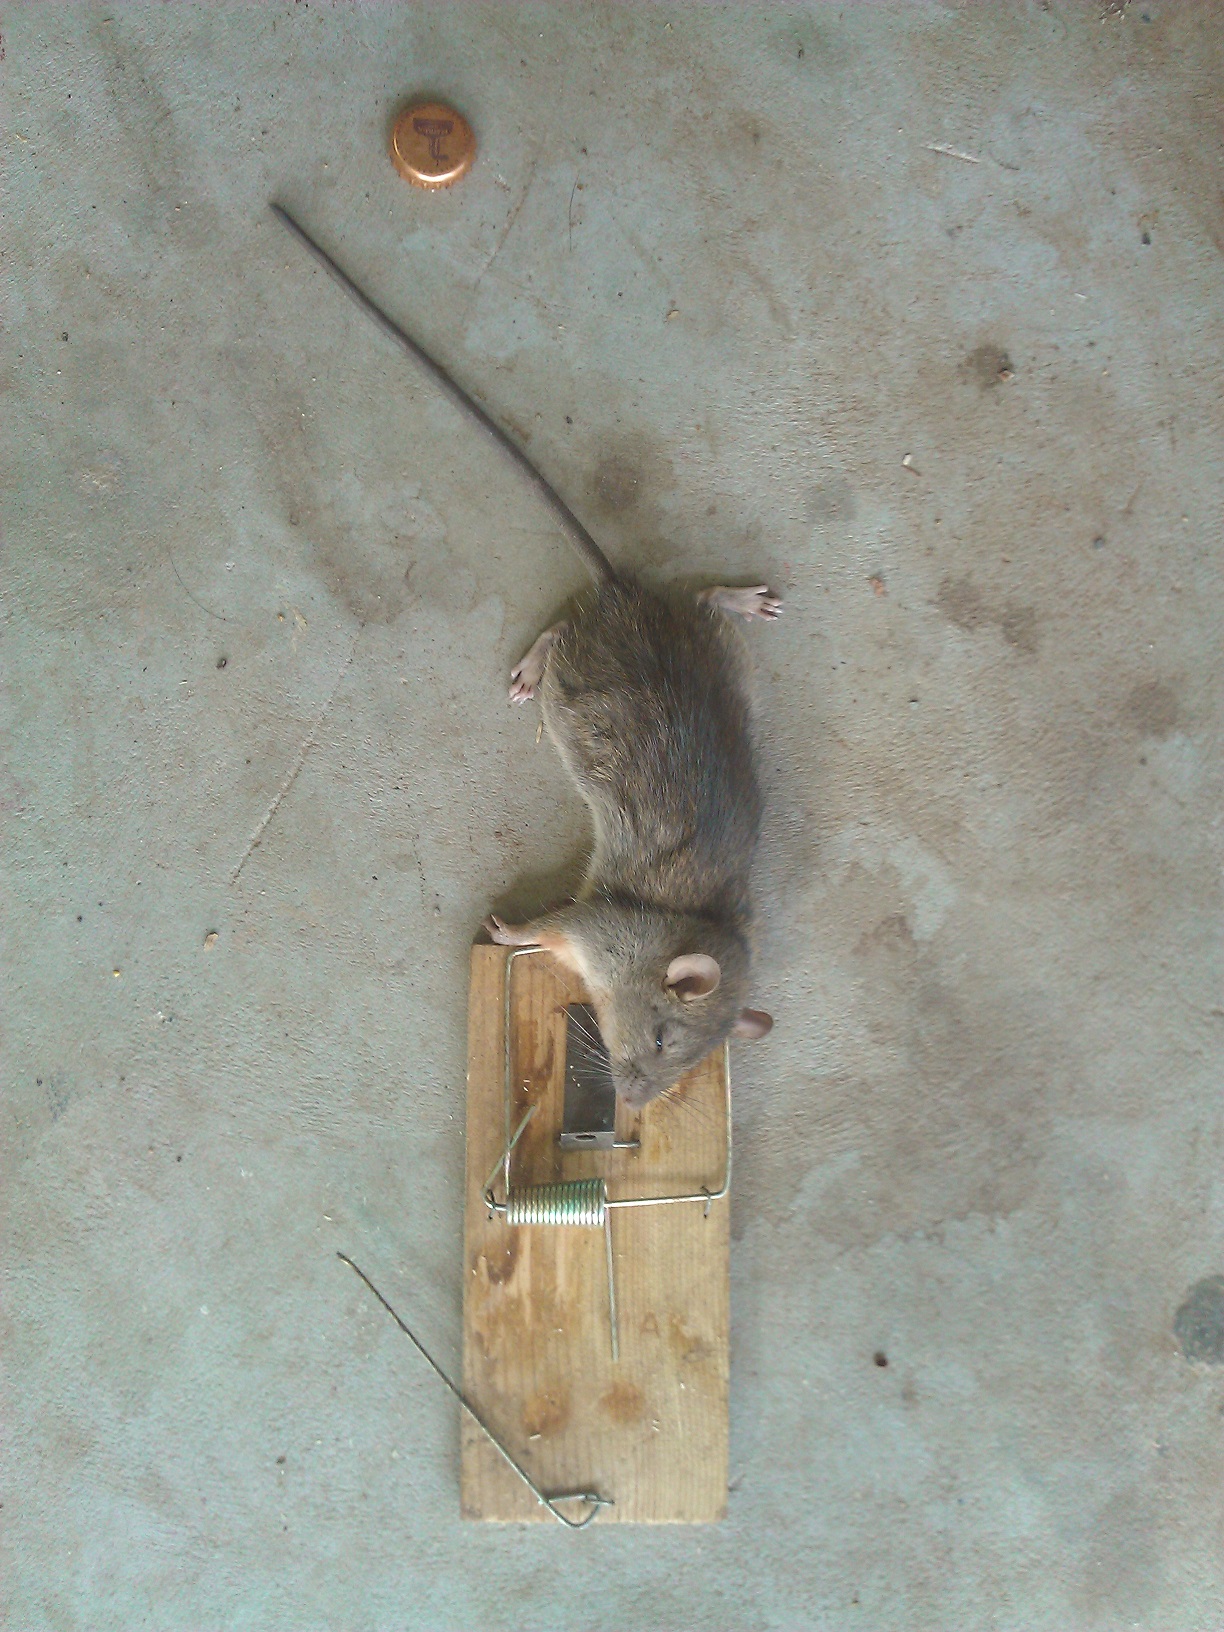
Managing, after over a year, to actually get my first rat.

It’s weird, but I felt like a big game hunter after getting this guy.
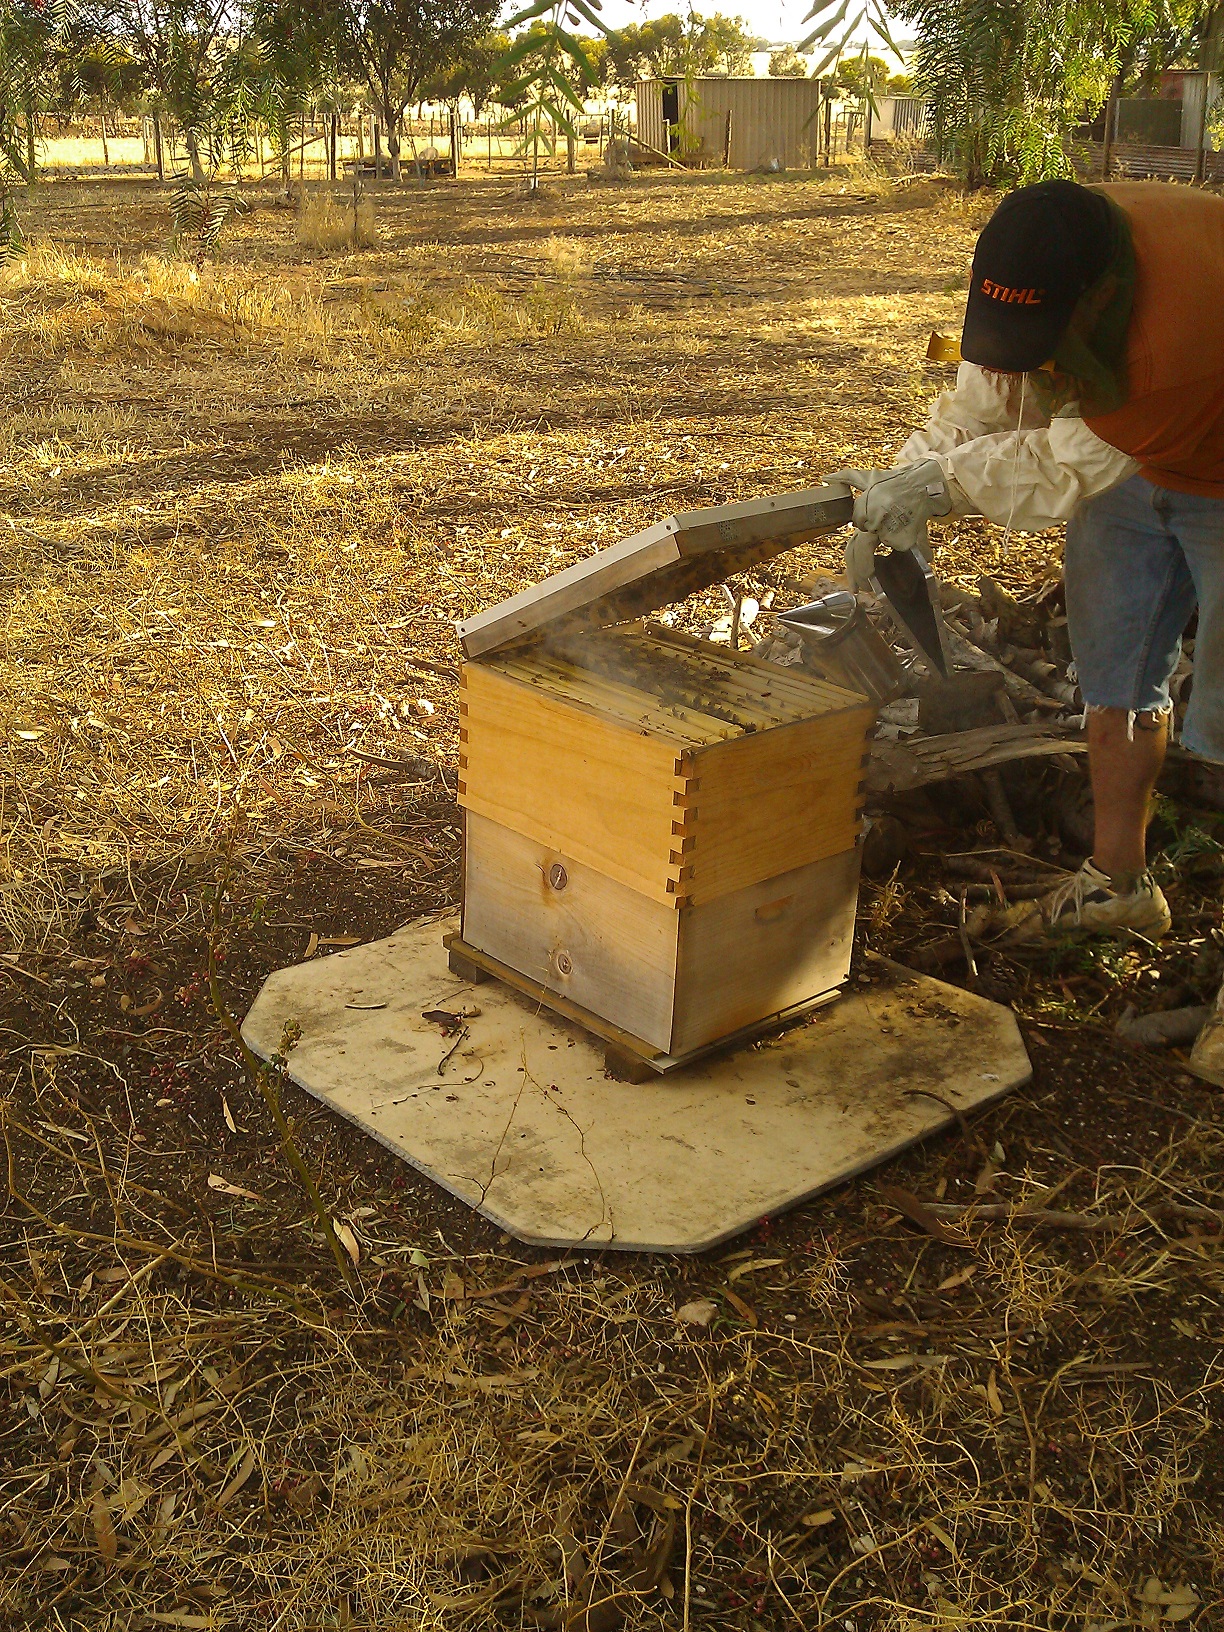
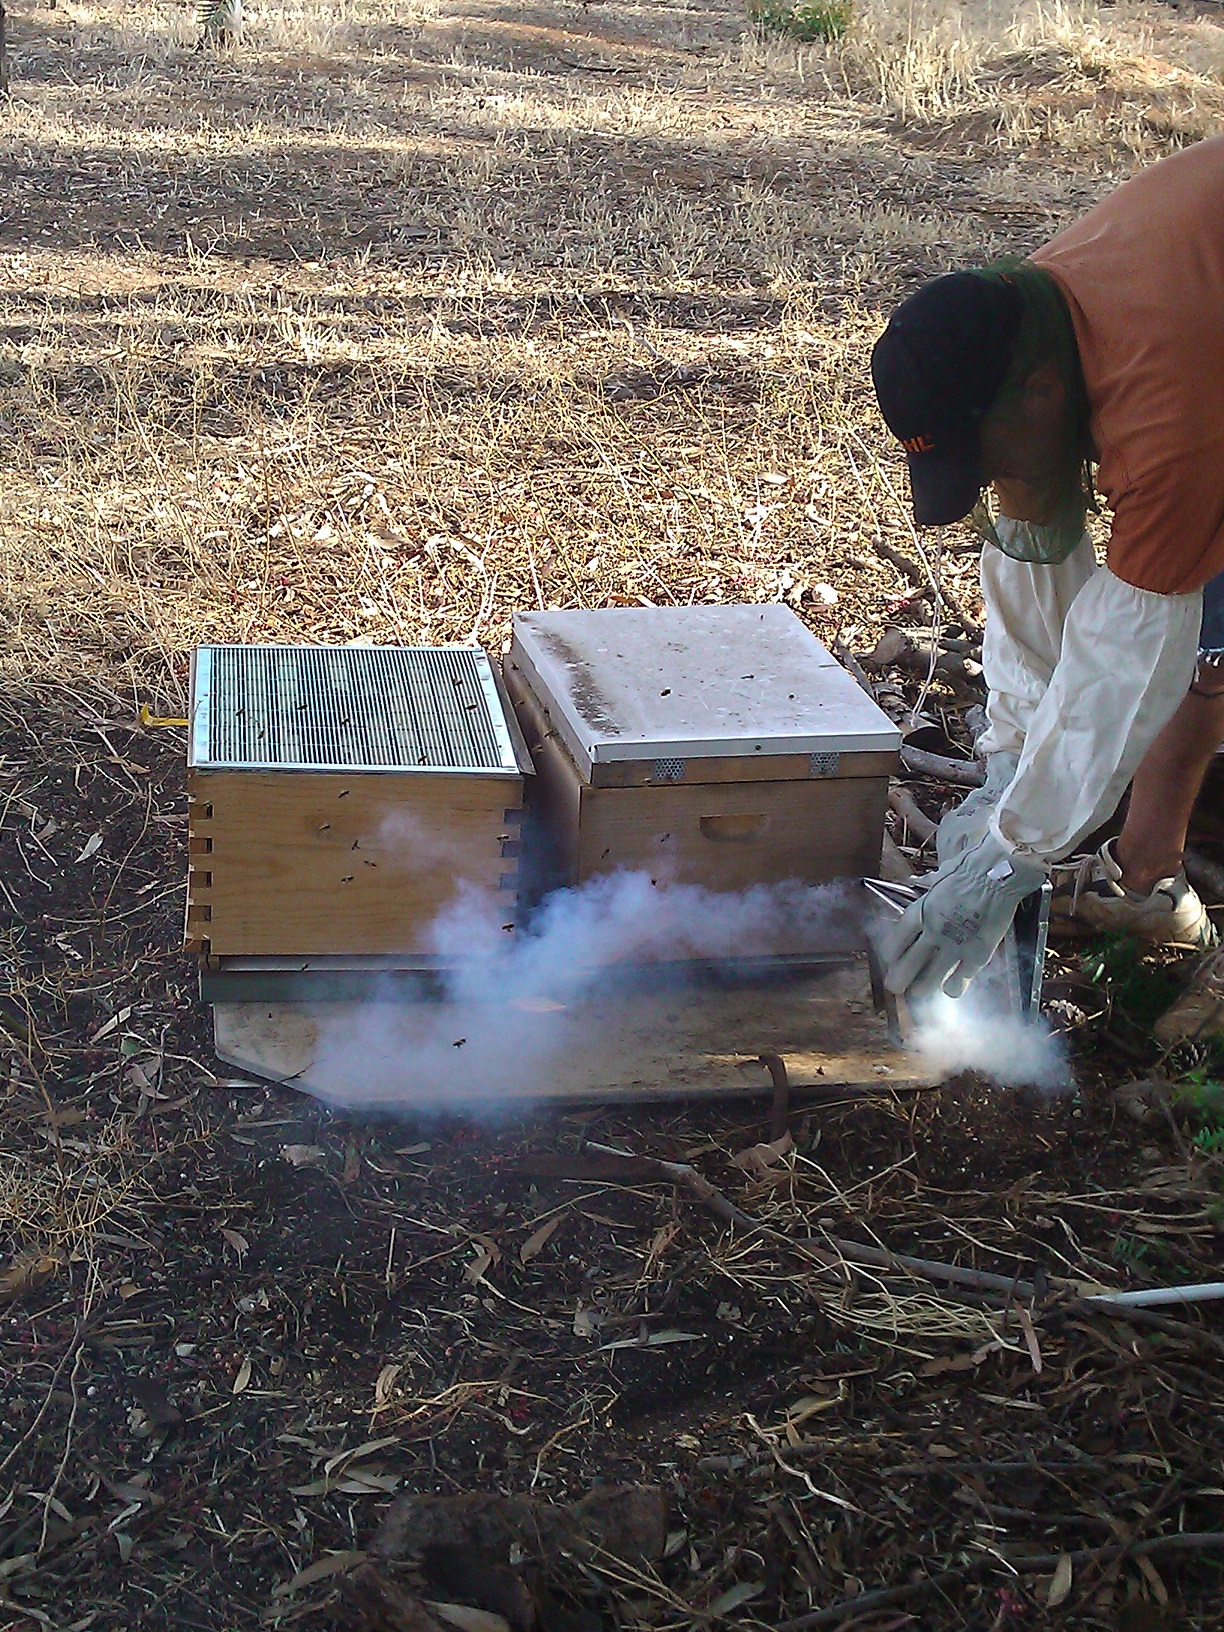
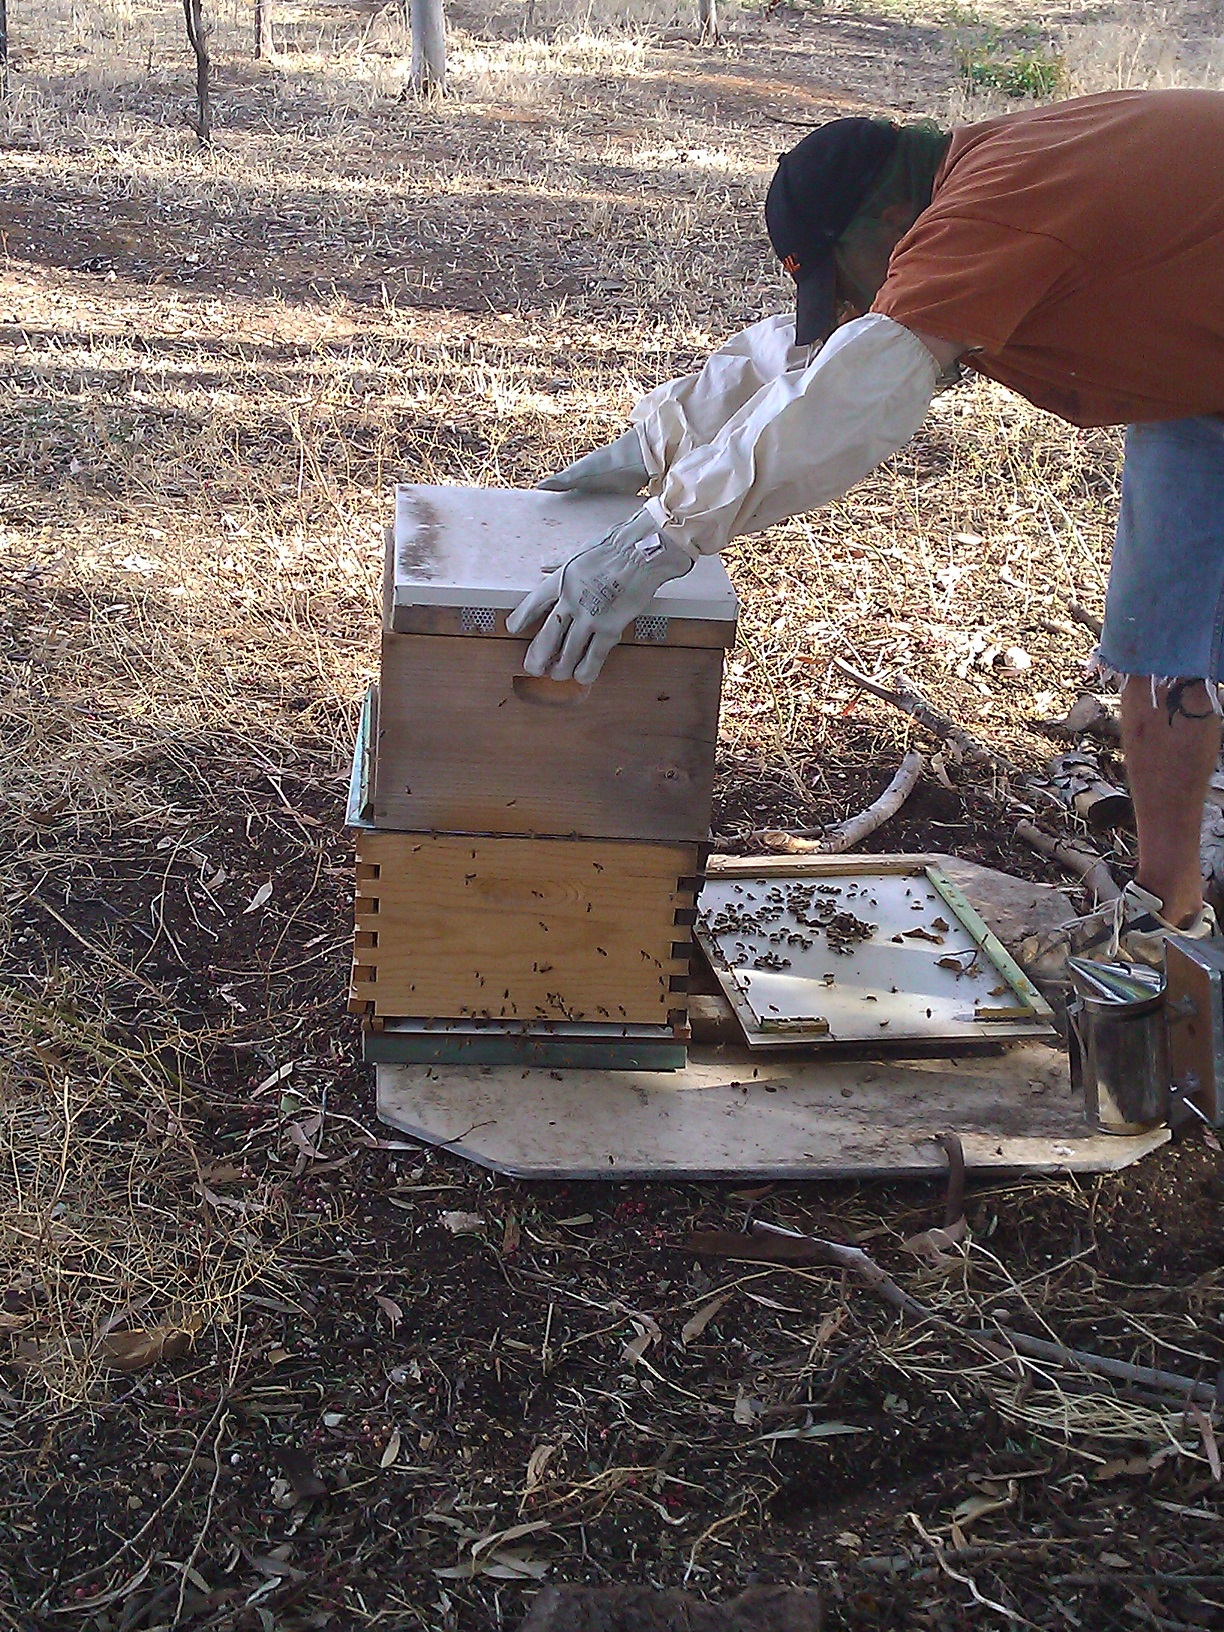
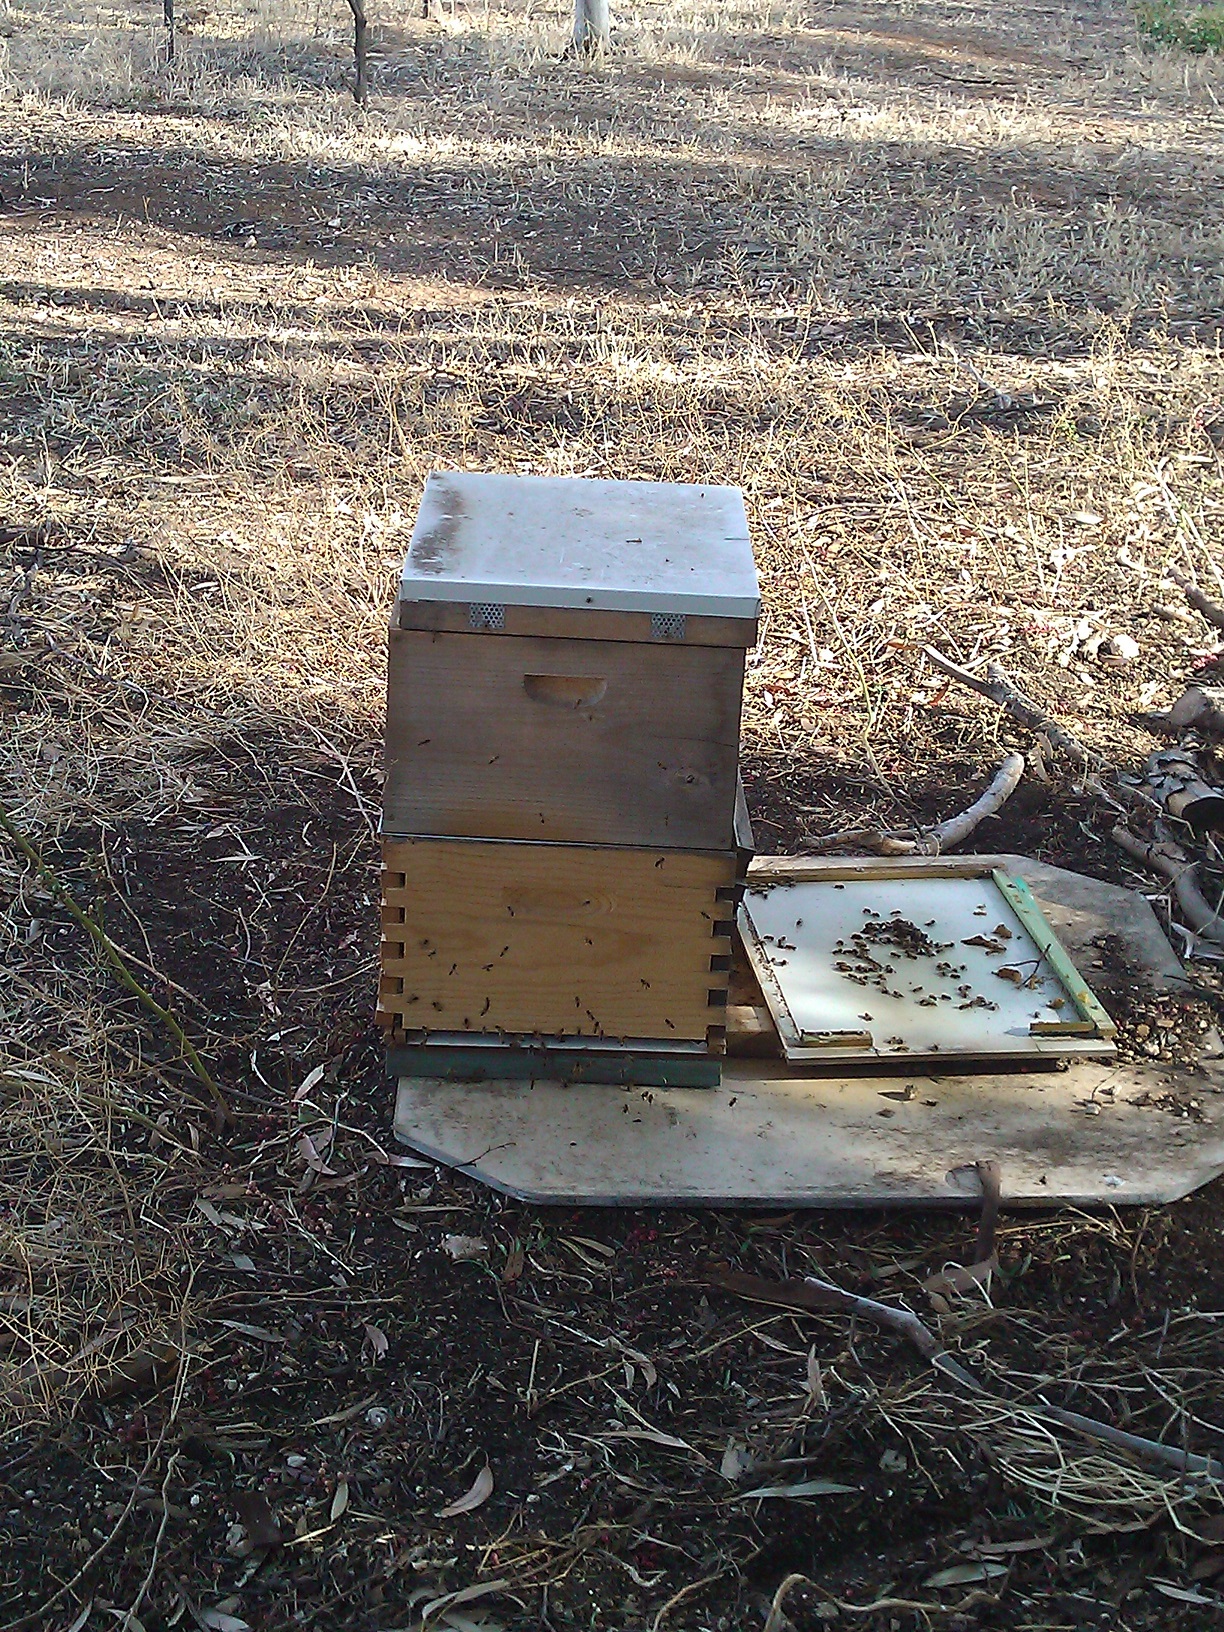
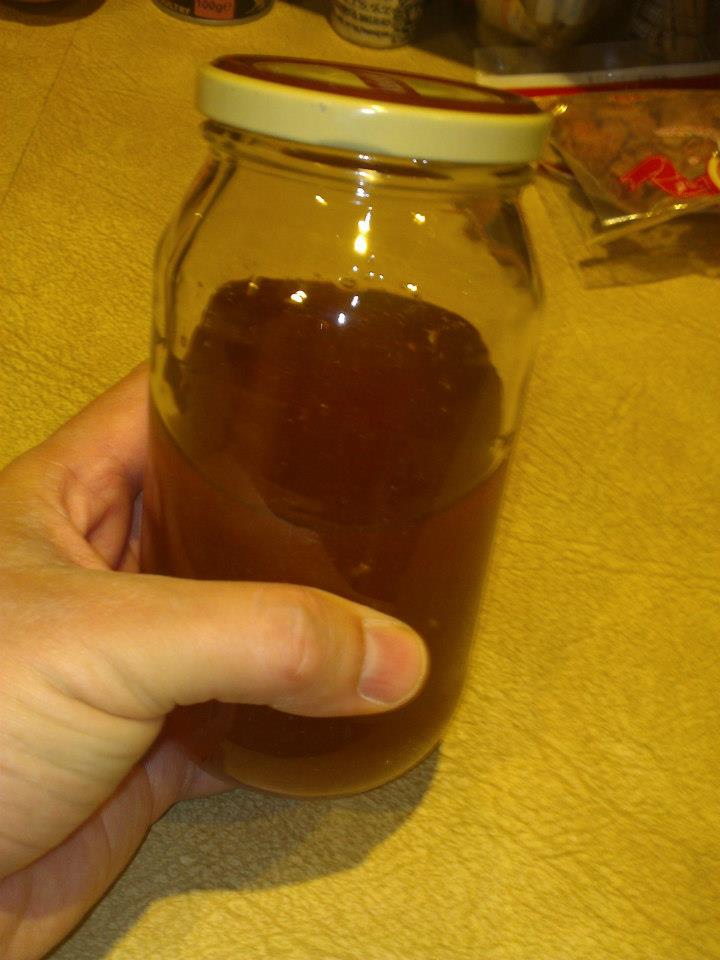
Getting our first honey from our hive. In truth, the hive had problems over the hot months, and it looks like the combs kind of slumped. The result is that the bees have built combs up that stuck to the roof. I had to pry the lid off and literally break the combs off, all the while sending happy thoughts to the thousands of pissed off bees. The little bit that snapped off went inside and use just used gravity to let the honey run out. The result was nearly a full jar of the best honey you’ll ever taste.

Letting the honey leak out.

Our first honey!
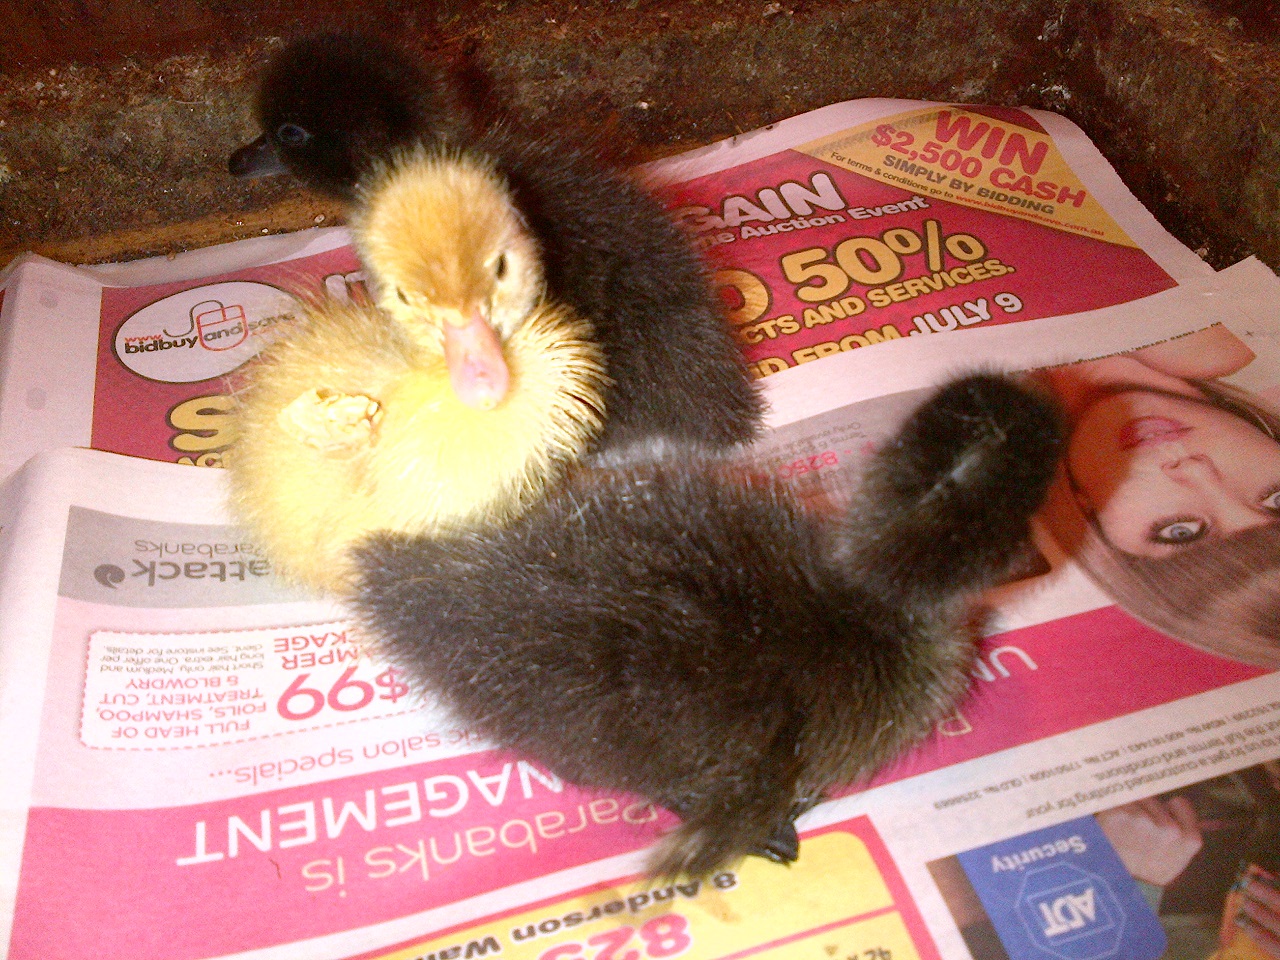
We moved the meat birds to their own run. We have what I’m sure is a Mammoth Muscovy Drake and I’m keen for him to make me mammoth babies. Of course, the one problem with handling ducks is their first, and really only, line of defence is to shit on you…

Picking up a duck can be like squeezing a tube of toothpaste… full of duck shit…
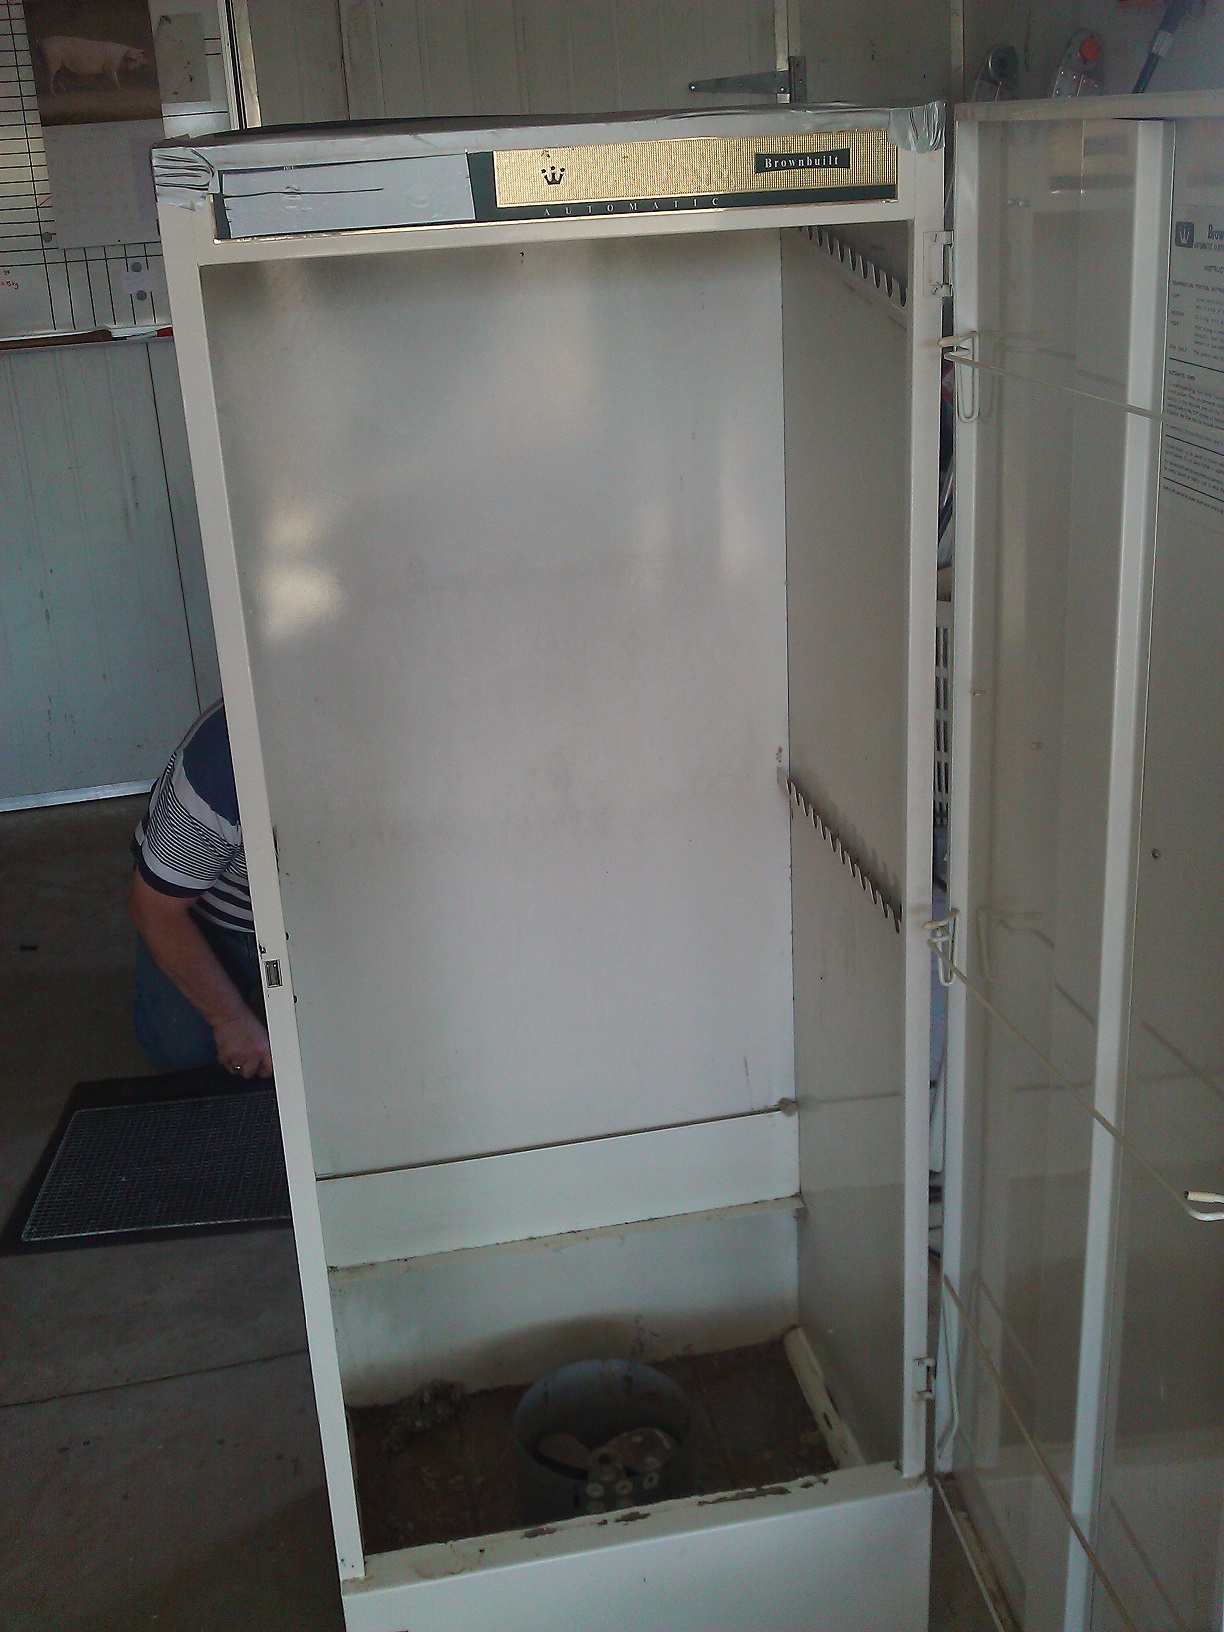
We finally built a smoker. Dad had sourced an old drying cabinet from back in the 70s, which was about the size of a large fridge.

Bruce being super helpful again.

At this stage we’d removed the heating element from the bottom.
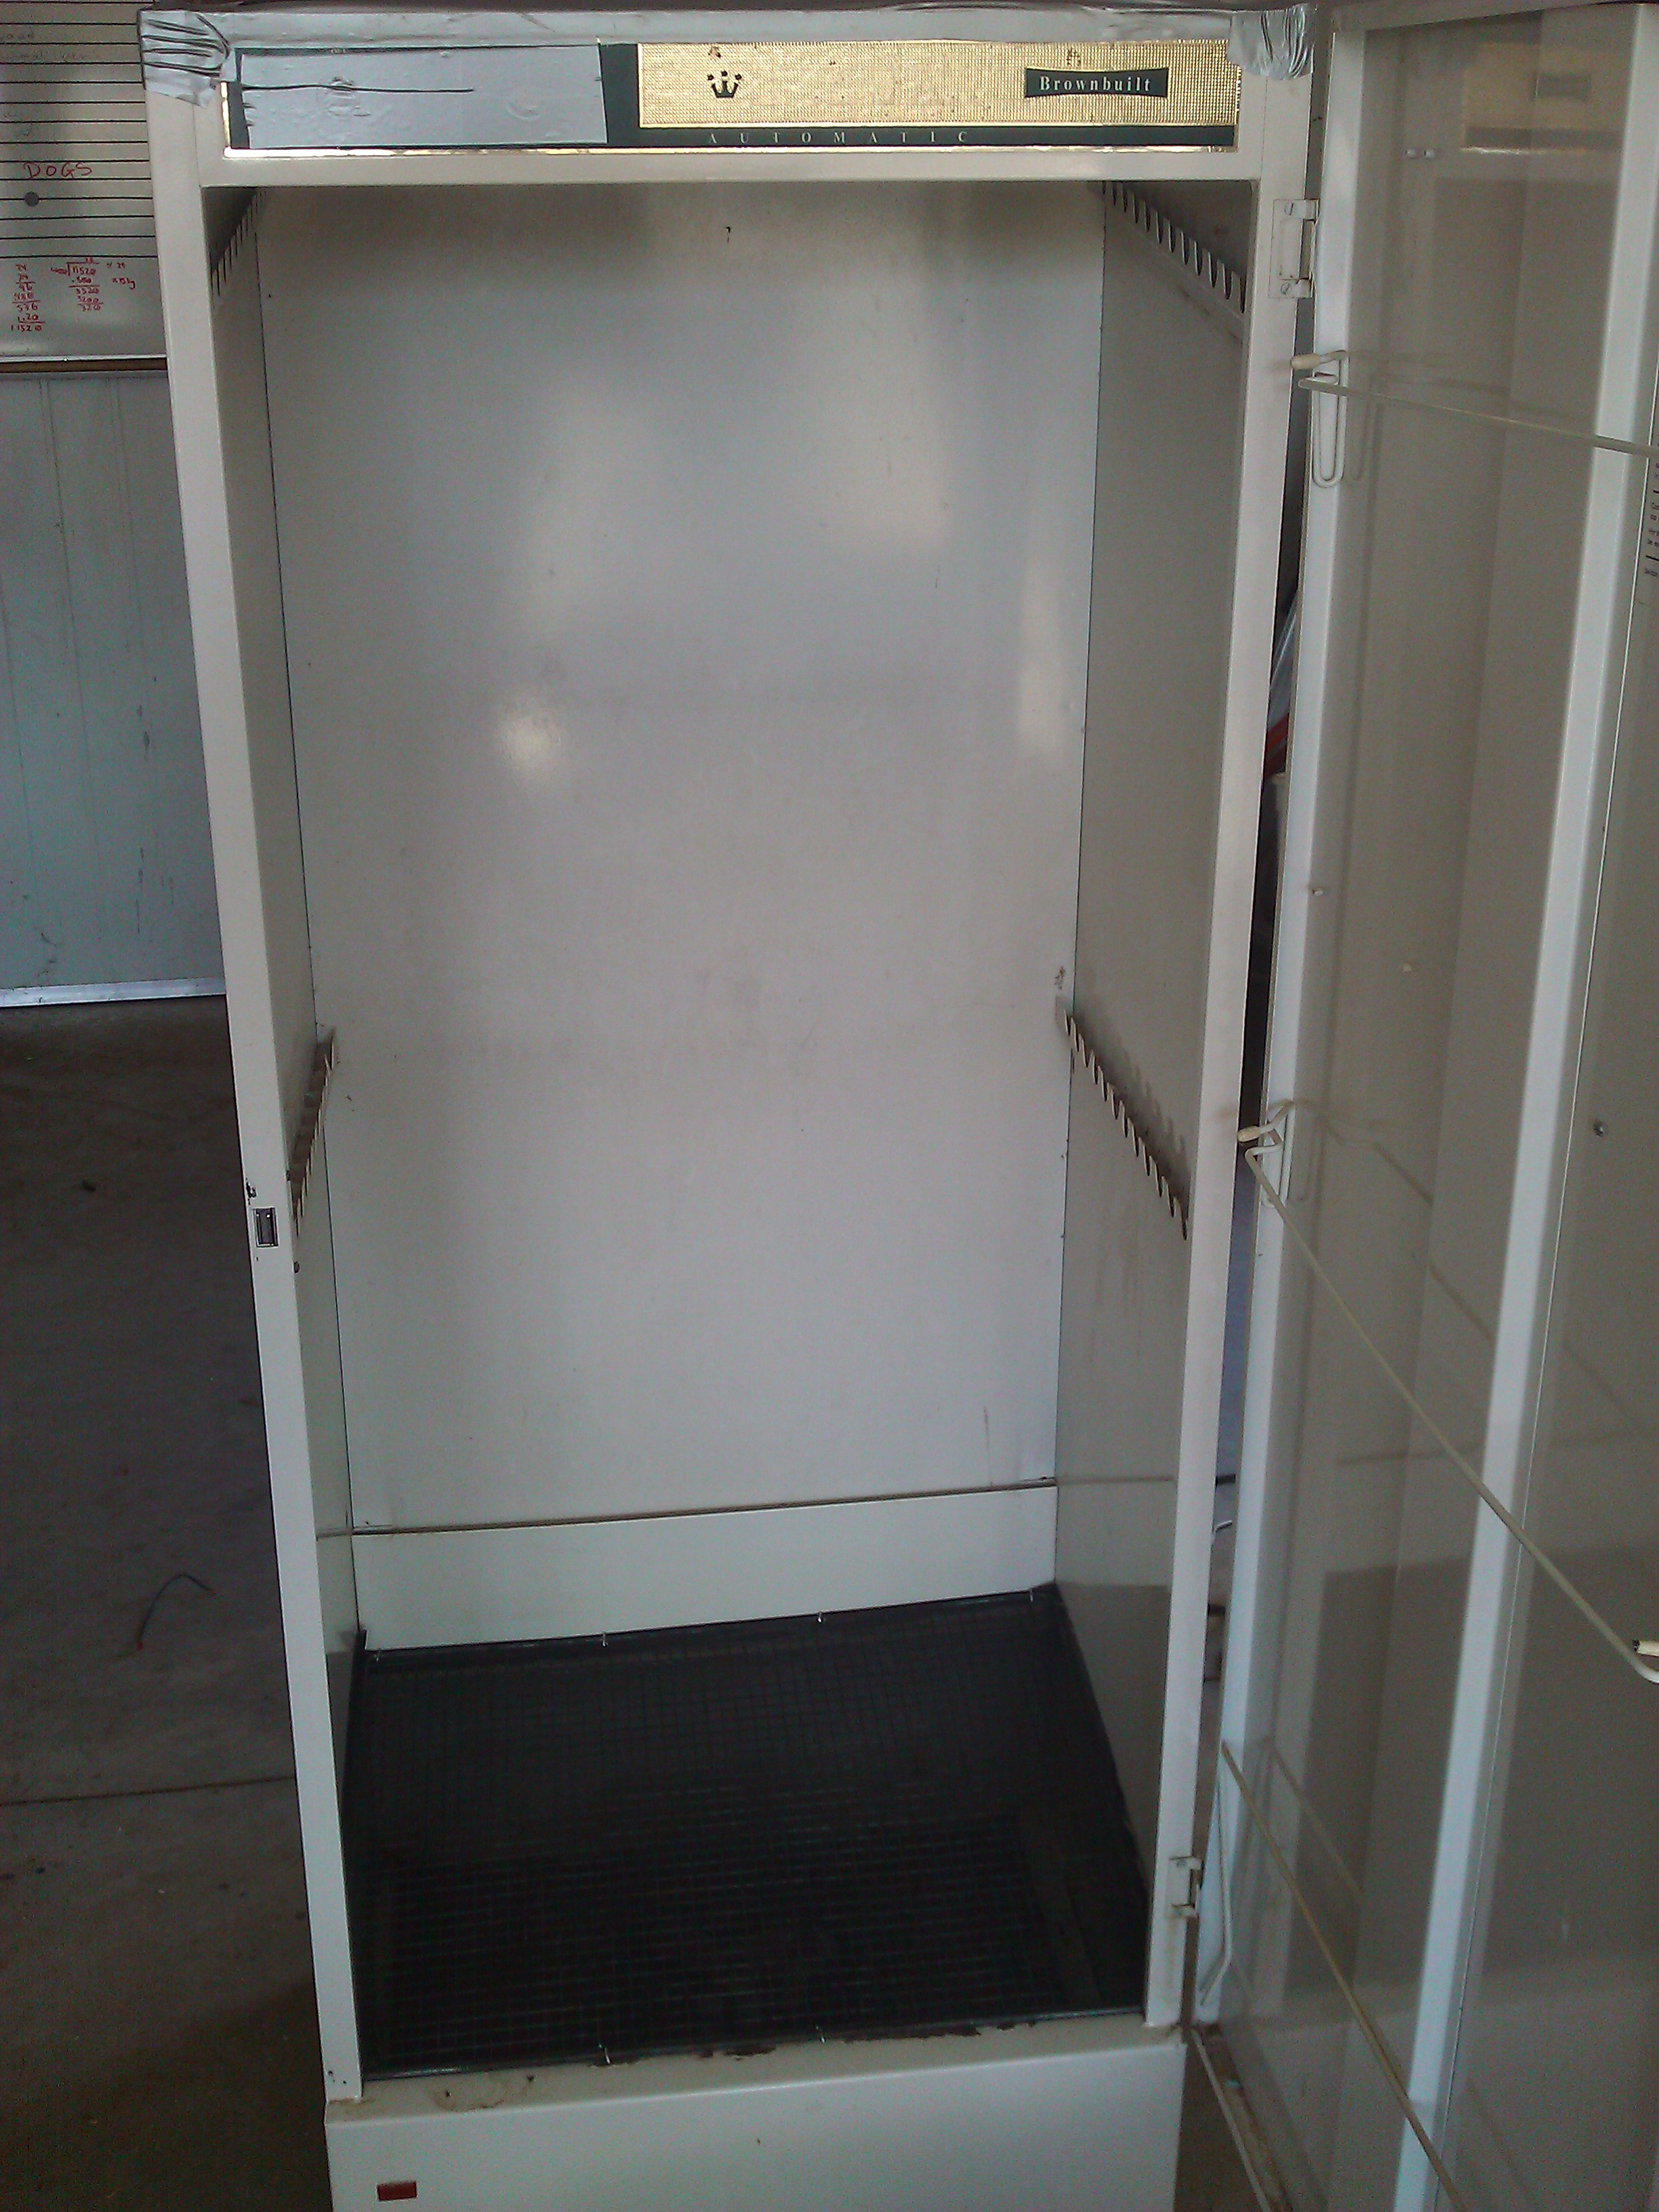
We made it insect and vermin proof.

Insect/vermin proofed the top.

Insect/vermin proofed the bottom.

Mostly assembled.
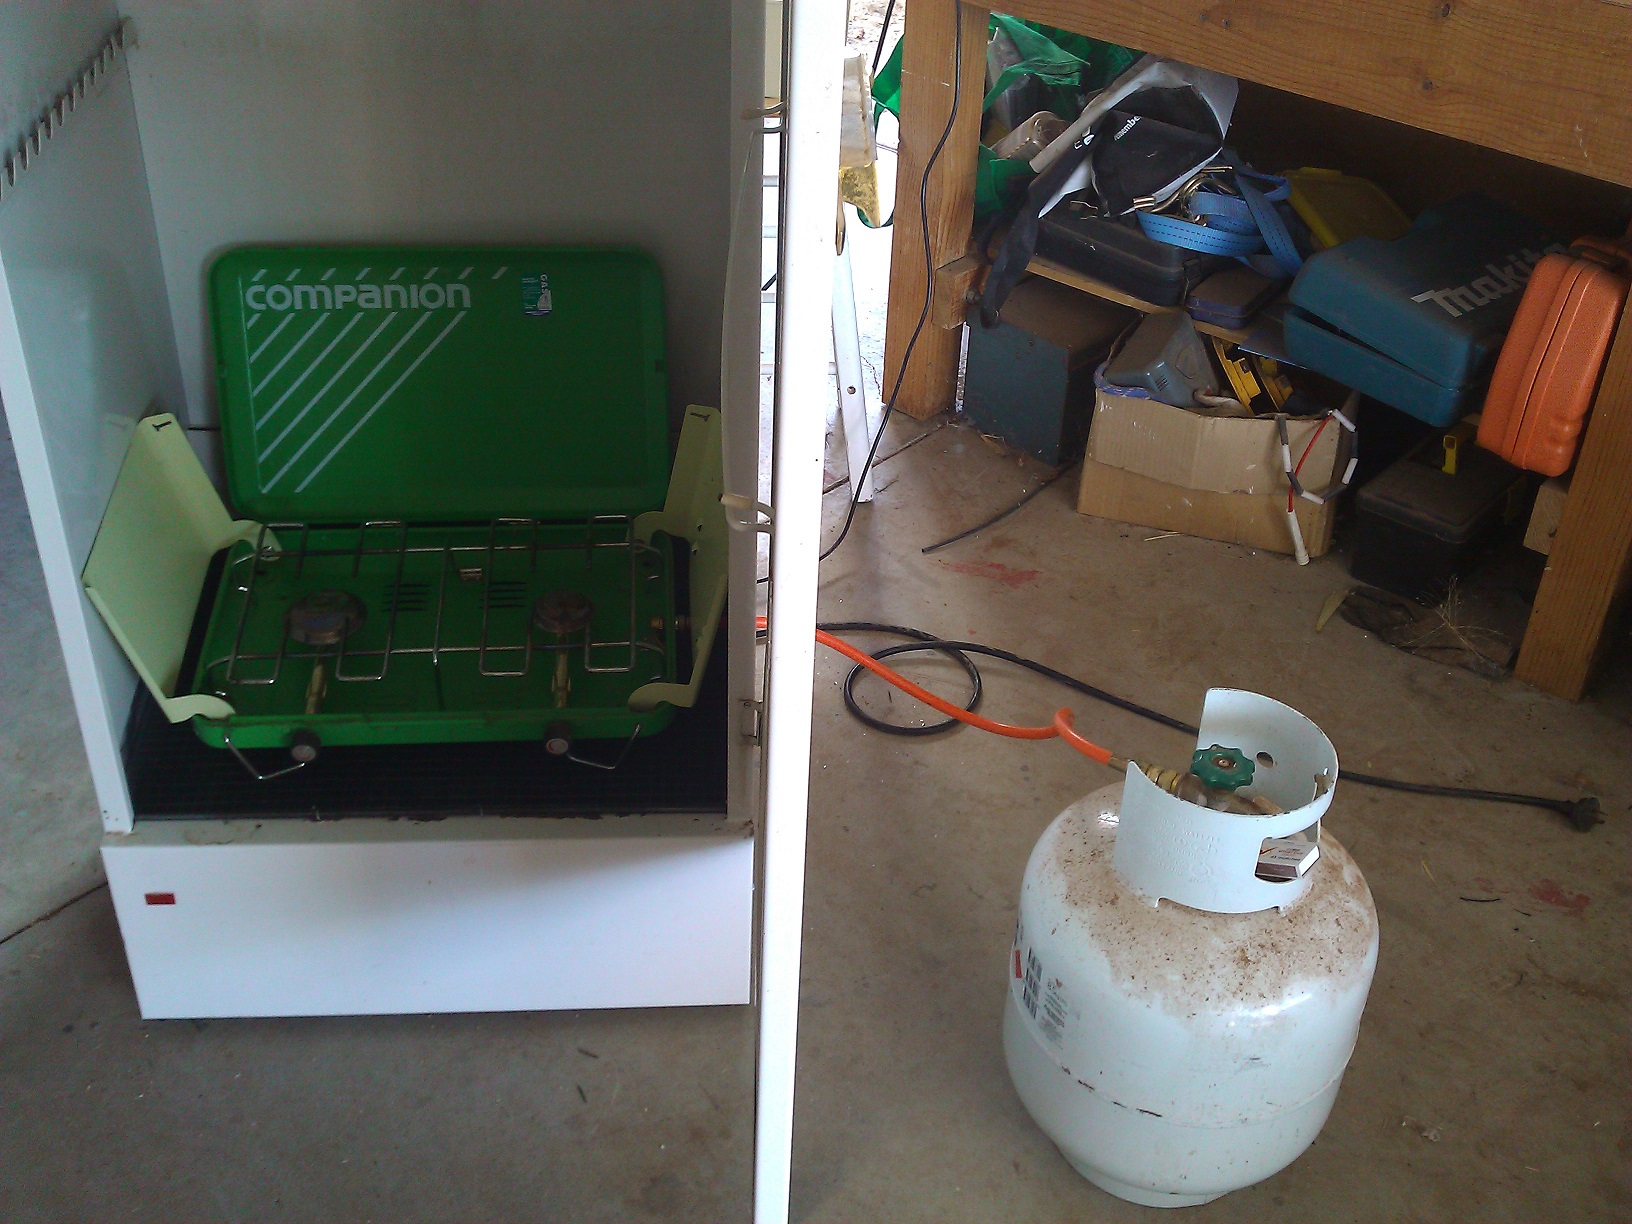
We added a heat source, and voila we had a working smoker!

The heat source and the smoker is done!
Last and certainly not least, Bruce found a stick!

Bruce found himself a stick!
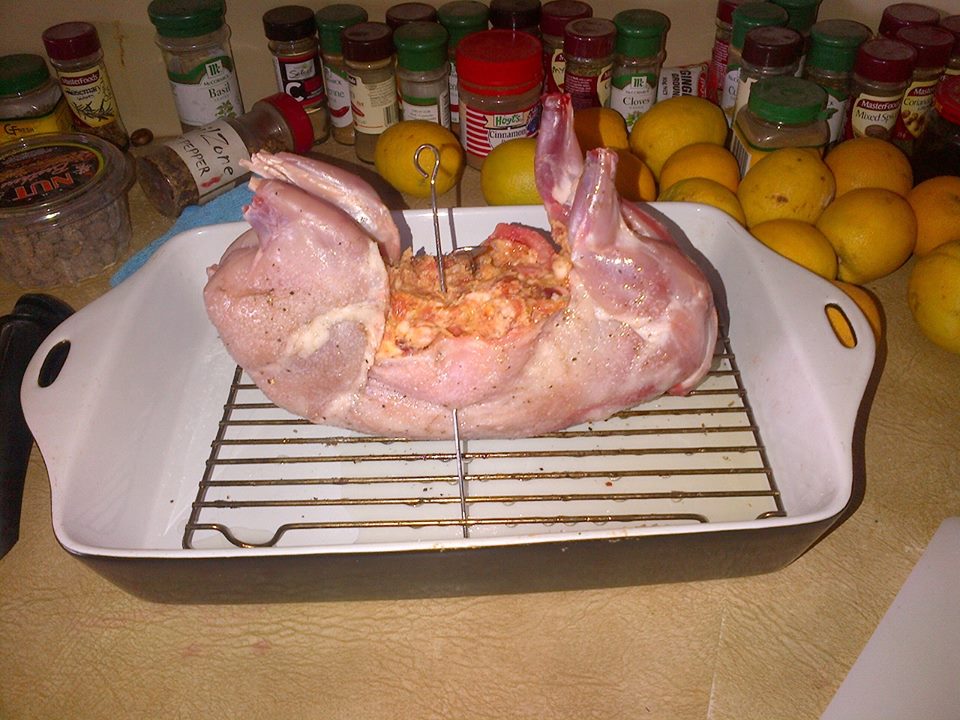
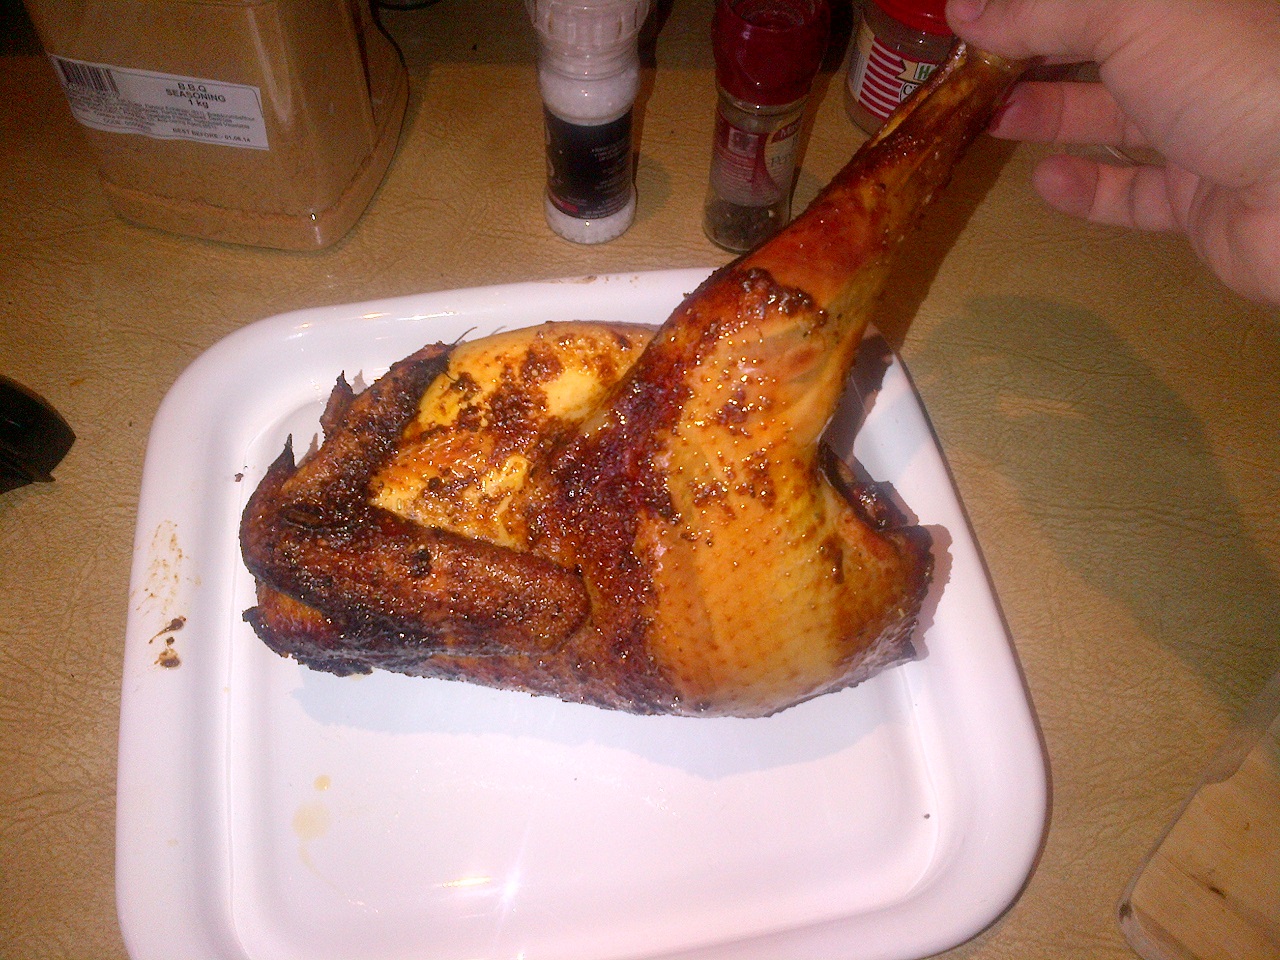
The meaty part of March started the meat chooks. We actually lost two when their legs gave out on them. That left us with a grand-total of 8, which is pretty pathetic. However, apart from one that was a couple of kilos, the rest averaged around 3.5kg and one topped out at 4.1kg. That’s pretty damned big for a chook!
This taught us two things. Firstly, raising the meat birds over the hot months doesn’t work. All they do is sit in the shade and get fat. Secondly, it’s worth trying a different breed. The Cobbs are amazing when done properly, but their tendency towards congenital leg defects makes them a little sad. I’m not a fan of roosters, so we might buy/build an incubator and source some fertile eggs over the cooler months. That way we can experiment with breeds, and potentially heritage breeds, and see which work out best for us. Of course, after this month, and our forecast for the next several months, we might not be needing the meat…
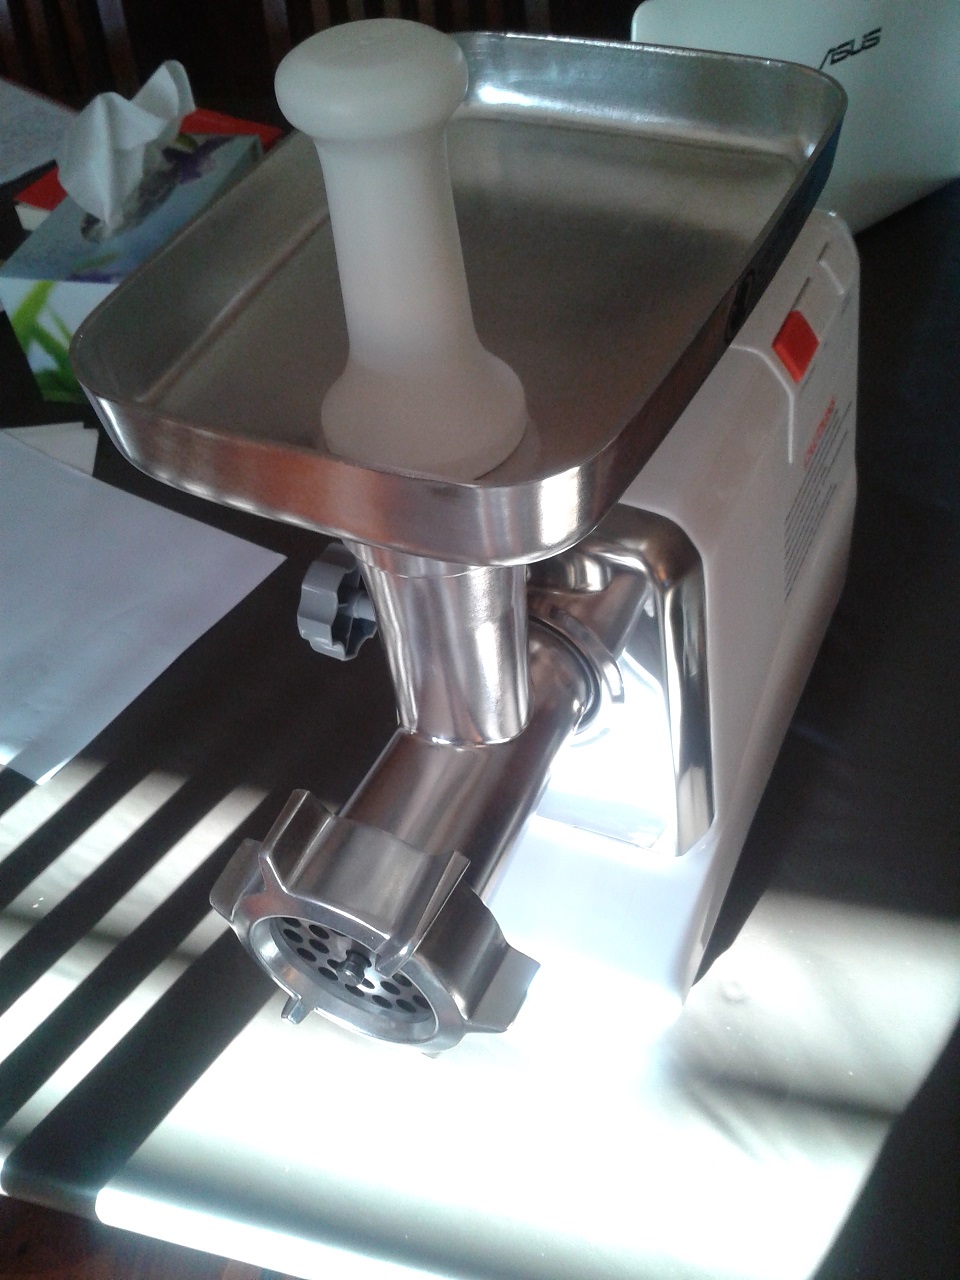
We primed ourselves for our March meat madness by buying some more equipment.

This beats the little hand mincer we’ve been using…

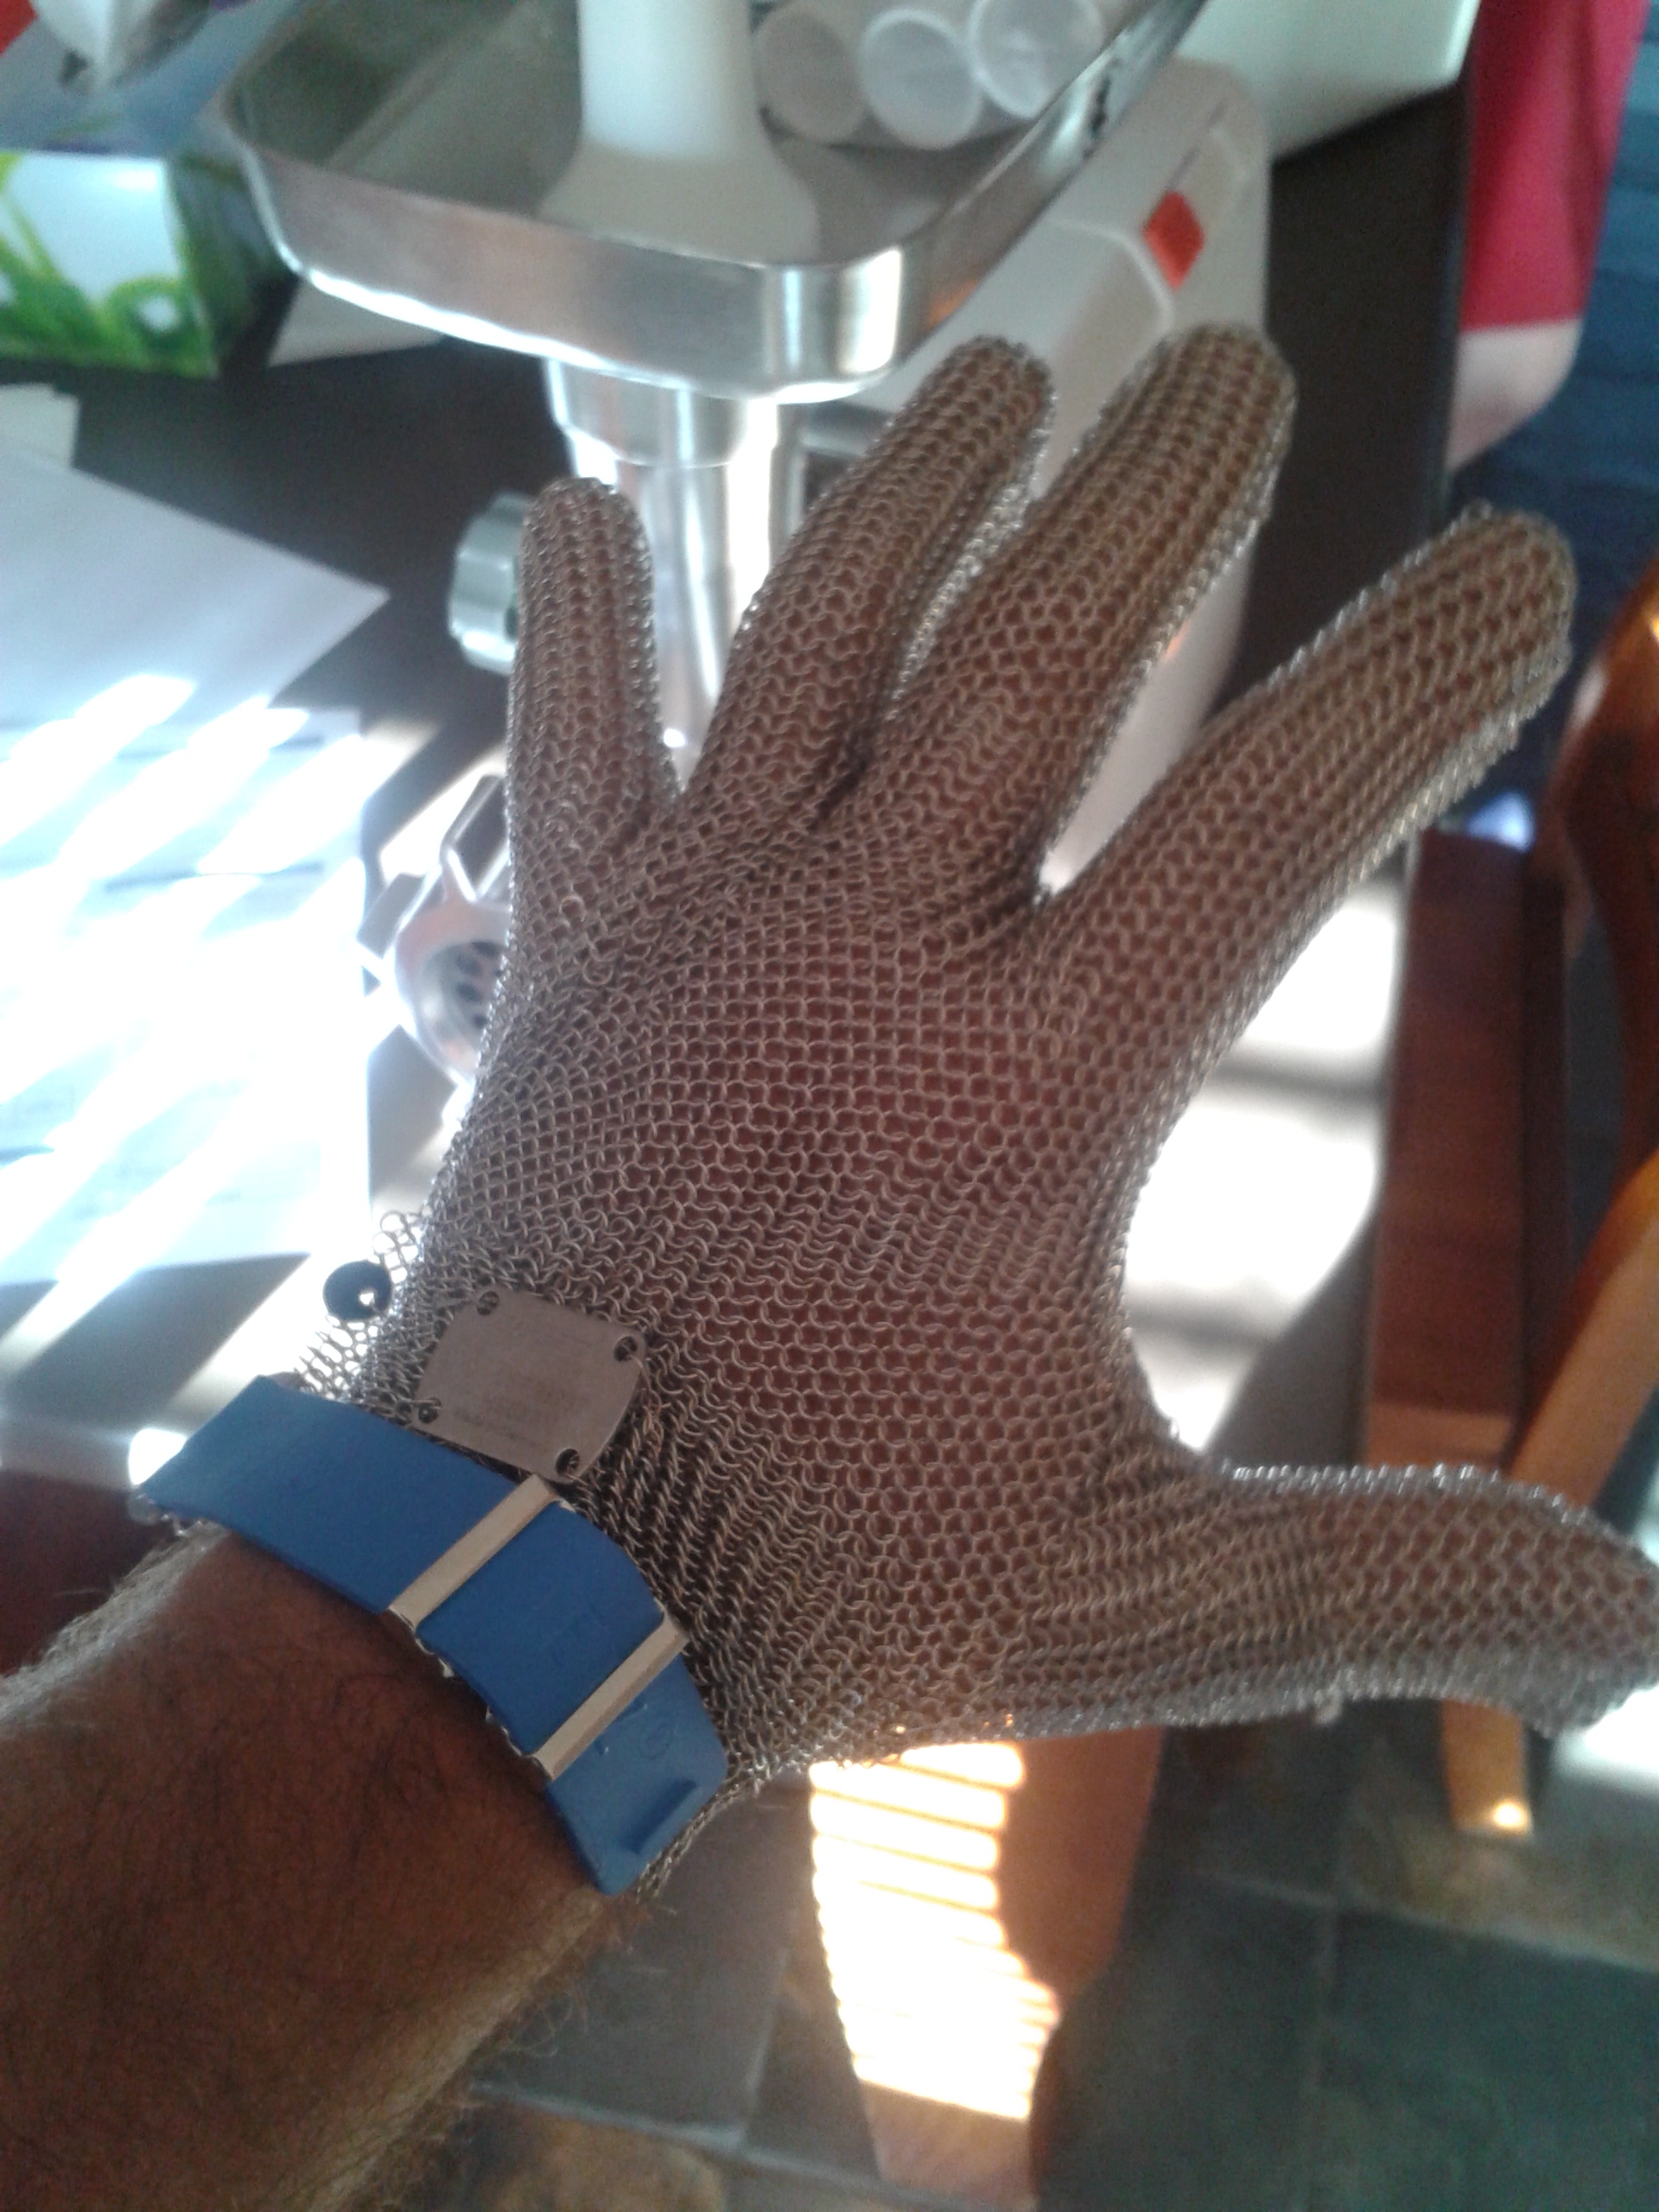
Linhda made me buy a chainmail glove. I don’t need the protection, but chainmail is cool as hell!
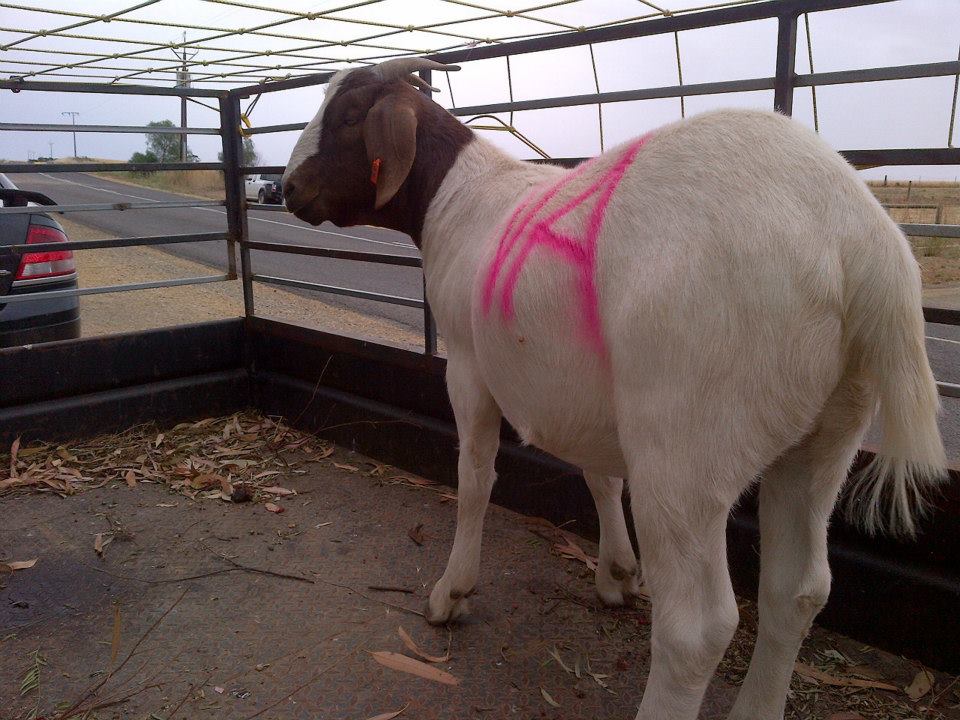
After the equipment was all sorted, our first big meat win for March was with Todd (all of our sheep are named Todd). We tried a breed we’d not seen before. We got him in January and were told he was a “Broad Lace”. Of course, that isn’t a breed we can find any information on, but that didn’t change the fact that Todd was definitely a meat breed and was built like a tank.
On a side note, this Todd was the perfect test of the stock race we built along the face of the pig yards. He was a big boy, he was a little aggressive, and he had no qualms about trying to go through fences or people. I carried a spare gate in front of me to bar the way, and patiently herded him down the run. It took all of 60 seconds, and he calmly ran into the trailer. I had visions of having to tackle him, and I really wasn’t looking forward to it.
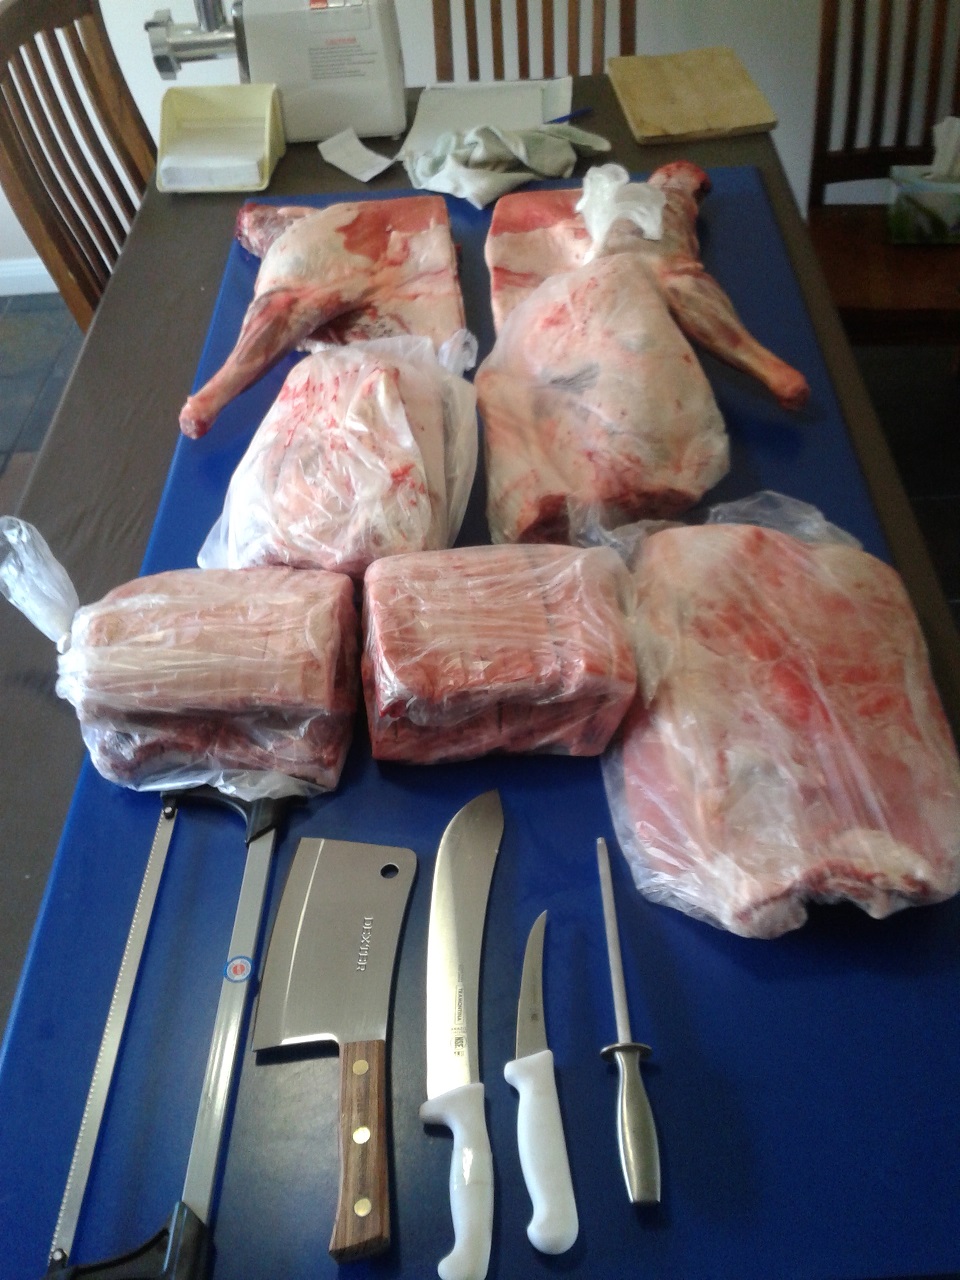
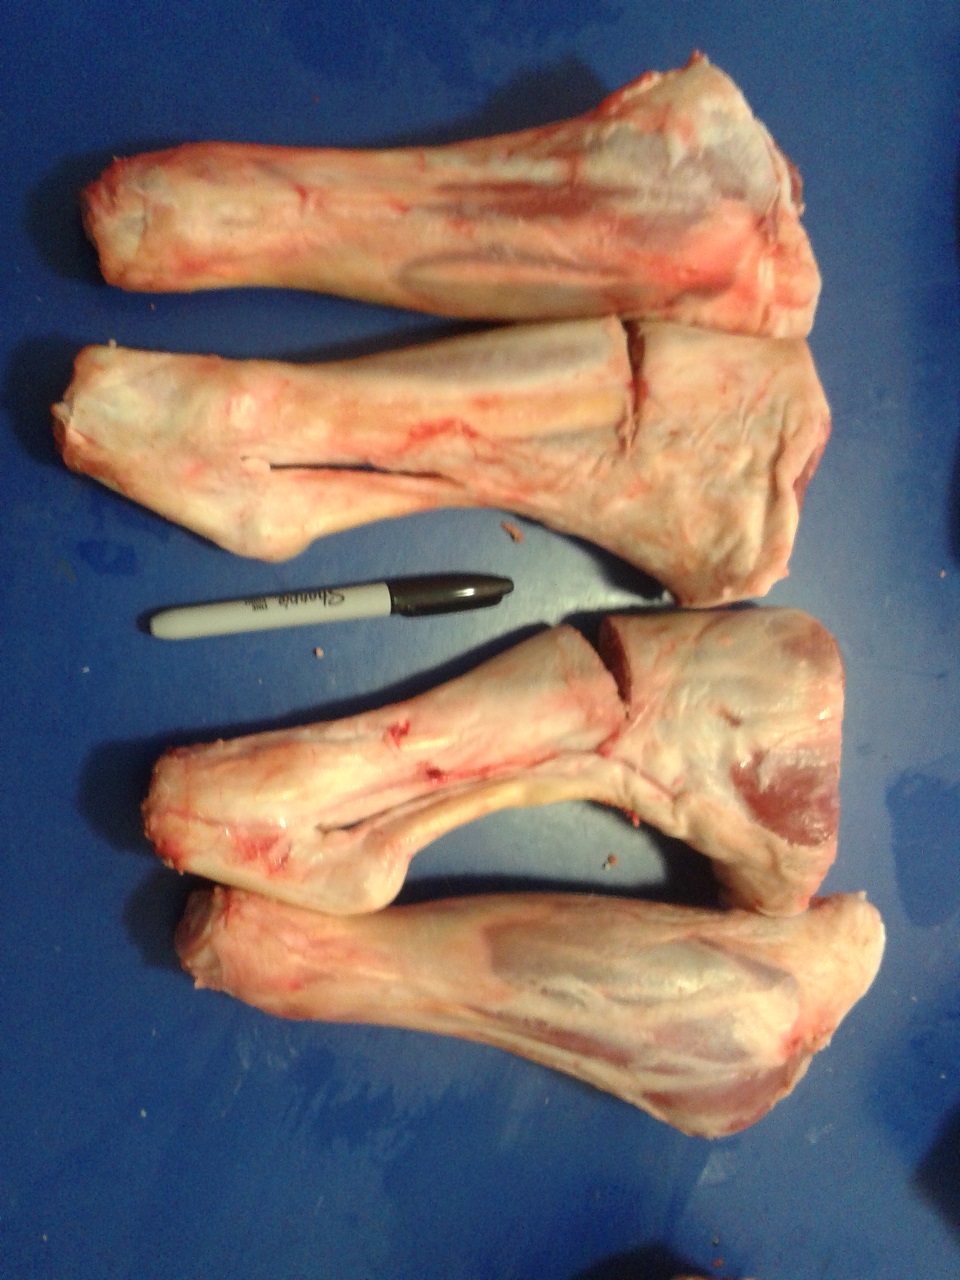
Todd dressed out to 42kg! That is probably close to twice as large as the merino crosses we bought when we first moved in. I actually messed up when giving the butcher instructions. I thought I was asking them to now cut or bone-out the shoulders, but apparently I asked for the forequarters to be kept whole. That means they gave me the front half of the sheep in two parts. It worked out for the best though, as we were able to get off a lot of meat to mince.

Todd – 42kg of awesome.
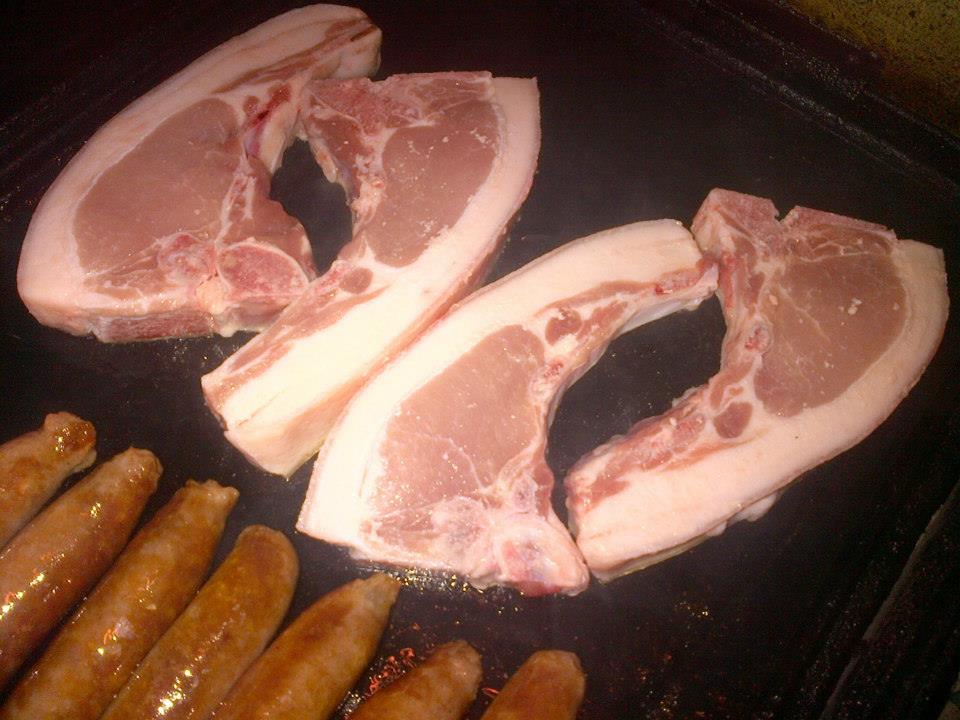
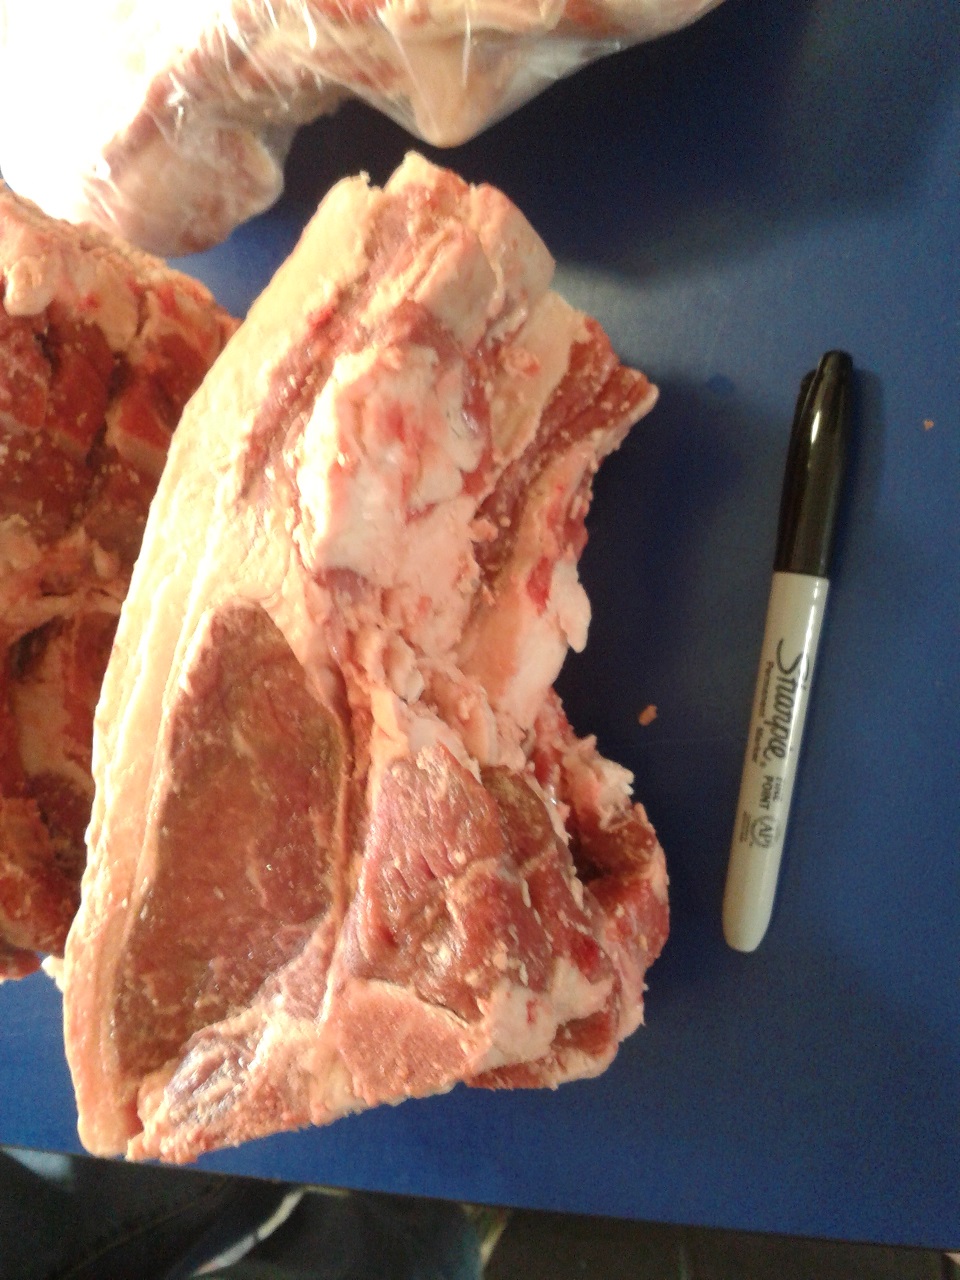
Just to give some perspective as to Todd’s size, the roasts from him were 6kg, and we got 8kg of giant loin chops.

Biggest loin chops ever!

I think the shanks are my favourite part.
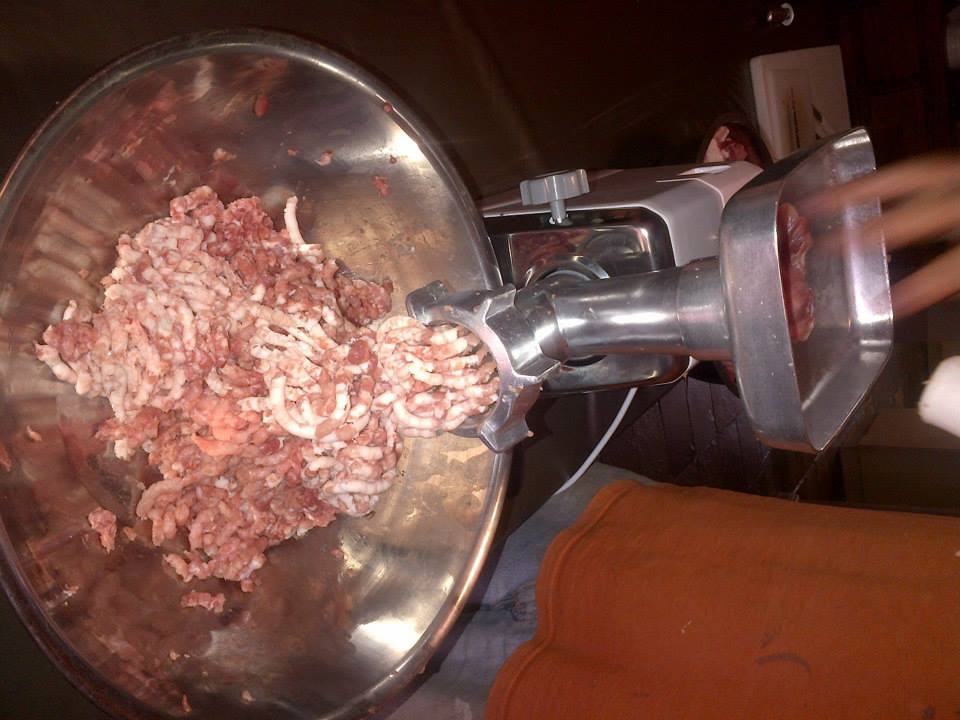
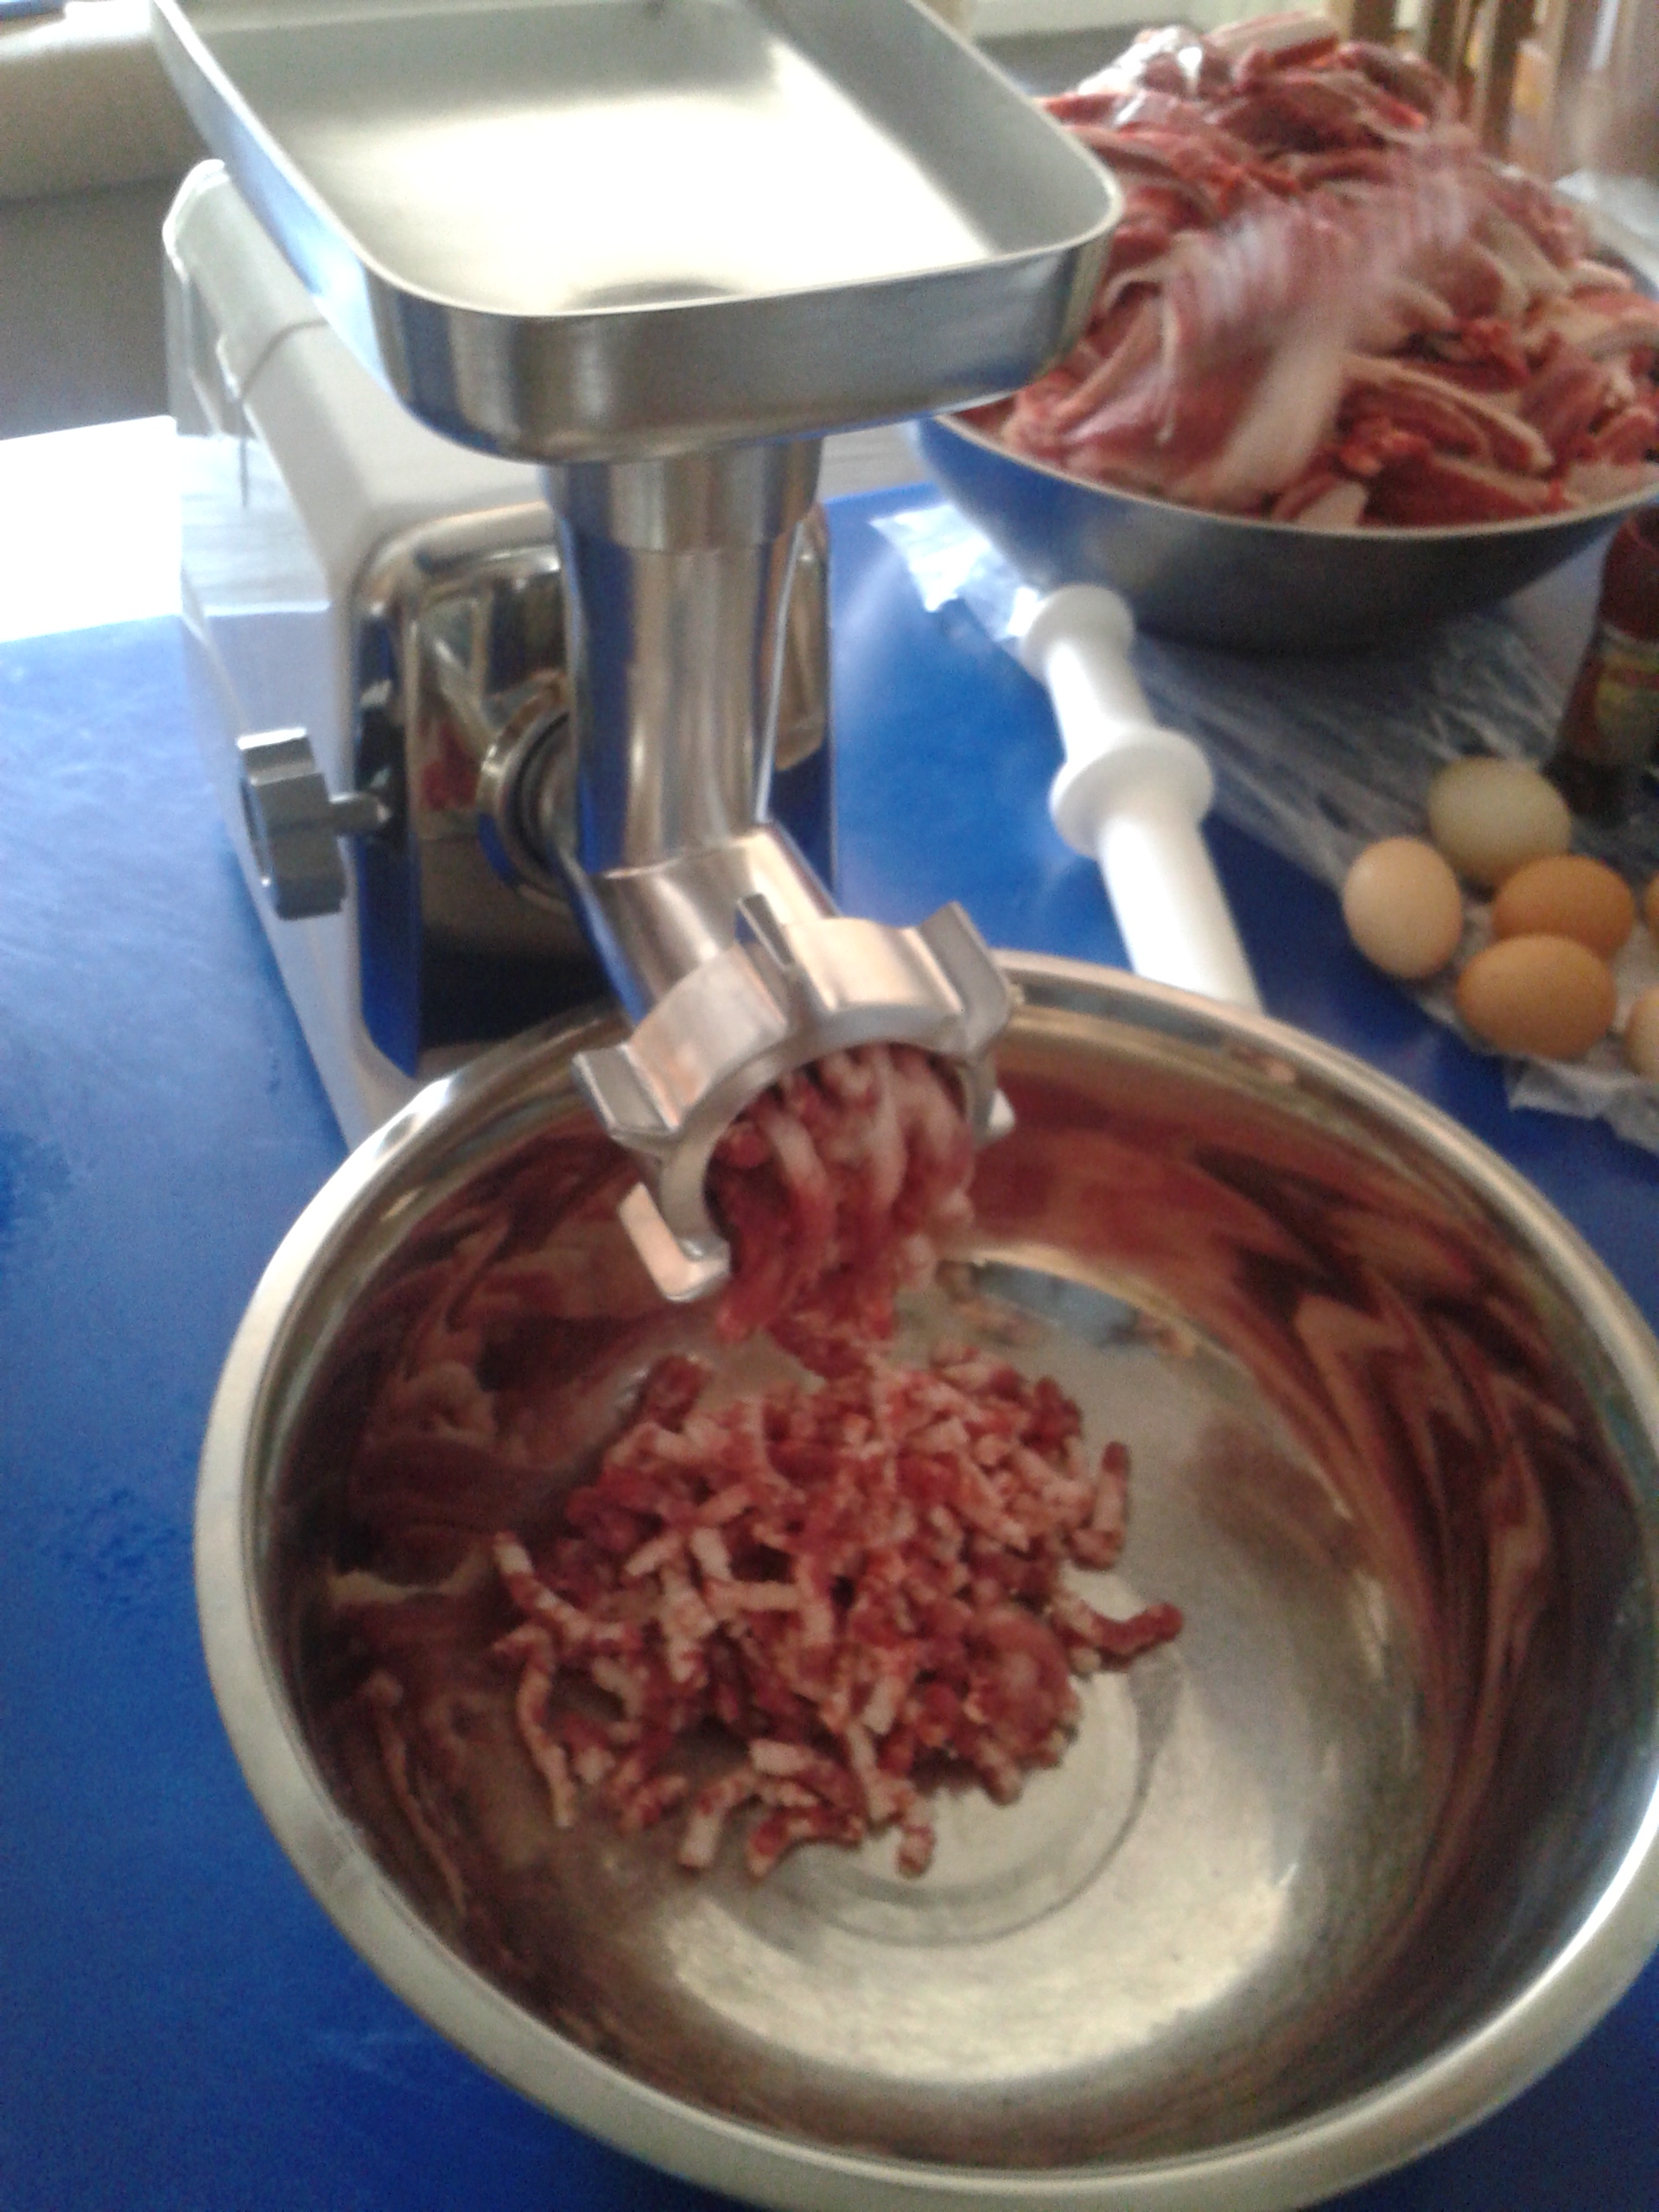
We had a go at sausages too. They turned out okay, and were a huge learning experience. We learned to better control the fat content, and that we needed a separate sausage stuffer. In theory, the mincer works as a sausage stuffer, but in reality it was hard and prone to problems.

Ready for some sausage experimenting.

Mincer in action.
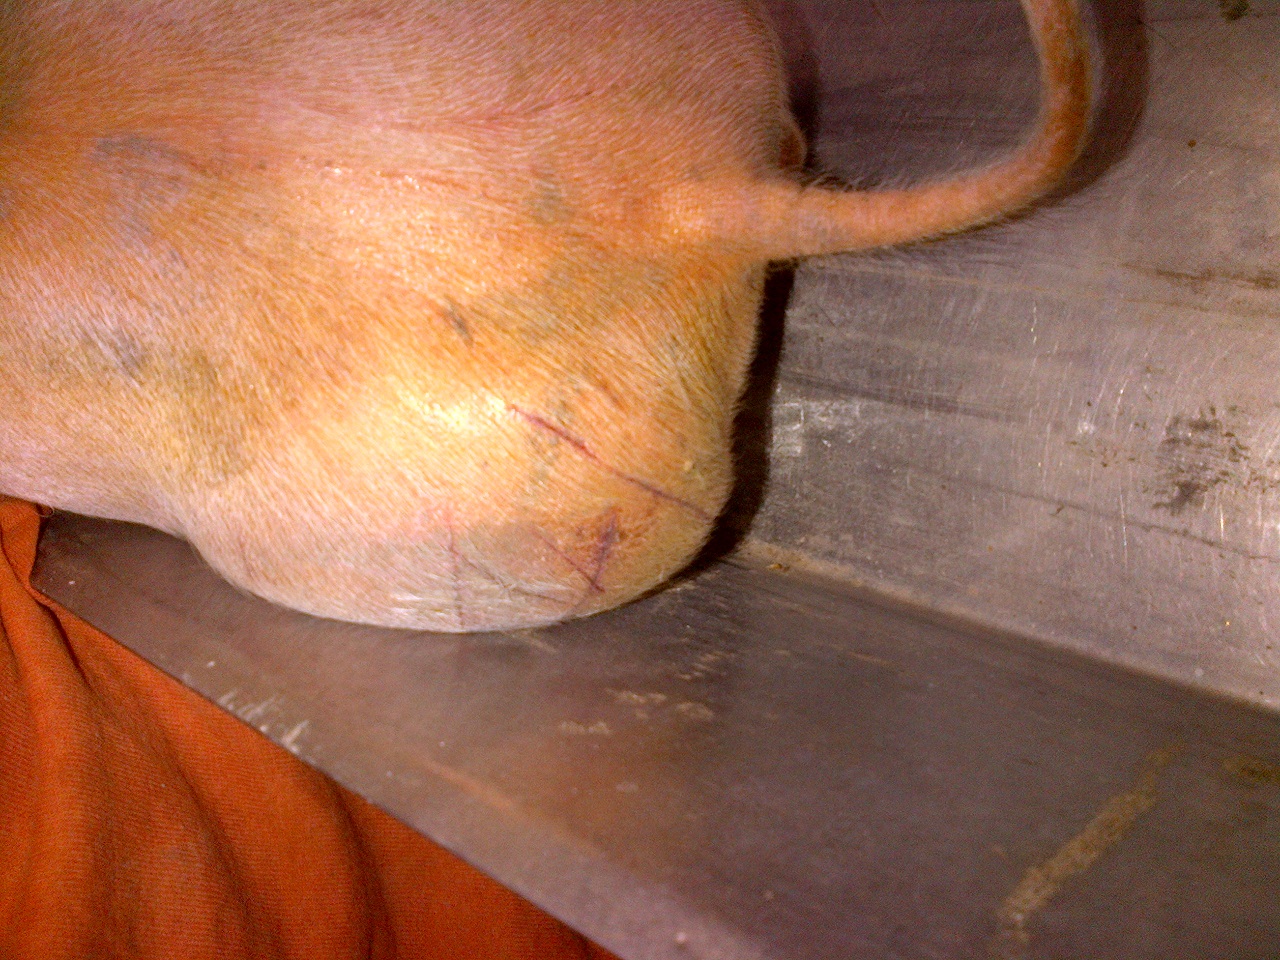
By far the biggest meat win of the month, and I’d argue of the entire time on our farm, was our first pig (not counting the spit pig). We took Ham to “The Other Farm” in the last week of the month, and this was a real test in many ways. Firstly, I had raised Ham since he was 3 weeks old. I genuinely love the pigs, and had bonded with Ham. Secondly, our pork production had never really been put to the test before this. Happily, it all worked out.

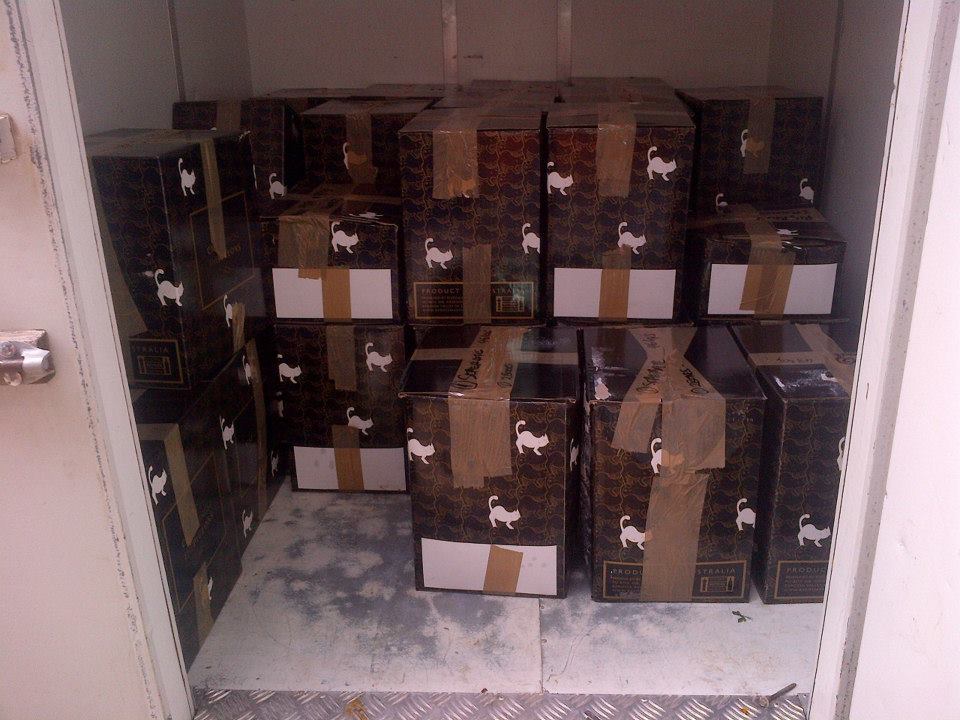
Ready for the trip to “The Other Farm”.
I was able to maintain my perspective when it came to Hammy. I knew definitively that he had grown up with excellent care, fed the best food, had space and exercise, and that he was shown nothing but affection. I also knew that he had been killed humanely, and that he was now going to nourish my family.
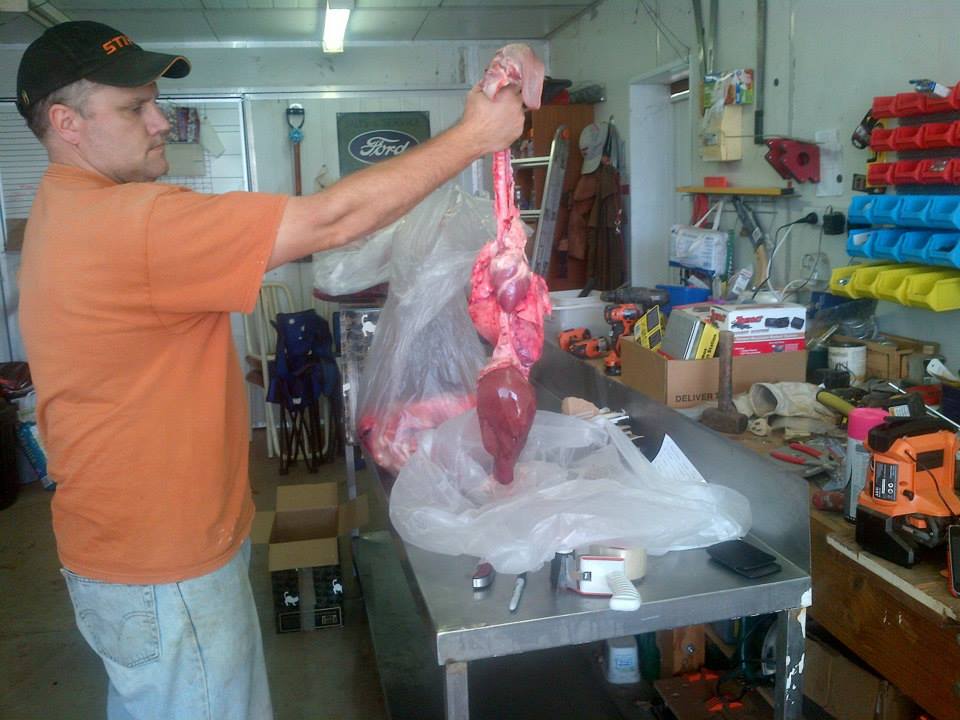
Hammy dressed out to 55kg at around 6 months old.

This is the “after” picture.
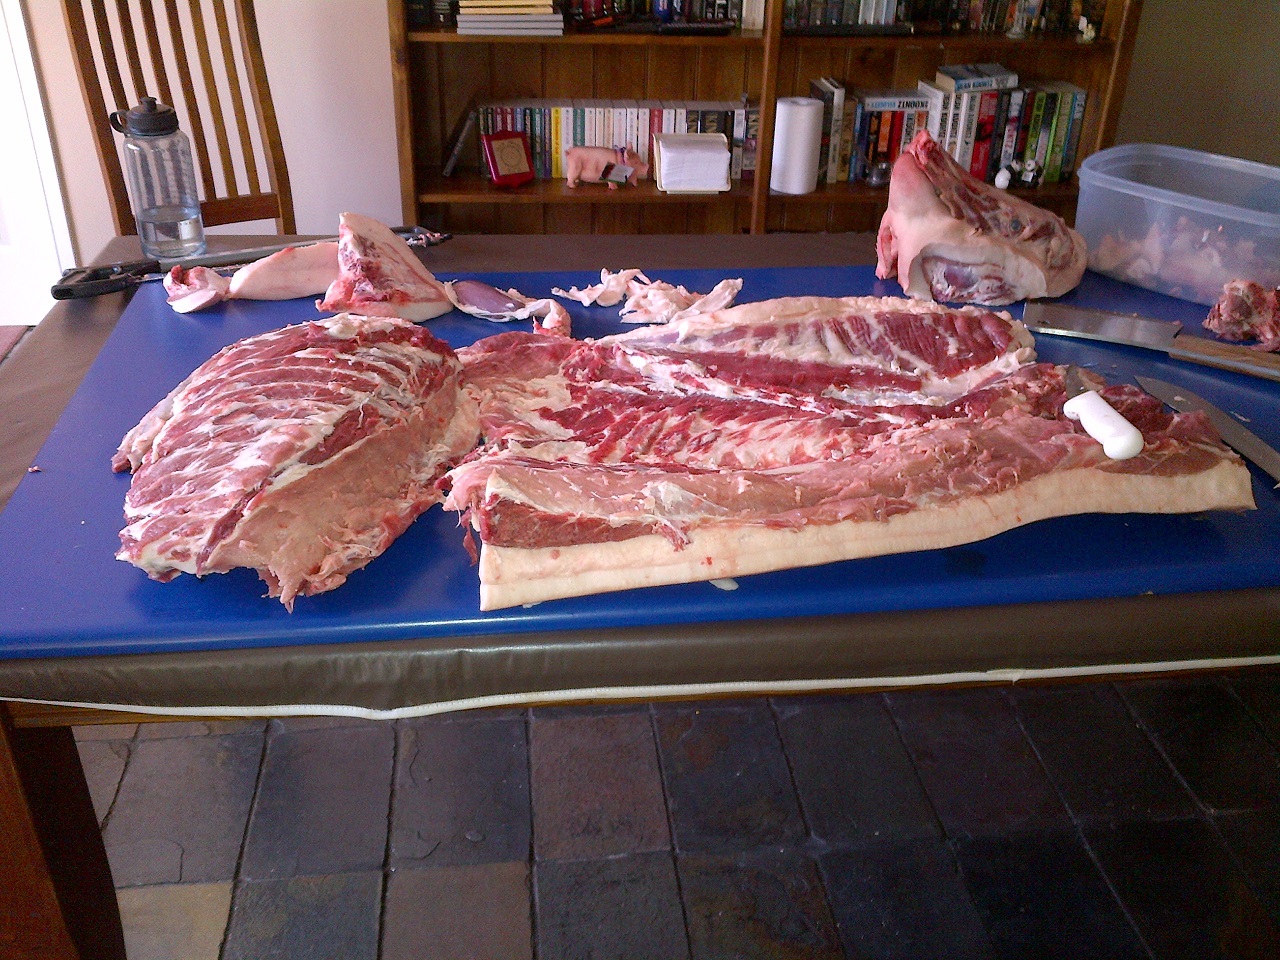
We butchered Ham ourselves, using the River Cottage “Pig in a Day” DVD as a reference. In fact, we used it twice, as there were two sides to butcher. 🙂
We ended up with:
- Lots of roasting joints – leg, chump-end, rolled loin, spare-rib end roasts. Seriously, every second cut on the pig is a roasting joint, and we ended up with around 8 or 10 roasts, a couple of which are huge.
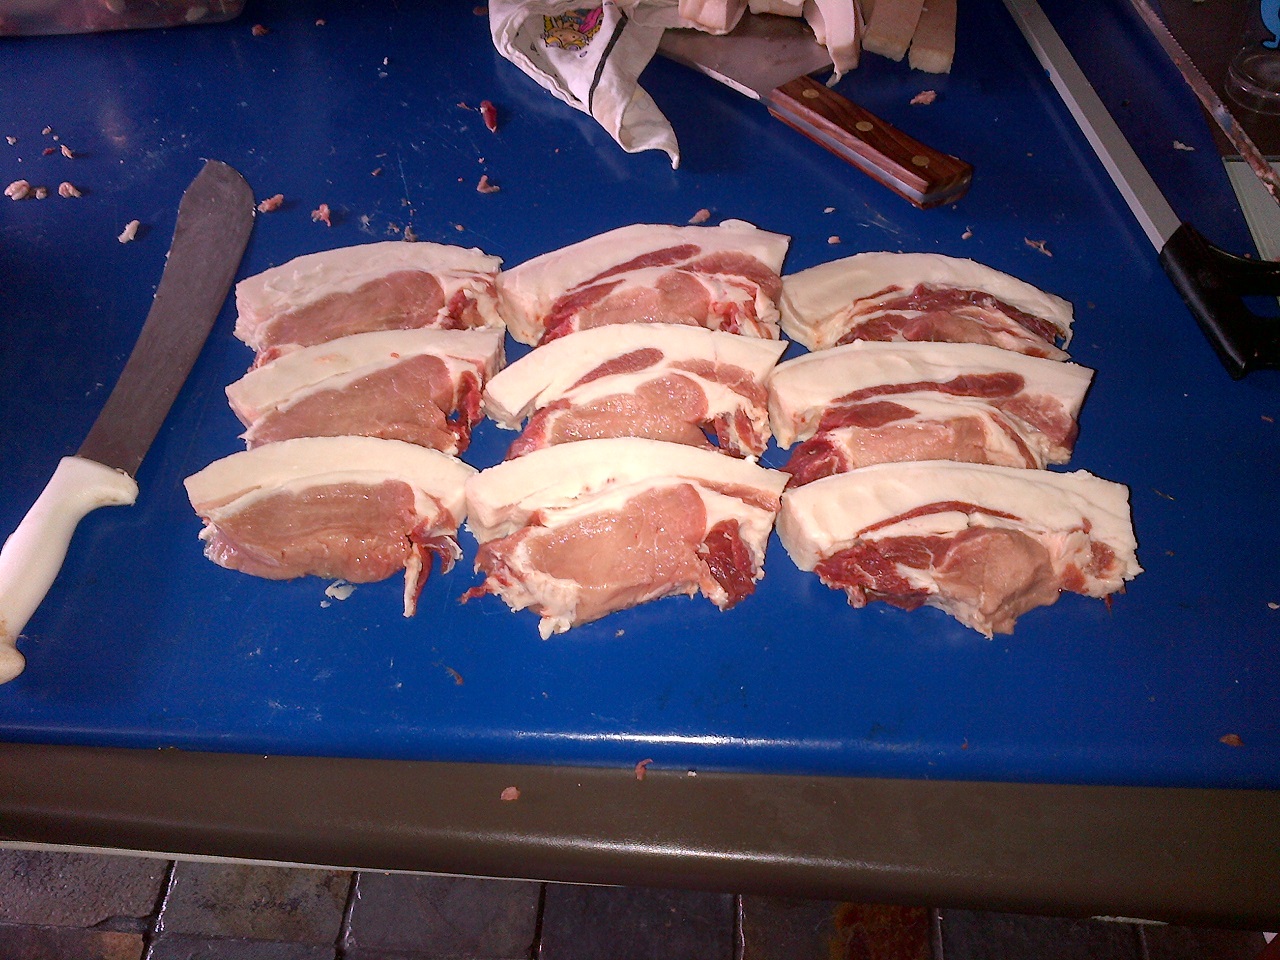
- Chops, though only about 7 or 8. This saved the length of the rolled loin.
- Tender loins x 2.
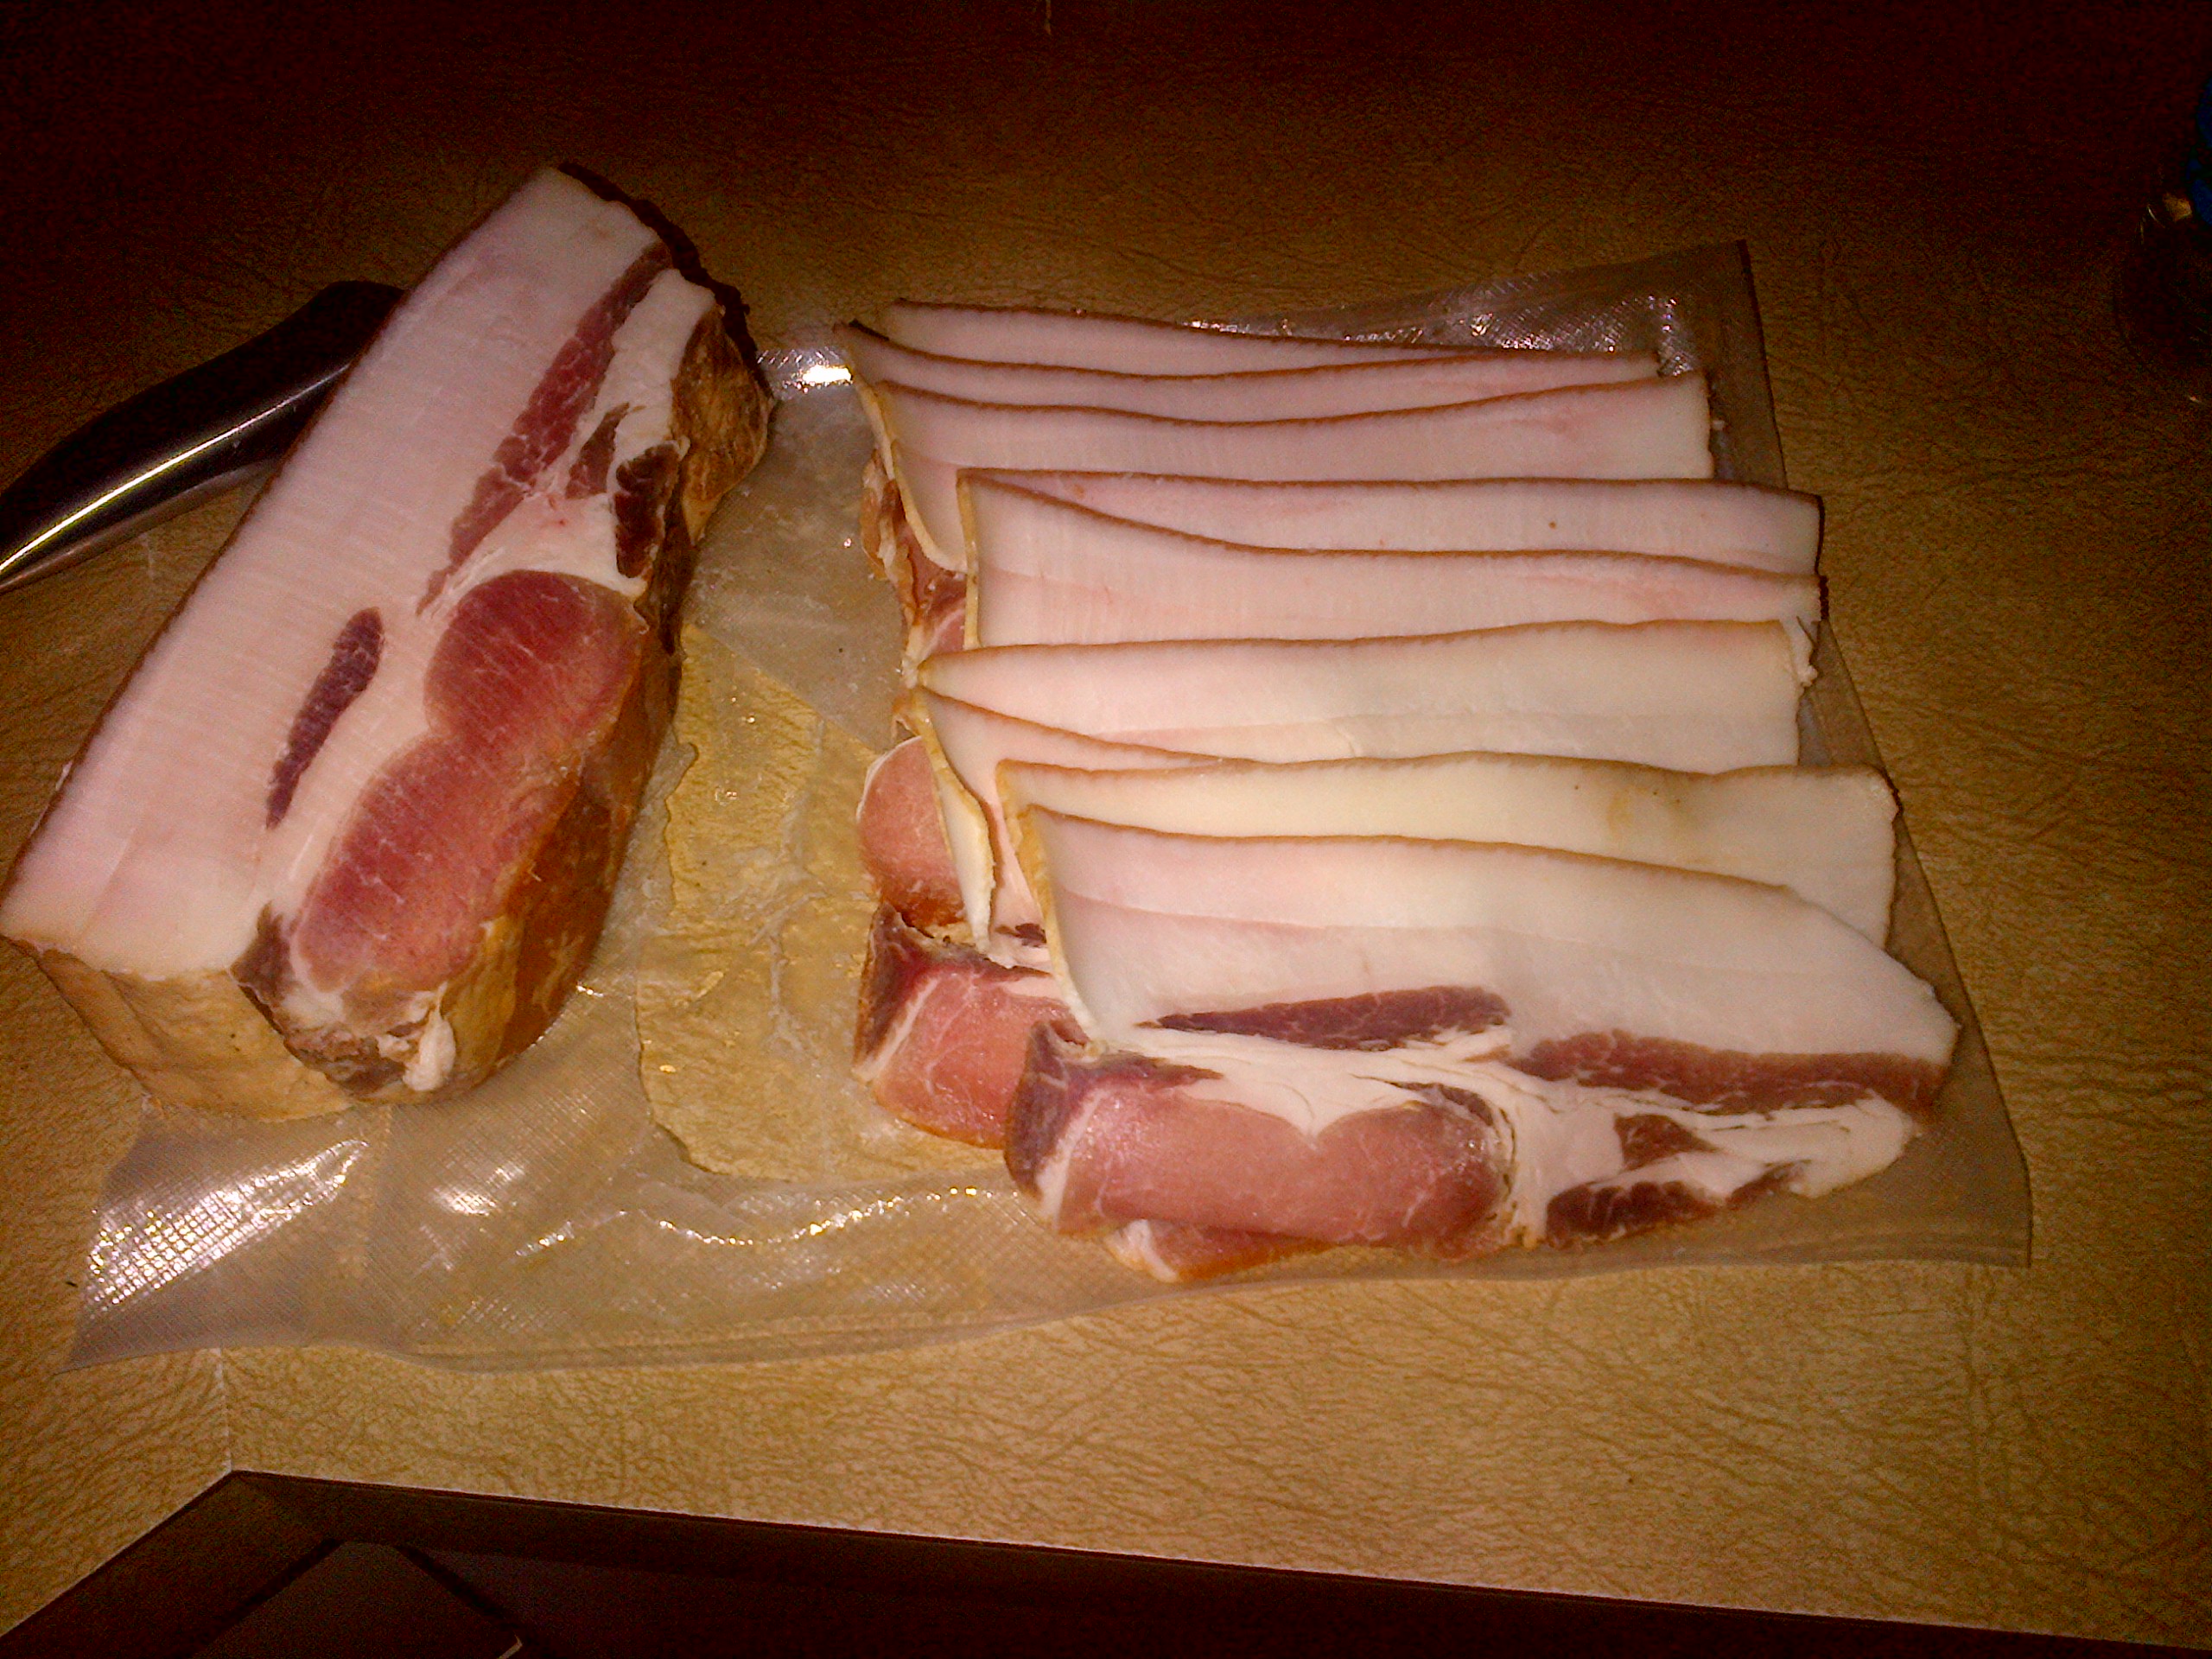
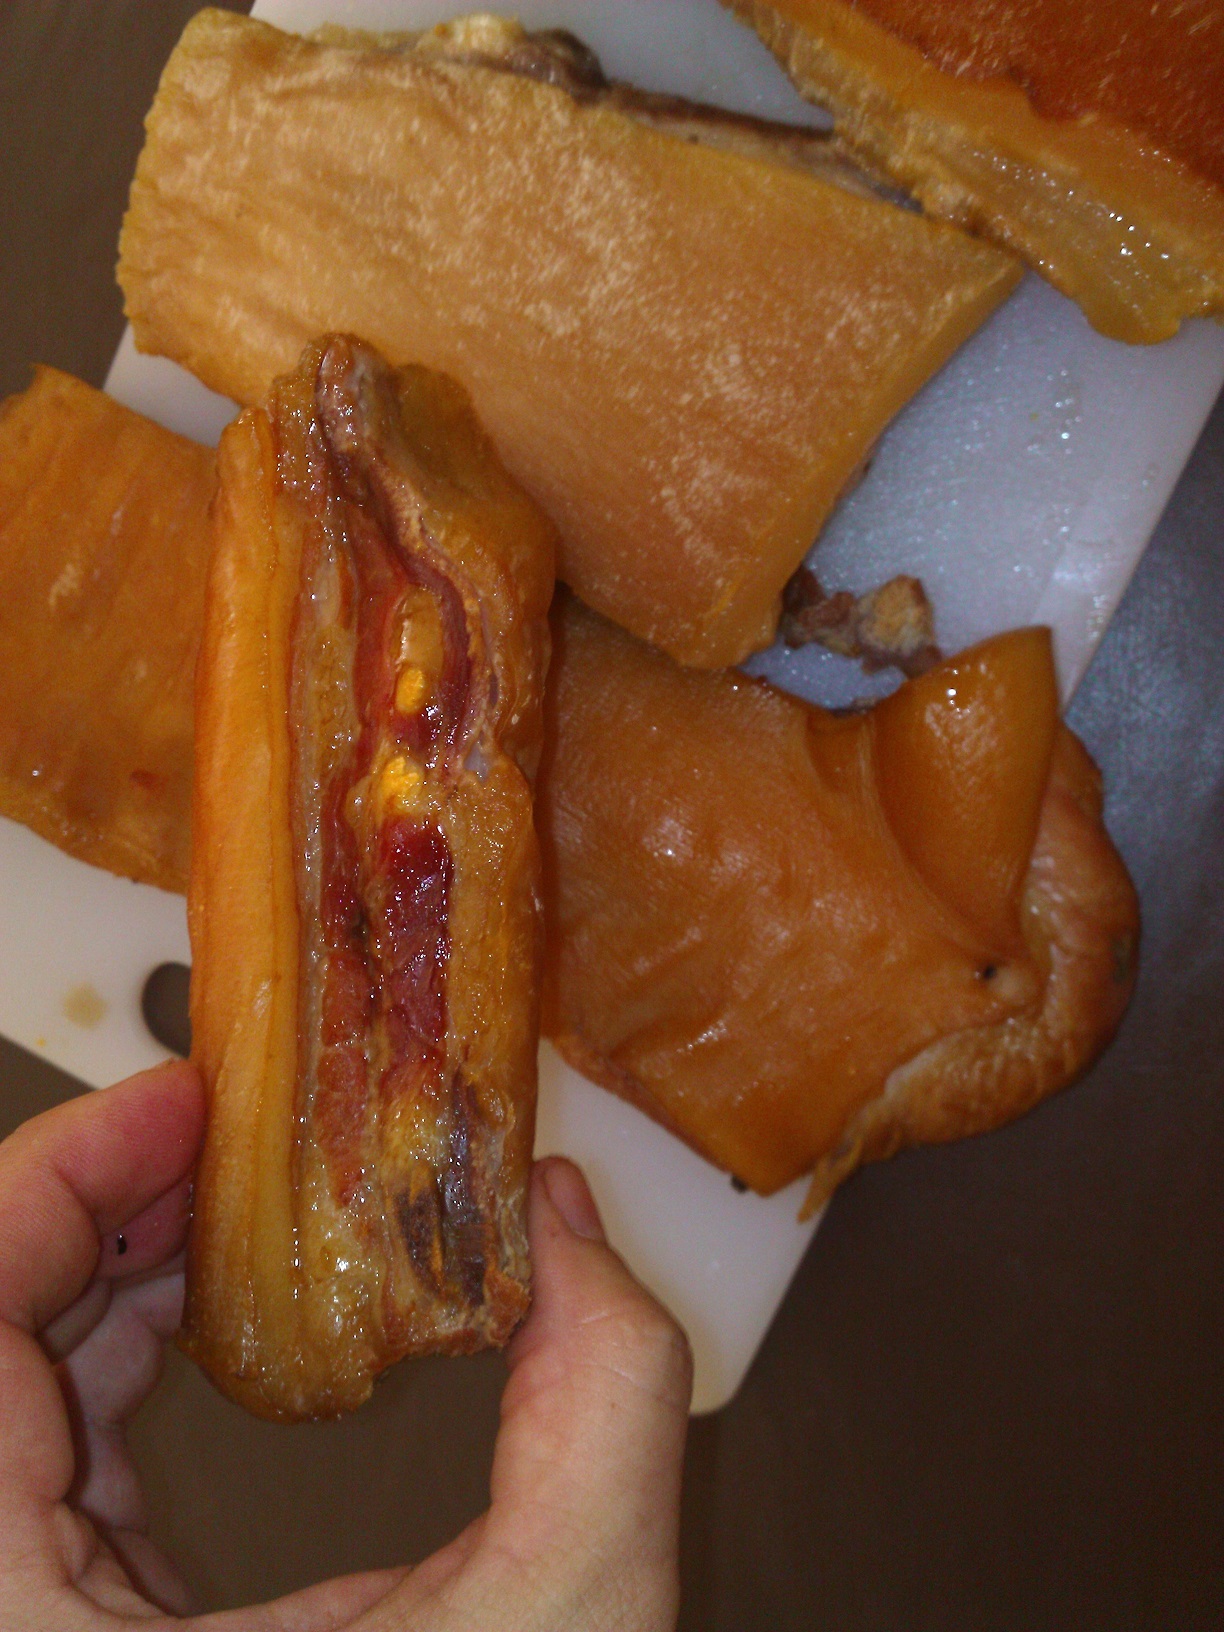
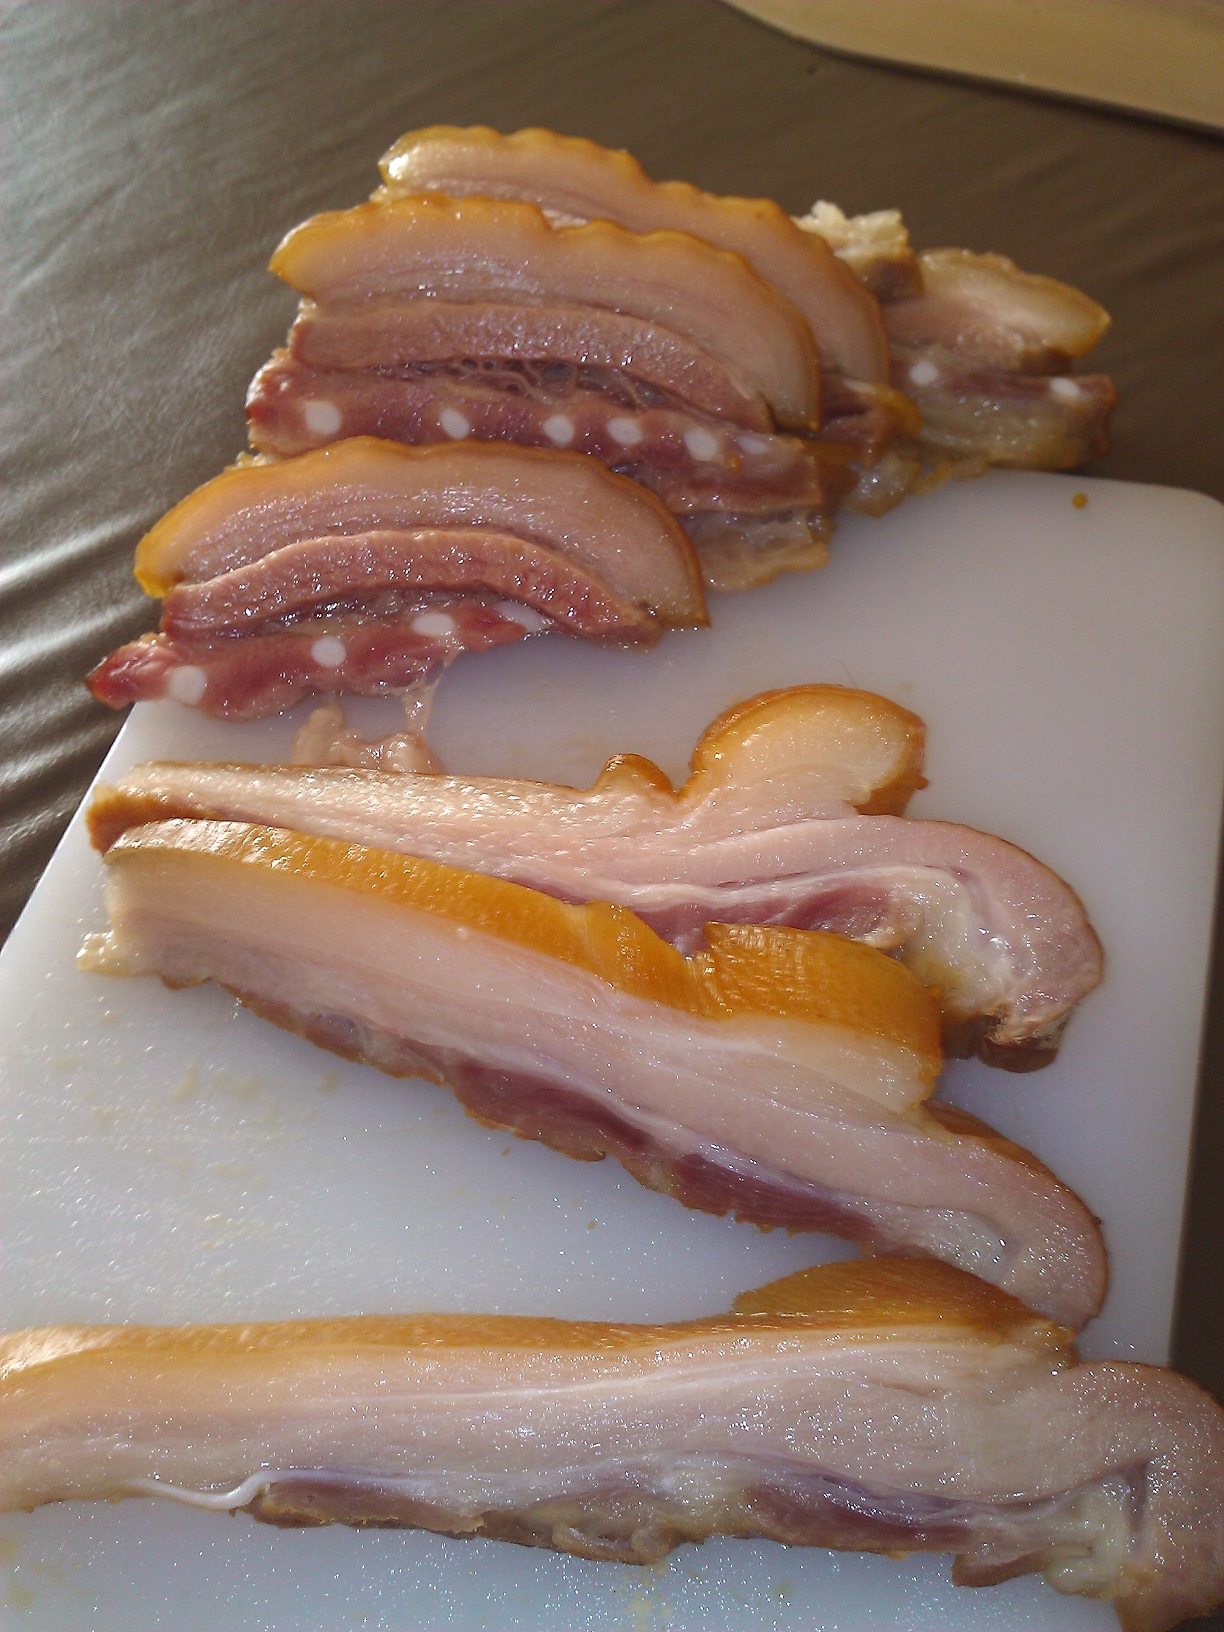
- 5kg of bacon, including some from the cheeks.
- Nearly 5kg of sausages.
- 1 x 6kg prosciutto.
- A stack of dog meat – bones and trimmings.
- The offal – also dog meat.
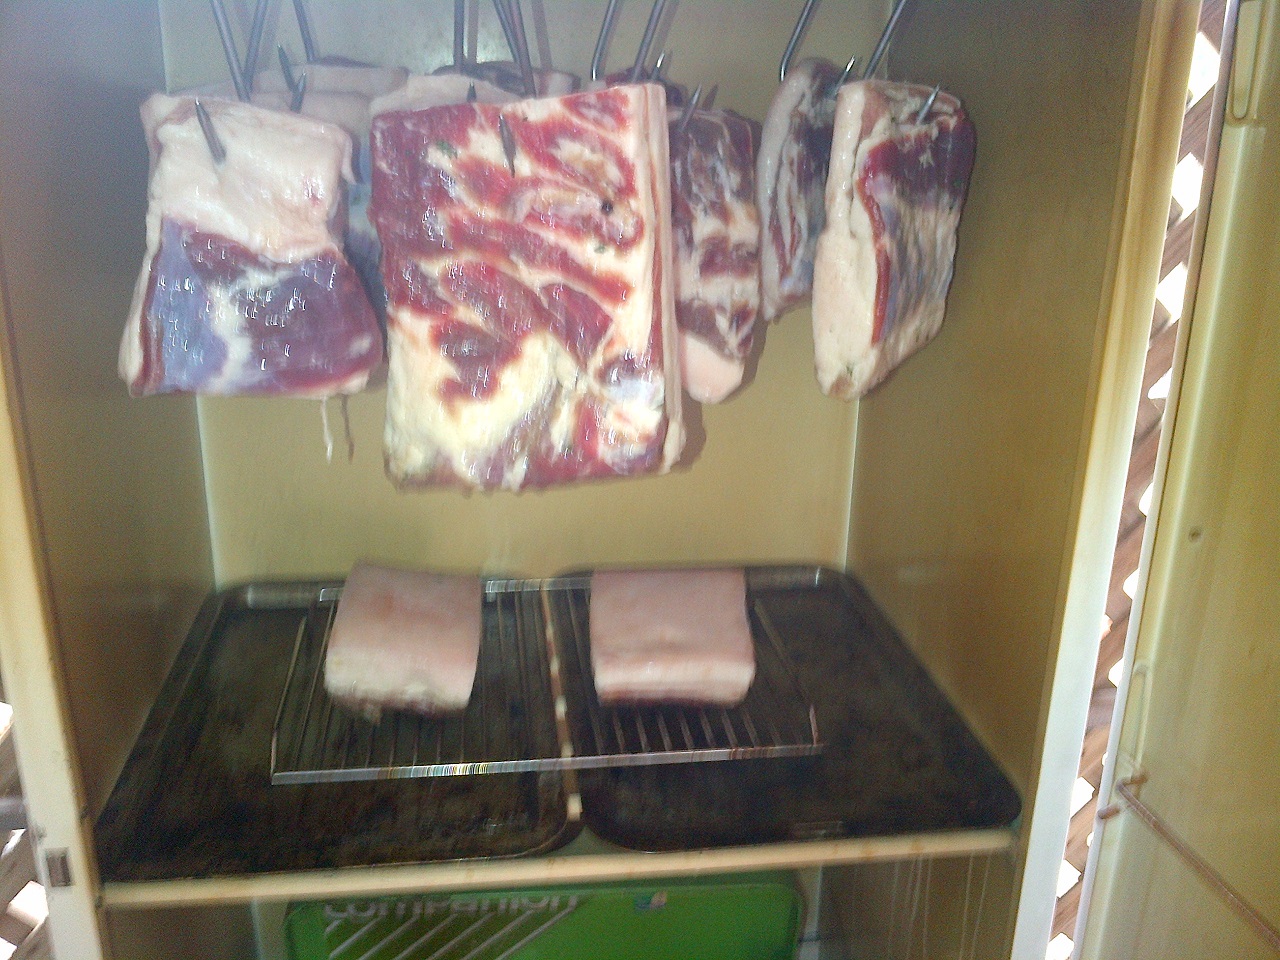
The bacon was our first big test. We used two different rubs, one with sugar and the other with maple syrup.

Getting the cure ingredients together.

Kicking it old school with a mortar and pestle.

One of the cures assembled.

Cure #1: uses sugar.

Cure #2: uses maple syrup.
The results were actually in April, and I’ll include them there. Suffice it to say, the bacon was amazing!
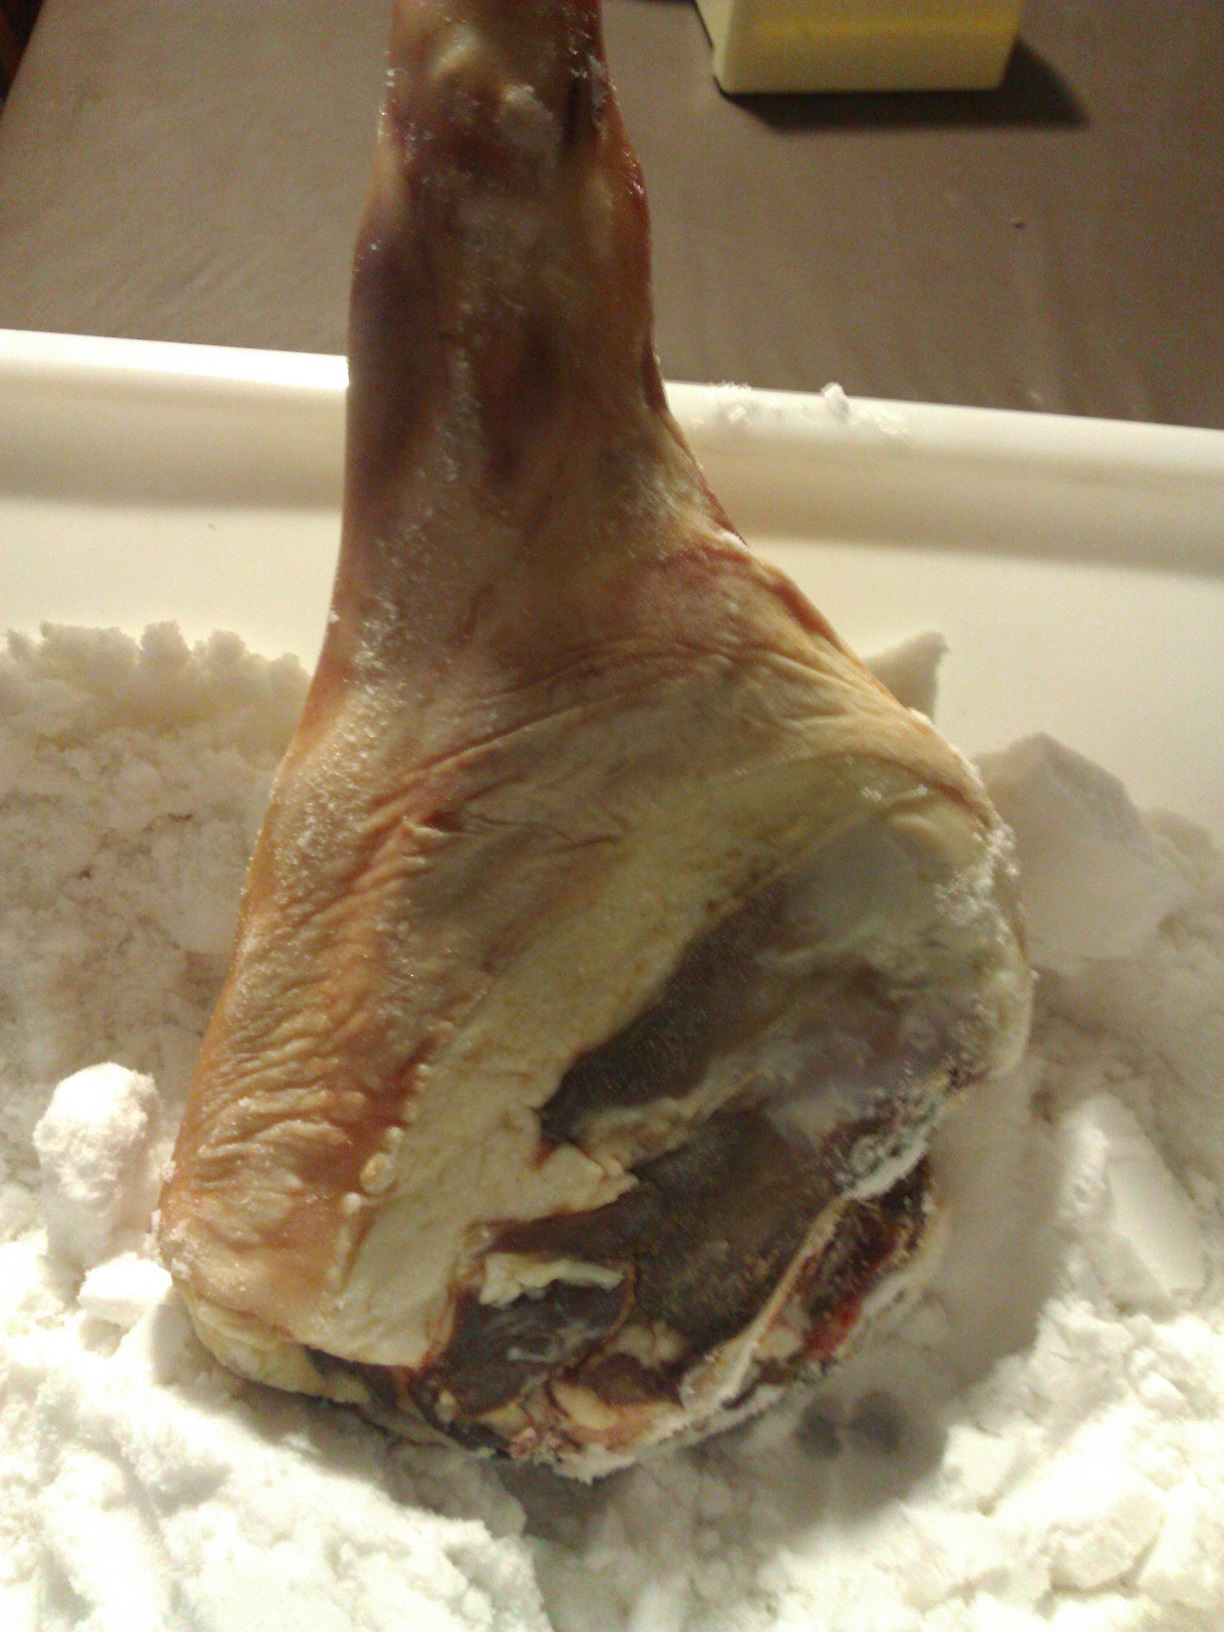
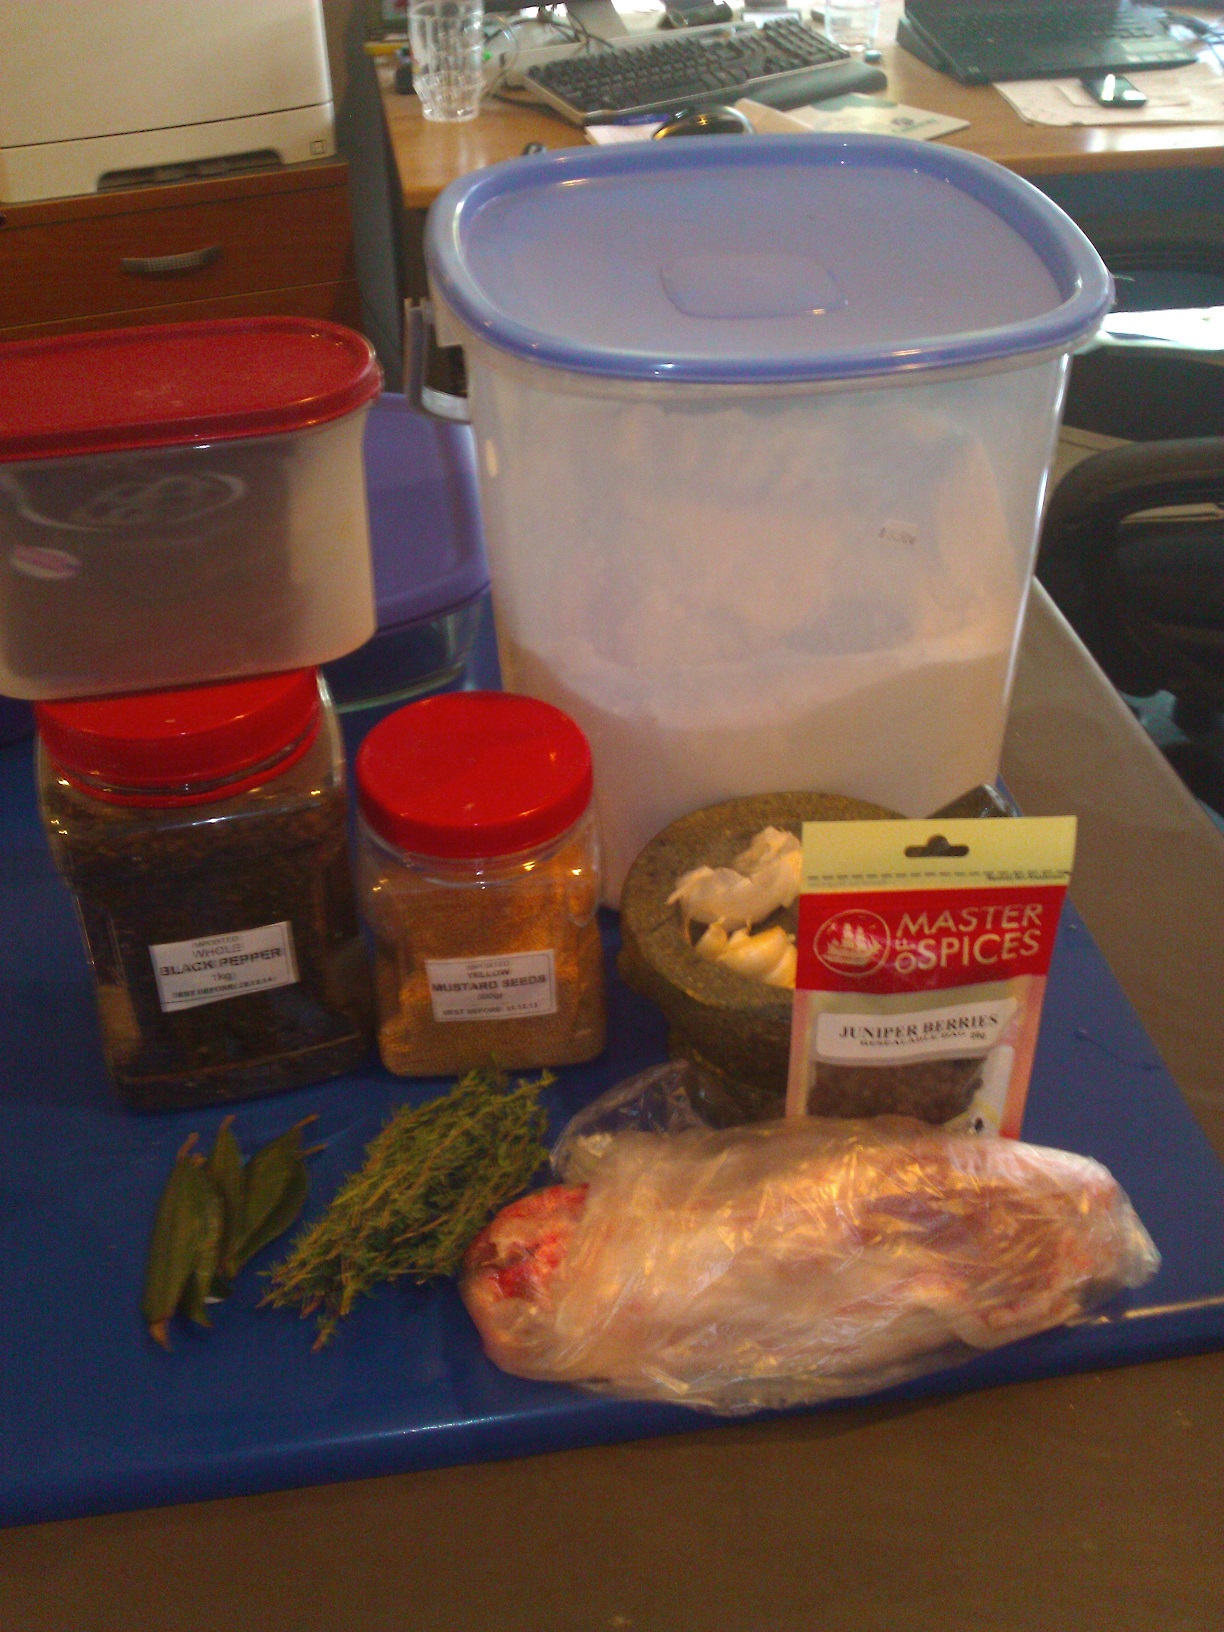
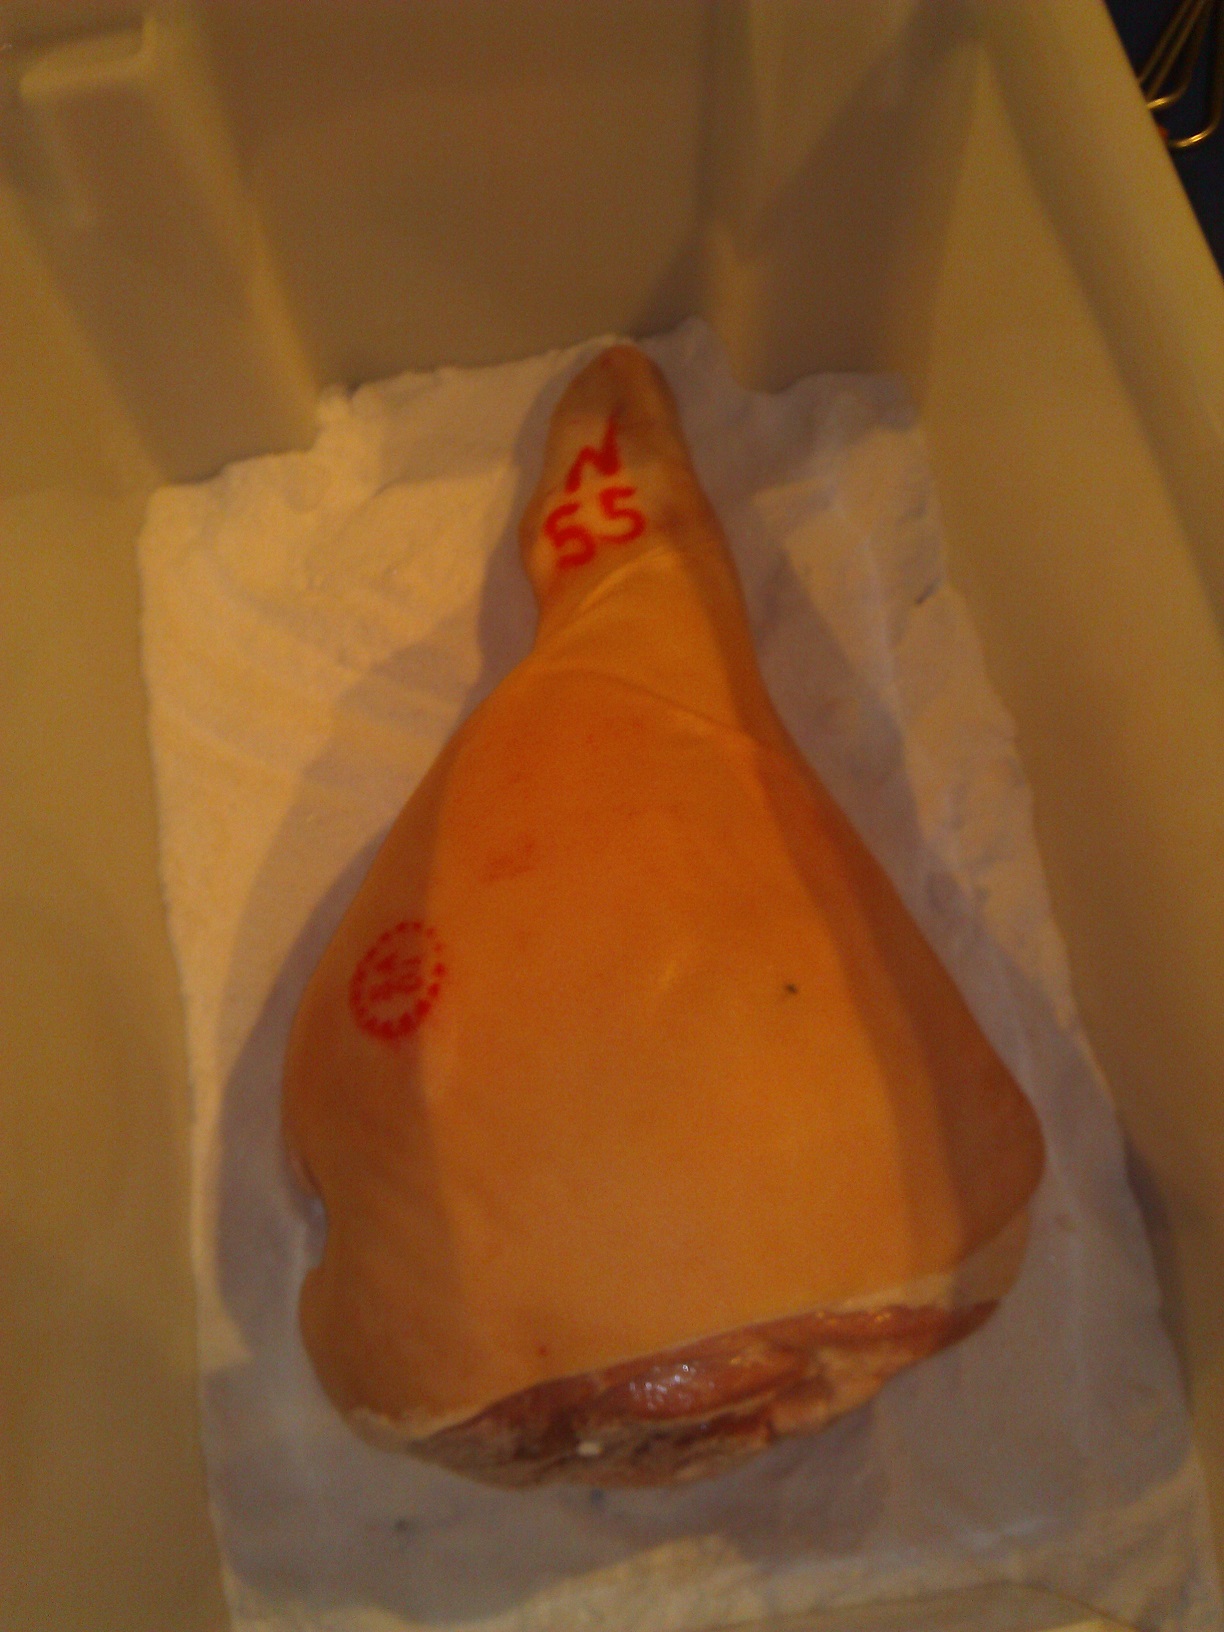
We also put down a 6kg prosciutto, which is an amazingly simple process.

This is a 6kg leg ready to be made into prosciutto.

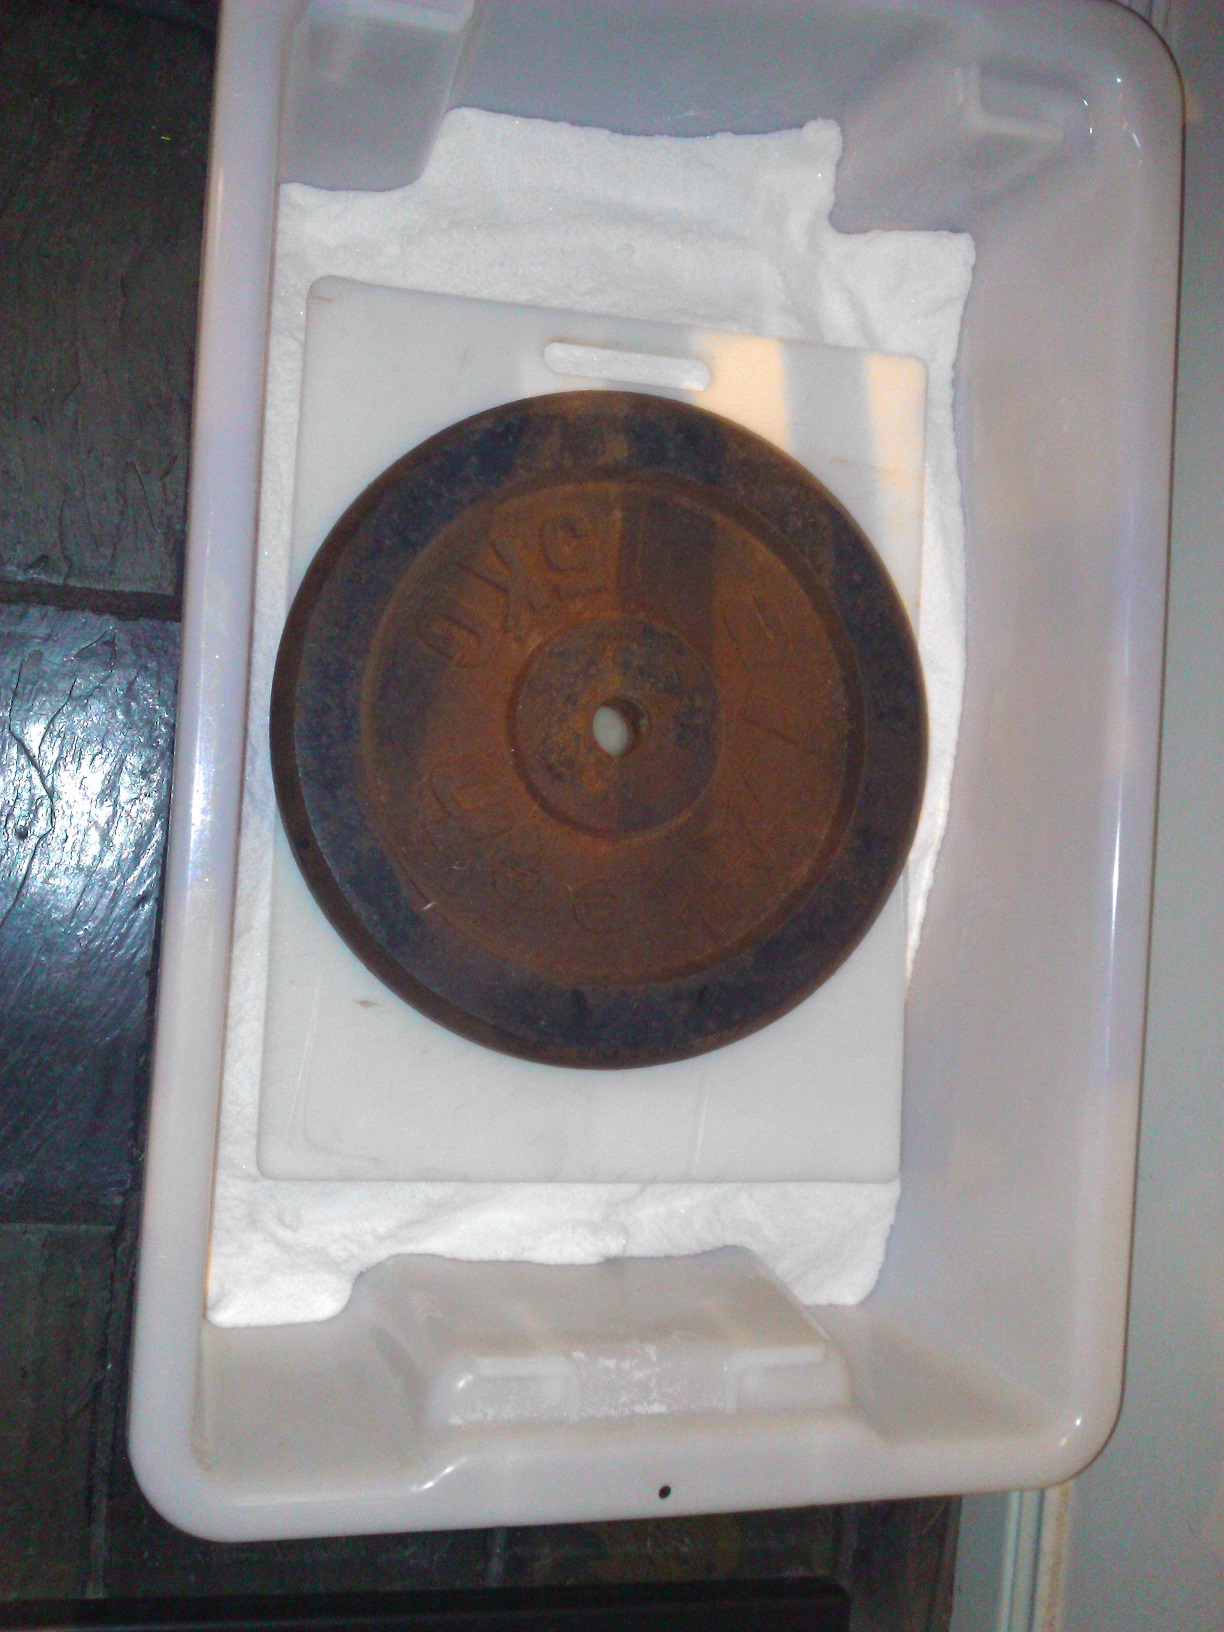
This is a 6kg leg covered in salt.

This is a 6kg leg covered in salt and weighted down.
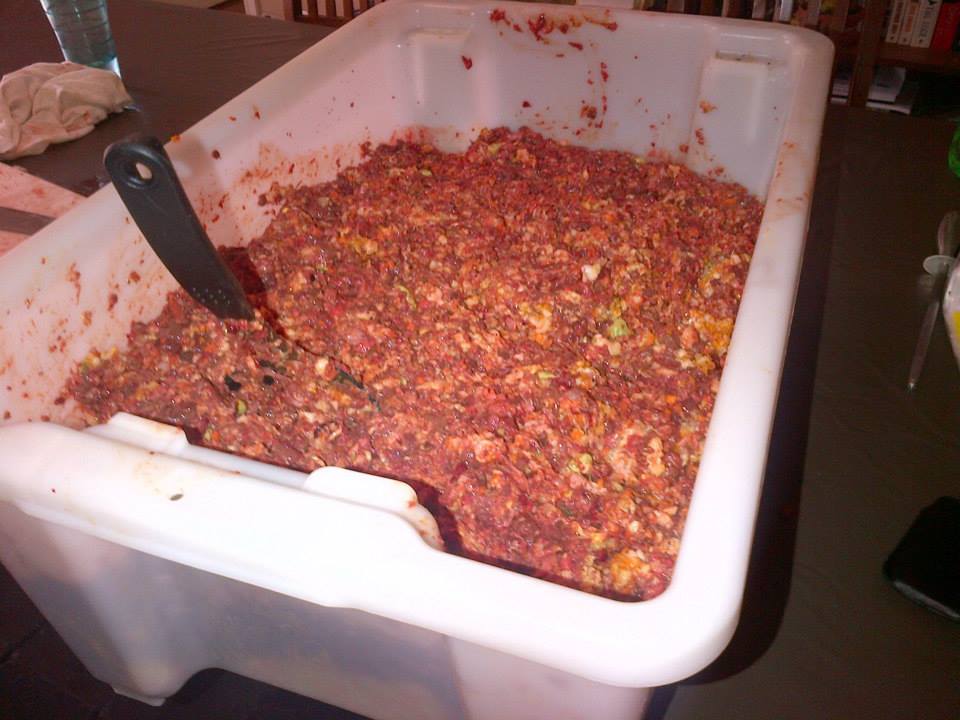
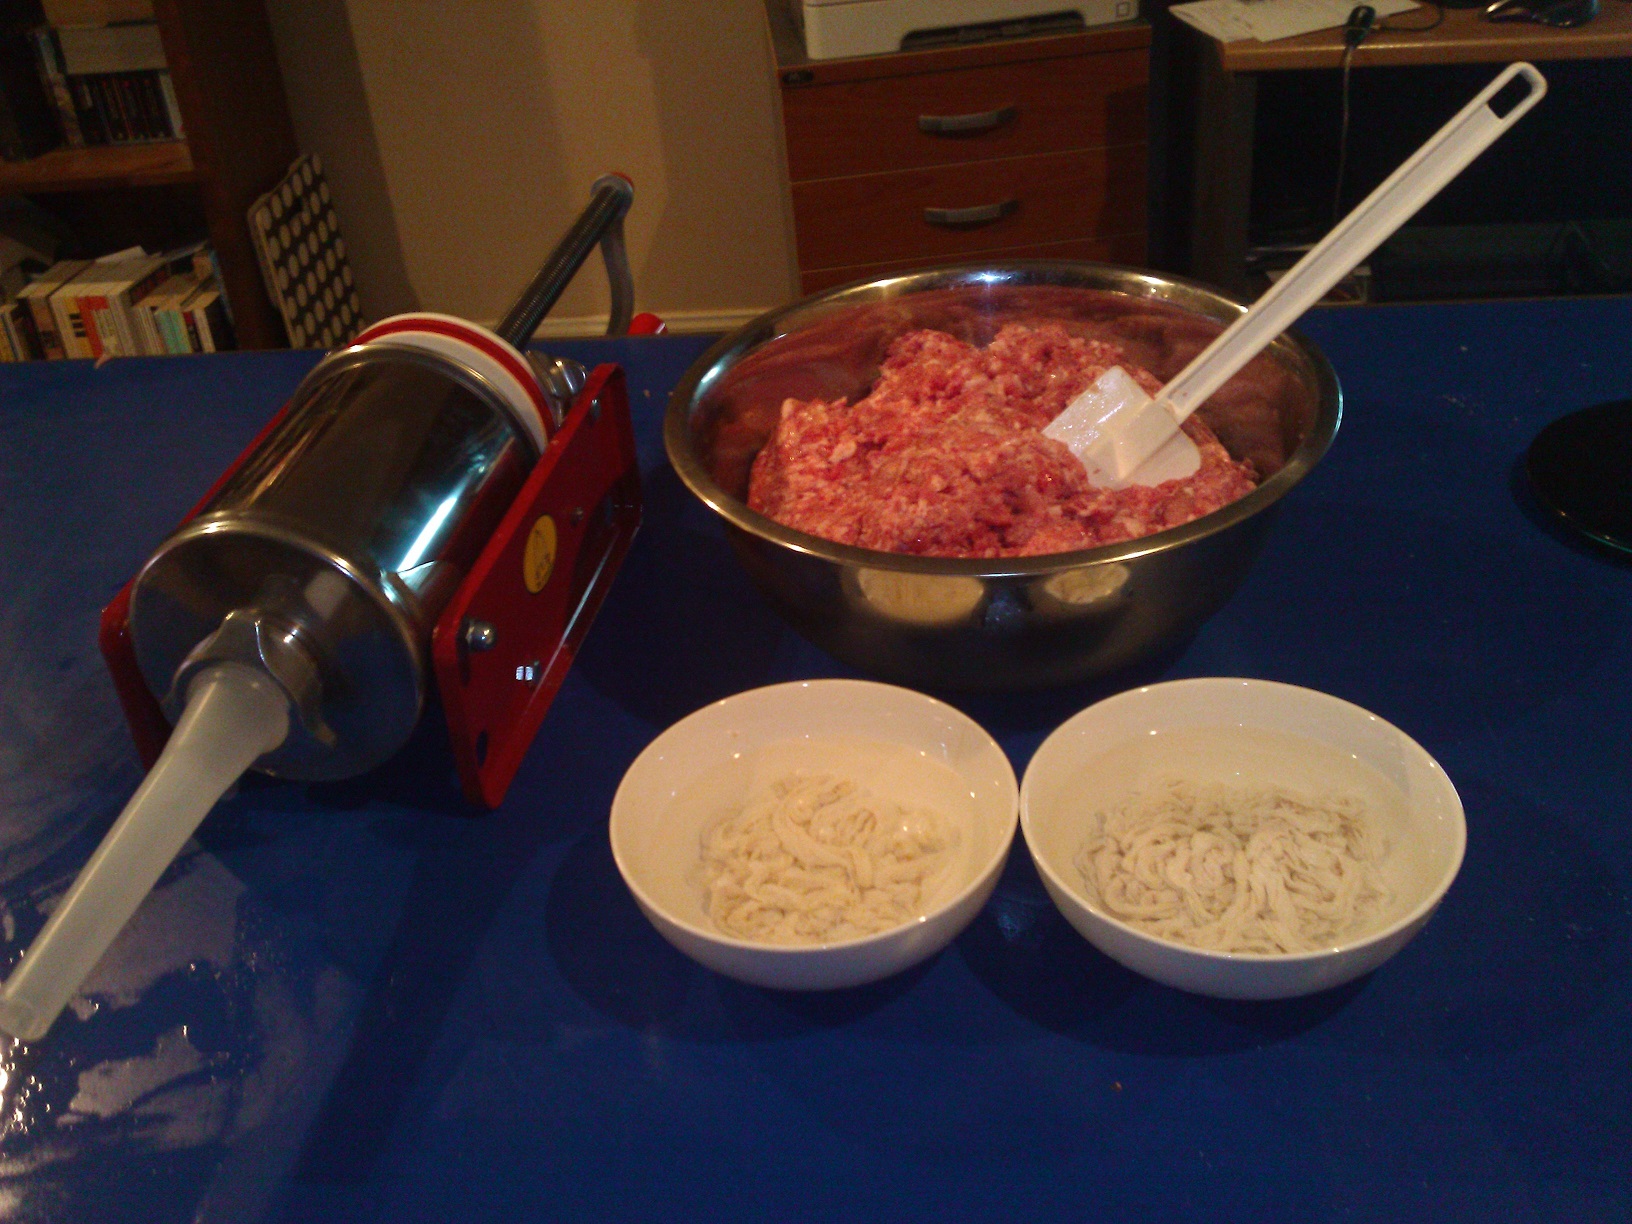
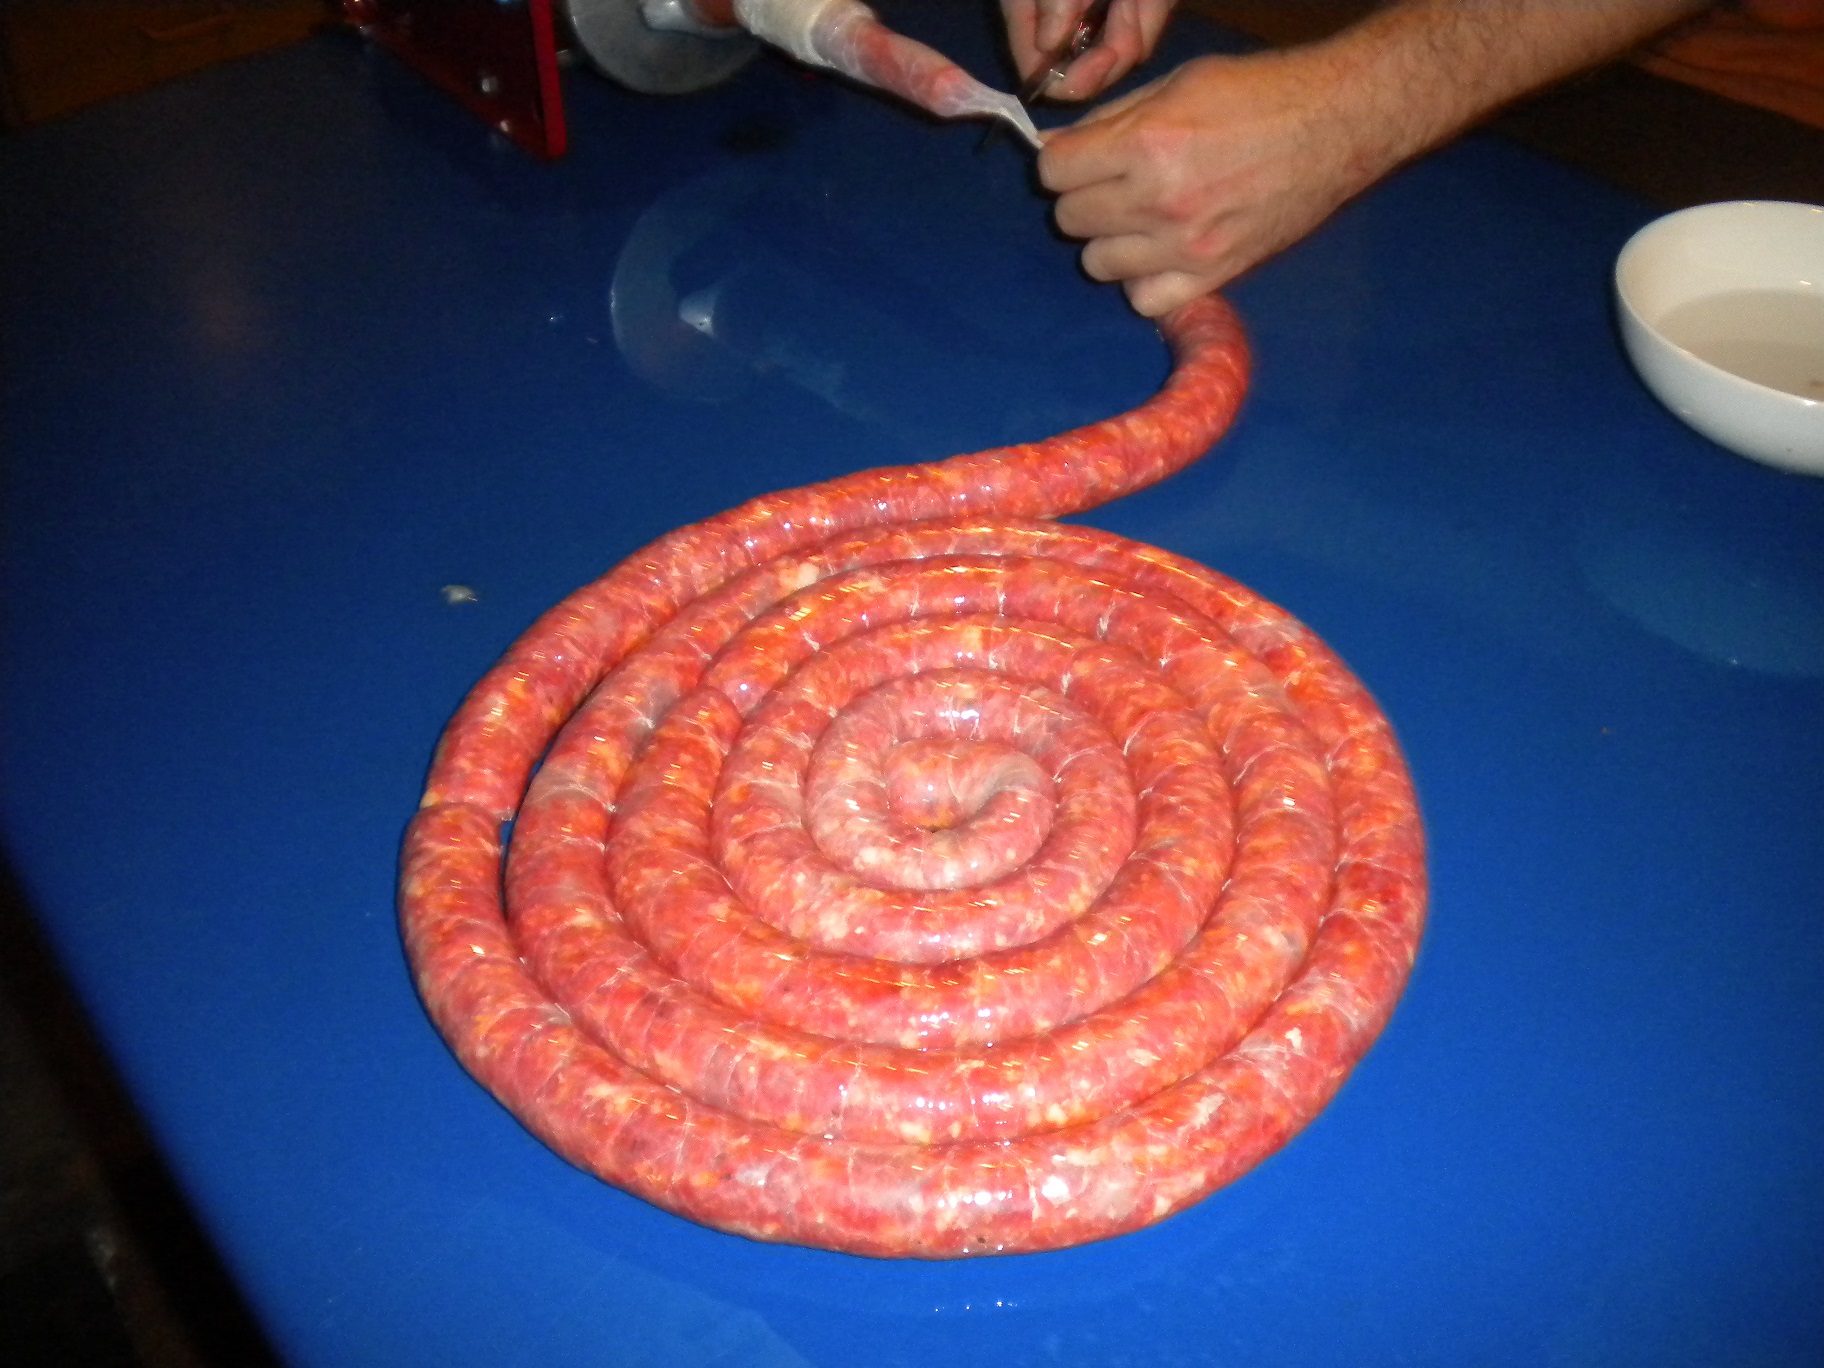
Lastly, we made sausages. We bought a proper sausage stuffer, which worked amazingly well. We made around 5kg of sausages in no time.

Sausage ingredients and equipment assembled.

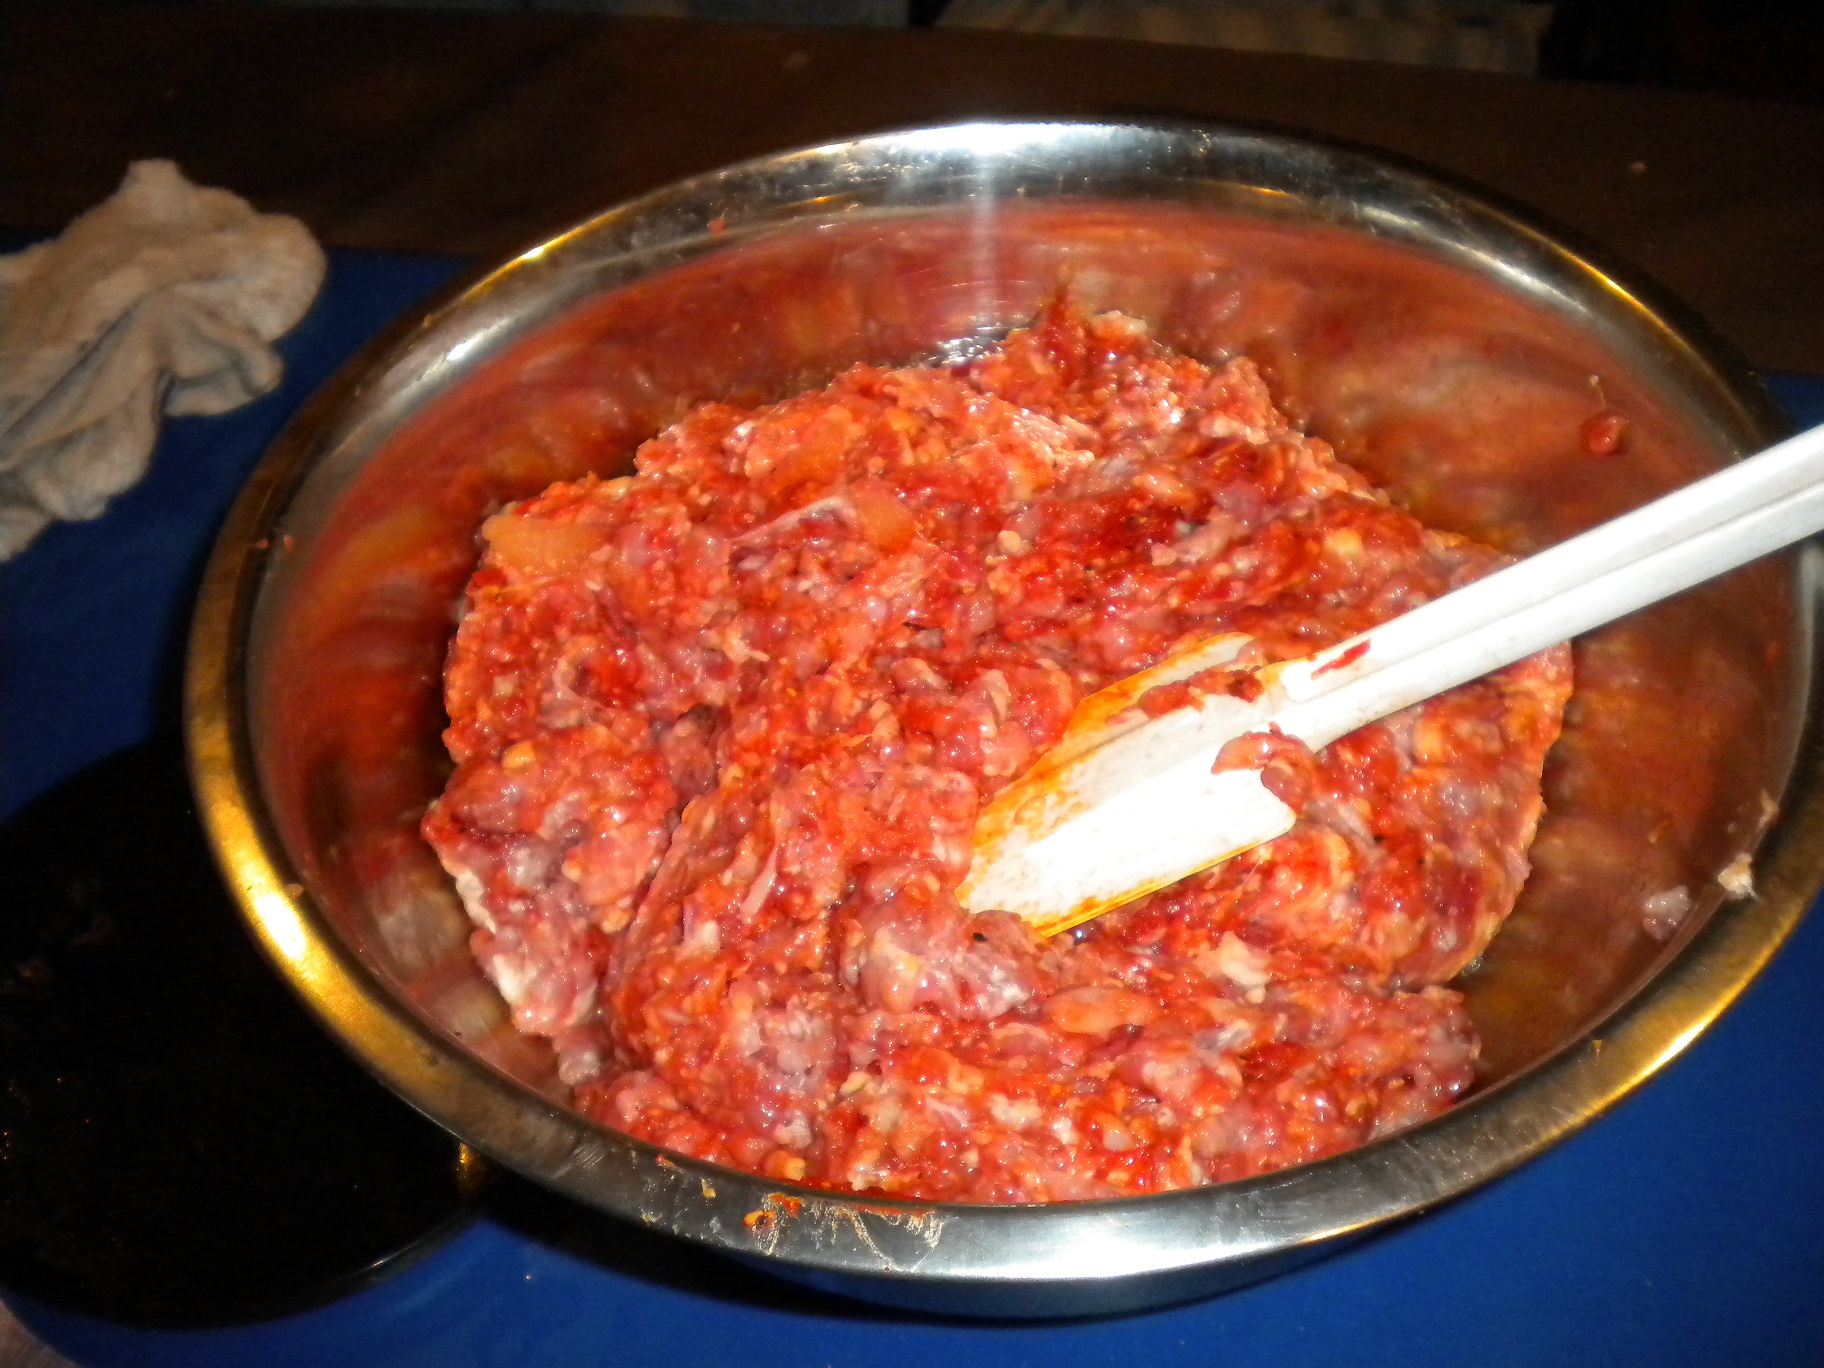
The meat mixed with the flavourings.

That sausage filler is so easy to use!
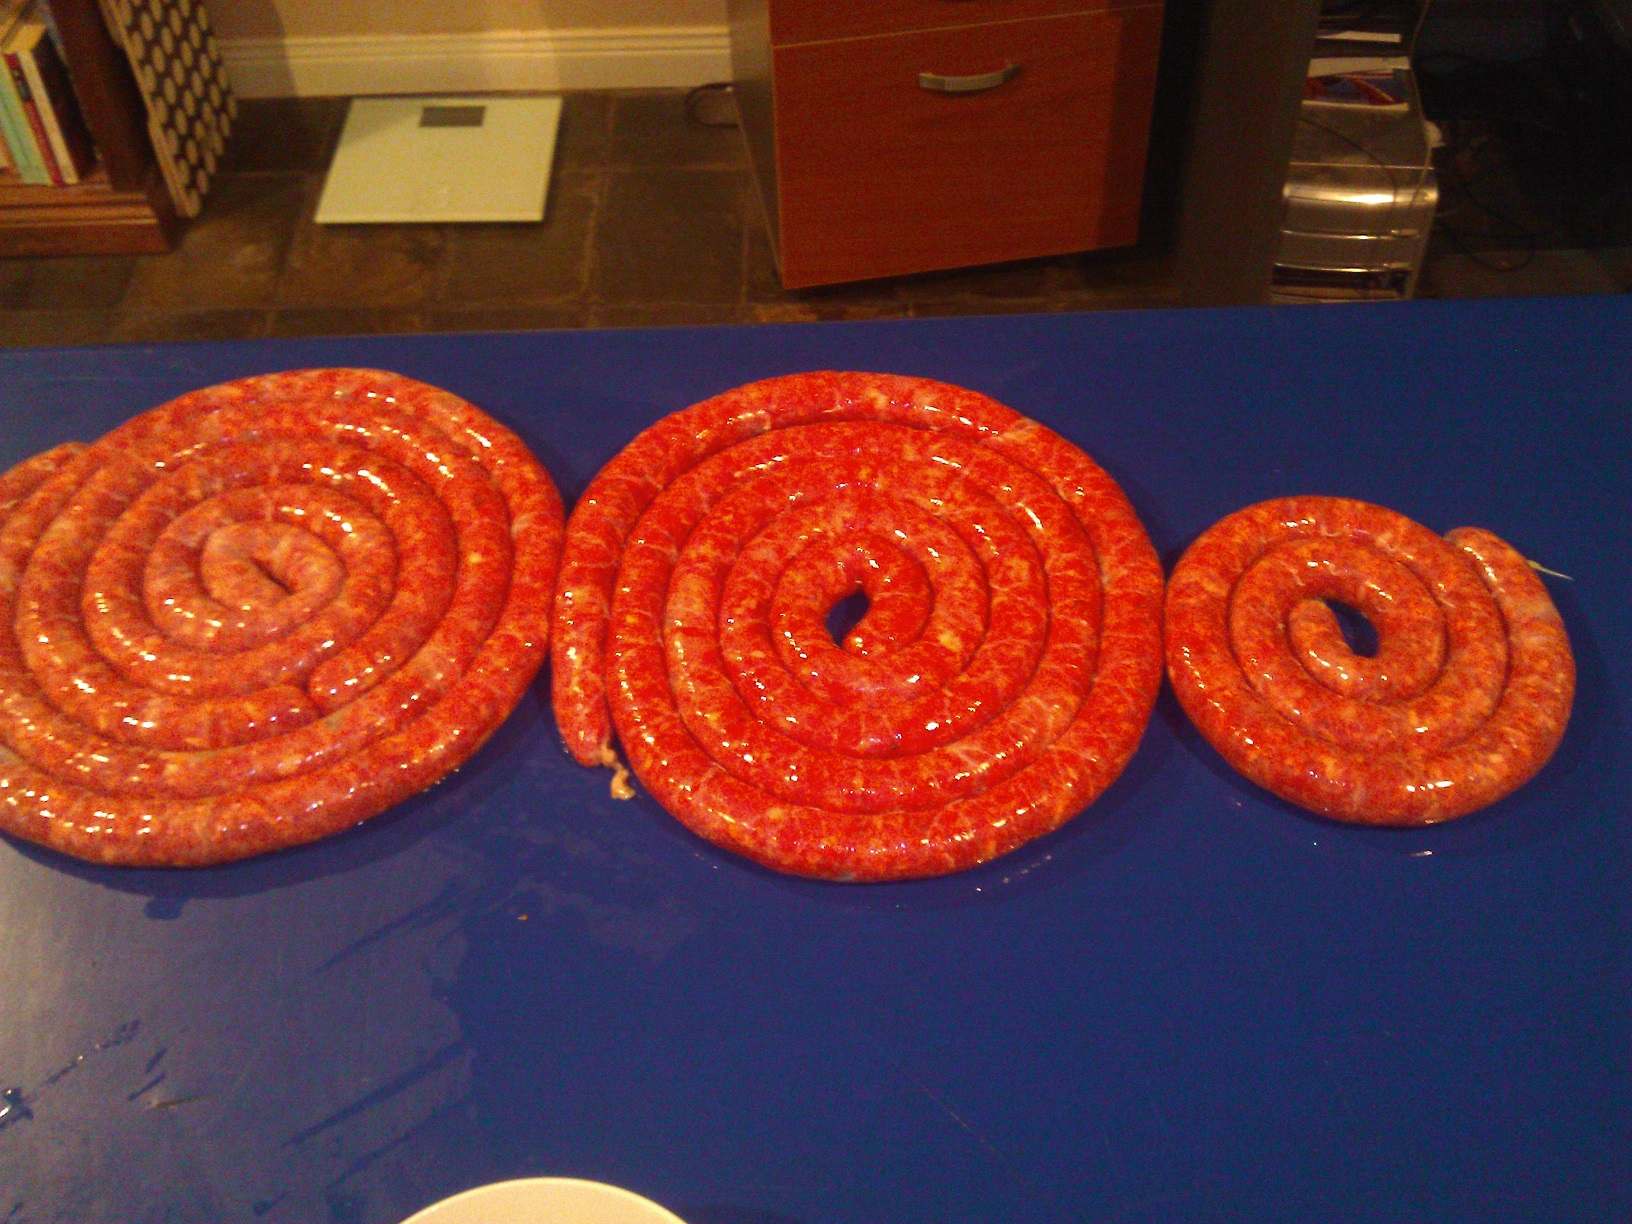
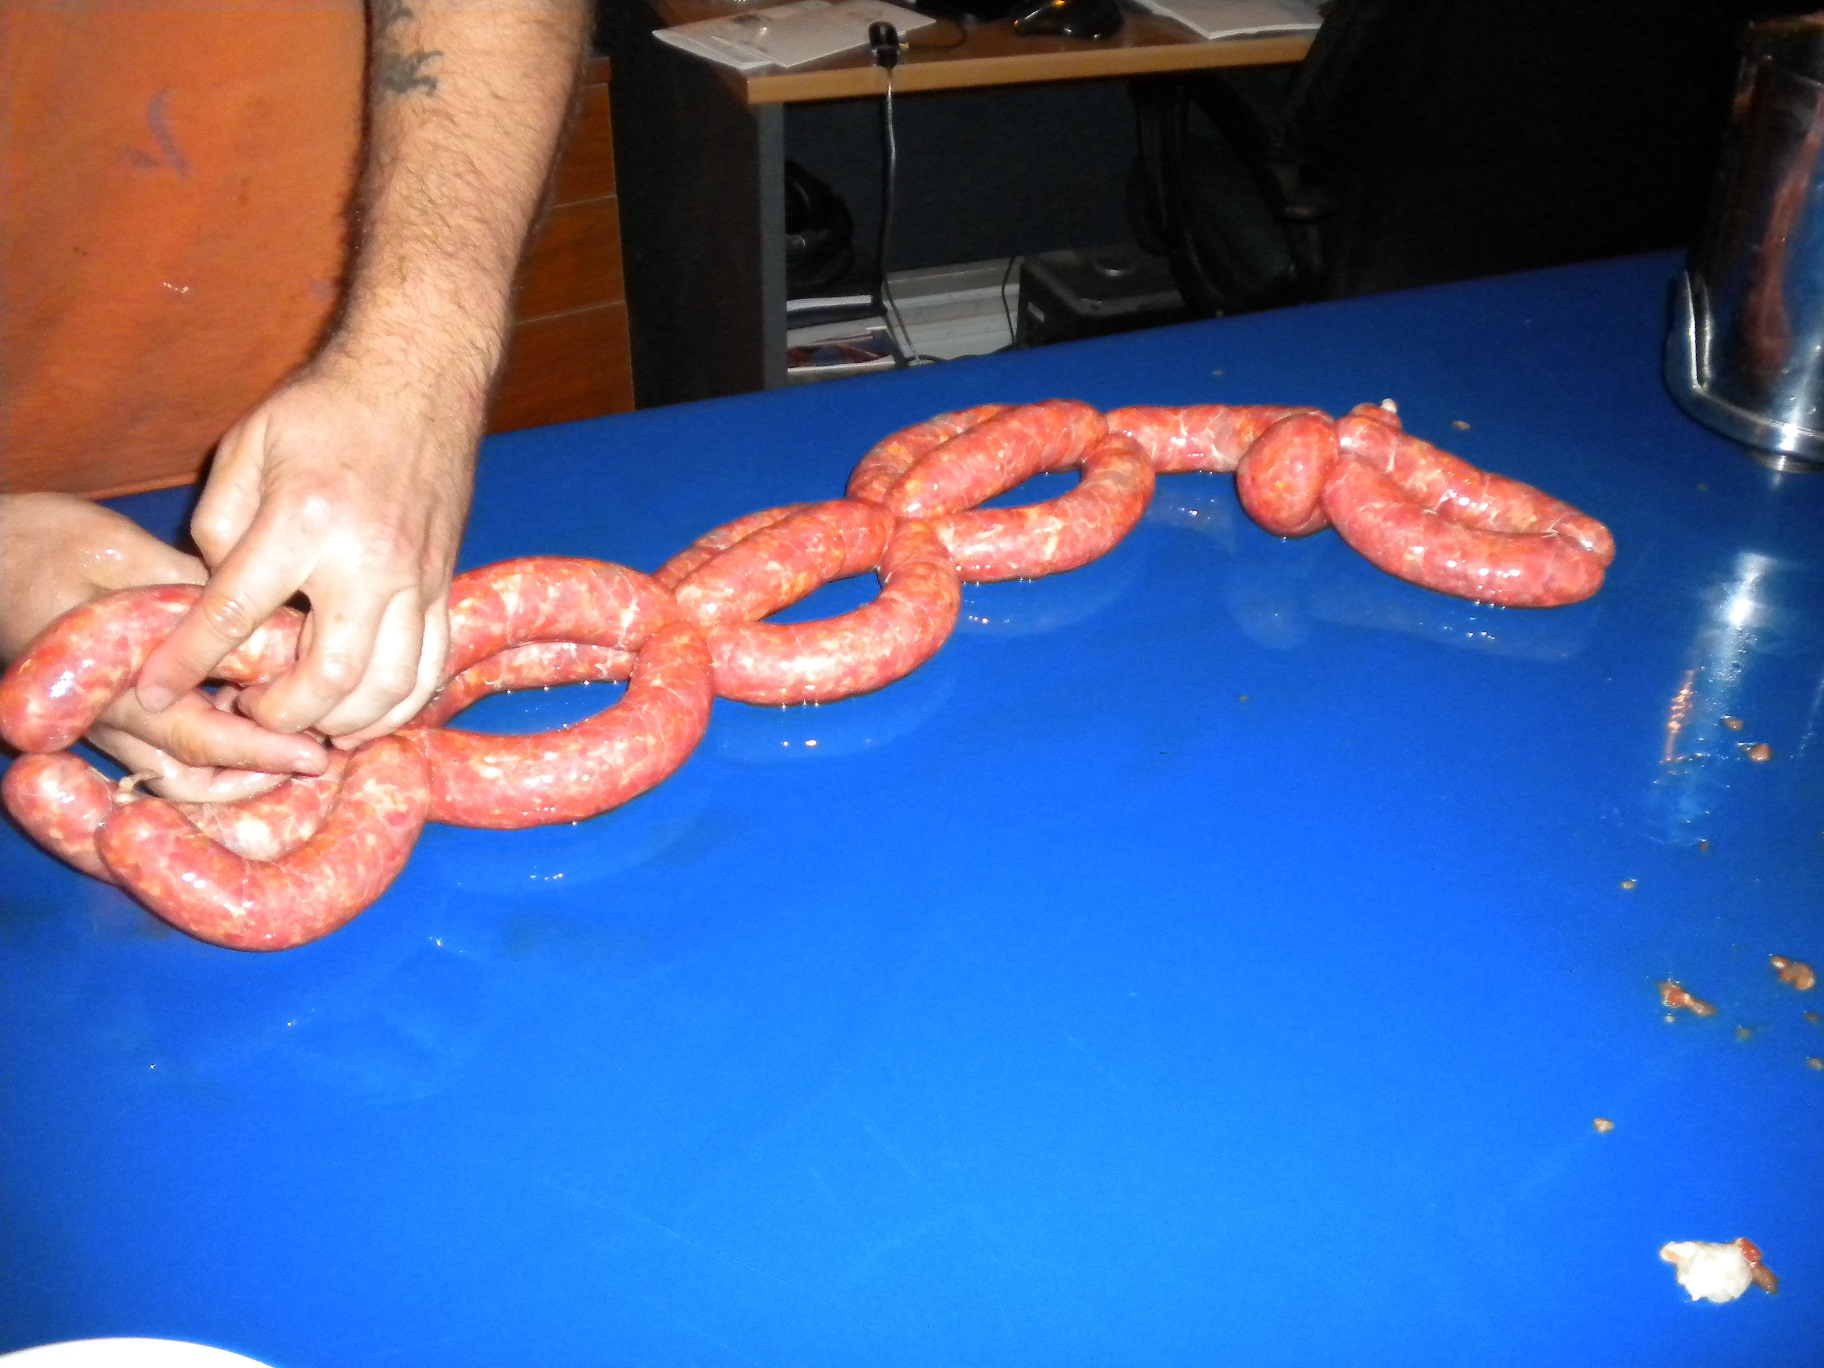
We took our lessons from the lamb sausages earlier in the month and controlled the amount of fat and also minced it more coarsely. The sausages are chorizo flavoured, but are fresh and not cured. They’re as good as any sausage you’ll ever buy, and I even taught myself to twist the links.

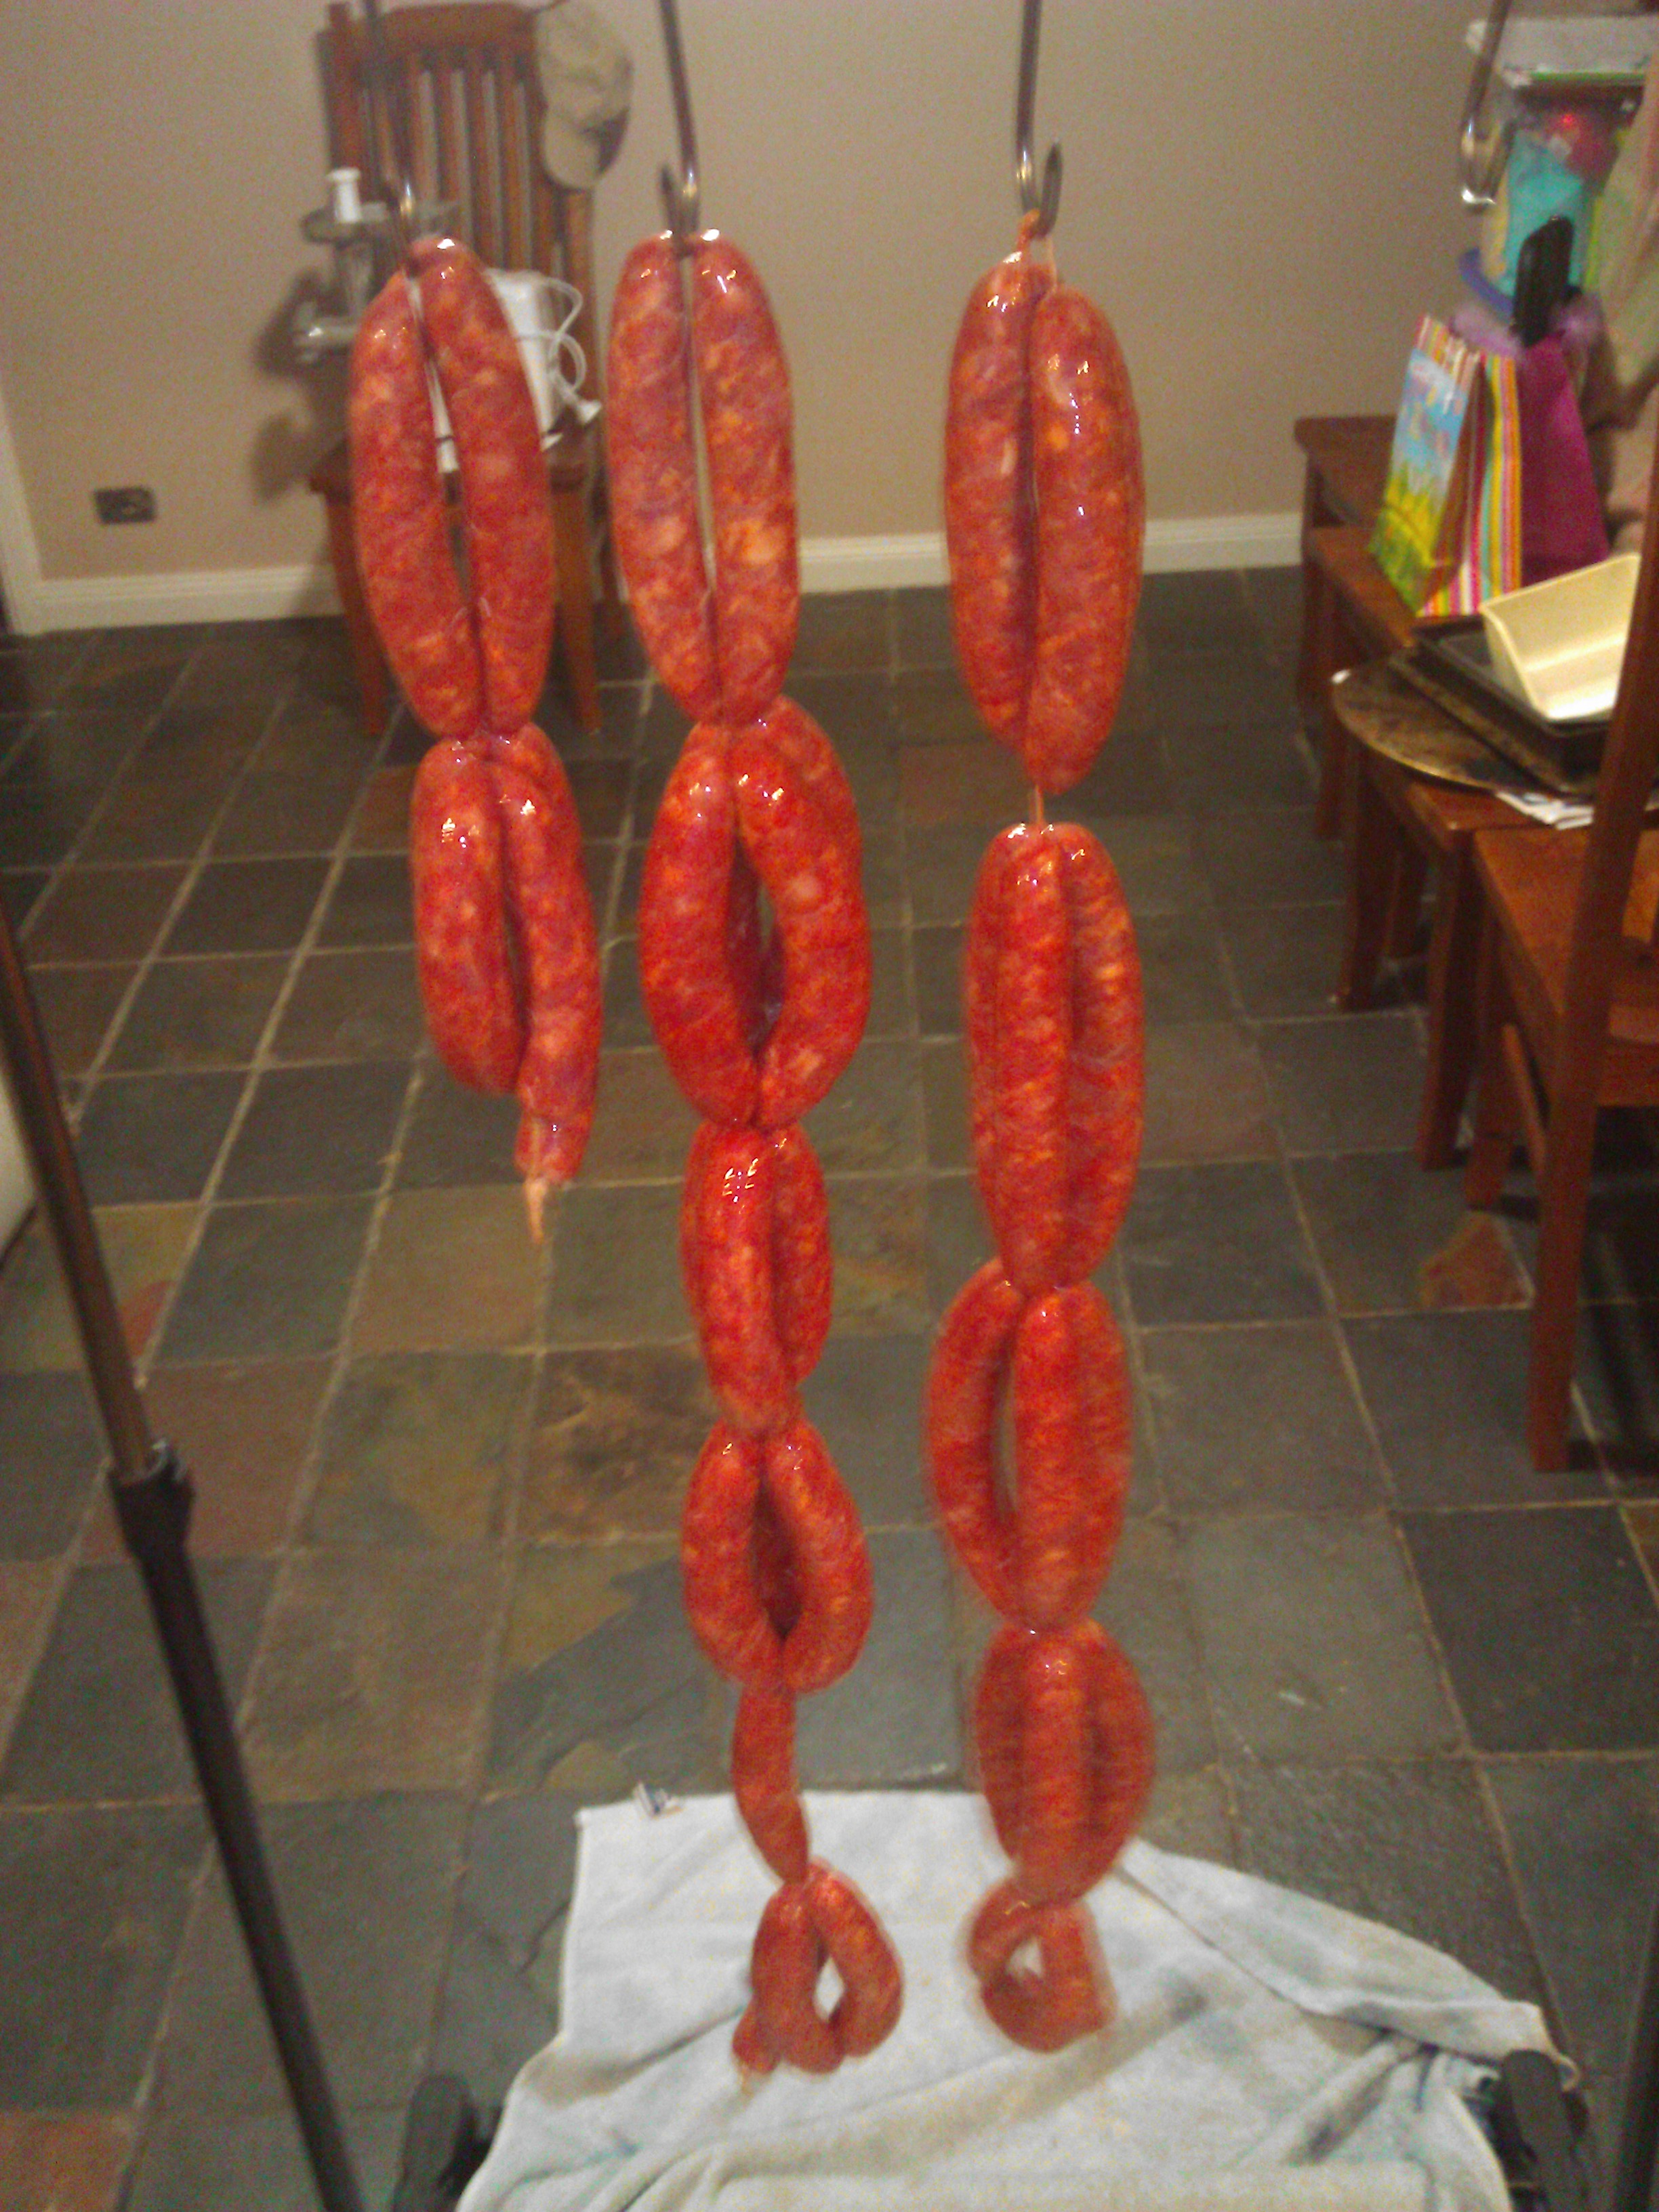
A total of nearly 5kg of sausage.

Twisting sausage is more art than science.

Letting them dry a little.
I’ll include all of the recipes and combinations (oven finished and smoked) in the recipe section of the blog. One day.
March was probably more significant to us than we even now realise. We ended with around 110kg of meat in our freezers, all of which are at critical mass. While we’re still learning every day and refining pretty much every single thing we do, if we had to, right now, we could live wholly from what we have grown and have stored.
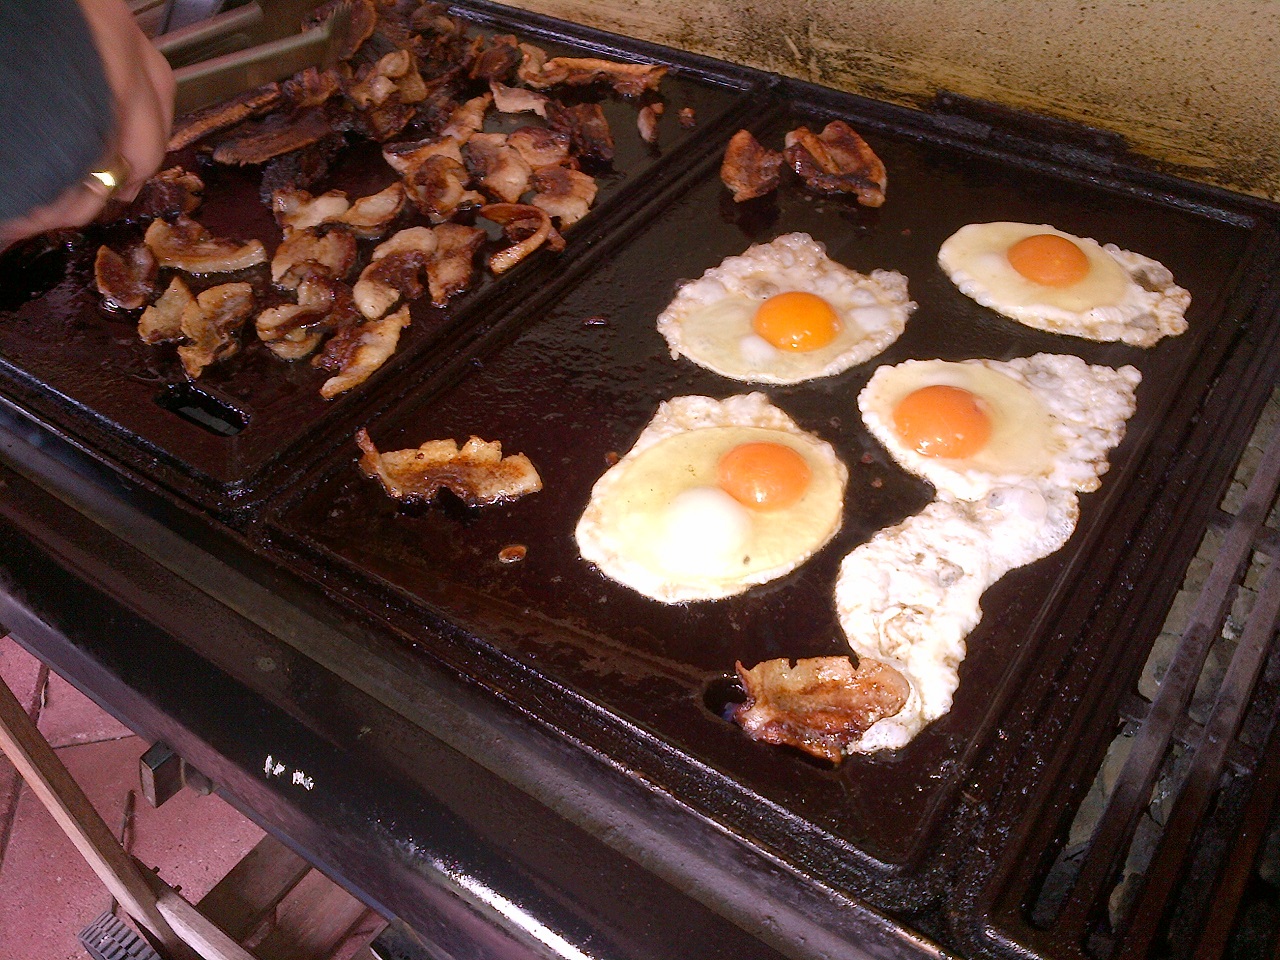
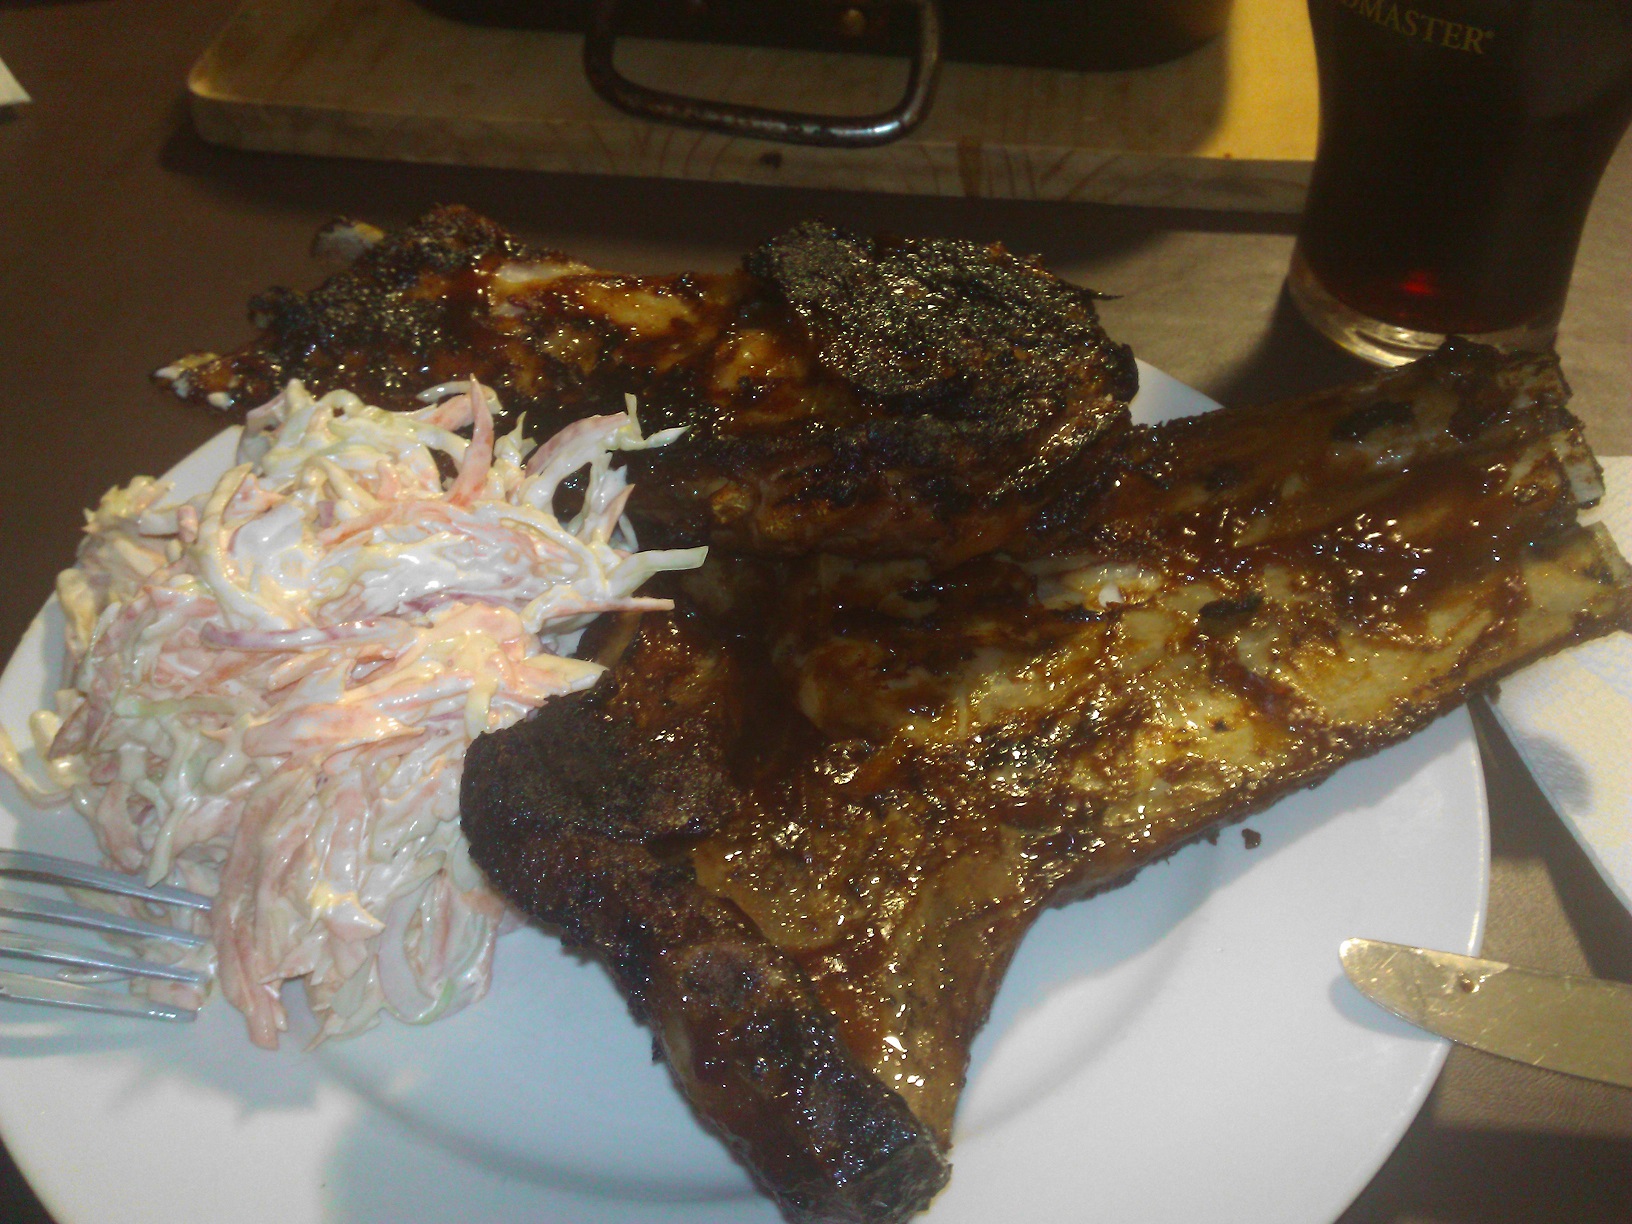
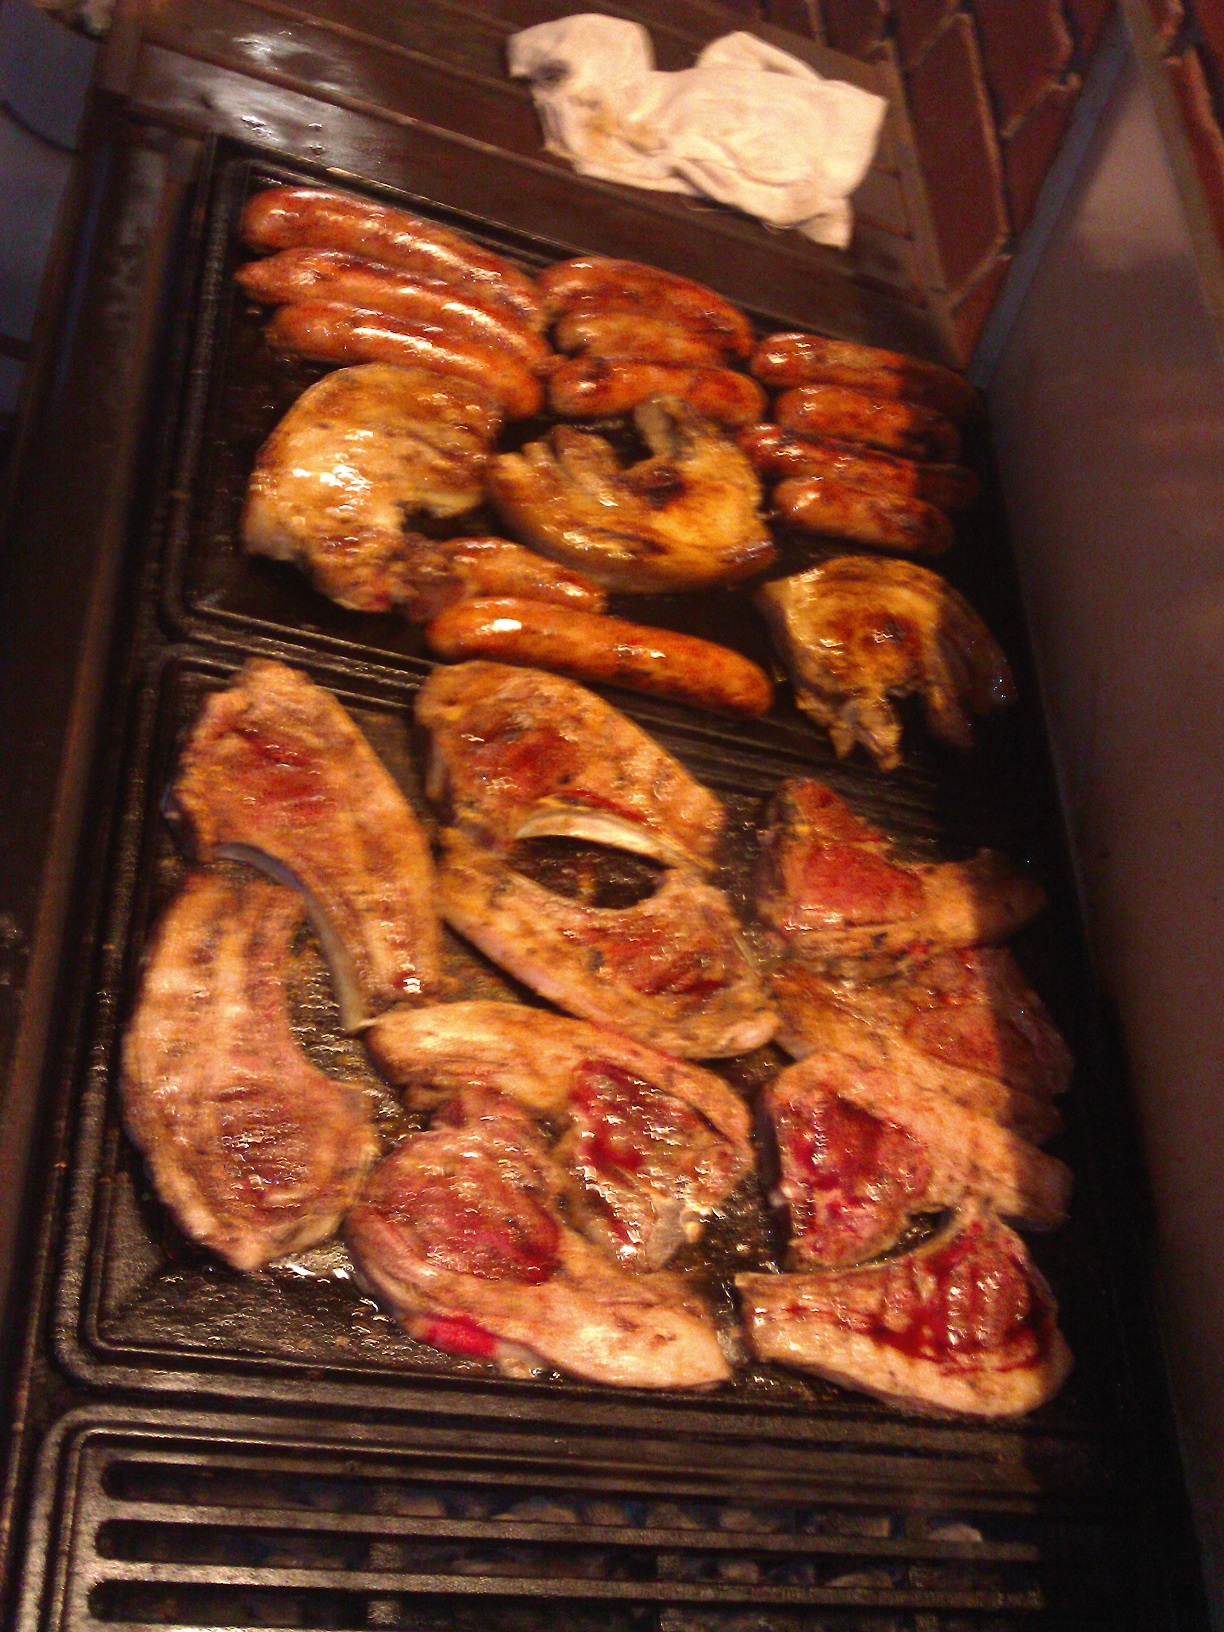
We finished March with a BBQ, the entire contents of which came entirely from our land. I honestly can’t overstate how satisfying that is.

Our first 100% home-grown BBQ.